Last summer, I was standing in my kitchen, staring at a bunch of bananas that had turned from “perfectly ripe” to “black and squishy” in the span of forty-eight hours. You know the feeling. They’re past the point of slicing into oatmeal, and peeling them for baking feels like too much work. I was about to toss them when I remembered a trick my neighbor swore by: a pudding that required almost zero effort and used ingredients I already had.
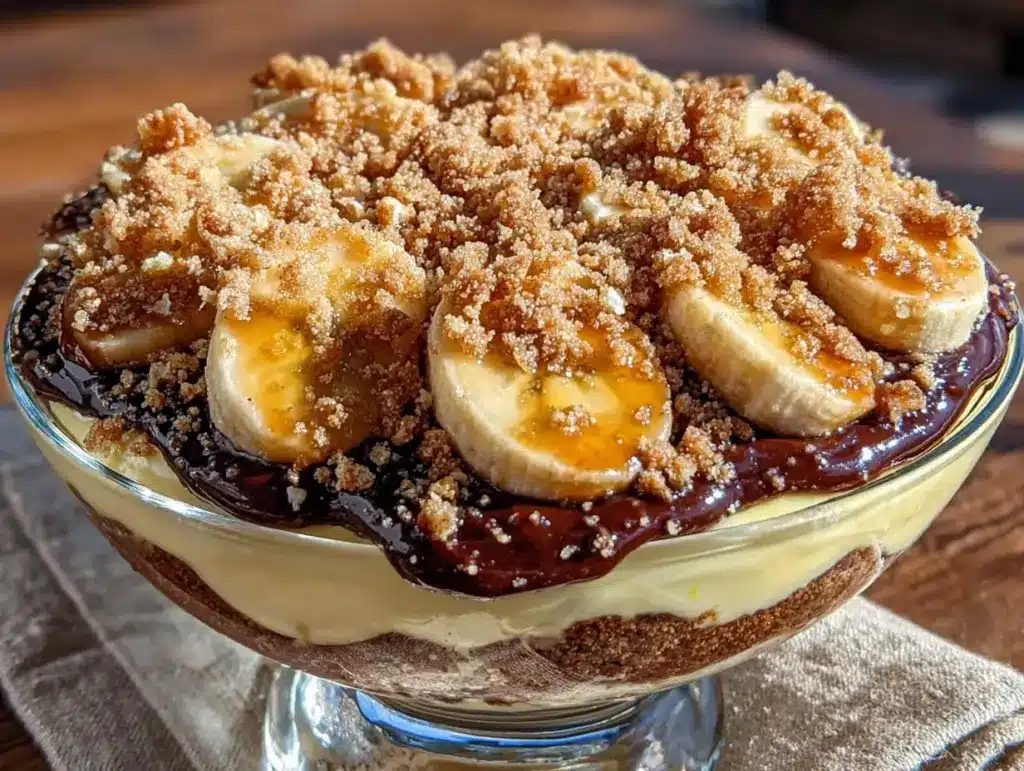
I expected disappointment. I expected a mushy, sweet mess. Instead, I got something creamy, rich, and surprisingly elegant. It tasted like the filling of a banana cream pie, but without the pie crust drama or the hour of prep time. It’s just smooth, vanilla-kissed pudding with a crunchy vanilla wafer crumble on top. It’s simple. It’s forgiving. And honestly? It’s the kind of dessert you make when you want to feel like a gourmet cook but only want to do the minimum.
I’ve made this banana cream pudding at least ten times since that Tuesday. I’ve tested it with slightly under-ripe bananas, I’ve tested it with different types of vanilla wafers, and I’ve even served it to friends who didn’t tell me it was a “no-fuss” recipe until after they asked for the second bowl. That’s the secret. It looks fancy, but it’s actually impossible to mess up.
If you’re looking for a dessert that’s ready in 15 minutes (mostly waiting time) and uses just four ingredients, you’ve found it. This is the 4-ingredient banana cream pudding you’ll make on repeat. No fancy techniques, no tempering eggs, no worry about curdling. Just pure, simple comfort.
Why You’ll Love This 4-Ingredient Banana Cream Pudding
There are about a million reasons to keep this recipe in your rotation, but let’s be real: you love it because it works every single time. Here’s why this banana cream pudding has taken over my dessert shelf:
- It’s Beginner-Proof — Seriously, if you can stir a pot and crush cookies, you can make this. I’ve walked my teenage niece through it over the phone, and she nailed it the first time. There’s no magic technique here. Just heat, whisk, and chill.
- Uses Up “Sad” Bananas — This is the best part. The riper the bananas, the better. Black-spotted bananas are actually the sweetest and have the strongest banana flavor, which is exactly what you want in a pudding. It’s a waste-not, want-not recipe that turns potential trash into treasure.
- Textural Heaven — The pudding itself is silky and smooth, but the vanilla wafer crumble adds that necessary crunch. It’s the same vibe as my classic banana cream pie, but without the crust-making stress. The contrast between the cool, soft pudding and the crunchy topping is what makes this addictive.
- Ready in 15 Minutes (Plus Chill Time) — The active work is less than 10 minutes. The rest is just waiting in the fridge. This isn’t a “watch the stove every second” recipe. You can set it and forget it while you do something else.
- Looks Fancy, Costs Pennies — You can serve this in little glass jars or ramekins, and it looks like something you’d order at a high-end café. But it’s made from bananas and milk. It’s budget-friendly without feeling cheap.
This is my go-to when I need a dessert that feels special but requires zero mental energy. It’s reliable, it’s delicious, and it’s surprisingly sophisticated for how simple it is.
Ingredients You’ll Need
Here’s the best part: you probably have most of this already. The beauty of this banana cream pudding is its minimalism. We’re not using heavy cream, cornstarch slurry mixes, or obscure spices. Just four core ingredients that work together perfectly.
The Core Four
Ripe Bananas (3 large, about 1 ½ cups mashed) — This is the star. Do not use yellow bananas with green tips. You want them spotted, brown, and soft. The more brown spots, the sweeter and more intense the banana flavor. If they’re black, perfect. Mash them with a fork until they’re almost liquid. Lumps are okay, but the smoother, the better the texture.
Milk (2 cups, whole milk preferred) — Whole milk gives you that rich, creamy mouthfeel. You can use 2% if you’re watching calories, but the pudding will be thinner and less luxurious. Skim milk? Skip it. It’ll taste watery. If you want a dairy-free version, you can use full-fat coconut milk, but the flavor will be slightly different.
Vanilla Wafers (1 package, about 30-35 cookies) — These are for the crumble topping. Nilla Wafers are the standard, but any brand works. Don’t substitute with vanilla ice cream wafers or sandwich cookies—they have different textures and sugar contents. You want the classic, crisp vanilla wafer. I keep a box in the pantry specifically for this recipe.
Instant Pudding Mix (1 box, 3.4 oz, vanilla flavor) — I know, I know. Some purists might raise an eyebrow. But this is the “no-fuss” part. Using instant pudding mix guarantees the right thickness and flavor without you having to measure out sugar, cornstarch, and vanilla extract separately. It’s consistent. It’s easy. And it tastes just like the real deal. Jell-O or store-brand works fine.
Optional Add-Ins
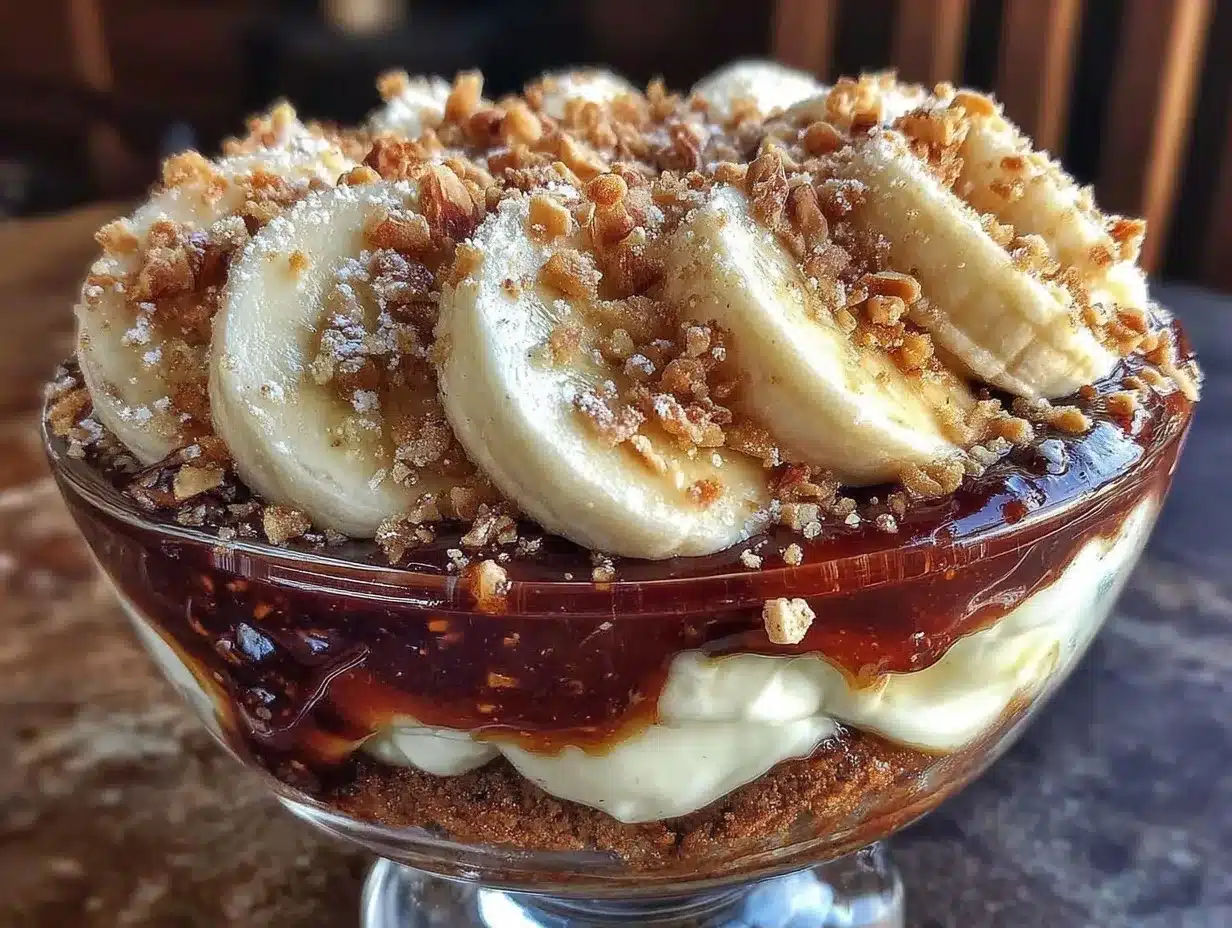
Whipped Cream — For serving. I usually top this with a dollop of whipped cream, but it’s not required. The pudding is rich enough on its own.
Extra Vanilla Wafers — For garnish. I like to place one whole wafer on top of each serving for that “restaurant” look.
Cinnamon — A tiny pinch in the pudding mixture adds warmth. It’s optional, but I love it.
Equipment Needed
You don’t need fancy gadgets for this. Here’s what you actually need:
Medium Saucepan — A 2-quart saucepan works best. It needs to be wide enough to stir easily but deep enough to prevent splattering. Any non-stick saucepan will do. I use my old, well-loved one from college.
Whisk — A standard balloon whisk is perfect. You need to whisk constantly at the beginning to prevent lumps. If you only have a spoon, it’ll work, but a whisk makes it way easier.
Measuring Cups and Spoons — Standard stuff. You’ll need a 2-cup measure for the milk and a measuring cup for the mashed bananas.
Food Processor or Ziplock Bag — For crushing the vanilla wafers. A food processor is fastest, but if you don’t have one, put the cookies in a ziplock bag and smash them with a rolling pin or a heavy pan. It’s therapeutic, honestly.
Serving Glasses or Ramekins — Clear glasses look nice because you can see the layers. Small ramekins are cute for individual portions. I usually serve it in mason jars or little glass bowls.
How to Make It: Step-by-Step
Alright, let’s make this! I’m walking you through exactly how I do it, including the little tricks I’ve picked up to ensure your banana cream pudding comes out perfect every time.
Step 1: Prep the Bananas (3 minutes)
Peel your bananas and put them in a bowl. Mash them with a fork until they’re completely smooth. No chunks. If you leave chunks, they’ll affect the texture of the pudding. You want a thick, banana puree. Measure out about 1 ½ cups. If you have extra, eat it. Or save it for banana muffins later.
Step 2: Crush the Wafers (2 minutes)
While the bananas are mashing, crush your vanilla wafers. If using a food processor, pulse until you have fine crumbs. If using a bag, smash until they’re the size of coarse sand. You don’t want powder, and you don’t want big chunks. Set these aside. They’ll be the crunchy topping.
Step 3: Make the Pudding Base (5 minutes)
Pour the milk into your saucepan over medium heat. Heat it until it’s warm but not boiling. You want it to steam a bit, about 120°F. If you don’t have a thermometer, just wait until you see small bubbles around the edges and feel warmth when you dip your finger in. Remove from heat.
Now, add the instant pudding mix and the mashed bananas. Whisk vigorously for 2-3 minutes. Yes, whisking is key. You need to incorporate the bananas fully into the milk and powder. The mixture will thicken almost immediately. Keep whisking until it’s smooth and lump-free. This step takes about 3 minutes, so don’t rush it.
Step 4: Chill (30 minutes minimum)
Pour the pudding into your serving glasses or a large bowl. Cover with plastic wrap, pressing it directly onto the surface of the pudding to prevent a skin from forming. Put it in the fridge. It needs at least 30 minutes to set. If you can wait an hour, it’ll be even better. This is the hard part for most people, but the reward is worth it.
Step 5: Add the Crumble and Serve
Once the pudding is set, spoon a generous layer of vanilla wafer crumbs on top. You can mix the crumbs into the pudding if you want, but I prefer the contrast of having them on top. Add a dollop of whipped cream if you’re feeling fancy, and maybe a thin slice of banana for garnish. Serve immediately.
Total Active Time: 10 minutes. Total Time: 40 minutes (including chill time).
Expert Tips & Tricks
Here’s everything I’ve learned from making this dozens of times. These tips will save you from my mistakes.
Mash Until It’s Liquid
I can’t stress this enough. If your banana mash has chunks, your pudding will have lumps. Use a fork, a potato masher, or even a hand blender. I’ve tried both ways, and the smooth version is infinitely better. It should look like banana butter.
Don’t Skip the Whisking
Instant pudding mix needs time to hydrate. If you just stir it once and walk away, you’ll get lumpy pudding. Whisk for a full 2-3 minutes. It’s not a lot of effort, but it makes a huge difference in the texture.
Control the Crunch
Some people like big cookie pieces, some like fine crumbs. I like a mix. I crush half the cookies finely and leave the other half in small chunks. It gives you different textures in every bite. Adjust to your preference.
Serve It Cold
This pudding is best served ice-cold. The cold temperature makes the vanilla flavor pop and the bananas taste fresher. If it’s lukewarm, it’ll taste flat. Plan ahead and put it in the fridge as soon as you mix it.
Common Mistakes (and how to avoid them)
Mistake: Pudding is too thin. Fix: You didn’t whisk long enough, or the bananas were too watery. Make sure you use ripe bananas and whisk for the full 3 minutes. If it’s still thin, chill it longer.
Mistake: Pudding is too thick. Fix: You used less milk than the box says. Measure your milk carefully. If it’s too thick, stir in a splash of milk until it reaches your desired consistency.
Mistake: Wafers get soggy too fast. Fix: Add the crumble right before serving. If you make this ahead, keep the crumbs separate and add them just before eating. The moisture from the pudding will soften the cookies over time.
Variations & Substitutions
Once you’ve nailed the basic version, here’s how you can mix it up. I’ve tried all of these, and they all work.
Chocolate Banana Pudding
Swap the vanilla pudding mix for chocolate pudding mix. The combination of chocolate and banana is classic. It tastes like a banana split without the ice cream. Add chocolate chips to the crumble for extra decadence.
Strawberry Banana Pudding
Add 1 cup of mashed strawberries to the banana mash. It turns the pudding a pretty pink color and adds a tart contrast to the sweet bananas. This is great for spring.
Caramel Banana Pudding
Drizzle caramel sauce on top of the pudding before adding the crumble. Or mix a few tablespoons of caramel into the pudding mixture. It’s sweet, salty, and amazing.
Gluten-Free Version
Use gluten-free vanilla wafers. Most brands work fine. Check the pudding mix label—some instant pudding mixes contain gluten, though most are naturally gluten-free. I use vegan chocolate avocado mousse techniques for texture adjustments, but for this, just ensure your wafers are GF.
Dairy-Free Version
Use full-fat coconut milk instead of dairy milk. The pudding will have a slight coconut flavor, but it’s delicious. Use dairy-free vanilla wafers. It’s richer and heavier than the dairy version, but still creamy.
No-Bake Bars Version
If you want to serve this in squares, press the vanilla wafer crumbs into the bottom of a pan, pour the pudding on top, and chill. Slice into bars. It’s like a no-bake cookies and cream poke cake but with bananas.
Serving & Storage
How to Serve
I usually serve this in small glass bowls or mason jars. It looks rustic and homemade. Top with a dollop of whipped cream and a whole vanilla wafer for that final touch. It’s perfect for potlucks because it’s easy to grab and eat.
Side Dishes
This is a dessert, so it doesn’t need sides. But if you’re serving it as part of a larger meal, it pairs well with lemon raspberry cheesecake bars if you’re making a dessert spread. It’s light enough that it won’t weigh people down.
Storage Instructions
Refrigerator: Store in an airtight container for up to 3 days. The pudding will thicken in the fridge, which is normal. Stir it gently before serving if it’s too stiff.
Freezing: I don’t recommend freezing this. The bananas can become watery and grainy when thawed, and the texture of the pudding changes. It’s best eaten fresh.
Make-Ahead: You can make the pudding base up to 24 hours in advance. Just don’t add the crumble until you’re ready to serve. This is my preferred method for dinner parties.
Reheating
Do not reheat this. It’s meant to be served cold. Reheating will melt the texture and make it watery.
Nutrition Information
I’m not a nutritionist, but here’s the breakdown if you’re tracking. This is a sweet treat, so enjoy it in moderation.
Per Serving (based on 6 servings):
- Calories: 280
- Protein: 5g
- Carbs: 45g
- Fiber: 2g
- Sugar: 28g
- Fat: 8g
- Sodium: 220mg
What’s Good: It has potassium from the bananas and some protein from the milk. What to Know: It’s higher in sugar due to the pudding mix and cookies. If you want to lighten it up, use low-fat milk and reduce the sugar in the pudding mix (if you make your own, but we’re keeping it simple here!).
Final Thoughts
So that’s my go-to banana cream pudding! I know it sounds too simple to be good, but I promise you, it is. It’s the kind of recipe that makes you feel like a genius cook without putting in any real effort. It’s creamy, it’s sweet, and it’s incredibly satisfying.
This has saved my dessert game more times than I can count. It’s my answer to “what’s for dessert?” when I’m tired, don’t want to bake, and still want something that tastes homemade. My kids are happy, my guests are impressed, and I’m happy because I didn’t have to stress.
Make it yours! Try different toppings, swap in your favorite cookies, or add a splash of rum if you’re feeling grown-up. The best recipes are the ones you adapt to your tastes. And if you’re worried about bananas going bad, this is your safety net.
If you make this, drop a comment and let me know what you think! I love hearing how recipes turn out in your kitchen. And if something doesn’t work, tell me that too—I’m here to help troubleshoot.
Happy cooking! And I hope your kitchen smells half as good as mine does right now.
Frequently Asked Questions
Can I use fresh bananas instead of ripe ones?
You can, but the flavor won’t be as intense. Ripe bananas have more sugar and a stronger banana taste, which is crucial for this pudding. If you only have yellow bananas, you can bake them in the oven at 300°F for 20 minutes to soften them and bring out the sweetness. It’s a hack that works well.
Why did my pudding turn out lumpy?
Usually, this happens because you didn’t whisk long enough or the milk was too cold. Make sure the milk is warm (not hot) and whisk vigorously for at least 2-3 minutes. Also, ensure your banana mash is completely smooth before adding it to the milk.
Can I make this ahead for a party?
Yes! This is actually better when made ahead. Make the pudding base up to 24 hours in advance. Keep the vanilla wafer crumbs separate and add them right before serving. This prevents the crumbs from getting soggy. I do this all the time for gatherings.
Is this recipe gluten-free?
The pudding mix and bananas are naturally gluten-free, but you need to check your vanilla wafers. Most standard vanilla wafers contain wheat. You can buy gluten-free vanilla wafers, which work perfectly in this recipe. Just double-check the pudding mix label, as some brands add gluten.
Can I use almond milk?
You can, but the pudding will be thinner and less creamy. Almond milk has less fat than dairy milk, which affects the texture. If you use almond milk, consider adding an extra tablespoon of pudding mix to help it thicken. Or, use full-fat coconut milk for a richer result.
How long does this last in the fridge?
It lasts up to 3 days in the fridge. After that, the bananas may start to brown and the texture might change. It’s best eaten within the first 48 hours for the best flavor and texture.
Pin This Recipe!
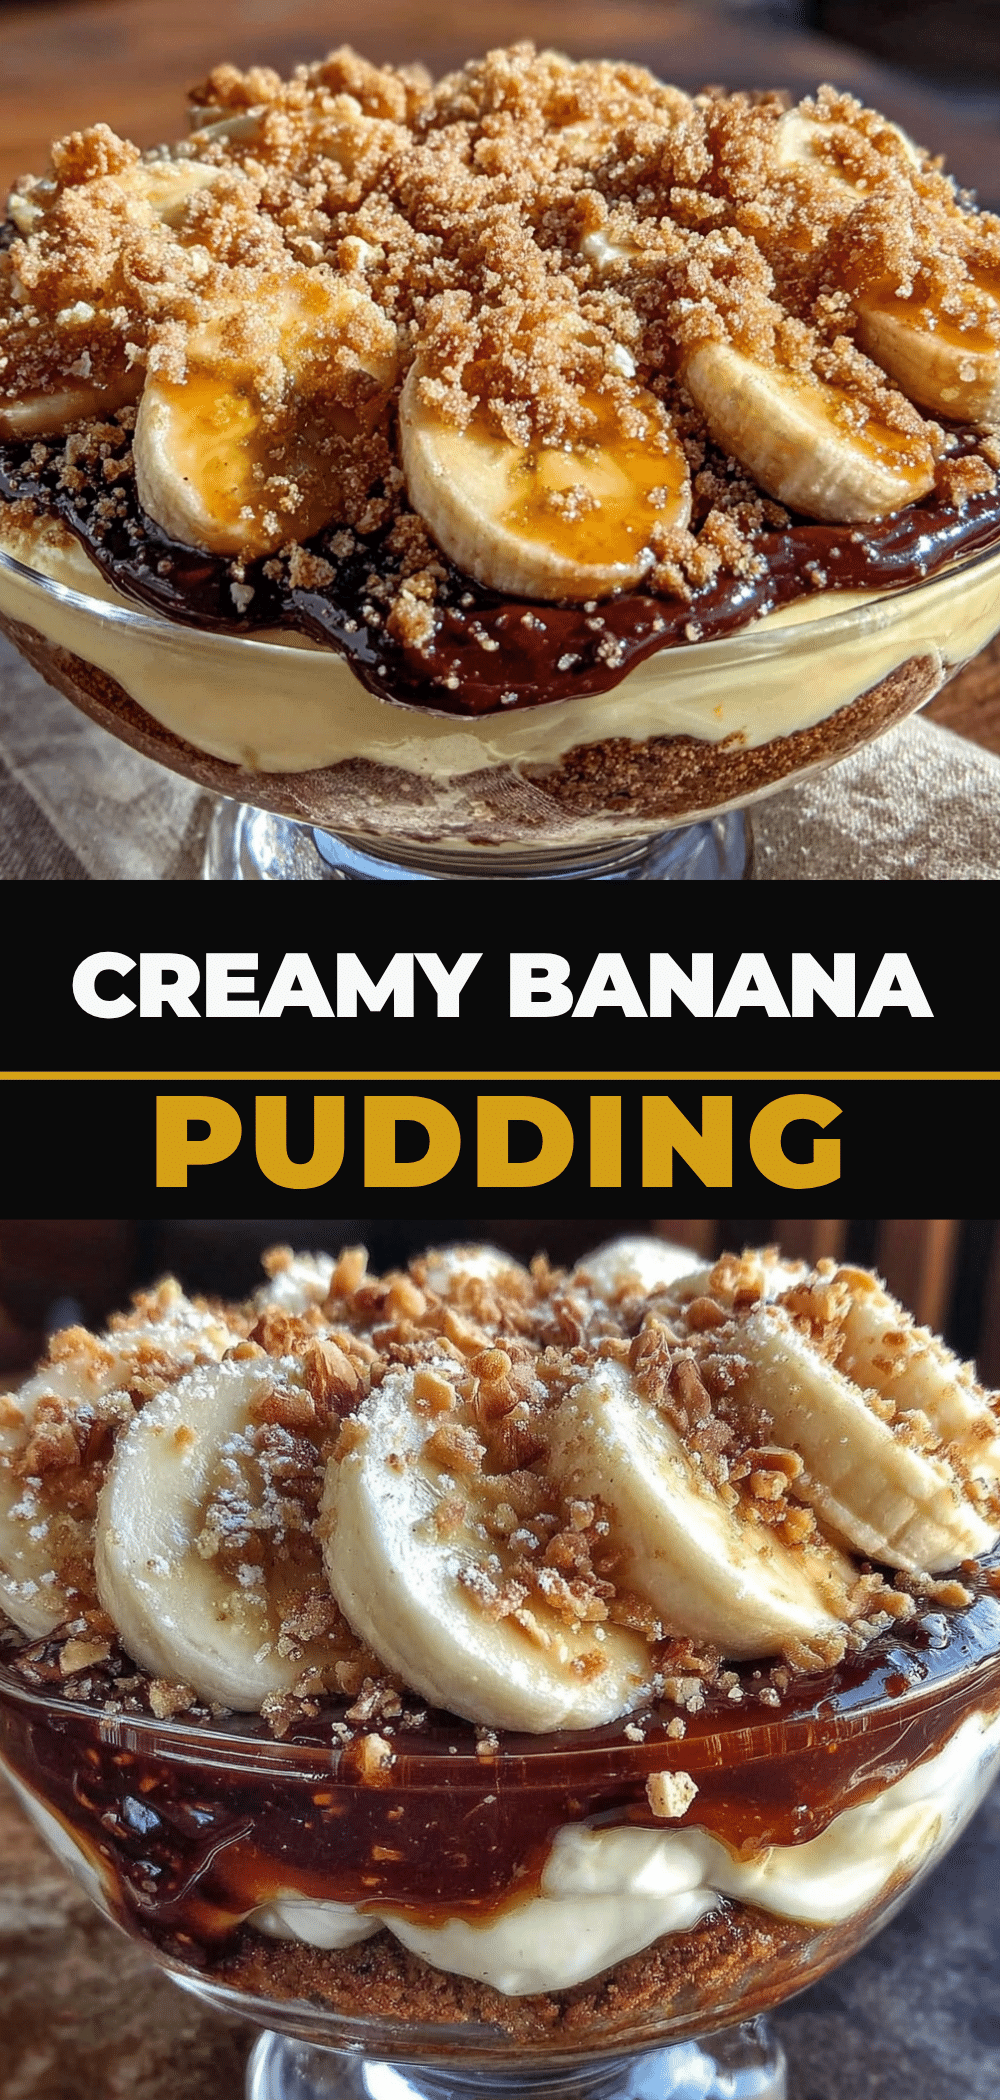
Banana Cream Pudding: 4-Ingredient No-Fuss Dessert
- Total Time: 40 minutes
- Yield: 6 servings 1x
Description
A creamy, rich, and elegant banana cream pudding that requires only four ingredients and minimal effort. This beginner-proof dessert uses ripe bananas and instant pudding mix for a silky texture topped with crunchy vanilla wafers.
Ingredients
- 3 large ripe bananas (about 1 ½ cups mashed)
- 2 cups whole milk
- 1 package (30-35 cookies) vanilla wafers
- 1 box (3.4 oz) vanilla instant pudding mix
- Whipped cream (optional, for serving)
- Cinnamon (optional, tiny pinch)
Instructions
- Peel and mash the bananas in a bowl until completely smooth with no chunks. Measure out 1 ½ cups.
- Crush the vanilla wafers into fine crumbs using a food processor or by placing them in a ziplock bag and smashing with a rolling pin.
- Pour the milk into a medium saucepan and heat over medium heat until warm (about 120°F) but not boiling.
- Remove the saucepan from heat and add the instant pudding mix and mashed bananas.
- Whisk vigorously for 2-3 minutes until the mixture is smooth, lump-free, and thickened.
- Pour the pudding into serving glasses or a large bowl. Cover with plastic wrap pressed directly onto the surface.
- Refrigerate for at least 30 minutes (or up to 1 hour) until set.
- Top the chilled pudding with the vanilla wafer crumbs and serve immediately.
Notes
Use very ripe, spotted bananas for the best flavor. Whisking is crucial to prevent lumps. Add the wafer crumble just before serving to prevent sogginess. Do not freeze as the texture may become grainy.
- Prep Time: 10 minutes
- Cook Time: 0 minutes
- Category: Dessert
- Cuisine: American
Nutrition
- Serving Size: 1 serving
- Calories: 280
- Sugar: 28
- Sodium: 220
- Fat: 8
- Saturated Fat: 3
- Carbohydrates: 45
- Fiber: 2
- Protein: 5
Keywords: banana pudding, no-fuss dessert, 4-ingredient recipe, easy dessert, banana cream pudding, no-bake dessert, ripe banana recipe