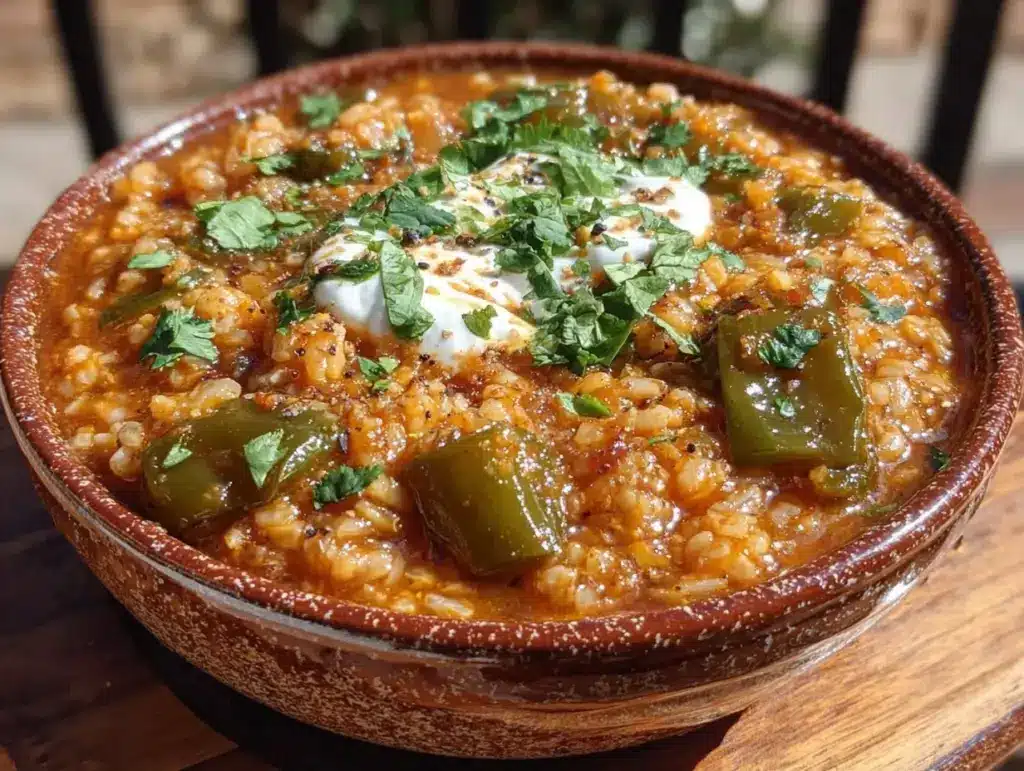
I have a confession to make. I used to be deeply suspicious of soup. I’m talking about that watery, sad-looking broth that sits in the fridge for four days until it develops a skin and a personality of its own. I thought soup was just “diet food” or something you made when you were sick. Then, about six months ago, I was craving those big, savory, tomato-basil stuffed peppers my college roommate used to make, but it was a Tuesday, I was exhausted, and I didn’t have the energy to stuff individual peppers, bake them for 45 minutes, and then scrub the baking dish.
So, I threw everything into a pot. I’m talking bell peppers, brown rice, onions, garlic, black beans, and a ton of cumin. I let it simmer while I folded laundry. When I tasted it, I nearly dropped my spoon. It had all the comfort of the stuffed pepper, but it was easier to eat, easier to clean up, and honestly? It tasted better. The flavors had melded together in a way that just doesn’t happen when you bake them separately.
This vegetarian stuffed pepper soup with hearty brown rice has become my go-to for those days when I need dinner to just work. It’s warm, it’s filling, and it feels like a hug in a bowl. I’ve made it at least a dozen times since that Tuesday, tweaking the spice levels and swapping out vegetables based on what’s in my crisper drawer. It’s one of those recipes that proves you don’t need fancy techniques or expensive ingredients to make something that tastes incredible. If you’re tired of the same old weeknight rotation, this soup is your answer.
Why You’ll Love This Recipe
There are about ten reasons I keep making this soup, but here are the big ones that have it firmly planted in my weekly routine.
- It’s a Complete Meal in One Pot — Seriously, this is the definition of easy. You get your protein from the beans, your complex carbs from the brown rice, and your veggies from the peppers and tomatoes. I don’t even need to make a side salad. It’s just dinner, done.
- Stupid Simple Prep — If you can chop an onion and open a can of beans, you can make this. I’ve walked my teenage son through it over FaceTime while I was at work. There’s no fancy sautéing, no complex sauces. Just toss it in and let it simmer.
- Freezer-Friendly Gold — This soup actually tastes better on day two. I make a big batch on Sunday, and I have lunch sorted for three days. Plus, it freezes beautifully. I keep containers of it in the freezer for those “I really don’t want to cook” evenings.
- Customizable Any Way You Want — Running out of bell peppers? Use zucchini. Don’t like cumin? Swap it for chili powder. This recipe is a canvas. I’ve made it with quinoa, I’ve made it with lentils, and I’ve made it with leftover roasted vegetables. It always works.
- Budget-Smart — Feeds 4-6 people for under $15. That’s less than what I spend on a single takeout order from that Thai place down the street. It’s cheap, healthy, and satisfying.
This is my answer to “what’s for dinner” when I’m tired but don’t want to order out. It’s reliable, delicious, and makes my kitchen smell like something special.
Ingredients You’ll Need
Here’s the best part: you probably have most of this already. This isn’t a recipe that requires a trip to three different specialty stores. It’s pantry-friendly comfort food.
For the Base
Vegetable broth (6 cups / 1.5 liters) — I use low-sodium broth so I can control the salt level. If you’re using regular broth, cut the added salt in half. I love using a good quality organic brand, but any decent vegetable stock works.
Yellow onion (1 large, diced / about 250g) — This gives the soup its savory foundation. Sweet onions work too, but yellow onions have that perfect balance of sharp and sweet that stands up well to simmering.
Bell peppers (3 medium, any color, diced / about 400g) — I usually mix it up: one red, one green, one yellow. The red peppers get sweet and soft, while the green ones keep a little texture. Don’t skip the green ones—they add that classic “stuffed pepper” flavor profile.
Garlic (4 cloves, minced / about 2 tablespoons) — Fresh garlic is non-negotiable here. Jarred garlic just doesn’t have the punch this soup needs. Mince it yourself—it takes 30 seconds.
For the Heart
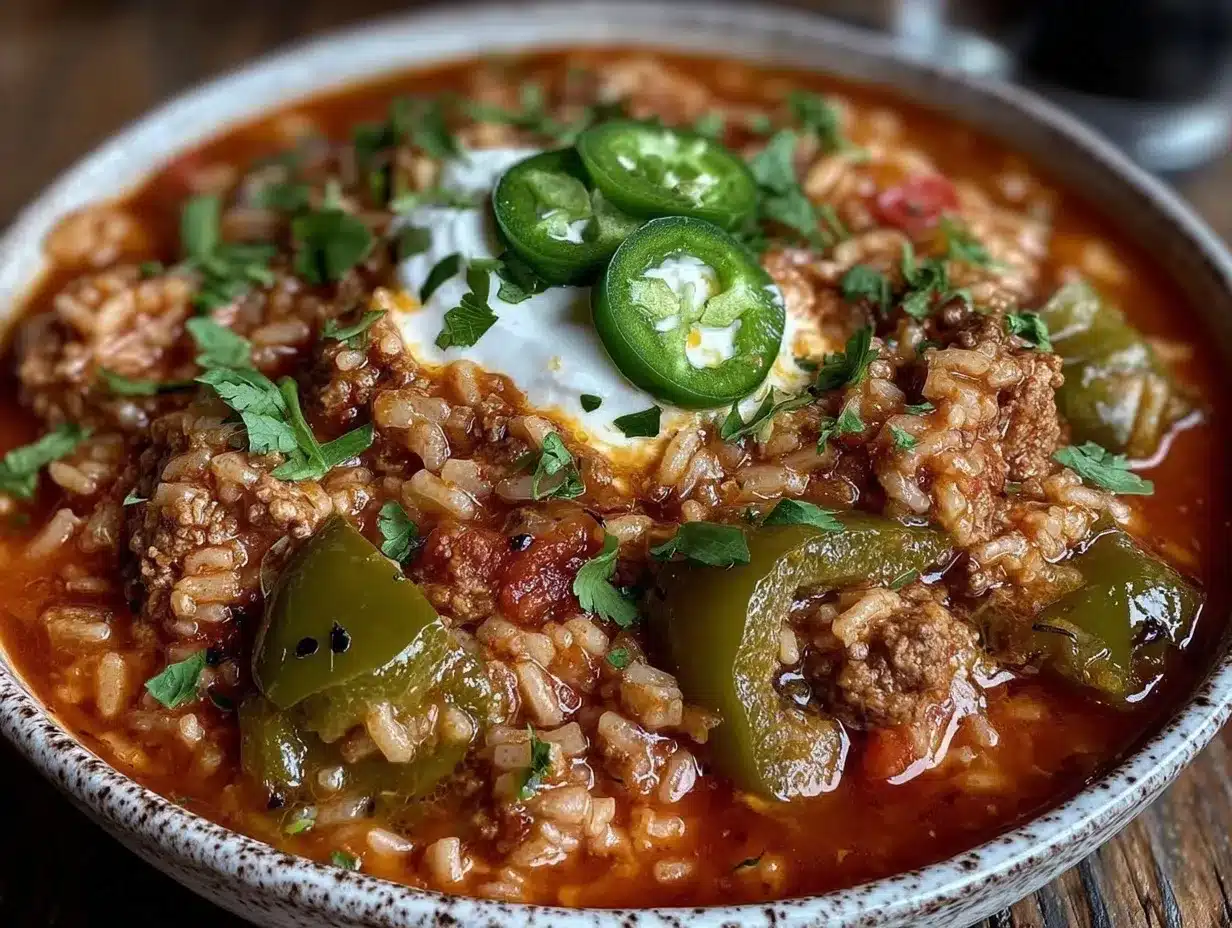
Brown rice (1 cup / 200g, uncooked) — I use long-grain brown rice because it holds its shape well and doesn’t turn mushy. You can use white rice, but brown rice adds a nutty flavor and more fiber that keeps me full longer. Just note: brown rice takes longer to cook, so this soup needs to simmer for at least 30-40 minutes.
Black beans (1 can / 15oz, drained and rinsed) — These add protein and that creamy texture without needing dairy. Rinse them well to remove that canned metallic taste. I also like to save a little bit of the beans to mash into the soup later for thickness.
Diced tomatoes (1 can / 14.5oz) — I use fire-roasted tomatoes if I have them—they add a smoky depth that regular canned tomatoes just don’t have. If you only have regular diced tomatoes, add a pinch of smoked paprika to compensate.
For the Flavor
Ground cumin (1 teaspoon) — The star spice. It gives that warm, earthy taste that defines stuffed peppers. Don’t use old cumin; if your jar has been sitting since last year, toss it and buy fresh. It makes a huge difference.
Chili powder (1 teaspoon) — Not just cayenne! Chili powder is a blend that usually includes garlic, oregano, and other spices. It adds warmth without overwhelming heat.
Ground coriander (½ teaspoon) — This is my secret weapon. It adds a citrusy, floral note that brightens up the heavy flavors. If you don’t have it, you can skip it, but I highly recommend it.
Bay leaves (2 leaves) — Throw them in at the start and remove them before serving. They add a subtle herbal background note.
Fresh lime juice (2 tablespoons) — Add this at the very end. It’s crucial. The acid cuts through the richness of the rice and beans and wakes up all the flavors.
Fresh cilantro (½ cup, chopped) — For garnish. It adds freshness and color. If you hate cilantro (it’s a genetic thing, I get it), swap it for fresh parsley or basil.
Optional Toppings — Shredded cheese (cheddar or Mexican blend), sour cream or Greek yogurt, avocado slices, and hot sauce. I love putting out a little toppings bar when I serve this.
Equipment Needed
You don’t need fancy equipment for this. Here’s what I actually use.
Large Dutch oven or heavy-bottomed pot — I use my 6-quart Dutch oven. It needs to be big enough to hold all the ingredients and still have room for the rice to expand. A heavy bottom prevents scorching, which is important since brown rice can stick.
Sharp knife and cutting board — For dicing the onions and peppers. A good knife makes this step fast and safe.
Wooden spoon — For stirring. Silicone works too. Just avoid metal if you’re using a non-stick pot.
Measuring cups and spoons — Standard stuff. Dollar store versions work fine for this.
Colander — For rinsing the beans and draining the tomatoes.
Ladle — For serving. Or just use a big spoon if you’re keeping it simple.
How to Make It: Step-by-Step
Alright, let’s make this! I’m walking you through exactly how I do it, including the little tricks I’ve picked up.
Step 1: Prep Your Ingredients (10 minutes)
Before you turn on the stove, dice your onion and bell peppers, mince your garlic, and measure out your spices. I know it seems fussy, but it makes the actual cooking way less stressful. Once you start cooking, things move fast. Rinse your beans and drain your tomatoes.
Step 2: Sauté the Aromatics (5 minutes)
Heat 2 tablespoons of olive oil in your large pot over medium heat. Add the diced onion and cook for 3-4 minutes until it starts to soften and become translucent. Add the diced bell peppers and cook for another 2 minutes. Add the minced garlic, cumin, chili powder, and coriander. Stir constantly for 1 minute until the kitchen smells amazing. The garlic should be fragrant but not brown—browned spices can taste bitter.
Step 3: Build the Soup (5 minutes)
Pour in the diced tomatoes (with their juices) and the vegetable broth. Scrape up any browned bits from the bottom of the pot—those are flavor bombs. Add the bay leaves. Stir everything together and bring it to a boil.
Step 4: Simmer with Rice (30-40 minutes)
Once the soup is boiling, stir in the uncooked brown rice. Reduce the heat to low, cover the pot with a lid (leave it slightly ajar to let steam escape), and let it simmer. This is the hands-off part. Let it cook for 30-40 minutes, stirring occasionally. The rice will absorb the liquid and swell, and the soup will thicken. If it looks too thick before the rice is tender, add a splash more broth or water.
Step 5: Add the Beans and Finish (5 minutes)
Once the rice is tender (taste a grain to check), stir in the drained black beans. Let them heat through for 2-3 minutes. If you like a thicker soup, take a ladle and mash a cup of the beans against the side of the pot before stirring them back in. This naturally thickens the soup without needing flour or cornstarch.
Step 6: Season and Serve
Remove the pot from heat. Discard the bay leaves. Stir in the fresh lime juice and taste. Add salt and pepper to your liking. The lime juice is key—it adds brightness. Serve hot, topped with your favorite extras like cheese, avocado, or a dollop of sour cream.
Total Time: About 50 minutes (15 minutes active, 35 minutes simmering)
Expert Tips & Tricks
Here’s everything I’ve learned from making this dozens of times. These tips will save you from my mistakes.
Don’t Rush the Rice
Brown rice takes time. If you try to cook it on high heat, the outside will get mushy before the inside is tender. Low and slow is the only way. If you’re in a huge hurry, you can pre-cook the rice in the microwave or boil it separately, but the flavor is better when it cooks in the soup.
Save Some Pasta Water (or Broth Water)
Just like with pasta, the starchy liquid from the rice helps thicken the soup. If it gets too thick while storing, just add a splash of broth or water when reheating.
Toast Your Spices
I mentioned this in Step 2, but it’s worth repeating. Toasting the cumin and chili powder in the oil before adding the liquid releases their essential oils and makes the flavor much more intense. It’s a small step that makes a big difference.
The Lime Juice is Non-Negotiable
I know it seems weird to add acid at the end, but it’s crucial. Without the lime juice, the soup tastes flat. The acid balances the earthiness of the beans and rice. Don’t skip it.
Make-Ahead Strategy
This soup tastes even better the next day. The flavors have time to meld. Make it on Sunday, store it in the fridge, and reheat it throughout the week. It’s perfect for meal prep.
Variations & Substitutions
Once you’ve nailed the basic version, here’s how you can mix it up. I’ve tried all of these.
Green Stuffed Pepper Soup
Swap the red/yellow peppers for green peppers and add some chopped jalapeños for heat. Use cilantro instead of parsley. It’s zippier and more Tex-Mex.
White Bean Version
Swap black beans for cannellini or Great Northern beans. It’s milder and creamier. Add a little spinach or kale for a pop of green.
Quinoa Swap
Use quinoa instead of brown rice. It cooks much faster (about 15-20 minutes), so you’ll need to reduce the simmer time. It’s a great gluten-free option.
Meat-Eater’s Version
Add ground turkey or beef. Brown it with the onions before adding the peppers. It makes it heartier, but the vegetarian version is just as satisfying.
Gluten-Free
This recipe is naturally gluten-free as long as you use gluten-free broth. Check your spice blends to make sure they don’t have hidden gluten (rare, but possible).
Dairy-Free
Skip the cheese and sour cream toppings, or use dairy-free alternatives. The soup itself is naturally dairy-free.
Serving & Storage
How to Serve:
I usually serve this straight from the pot at the dinner table. It looks rustic and stays warm. Put out a bowl of toppings—shredded cheese, sour cream, chopped cilantro, sliced avocado, and hot sauce—and let everyone customize their bowl. It’s fun and interactive.
Side Dishes:
I don’t usually need a side, but if I want one, I serve it with warm cornbread or crusty bread. A simple green salad with a vinaigrette also works well to cut through the richness.
Refrigerator:
Store in an airtight container for up to 5 days. The rice will continue to absorb liquid, so the soup will thicken. Just add a splash of broth or water when reheating to loosen it up.
Freezer:
This soup freezes beautifully for up to 3 months. Let it cool completely, then transfer to freezer-safe containers. Leave some headspace for expansion. Thaw in the fridge overnight and reheat on the stove.
Reheating:
Best method: Reheat on the stove over medium-low heat, adding a splash of broth or water to thin it out. Microwave works too, but stir frequently and add liquid in short bursts. It won’t separate or break like cream-based soups.
Nutrition Information
I’m not a nutritionist, but here’s the breakdown if you’re tracking. This is per serving (based on 6 servings).
| Nutrient | Amount |
|---|---|
| Calories | 280 |
| Protein | 12g |
| Carbs | 45g |
| Fiber | 9g |
| Sugar | 6g |
| Fat | 5g |
| Sodium | 650mg (varies by broth) |
What’s Good:
High in fiber and protein, making it very filling. Low in saturated fat. Packed with vegetables.
What to Know:
Sodium can vary depending on the broth you use. Use low-sodium broth to keep it under 500mg per serving. If you add cheese or sour cream, the calories and fat will go up.
Final Thoughts
So that’s my vegetarian stuffed pepper soup with hearty brown rice! I’ve probably talked your ear off at this point, but when you make a recipe this often, you have a lot to say about it.
This has saved weeknight dinners more times than I can count. It’s my answer to “what’s for dinner” when I’m tired, don’t want takeout, and still want something that tastes really good. My kids are happy, my husband’s happy, and I’m happy because I’m not stressed about cooking.
Make it yours! Try different add-ins, swap in your favorite vegetables, adjust the spice level. The best recipes are the ones you adapt to your family’s tastes. And if you’re looking for other cozy soups, check out my roasted red pepper and smoked gouda soup for a richer, creamier option, or my turkey white bean chili if you want something with a bit more heat.
If you make this, drop a comment and let me know what you think! I love hearing how recipes turn out in your kitchen. And if something doesn’t work, tell me that too—I’m here to help troubleshoot.
Happy cooking! And I hope your kitchen smells half as good as mine does right now.
Frequently Asked Questions
Can I use white rice instead of brown rice?
You can, but the cooking time will be much shorter. White rice cooks in about 15-20 minutes, so you’ll need to add it later in the process or reduce the simmer time to avoid mushy rice. Brown rice is better for this soup because it holds its shape better and has a nuttier flavor that pairs well with the spices.
Why did my soup turn out too watery?
Brown rice absorbs a lot of liquid. If your soup is too thin, let it simmer uncovered for another 10-15 minutes to reduce. If it’s still too thin, mash some of the beans against the side of the pot to thicken it naturally. Also, make sure you’re using the right amount of broth for the amount of rice you’re using.
Can I make this in a slow cooker?
Yes! Sauté the onions, peppers, and spices in a pan first (this step is important for flavor), then transfer everything to the slow cooker. Add the broth, tomatoes, and rice. Cook on low for 6-7 hours or high for 3-4 hours. Add the beans in the last 30 minutes. It works great and is even easier.
How do I reheat leftovers without it getting dry?
Add a splash of broth or water when reheating. The rice will have absorbed most of the liquid in the fridge, so you need to replace it. Reheat gently on the stove, stirring frequently. Microwave works too, but add liquid in short bursts and stir between intervals.
Can I freeze this soup?
Absolutely. This soup freezes beautifully for up to 3 months. Let it cool completely, then transfer to freezer-safe containers. Leave some headspace for expansion. Thaw in the fridge overnight and reheat on the stove. It tastes almost as good as fresh.
Is this soup gluten-free?
Yes, it is naturally gluten-free as long as you use gluten-free broth. Check your spice blends to make sure they don’t have hidden gluten, though most pure spices are safe.
Pin This Recipe!
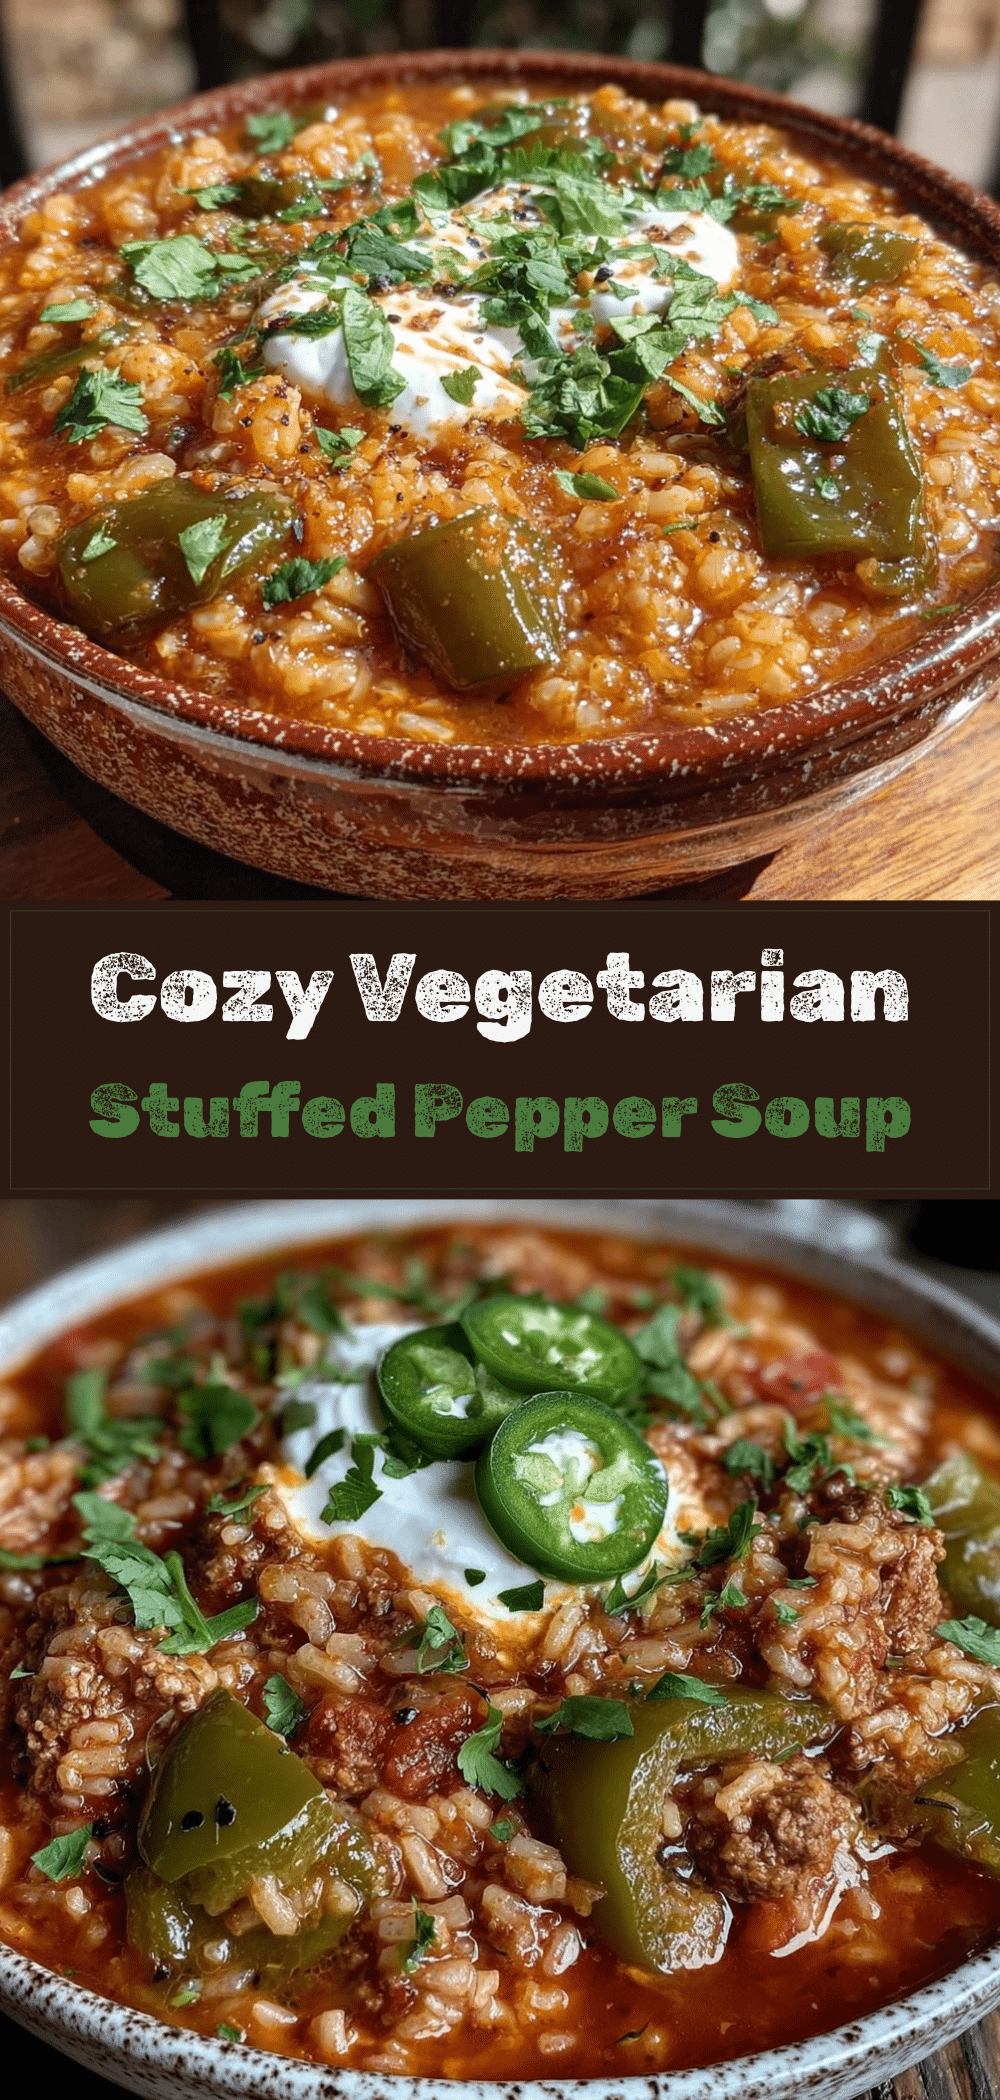

Vegetarian Stuffed Pepper Soup: Easy Hearty Brown Rice
- Total Time: 50 minutes
- Yield: 6 servings 1x
Description
A hearty, one-pot vegetarian soup that captures the flavors of stuffed peppers with brown rice, black beans, and warm spices. It’s easy to make, freezer-friendly, and perfect for busy weeknights.
Ingredients
- 6 cups vegetable broth (low-sodium recommended)
- 1 large yellow onion, diced
- 3 medium bell peppers (mixed colors), diced
- 4 cloves garlic, minced
- 1 cup long-grain brown rice, uncooked
- 1 can (15oz) black beans, drained and rinsed
- 1 can (14.5oz) diced tomatoes
- 1 teaspoon ground cumin
- 1 teaspoon chili powder
- 1/2 teaspoon ground coriander
- 2 bay leaves
- 2 tablespoons olive oil
- 2 tablespoons fresh lime juice
- 1/2 cup fresh cilantro, chopped
- Salt and pepper to taste
Instructions
- Dice the onion and bell peppers, mince the garlic, and measure out the spices.
- Heat olive oil in a large Dutch oven or heavy-bottomed pot over medium heat.
- Add the diced onion and cook for 3-4 minutes until softened. Add the bell peppers and cook for 2 more minutes.
- Add the garlic, cumin, chili powder, and coriander. Stir constantly for 1 minute until fragrant.
- Pour in the diced tomatoes (with juices) and vegetable broth. Scrape up any browned bits from the bottom of the pot. Add bay leaves and bring to a boil.
- Stir in the uncooked brown rice. Reduce heat to low, cover with a lid (slightly ajar), and simmer for 30-40 minutes until rice is tender and soup has thickened.
- Stir in the drained black beans and heat through for 2-3 minutes. For thicker soup, mash a cup of beans against the side of the pot.
- Remove from heat and discard bay leaves. Stir in fresh lime juice. Season with salt and pepper to taste.
- Serve hot, garnished with fresh cilantro and optional toppings like cheese, avocado, or sour cream.
Notes
Brown rice takes time to cook; do not rush it on high heat. Toasting spices in oil enhances flavor. Fresh lime juice is crucial for brightness. The soup thickens as it sits; add broth or water when reheating. It freezes well for up to 3 months.
- Prep Time: 15 minutes
- Cook Time: 35 minutes
- Category: Main Course
- Cuisine: American
Nutrition
- Serving Size: 1 bowl
- Calories: 280
- Sugar: 6
- Sodium: 650
- Fat: 5
- Saturated Fat: 0.5
- Carbohydrates: 45
- Fiber: 9
- Protein: 12
Keywords: vegetarian soup, stuffed pepper soup, brown rice soup, one pot meal, healthy dinner, gluten-free, freezer friendly, weeknight dinner



