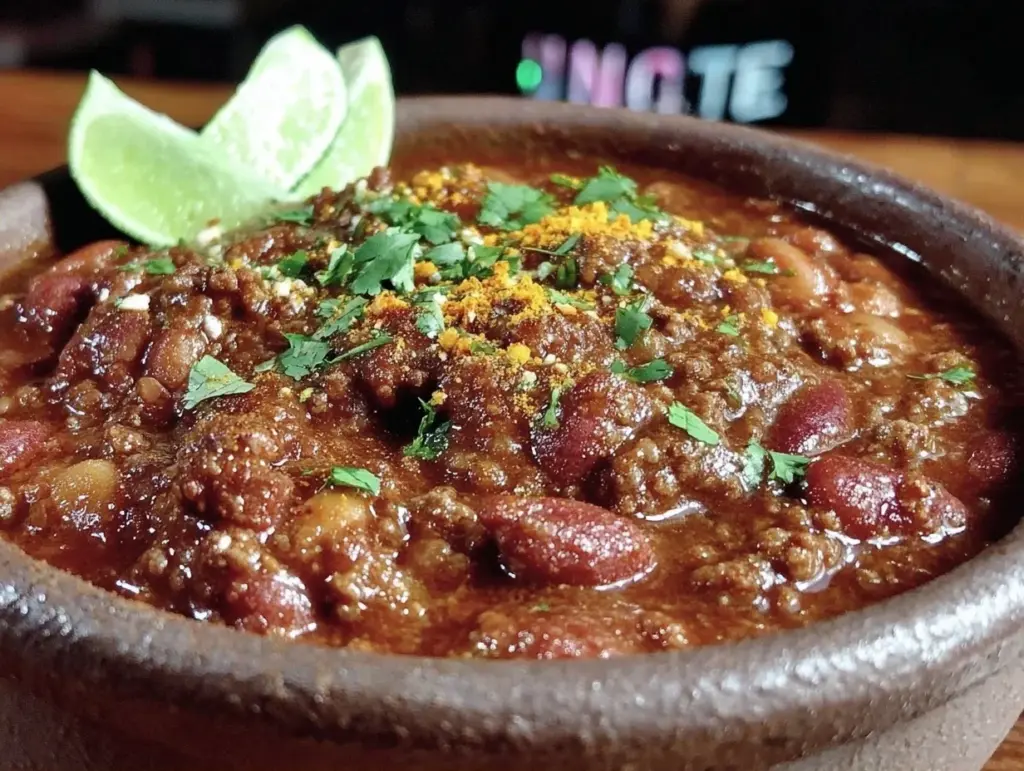
There is a specific kind of magic that happens when the first real chill of autumn hits the air. You know the feeling—the one where you open your fridge at 6 PM, stare into the abyss of leftover vegetables and half-empty spice jars, and realize that takeout is too expensive and too greasy for what your soul actually needs. That was me last Tuesday. I was shivering in my kitchen, wrapped in a blanket that smelled like dust and old coffee, desperate for something warm, hearty, and deeply comforting.
I didn’t want heavy, dairy-laden cream soups. I didn’t want gluten-heavy thickeners that left me feeling sluggish. I wanted flavor. I wanted warmth. I wanted a bowl of chili that hugged me back.
So, I threw together this Cozy Turkey White Bean Chili with Smoky Paprika. I expected a decent weeknight dinner. What I got was a revelation. The combination of lean ground turkey, creamy cannellini beans, and that deep, smoky paprika creates a flavor profile that is complex, rich, and surprisingly filling. And the best part? It’s naturally gluten-free and dairy-free. No weird substitutions, no “diet food” vibe. Just real, honest, hearty food that proves you don’t need cheese or cream to make something taste incredible.
I’ve made this chili about eight times since that shivering Tuesday. I’ve tweaked the spice levels, swapped in different beans, and even tried it with chicken broth instead of vegetable stock. Each time, it comes out better than the last. It’s become my go-to when the weather turns gray and my energy turns low. If you’re looking for a recipe that’s kind to your body but a feast for your senses, this is it. Let’s get cooking.
Why You’ll Love This Recipe
I know, I know. Chili is a crowded category. There are thousands of recipes out there. So why this one? Why turkey? Why white beans? Here’s the thing—this recipe solves the problems I have with most traditional chilis. It’s not too heavy, it’s not too spicy (unless you want it to be), and it doesn’t leave you with a dairy coma.
- Actually Creamy, No Dairy — This is the big one. Most dairy-free chili tastes watery or thin. Not this. The secret is blending half the beans with the broth before adding them back in. It creates a thick, velvety texture that feels luxurious without a single drop of milk or cream. It’s proof that the substitution tastes just as good, if not better.
- Lean Protein, Heavy Flavor — Ground turkey is often seen as the “boring” alternative to beef. But when you season it right with cumin, smoked paprika, and a touch of chili powder, it takes on a savory depth that’s hard to beat. It’s lighter on the stomach but still feels like a proper meal.
- Gluten-Free & Clean — No flour, no hidden gluten in the broth, no processed additives. Just whole ingredients. This is perfect for anyone with celiac disease, gluten sensitivity, or anyone just trying to eat cleaner without sacrificing taste.
- One-Pot Wonder — I love a good cleanup, but I love a good dinner more. This chili comes together in one large pot. Sauté, simmer, blend, serve. Done. It’s perfect for busy weeknights or lazy Sunday meal prep.
- Freezer-Friendly — Chili always tastes better the next day, and this version freezes beautifully. I make a double batch, portion it out, and have a healthy, hot meal ready to go for weeks. It’s my secret weapon against the “what’s for dinner?” panic.
Real talk: this chili is my comfort food anchor. When life gets chaotic, I come back to this pot. It’s reliable, it’s delicious, and it makes my whole house smell like a cozy cabin in the woods.
Ingredients You’ll Need
Here’s the best part: you probably have most of these ingredients already. This recipe relies on pantry staples and fresh basics. I’m particular about a few things here, specifically the paprika and the beans, and I’ll tell you exactly why they matter.
For the Base:
Ground Turkey (1.5 lbs / 680g) — I use 93% lean. It’s enough fat to keep the meat juicy without being greasy. If you prefer chicken, that works too, but turkey has a nice earthiness that pairs well with white beans.
Yellow Onion (1 large, diced / about 300g) — The backbone of the flavor. Yellow onions sweeten as they cook and provide a savory base. White onions work, but they’re sharper. Red onions are too sweet and don’t break down the same way.
Garlic (4 cloves, minced / about 2 tablespoons) — Fresh only. Please, I beg you, skip the jarred garlic. It has a metallic aftertaste that ruins the delicate balance of this chili. Fresh garlic is sweet, pungent, and essential.
Cannellini Beans (2 cans, 15 oz each / 425g each) — Also known as white kidney beans. They are creamy, mild, and hold their shape well. Navy beans work too, but cannellini have that perfect buttery texture. Rinse and drain them well to remove the sodium and that funky canning liquid.
Vegetable Broth (4 cups / 960ml) — Use low-sodium so you can control the saltiness. I love using a good quality organic brand, but any low-sodium vegetable broth works. Chicken broth is fine if you eat poultry.
For the Flavor:
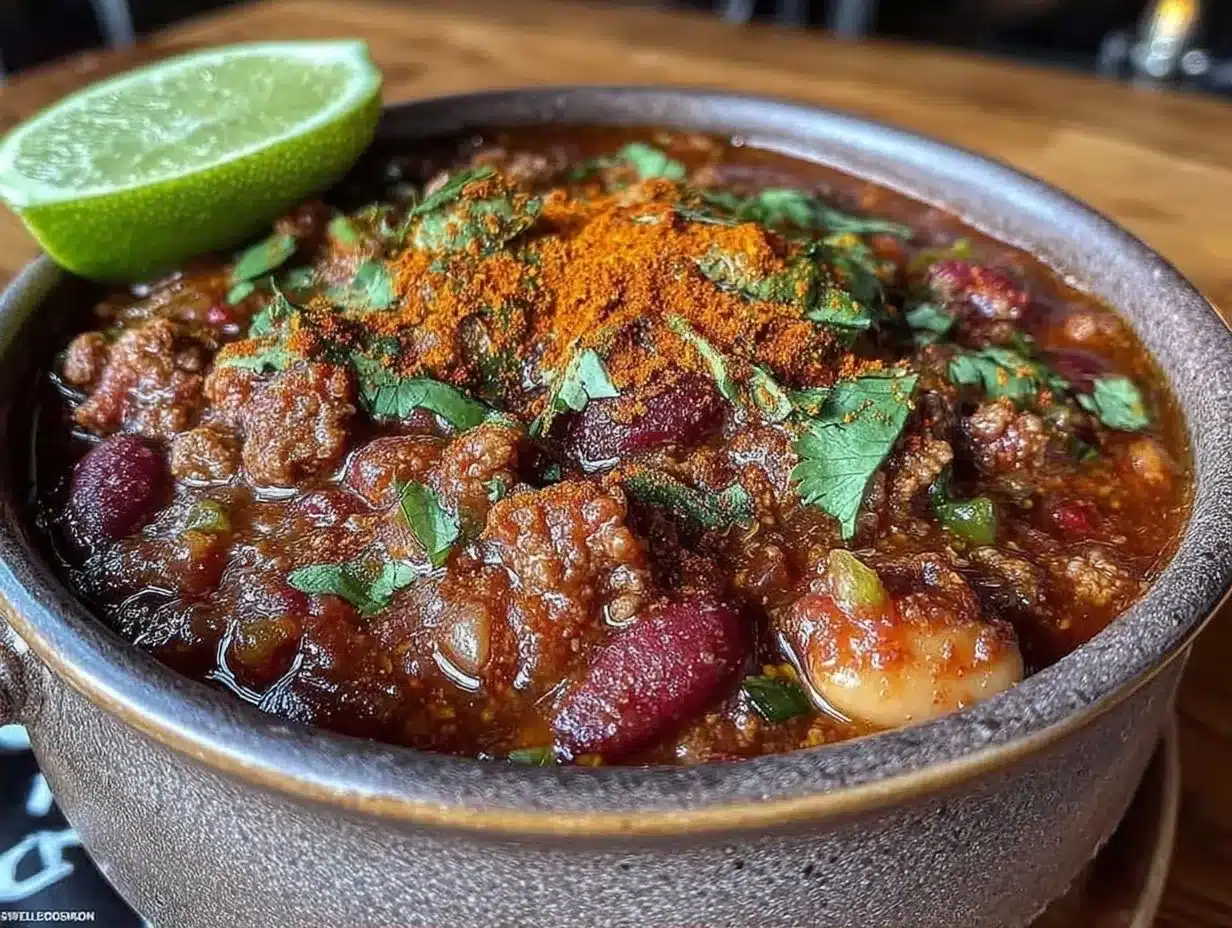
Smoked Paprika (2 teaspoons) — This is the star. Not regular paprika. Smoked paprika. It adds that deep, bacon-like smokiness without the meat. It’s what makes this chili taste “cozy” and autumnal. I always keep a fresh jar of this.
Ground Cumin (1 teaspoon) — Adds warmth and earthiness. It’s the classic chili spice. Don’t skip it, or the flavor will taste flat.
Chili Powder (1 tablespoon) — Check the label! Some chili powders are just pure ground chilies. Others have cumin, garlic, and oregano mixed in. I use a blend like McCormick, but if yours is pure, add an extra half-teaspoon of cumin.
Olive Oil (2 tablespoons) — For sautéing. Extra virgin works, but I use regular extra virgin to save the fancy stuff for salads. Avocado oil works too if you want a neutral flavor.
Green Bell Pepper (1 medium, diced) — Adds a nice crunch and slight bitterness that balances the sweetness of the beans. If you’re sensitive to bitter flavors, you can swap this for a red bell pepper, which is sweeter.
Tomato Paste (2 tablespoons) — This adds depth and umami. It’s not just for acidity. It helps thicken the chili and gives it that rich, red-brown color.
Salt & Black Pepper — To taste. I usually start with 1 teaspoon of salt and adjust at the end.
Optional Add-ins:
Jalapeño (1, seeded and minced) — For heat. If you like it spicy, leave the seeds in. If you want mild, remove them. I usually remove them and just use the flesh for a little kick.
Lime Juice (1 tablespoon) — Added at the very end. It brightens everything up and cuts through the richness. It’s a game-changer.
Fresh Cilantro (½ cup, chopped) — For garnish. It adds freshness and color. If you hate cilantro (it tastes like soap to some people!), skip it or use parsley.
Equipment Needed
You don’t need fancy equipment for this. Here’s what I actually use.
Large Dutch Oven or Heavy-Bottomed Pot — I use a 6-quart Dutch oven. It needs to be big enough to hold all the ingredients and still have room to simmer. A heavy bottom prevents scorching, which is crucial for beans and tomato paste.
Immersion Blender or Regular Blender — You need to blend half the chili to thicken it. An immersion blender is easiest because you can blend it right in the pot. If you use a regular blender, be careful! Hot liquid expands. Blend in batches and vent the lid.
Wooden Spoon — For stirring. Silicone works too. Don’t use metal on non-stick pots, but cast iron or stainless steel is fine with metal.
Sharp Knife & Cutting Board — For chopping onions, peppers, and garlic. A dull knife is dangerous and frustrating. Keep it sharp.
Measuring Cups and Spoons — Standard stuff. Dollar store versions work fine.
Can Opener — Yes, really. I’ve been caught out on this one before. Have a reliable one.
How to Make It: Step-by-Step
Alright, let’s make this! I’m walking you through exactly how I do it, including the little tricks I’ve picked up over the years.
Step 1: Sauté the Aromatics (5-7 minutes)
Heat the olive oil in your Dutch oven over medium heat. Add the diced onion and green bell pepper. Cook for 5-7 minutes, stirring occasionally, until the onions are translucent and soft. They should smell sweet and fragrant. If they start to brown too quickly, lower the heat. Add the minced garlic and cook for just 1 minute more. Garlic burns fast, so watch it closely.
Step 2: Bloom the Spices (1 minute)
Add the tomato paste, smoked paprika, cumin, and chili powder. Stir constantly for about 1 minute. This step is crucial. Cooking the spices in the oil “blooms” them, releasing their essential oils and deepening the flavor. You’ll notice the kitchen smell changing—it gets richer and more complex.
Step 3: Brown the Turkey (5-6 minutes)
Add the ground turkey to the pot. Break it up with your wooden spoon as it cooks. Cook until it’s no longer pink, about 5-6 minutes. You don’t need to cook it all the way through yet, just break it up and color it. If there’s excess grease, you can drain it, but with 93% lean turkey, there usually isn’t much. Stir in the drained cannellini beans.
Step 4: Simmer (20-25 minutes)
Pour in the vegetable broth. Scrape up any browned bits from the bottom of the pot—those are flavor gold. Bring the chili to a boil, then reduce the heat to low. Cover partially and let it simmer for 20-25 minutes. This allows the flavors to meld and the beans to absorb the liquid. Stir occasionally to prevent sticking.
Step 5: Blend for Creaminess (2 minutes)
Here’s the secret step. Use an immersion blender to blend about half of the chili directly in the pot. Stop when you have a creamy, thick base with some bean chunks still visible. If you don’t have an immersion blender, ladle half the chili into a regular blender, blend until smooth, and pour it back into the pot. This thickens the chili naturally without any flour or cornstarch.
Step 6: Season and Finish (2 minutes)
Stir the remaining beans back in (if you removed them). Taste the chili. Add salt and black pepper to taste. If it tastes too heavy or flat, add a squeeze of lime juice. The acid brightens everything up. Let it simmer for another 2 minutes to heat through.
Step 7: Serve
Ladle into bowls. Top with fresh cilantro, a dollop of Greek yogurt (if not dairy-free) or coconut yogurt, and maybe some avocado slices. Serve with a side of soft no-knead artisan bread for dipping. It’s perfect for scooping up every last drop.
Total Time: About 40 minutes (15 minutes active, 25 minutes simmering).
Expert Tips & Tricks
Here’s everything I’ve learned from making this dozens of times. These tips will save you from my mistakes.
Don’t Skip the Bloom
I know it’s tempting to just dump everything in. But taking that extra minute to cook the spices in the oil makes a huge difference. It transforms the flavor from “spicy soup” to “complex, restaurant-quality chili.”
Blend Half, Not All
If you blend all the beans, you lose the texture. You want a creamy base but still some bite from the whole beans. Half is the sweet spot. It gives you that comforting, thick mouthfeel without turning it into a paste.
Low-Sodium Broth is Key
Beans and tomato paste can be salty. If you use regular broth, your chili will be too salty by the time it’s done. Always start with low-sodium and adjust at the end. You can always add salt, but you can’t take it out.
Let It Rest
Chili always tastes better the next day. The flavors have time to marry and deepen. If you can’t wait, let it sit off the heat for 15 minutes before serving. It thickens as it cools slightly.
Acid is Your Friend
If the chili tastes “flat” or one-dimensional, it probably needs acid. A squeeze of lime or a splash of apple cider vinegar at the end wakes up all the flavors. It’s like a seasoning hack.
Variations & Substitutions
Once you’ve nailed the basic version, here’s how you can mix it up. I’ve tried all of these.
Chicken Version
Swap the ground turkey for ground chicken. It’s slightly milder but still delicious. I use this version when I want something even lighter.
Spicy Kick
Add a diced jalapeño in Step 1, or stir in ½ teaspoon of cayenne pepper in Step 4. If you like heat, don’t be shy. Smoked paprika pairs well with a little kick.
Veggie-Loaded
Add 1 cup of diced carrots or sweet potatoes in Step 3. They’ll soften and sweeten the chili. I also love adding a handful of spinach in the last 5 minutes of simmering. It wilts right in.
Slow Cooker Method
Sauté the onions, peppers, and turkey in a skillet first. Then transfer everything to a slow cooker. Add the beans, broth, and spices. Cook on low for 6-8 hours or high for 3-4 hours. Blend half at the end. This is great for meal prep.
Instant Pot Method
Sauté using the “Sauté” function. Add everything except the broth. Seal the lid and cook on high pressure for 5 minutes. Quick release. Stir in the broth and blend half. It’s faster but doesn’t develop the same depth of flavor as stovetop simmering.
Dietary Modifications:
- Gluten-Free — This recipe is naturally gluten-free. Just double-check your vegetable broth and chili powder labels to ensure they’re certified GF.
- Dairy-Free — Naturally dairy-free. No cheese or cream needed.
- Low-Carb — White beans are higher in carbs, but they’re also high in fiber. If you’re strict keto, swap the beans for extra turkey and add some diced zucchini. It won’t be the same texture, but it works.
- Vegan — This is already vegan if you use vegetable broth and skip any dairy toppings.
Serving & Storage
How to Serve:
I usually serve this straight from the pot. It looks rustic and hearty. Top with:
- Fresh cilantro
- Diced avocado
- A squeeze of lime
- Crushed tortilla chips for crunch
- Sour cream or Greek yogurt (if not dairy-free)
It pairs beautifully with a simple green salad or some brown butter garlic dinner rolls if you want to go all out. But honestly, just a bowl and a spoon is perfect.
Storage Instructions:
Refrigerator: Store in an airtight container for up to 5 days. The chili thickens in the fridge, which is normal.
Reheating: Reheat gently on the stovetop over medium-low heat. Add a splash of water or broth if it’s too thick. Microwave works too, but stir frequently to avoid hot spots.
Freezing: This freezes beautifully for up to 3 months. Let it cool completely, then portion into freezer bags or containers. Leave some headspace for expansion. Thaw in the fridge overnight before reheating.
Nutrition Information
I’m not a nutritionist, but here’s the breakdown if you’re tracking. This is based on 6 servings.
Per Serving (approximate):
- Calories: 320
- Protein: 22g
- Carbs: 35g
- Fiber: 10g
- Sugar: 6g
- Fat: 8g
- Sodium: 650mg (varies by broth)
What’s Good:
- High in protein from turkey and beans.
- High in fiber, which keeps you full longer.
- Low in saturated fat.
- Naturally gluten-free and dairy-free.
What to Know:
This is a hearty meal. If you’re watching calories, stick to one bowl and add a side salad. The fiber content is high, so it’s very filling. If you’re active, you’ll love the energy boost.
Final Thoughts
So that’s my go-to Cozy Turkey White Bean Chili. I’ve probably talked your ear off at this point, but when you make a recipe this often, you have a lot to say about it.
This chili has saved me on so many nights. It’s my answer to “what’s for dinner” when I’m tired, don’t want to cook something complicated, and still want something that tastes amazing. It’s warm, it’s healthy, and it’s deeply satisfying. My family loves it, my friends ask for the recipe, and I make it at least once a month.
Make it yours! Try different toppings, adjust the spice level, or add more veggies. The best recipes are the ones you adapt to your tastes. This chili is a canvas for your creativity.
If you make this, drop a comment and let me know what you think! I love hearing how recipes turn out in your kitchen. And if something doesn’t work, tell me that too—I’m here to help troubleshoot.
Happy cooking! And I hope your kitchen smells half as good as mine does right now.
Frequently Asked Questions
Can I use black beans instead of white beans?
Yes! Black beans work great in chili. They have a slightly earthier flavor and hold their shape well. You can use any type of bean—kidney, pinto, or navy. White beans just give it that creamy texture, but black beans are classic for a reason.
Why did my chili turn out watery?
This usually happens if you didn’t simmer it long enough or if you added too much broth. Let it simmer uncovered for an extra 10-15 minutes to reduce. Also, make sure you blended half the beans—that’s the main thickener. If it’s still too thin, you can add a tablespoon of cornstarch mixed with water, but blending the beans is better.
Can I make this ahead for a dinner party?
Absolutely. This chili tastes even better the next day. Make it 2-3 days ahead and store it in the fridge. Reheat gently on the stovetop. Just add a splash of water or broth when reheating, as it thickens in the fridge. It’s perfect for meal prep.
Is this chili spicy?
The base recipe is mild. The smoked paprika adds flavor, not heat. If you want it spicy, add a diced jalapeño or some red pepper flakes. Start with a little and adjust to your taste. It’s very customizable.
Can I freeze this chili?
Yes! This freezes very well for up to 3 months. Let it cool completely, then portion into freezer-safe containers or bags. Leave some space for expansion. Thaw in the fridge overnight before reheating. The texture holds up well because of the beans.
What can I serve with this chili?
I love it with soft no-knead artisan bread for dipping. Tortilla chips are a classic topping. A simple green salad with a tangy vinaigrette cuts through the richness. Cornbread is also a great option if you’re not avoiding corn.
Can I use ground beef instead of turkey?
Yes, ground beef works perfectly. Use 80/20 for more flavor and richness. Turkey is leaner, but beef adds a deeper, meatier taste. Adjust the cooking time slightly, as beef may take a minute or two longer to brown.
Pin This Recipe!
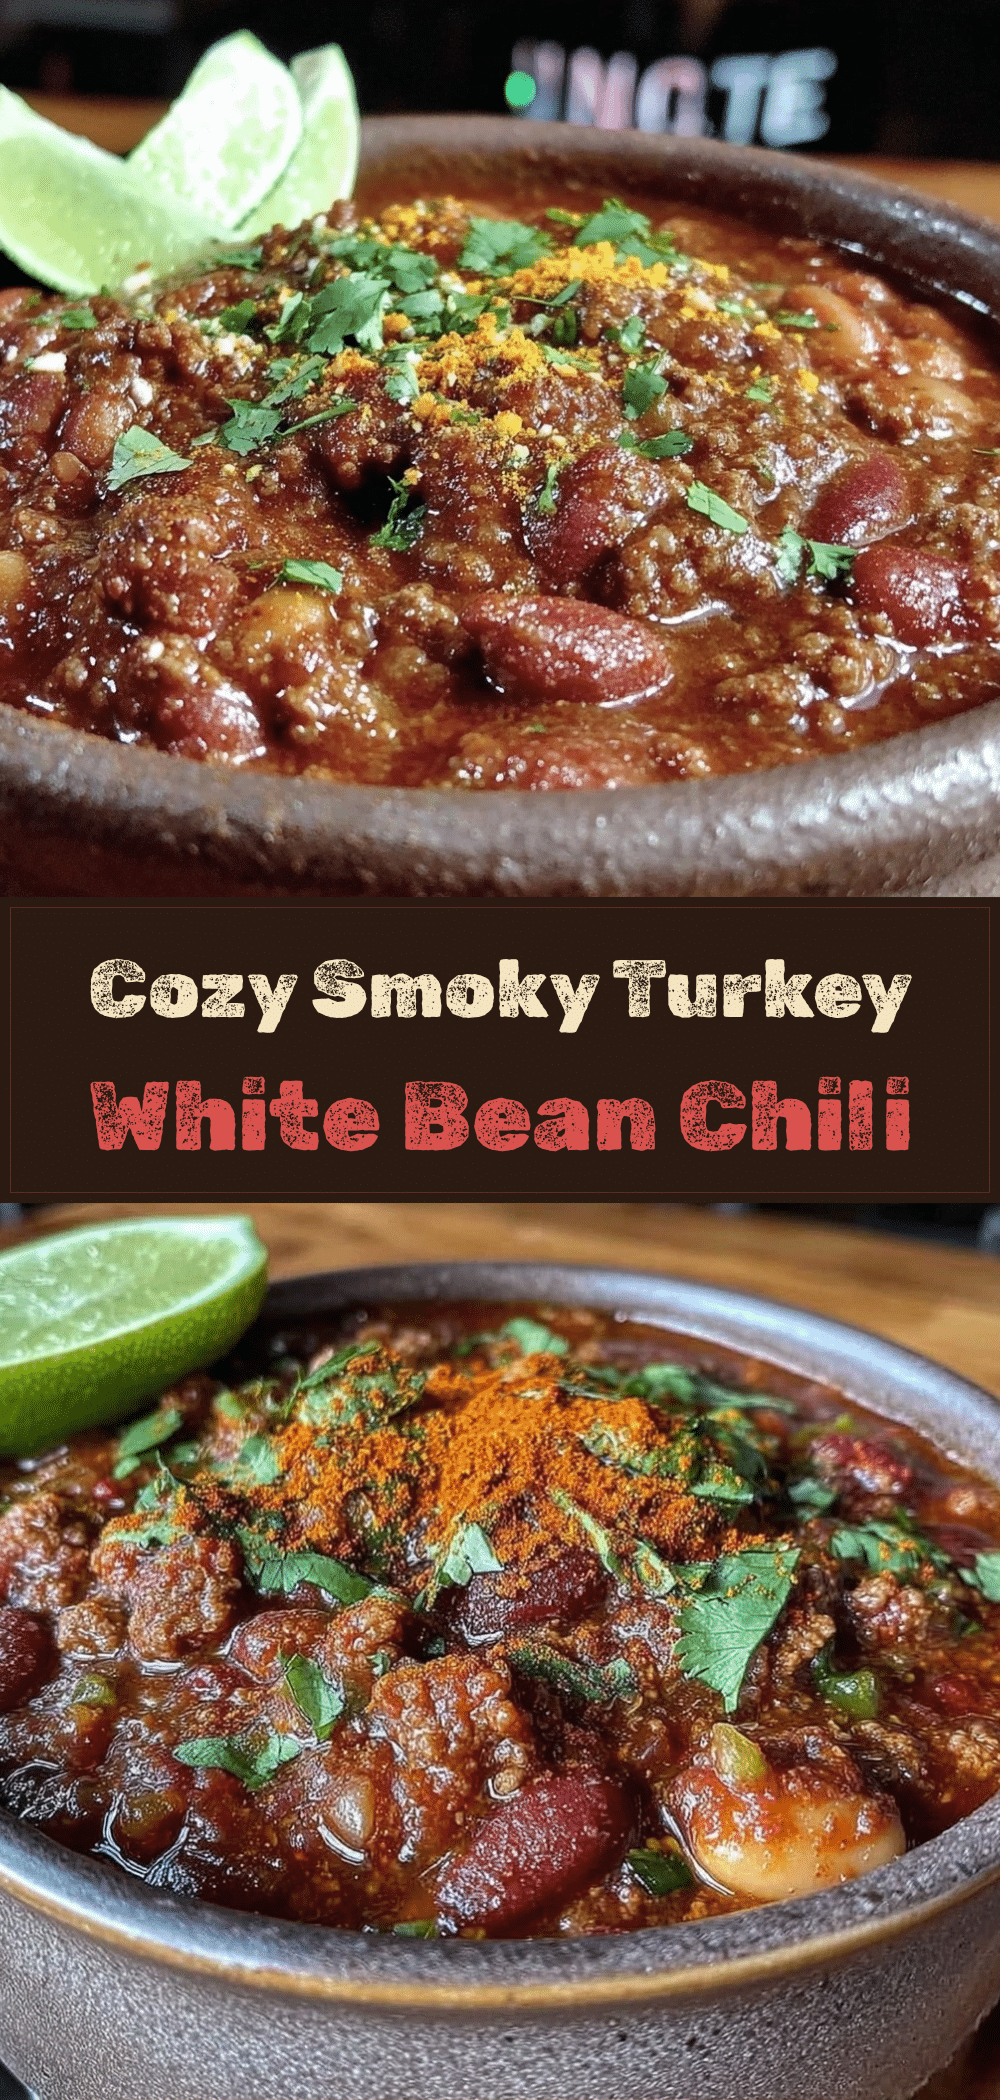

Cozy Turkey White Bean Chili
- Total Time: 40 minutes
- Yield: 6 servings 1x
Description
A hearty, creamy, and comforting gluten-free and dairy-free chili made with lean ground turkey, cannellini beans, and smoky paprika. It offers rich flavor without heavy dairy or gluten thickeners.
Ingredients
- 1.5 lbs ground turkey (93% lean)
- 1 large yellow onion, diced
- 4 cloves garlic, minced
- 2 cans (15 oz each) cannellini beans, rinsed and drained
- 4 cups low-sodium vegetable broth
- 2 teaspoons smoked paprika
- 1 teaspoon ground cumin
- 1 tablespoon chili powder
- 2 tablespoons olive oil
- 1 medium green bell pepper, diced
- 2 tablespoons tomato paste
- Salt and black pepper to taste
- 1 jalapeño, seeded and minced (optional)
- 1 tablespoon lime juice
- ½ cup fresh cilantro, chopped (for garnish)
Instructions
- Heat olive oil in a large Dutch oven over medium heat. Add diced onion and green bell pepper; sauté for 5-7 minutes until soft and translucent.
- Add minced garlic and cook for 1 minute more, being careful not to burn it.
- Stir in tomato paste, smoked paprika, cumin, and chili powder. Cook for 1 minute to bloom the spices.
- Add ground turkey and break it up with a wooden spoon. Cook for 5-6 minutes until no longer pink.
- Stir in the drained cannellini beans.
- Pour in vegetable broth, scraping up any browned bits from the bottom of the pot. Bring to a boil, then reduce heat to low.
- Cover partially and simmer for 20-25 minutes to allow flavors to meld.
- Use an immersion blender to blend about half of the chili directly in the pot until creamy but still chunky.
- Taste and season with salt and black pepper. Add lime juice if needed to brighten flavors.
- Simmer for another 2 minutes to heat through.
- Serve topped with fresh cilantro, avocado, or other desired garnishes.
Notes
For best results, use low-sodium broth to control saltiness. Blending half the beans creates a creamy texture without dairy. Chili tastes better the next day after flavors have melded. Can be frozen for up to 3 months.
- Prep Time: 15 minutes
- Cook Time: 25 minutes
- Category: Main Course
- Cuisine: American
Nutrition
- Serving Size: 1 bowl
- Calories: 320
- Sugar: 6
- Sodium: 650
- Fat: 8
- Saturated Fat: 2
- Carbohydrates: 35
- Fiber: 10
- Protein: 22
Keywords: turkey chili, white bean chili, gluten-free, dairy-free, healthy chili, one-pot meal, comfort food, autumn recipes



