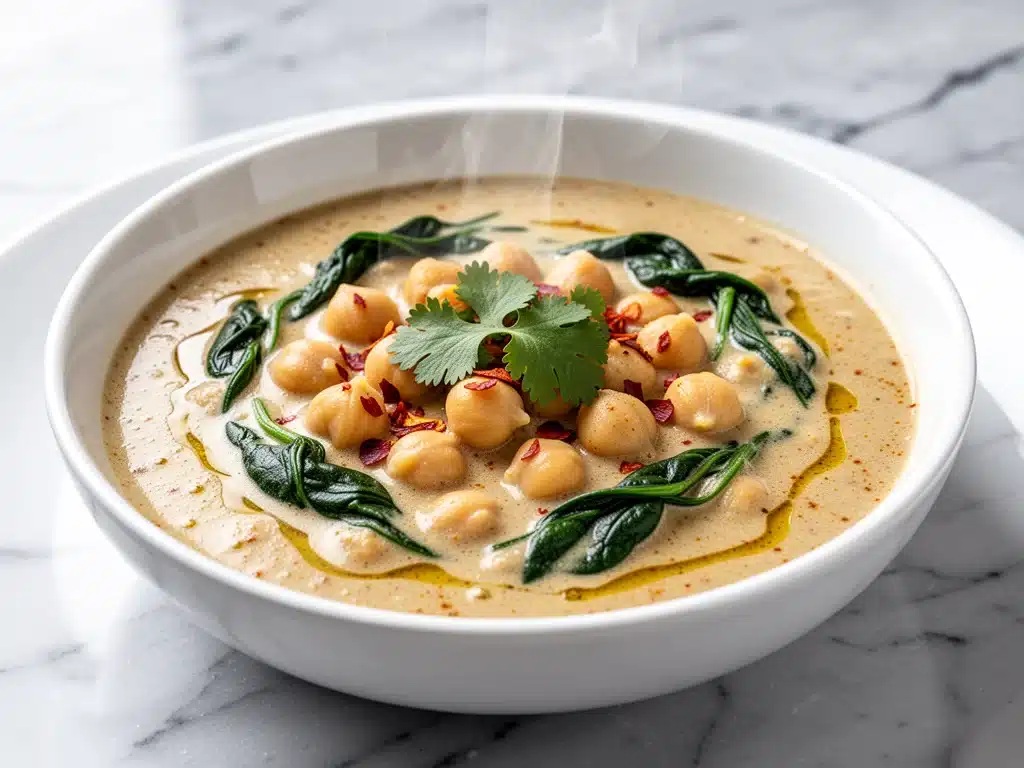
I still remember the exact moment I fell in love with this vegan creamy coconut chickpea curry. It was a Tuesday in November, the kind of night where the sun went down at 4:30 PM, my dog was limping (just a little, thank goodness), and I had absolutely zero energy to cook anything complicated. I was standing in my kitchen, staring at a can of chickpeas and a can of coconut milk like they were puzzle pieces that didn’t fit.
I threw them in a pot with some curry powder I’d bought three years ago, a handful of spinach, and a splash of water. I let it simmer while I watched one episode of a show I already knew the ending to. When I finally took a spoonful, I blew on it way too hard—classic mistake—and burned the roof of my mouth. But I didn’t care. It was rich, warm, and tasted like a hug from the inside out. I scraped the bottom of the pot and ate it straight from the stove.
That was six years ago. Since then, I’ve made this vegan creamy coconut chickpea curry probably 150 times. I’ve tweaked it, simplified it, and perfected it. It has become the ultimate answer to the dreaded “what’s for dinner?” question when I’m exhausted, broke, or just don’t want to think. It’s dairy-free, naturally gluten-free, and comes together in 15 minutes if you’re fast (or 25 if you’re being careful). It’s the kind of meal that feels indulgent but is actually just pantry staples doing their job.
If you’ve been hunting for a vegan creamy coconut chickpea curry perfect for busy weeknights, you’ve found it. I promise you, this isn’t one of those complex recipes that requires you to grind your own spices from scratch or spend an hour prepping. It’s real food, it’s easy, and it tastes better than takeout. Let me show you how I make it.
Why You’ll Love This Vegan Coconut Chickpea Curry
There are a lot of curry recipes out there. Some are complicated, some require ingredients you have to drive to a specialty store for, and some take all day. This one is different. Here’s why this vegan creamy coconut chickpea curry has earned a permanent spot in my rotation:
- Lightning Fast — Seriously, if you have a can opener and a pan, you can make this in 15 minutes. I’ve timed it. 15 minutes from start to finish. I make this on weeknights when I get home late and my brain is basically fried.
- Pantry-Friendly — You probably have 90% of these ingredients already. Canned chickpeas, coconut milk, curry powder, onion, garlic. These are staples I keep stocked just so I can make this on a whim.
- Dairy-Free Comfort — I know a lot of people think “creamy” means butter and heavy cream. Not here. The coconut milk provides that luxurious, velvety texture without any dairy. It’s rich without being heavy on the stomach.
- Budget-Smart — Feeds 4 people for under $10. That’s less than the cost of a pizza delivery with tips. It’s cheap, filling, and feels fancy.
- Meal-Prep Hero — Actually tastes better the next day. I deliberately make extra for lunch throughout the week. The flavors meld together overnight, and by day two, it’s even more delicious.
This is my go-to when I need dinner to just work. No complicated techniques, no weird ingredients, just reliable, delicious food that makes everyone happy. It’s also a great alternative if you’re looking for other easy vegan weeknight wins that don’t require a trip to the grocery store.
Ingredients You’ll Need
Here’s the best part: you probably have most of this already. This vegan creamy coconut chickpea curry relies on simple, high-quality ingredients. I’m particular about three things here, and I’ll tell you exactly why.
For the Base
Coconut milk (2 cans, 13.5 oz / 400ml each) — Use full-fat, unsweetened coconut milk. This is non-negotiable for the creamy texture. The light version is too watery and lacks the richness. I keep the full-fat cans in my pantry specifically for this.
Yellow onion (1 medium, diced / about 200g) — Sweet onions work too, but yellow gives better depth. White onions are too sharp for this. I dice mine small so it melts into the sauce.
Garlic (4 cloves, minced / about 2 tablespoons) — Fresh only. No jarred garlic in this recipe. It’s just too metallic for a delicate curry. Mincing 4 cloves takes 2 minutes and makes a huge difference.
Ginger (1 tablespoon, fresh grated) — Fresh ginger is key. If you must use powder, use ½ teaspoon, but fresh adds that bright, zesty kick that cuts through the richness of the coconut.
For the Flavor
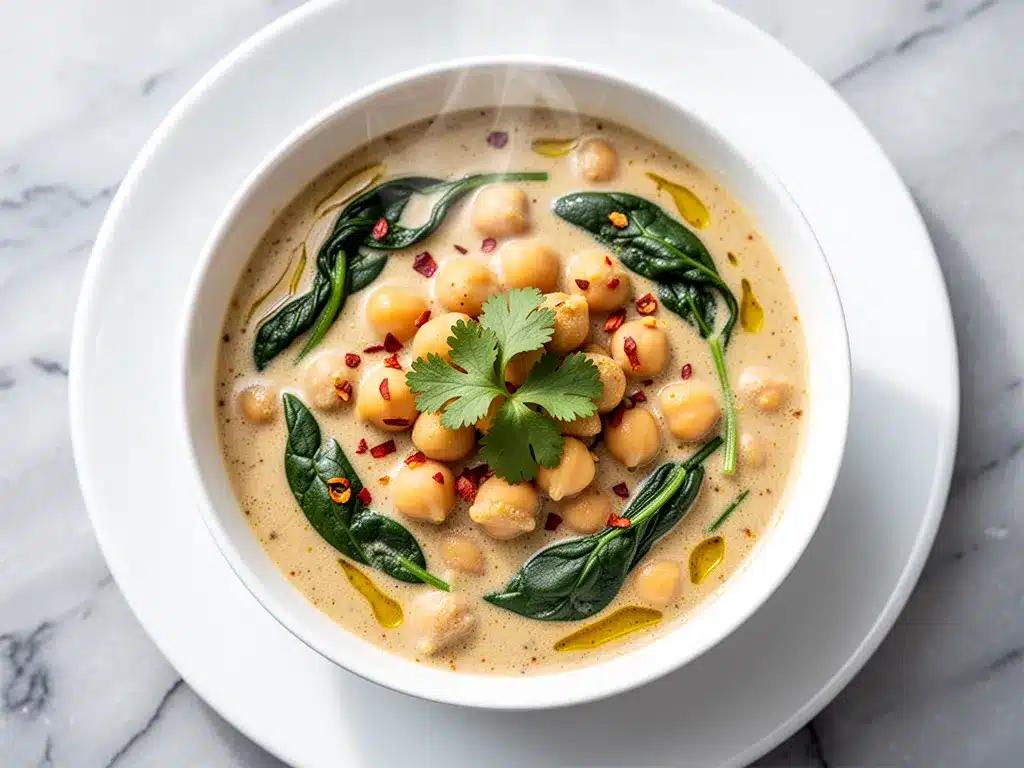
Curry powder (2-3 tablespoons) — I use a mild to medium curry powder. If you like it spicy, add a teaspoon of cayenne or red pepper flakes. I love the brand “The Spice Tree” or any Indian grocery store brand.
Chickpeas (2 cans, 15 oz / 425g each) — Rinse and drain them thoroughly. This removes the starchy liquid (aquafaba) and prevents the curry from getting gloopy. I’ve learned this the hard way.
Vegetable broth (½ cup / 120ml) — I use low-sodium so I can control the salt. This helps deglaze the pan and adds depth without making it too salty.
Lime juice (1 tablespoon) — This is the secret weapon. It brightens up the heavy coconut flavor. Add it at the very end.
For the Greens
Spinach (2 cups, fresh) — I throw this in at the end. It wilts instantly. If you don’t like spinach, kale or chard works too, but spinach is the easiest.
Optional Add-ins:
- Cauliflower florets (1 cup) — Adds texture and bulk. Sauté with the onions.
- Sweet potato cubes (1 medium) — For a heartier meal. Needs 10 minutes to cook, so add them early.
- Cilantro (½ cup, chopped) — For garnish. It adds a fresh, herbal note.
Personal Tip: I always buy pre-minced garlic and ginger when I’m being lazy, but for this recipe, I try to do it fresh. It’s worth the extra minute. If you’re really pressed for time, the powdered versions work, but the fresh ones elevate the dish significantly.
Equipment Needed
You don’t need fancy equipment for this. Here’s what I actually use:
- Large skillet or Dutch oven — I use a 12-inch stainless steel skillet. It needs to fit two cans of chickpeas and the sauce comfortably. A Dutch oven works too if you’re making a big batch.
- Can opener — Basic, but essential. I use a smooth-edge one so I don’t cut myself.
- Wooden spoon — For stirring. Silicone works too. Don’t use metal on non-stick if you have it.
- Colander — For draining the chickpeas. Or just use the lid to drain—I do this when I’m being lazy.
- Measuring spoons — Pretty standard stuff. Dollar store versions work fine.
Tool Tip: Don’t have a Dutch oven? Any big pot works—doesn’t need to be fancy. The most important thing is that it has a wide surface area so the sauce can reduce and thicken.
How to Make It: Step-by-Step
Alright, let’s make this! I’m walking you through exactly how I do it, including the little tricks I’ve picked up over the years.
Step 1: Prep Your Ingredients (3-5 minutes)
Before you start cooking, dice your onion, mince your garlic, and grate your ginger. Rinse and drain your chickpeas. I know it seems fussy, but it makes the actual cooking way less stressful. Once you start cooking, things move fast, and you don’t want to be fumbling with cans while your garlic burns.
Step 2: Sauté the Aromatics (5 minutes)
Heat 1 tablespoon of oil (coconut or olive oil) in your large skillet over medium heat. Add the diced onion and cook for 3-4 minutes until it starts to soften and turn translucent. Add the minced garlic and grated ginger. Cook for 1 minute, stirring constantly. The garlic should smell amazing but not brown—browned garlic tastes bitter. If it starts to smell like it’s burning, lower the heat immediately.
Step 3: Bloom the Spices (1-2 minutes)
Add the curry powder (and any other spices like cumin or turmeric if you’re using them) to the pan. Stir it into the onions and garlic for about 30 seconds to a minute. This step is crucial—it “blooms” the spices, releasing their essential oils and intensifying the flavor. You’ll smell the curry powder pop and become much more fragrant.
Step 4: Build the Sauce (5 minutes)
Pour in the vegetable broth to deglaze the pan, scraping up any browned bits from the bottom with your wooden spoon. Those bits are flavor gold. Then, add the two cans of full-fat coconut milk. Stir well to combine. Let the mixture come to a gentle simmer. Don’t boil it vigorously—just let it bubble gently for 3-4 minutes until it thickens slightly. The sauce should coat the back of a spoon.
Step 5: Add the Chickpeas (5 minutes)
Add the drained chickpeas to the simmering sauce. Stir them in so they’re well coated. Let them simmer for 5 minutes. This allows the chickpeas to absorb the curry flavor. If you’re adding harder vegetables like cauliflower or sweet potatoes, add them now so they have time to cook through.
Step 6: Wilt the Greens (2 minutes)
Remove the pan from the heat. Stir in the fresh spinach. The residual heat will wilt the spinach in about a minute. If you’re using kale, you’ll need to cook it for a couple of minutes longer with the lid on. Stir in the lime juice now. This brightens everything up and balances the richness.
Step 7: Serve
Taste and adjust salt if needed. The chickpeas and coconut milk add some saltiness, so you might not need much. Serve immediately over basmati rice or with warm naan bread. Top with fresh cilantro and a squeeze of lime.
Total Time: About 20 minutes (10 minutes active, 10 minutes simmering)
Expert Tips & Tricks
Here’s everything I’ve learned from making this vegan creamy coconut chickpea curry dozens of times. These tips will save you from my mistakes.
Don’t Skimp on the Coconut Milk
I’ve tried the light version once, and it was a disaster. It was watery and lacked the creamy mouthfeel that makes this dish so satisfying. Use full-fat, unsweetened coconut milk. If you’re worried about calories, just eat a reasonable portion. This is comfort food.
Bloom Your Spices
Never just dump spices into liquid. Always sauté them in oil for 30-60 seconds before adding liquid. This unlocks the flavor compounds that are trapped in the dry spices. It’s a small step that makes a huge difference in the final taste.
Rinse Those Chickpeas
Those starchy chickpea cans are not your friend here. Rinse them thoroughly under cold water until the bubbles stop. If you don’t, your curry will be gloopy and weirdly textured. I learned this after one particularly slimmy batch.
Add Acid at the End
The lime juice is the secret to making this taste restaurant-quality. It cuts through the fat of the coconut milk and wakes up all the flavors. Add it right before serving, not during the simmering. If you add it too early, the flavor cooks off.
Common Mistakes (and how to avoid them)
- Mistake: Sauce is too thin
Fix: Let it simmer longer. Or mash a few of the chickpeas against the side of the pan with your spoon. The starch from the chickpeas will thicken the sauce naturally. - Mistake: Curry tastes flat
Fix: It needs acid or salt. Add a squeeze of lime or a pinch more salt. Sometimes it just needs a little kick, so add red pepper flakes. - Mistake: Garlic is burning
Fix: Lower the heat immediately and add the broth to stop the cooking. Burnt garlic is bitter and can’t be fixed.
Variations & Substitutions
Once you’ve nailed the basic version, here’s how you can mix it up. I’ve tried all of these.
Protein Swaps
Lentils — Red lentils work great but cook faster, so add them with the broth and simmer for 15 minutes. Green or brown lentils take longer and might stay too firm in 15 minutes.
Chicken or Tofu — If you’re not strictly vegan, you can add cooked chicken or cubed firm tofu. Add the tofu in the last 5 minutes so it doesn’t break apart.
Veggie Additions
Cauliflower — Add 1 cup of florets with the chickpeas. It absorbs the curry flavor beautifully.
Sweet Potato — Add 1 medium diced sweet potato with the broth. It adds sweetness and bulk.
Peas — Stir in ½ cup of frozen peas at the end. They add a pop of color and sweetness.
Spice Levels
Mild — Use 1 tablespoon of mild curry powder and skip the red pepper flakes.
Medium — Use 2 tablespoons of medium curry powder and add ½ teaspoon of cayenne.
Hot — Use 3 tablespoons of curry powder, add 1 teaspoon of cayenne, and top with fresh jalapeños.
This is a great option if you’re looking for other gluten-free and dairy-free dinners that are hearty and satisfying.
Serving & Storage
How to Serve
I usually serve this straight from the skillet at the dinner table—it looks rustic and stays warm. But here are other ways I’ve enjoyed it:
- Basmati Rice — The classic choice. The rice soaks up the sauce perfectly.
- Naan Bread — Warm it up and use it to scoop up the curry.
- Quinoa — For a protein-packed base.
- Sweet Potato Mash — For a creamy, carb-heavy base.
Toppings Bar: When I have guests, I put out: extra cilantro, red pepper flakes, lime wedges, and crispy fried onions. Everyone customizes their bowl.
Storage Instructions
Refrigerator: Store in an airtight container for up to 4 days. The sauce will thicken in the fridge—totally normal. Coconut milk thickens when cold.
Reheating: Best method: Add to a skillet with a splash of water or vegetable broth over low heat. Stir until heated through and creamy again. The added liquid helps restore the texture. Microwave method: Heat in 30-second intervals, stirring between. Add a splash of water if it’s too thick.
Freezing: This freezes well! Store in freezer-safe containers for up to 3 months. Thaw in the fridge overnight and reheat gently. The texture might change slightly, but it’s still delicious.
Nutrition Information
I’m not a nutritionist, but here’s the breakdown if you’re tracking. This is per serving (based on 4 servings).
| Nutrient | Amount |
|---|---|
| Calories | 380 |
| Protein | 12g |
| Carbs | 45g |
| Fiber | 12g |
| Fat | 18g |
| Sodium | 450mg |
What’s Good: High in fiber and plant-based protein. Good source of iron from the chickpeas. Dairy-free and gluten-free.
What to Know: Higher in calories from the coconut milk, but it’s healthy fats. Moderate sodium (use low-sodium broth to reduce).
My Take: Look, this is comfort food. It’s not a diet recipe, but it’s way better than takeout, costs less, and I know exactly what’s in it. When I want to make it lighter, I use less coconut milk and more broth, and load up on vegetables. But usually? I just eat a reasonable portion and enjoy it.
Final Thoughts
So that’s my go-to vegan creamy coconut chickpea curry! I’ve probably talked your ear off at this point, but when you make a recipe this often, you have a lot to say about it. This has saved weeknight dinners more times than I can count. It’s my answer to “what’s for dinner?” when I’m tired, don’t want takeout, and still want something that tastes really good. My family is happy, and I’m happy because I’m not stressed about cooking.
Make it yours! Try different add-ins, swap in your favorite vegetables, adjust the spice level. The best recipes are the ones you adapt to your family’s tastes. If you make this, drop a comment and let me know what you think! I love hearing how recipes turn out in your kitchen. And if something doesn’t work, tell me that too—I’m here to help troubleshoot.
Happy cooking! And I hope your kitchen smells half as good as mine does right now.
Frequently Asked Questions
Can I use coconut cream instead of coconut milk?
Yes, but it will be much richer and thicker. If you use coconut cream, you might want to add a little extra vegetable broth or water to thin it out. I usually use coconut milk for the perfect balance of creaminess and liquidity.
Why did my sauce separate?
This usually happens if the heat was too high or if you boiled it too vigorously. Coconut milk can split if overheated. Keep it at a gentle simmer. If it does separate, whisk in a splash of water or broth to bring it back together.
Can I make this ahead for a dinner party?
Absolutely. This actually tastes better the next day. Make it up to 2 days ahead and store in the fridge. Reheat gently on the stove, adding a splash of liquid if needed. It’s a great stress-free option for hosting.
Is this spicy?
It depends on the curry powder you use. Most standard curry powders are mild to medium. If you want it hotter, add red pepper flakes or cayenne. I usually add ½ teaspoon for a nice kick, but you can skip it if you’re sensitive to spice.
Can I use dried chickpeas?
You can, but they take much longer to cook. You’d need to soak them overnight and then boil them for 45-60 minutes until tender. For a busy weeknight, canned chickpeas are the way to go. Save the dried ones for when you have more time.
How do I store leftovers?
Store in an airtight container in the fridge for up to 4 days. The sauce will thicken in the fridge, so add a splash of water or broth when reheating to loosen it up.
Can I freeze this?
Yes, this freezes well for up to 3 months. Let it cool completely before freezing. Thaw in the fridge overnight and reheat gently. The texture might change slightly, but it’s still delicious.
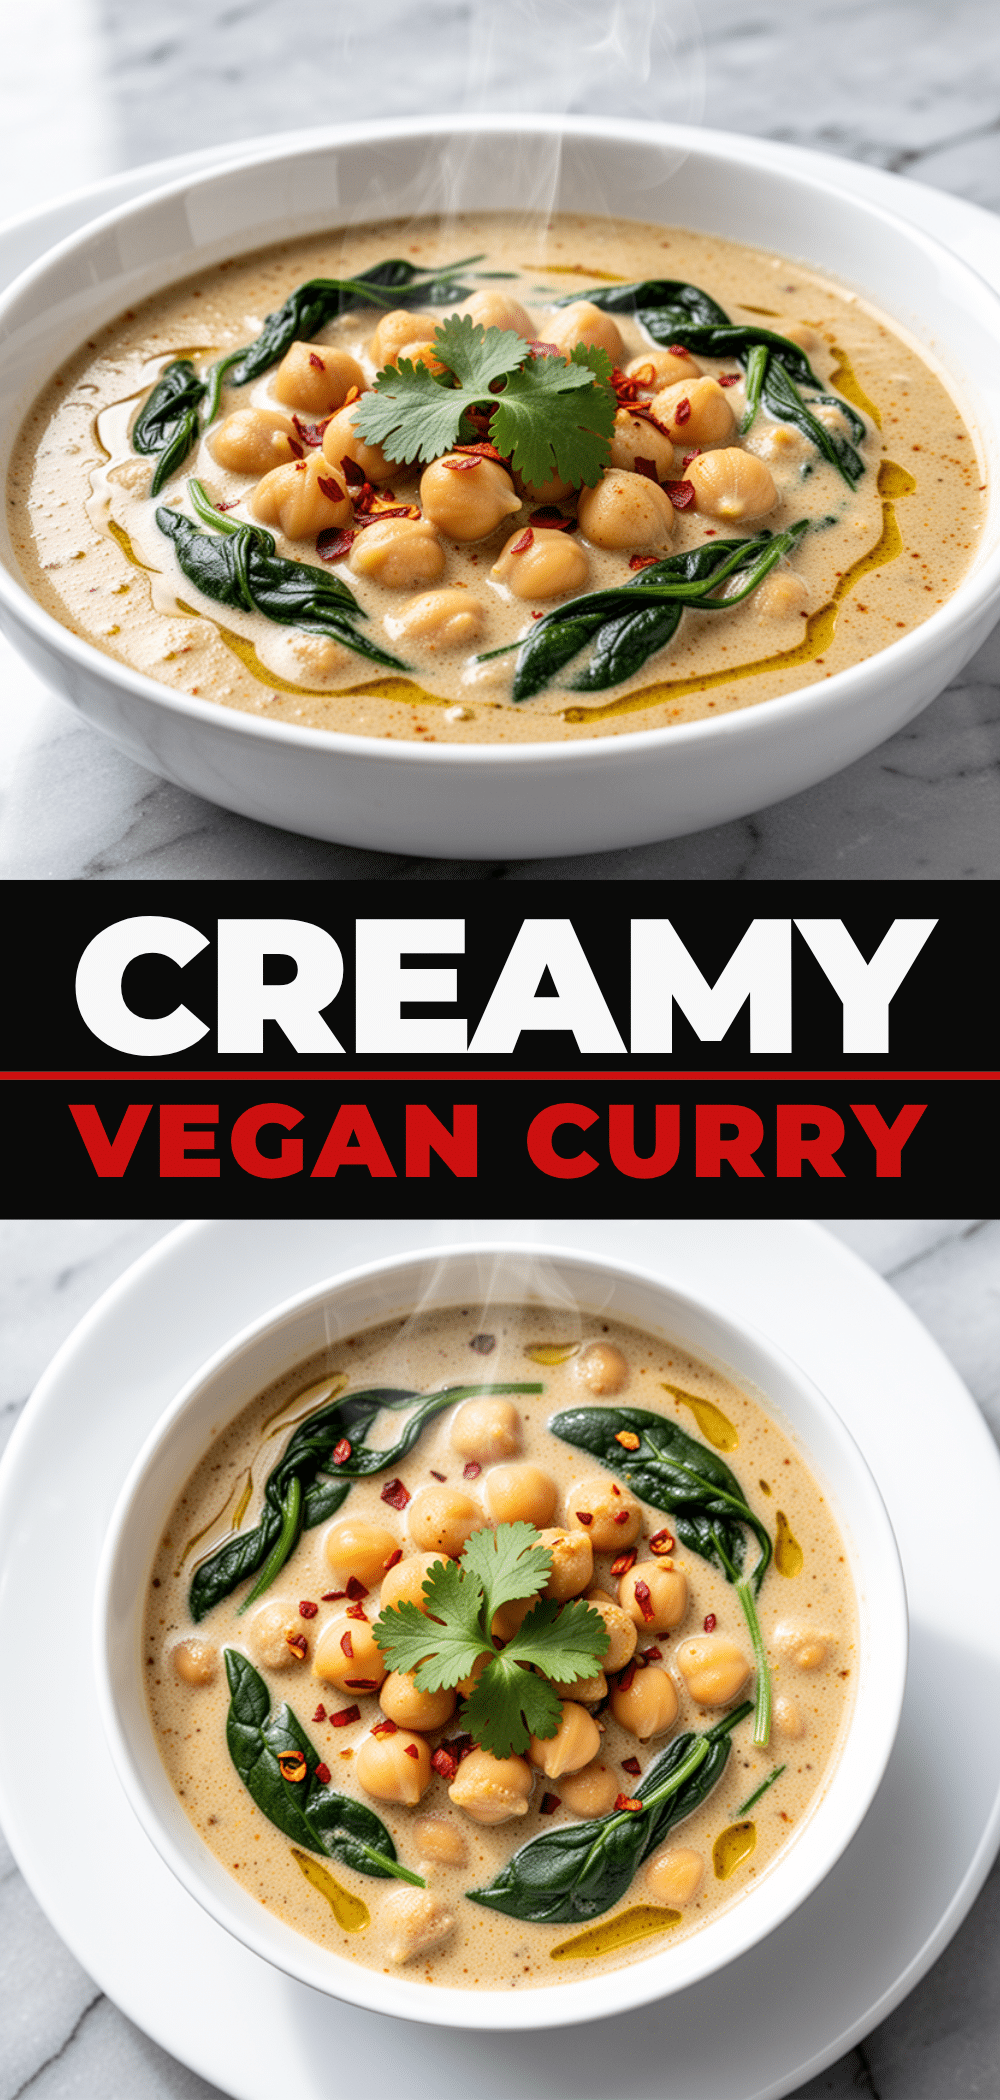
Pin This Recipe!
Vegan Creamy Coconut Chickpea Curry: 15-Minute Dinner
- Total Time: 20 minutes
- Yield: 4 servings 1x
Description
A rich, dairy-free, and naturally gluten-free weeknight curry made with pantry staples like chickpeas and coconut milk. It comes together in about 20 minutes and tastes better than takeout.
Ingredients
- 2 cans (13.5 oz / 400ml each) full-fat unsweetened coconut milk
- 1 medium yellow onion, diced
- 4 cloves garlic, minced
- 1 tablespoon fresh ginger, grated
- 2–3 tablespoons curry powder
- 2 cans (15 oz / 425g each) chickpeas, rinsed and drained
- 1/2 cup low-sodium vegetable broth
- 1 tablespoon lime juice
- 2 cups fresh spinach
- 1 tablespoon oil (coconut or olive oil)
- Salt to taste
- Optional: 1 cup cauliflower florets, 1 medium sweet potato diced, 1/2 cup chopped cilantro
Instructions
- Prep ingredients: Dice onion, mince garlic, grate ginger, and rinse/drain chickpeas.
- Heat oil in a large skillet over medium heat. Add onion and cook for 3-4 minutes until softened.
- Add garlic and ginger; cook for 1 minute until fragrant but not browned.
- Add curry powder and stir for 30-60 seconds to bloom the spices.
- Pour in vegetable broth to deglaze the pan, scraping up browned bits.
- Add coconut milk and bring to a gentle simmer; cook for 3-4 minutes until sauce thickens slightly.
- Add chickpeas (and hardy vegetables like cauliflower or sweet potatoes if using) and simmer for 5 minutes.
- Remove from heat and stir in spinach until wilted.
- Stir in lime juice and adjust salt to taste.
- Serve immediately over basmati rice, quinoa, or with naan bread, topped with cilantro and lime wedges.
Notes
Use full-fat coconut milk for the best creamy texture. Rinse chickpeas thoroughly to prevent a gloopy sauce. Bloom spices in oil before adding liquid to enhance flavor. Add lime juice at the end to preserve its brightness. The curry tastes even better the next day as flavors meld.
- Prep Time: 10 minutes
- Cook Time: 10 minutes
- Category: Main Course
- Cuisine: Indian
Nutrition
- Serving Size: 1 bowl with rice or
- Calories: 380
- Sugar: 6
- Sodium: 450
- Fat: 18
- Saturated Fat: 14
- Carbohydrates: 45
- Fiber: 12
- Protein: 12
Keywords: vegan curry, coconut chickpea curry, quick dinner, weeknight meals, dairy-free, gluten-free, healthy vegan, budget meals



