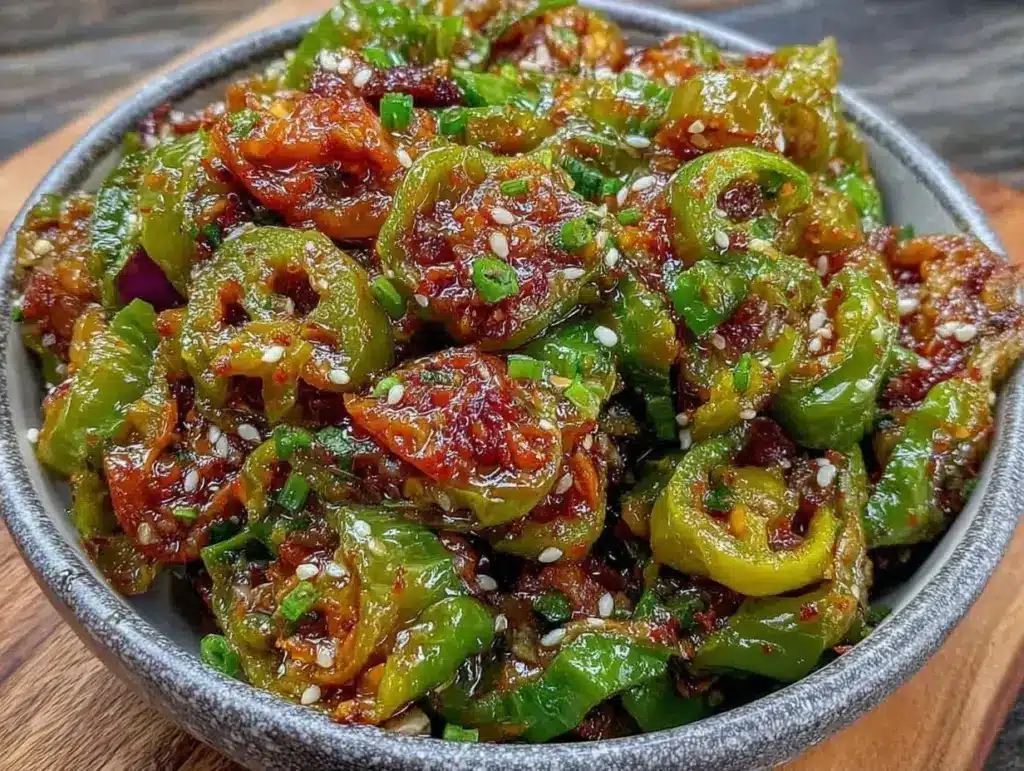
Last August, I found myself standing in the produce aisle of a small grocery store in New Mexico, staring at a mountain of green chiles that looked like they were begging to be eaten. I’m not from here. I’m a city girl who usually buys the sad, pre-chopped jalapeños in a plastic tub that cost $3.99 and taste like nothing but plastic wrap. But something about these Hatch chiles—their wrinkled skins, their earthy smell—made me stop. I bought a bag. I came home, roasted them until my kitchen smelled like a smoky dream, and blended them into a salsa that changed my life.
Except, I ate half of it in two days. The rest? It sat in the back of my fridge, slowly turning into a sad, slimy green mess. I felt terrible. I had wasted good food and good money on a recipe that wasn’t designed for one person.
That was the moment I realized I needed a salsa recipe that actually worked for a solo cook. Not a family-sized batch that requires a gallon of chiles, but a small-batch, roasted hatch green chile salsa that respects your wallet and your fridge space. This recipe is exactly that. It’s smoky, it’s bright, it’s cheap to make, and it uses ingredients you probably already have or can grab for under $5. It’s the kind of salsa you keep on hand to turn boring toast into a meal, or to dip those soft buttery cinnamon sugar pretzel bites into for a sweet-and-spicy surprise.
I’ve tested this version about a dozen times, tweaking the ratios of acid and salt until it was perfect. It’s not just a condiment; it’s a flavor bomb that stretches a small grocery budget further than you’d think. If you’ve ever felt guilty about buying fresh produce for one, this recipe is your redemption arc.
Why You’ll Love This Small-Batch Salsa
There are a million salsa recipes out there, but most of them are designed for a crowd. They ask you to roast a dozen peppers, blend a massive vat, and then freeze half of it. This roasted hatch green chile salsa is different. It’s built for the single life, the budget-conscious cook, and anyone who hates waste.
Stupid Simple — Seriously, if you can roast peppers and throw things in a blender, you can make this. I’ve made this while on a work call, just tossing ingredients in as they popped. No fancy techniques, no knife skills required beyond a basic dice.
Lightning Fast — From start to finish, this takes about 20 minutes. The roasting time is mostly hands-off (you just watch them until they char), and the blending is instant. It’s faster than ordering takeout and tastes 100 times better.
Pantry-Friendly — The base is chiles, but the rest is standard pantry staples: onion, garlic, lime juice, cilantro, salt. You probably have 90% of this already. I keep limes and cilantro stocked specifically so I can make this on a whim when I need a flavor boost.
Flavor That Pops — Roasting changes everything. It takes the raw, grassy edge off the chiles and adds a deep, smoky sweetness that raw salsa just can’t match. It’s the difference between a snack and a flavor experience.
Makes Amazing Leftovers (The Good Kind) — This recipe makes about 1.5 to 2 cups. That’s perfect for one person to use over a week. It keeps in the fridge for up to two weeks, getting better as the flavors meld. I use it for breakfast tacos on Tuesday, a topping for my butternut squash mac and cheese for one on Thursday, and just straight-up spooning it over avocado on Saturday.
Budget-Smart — Depending on where you live and the season, fresh chiles can be cheap. Even if they’re $2 a pound, you only need about 12-15 ounces for this batch. That’s less than the cost of a jar of imported salsa at the store, and it tastes like it was made in a high-end restaurant.
This is my go-to when I need dinner to just work. No complicated techniques, no weird ingredients, just reliable, delicious food that makes every bite feel special without breaking the bank.
Ingredients You’ll Need
Here’s the best part: you probably have most of this already. This isn’t a recipe that requires a trip to three different specialty stores. It’s built on cheap, accessible ingredients that deliver maximum flavor.
For the Base
Fresh Hatch Green Chiles (12-15 ounces, about 8-10 medium peppers) — This is the star. Hatch chiles from New Mexico are the gold standard for flavor—meaty, smoky, with a gentle heat. If you can’t find Hatch specifically, look for any fresh green chiles (like Anaheim, poblanos, or even mild jalapeños). The key is that they need to be fresh, not jarred. Fresh gives you that bright, grassy top note that balances the smoke.
Yellow Onion (½ medium, roughly chopped / about 75g) — You don’t need a whole onion for a one-person batch. Half is perfect. Yellow onion gives a sweet, savory depth that caramelizes nicely when roasted. White onion works too, but it’s sharper. Red onion? Skip it. It gets too sweet and weird when roasted.
Garlic (3 cloves, peeled / about 1 tablespoon) — Three cloves is the sweet spot. Enough to be present, not enough to dominate. Fresh only—no jarred garlic in this recipe. The sulfur notes in jarred garlic clash with the fresh chile flavor.
Lime (2 limes, juiced / about ¼ cup fresh juice) — Acid is what makes salsa sing. Fresh lime juice is non-negotiable. Bottled lime juice tastes flat and metallic. Buy two limes, squeeze them, and save the extra juice for your water or fall slow cooker spiced caramel apple cider if you’re feeling fancy. The acid cuts through the richness of the roasted peppers.
Fresh Cilantro (½ cup, packed / about 30g) — The herbal freshness that ties everything together. If you hate cilantro (the soap gene is real, I get it), you can swap it for fresh parsley or even basil. But cilantro is the traditional choice for a reason—it lifts the heavy flavors.
For the Flavor
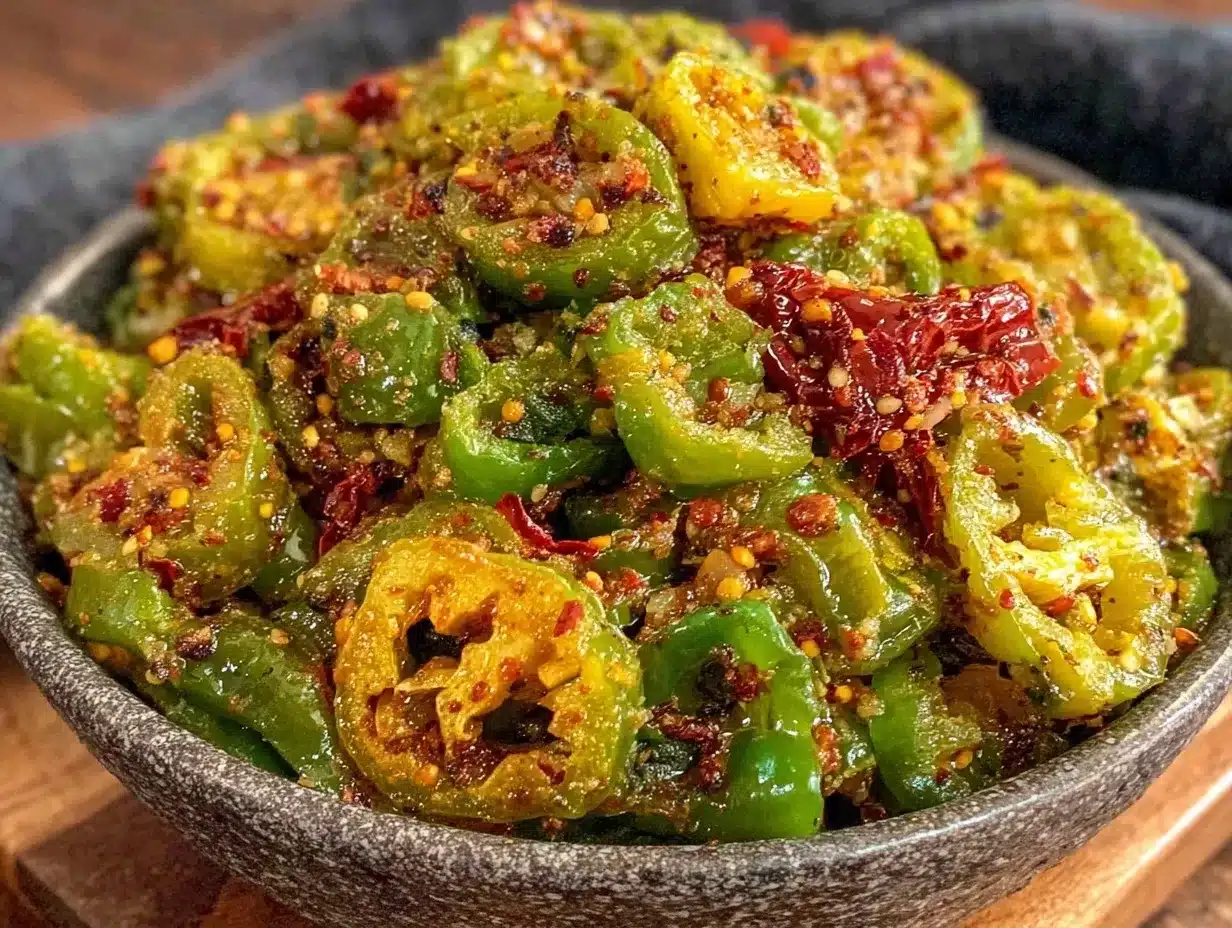
Vegetable Oil (1 tablespoon) — Just a little bit to help roast the onions and garlic. Avocado oil or canola oil works fine. Don’t use extra virgin olive oil here; its flavor is too delicate and expensive for roasting.
Sea Salt (1 teaspoon, plus more to taste) — Salt enhances the natural flavors of the chiles. Use kosher salt or sea salt. Table salt can be too sharp. Taste as you go—this is crucial.
Black Pepper (½ teaspoon, freshly cracked) — Adds a little background warmth. Freshly cracked is better than pre-ground. If you don’t have a pepper grinder, just use a pinch of pre-ground. It’s not the end of the world.
Cumin (½ teaspoon, ground) — This is the secret weapon. A little cumin adds an earthy, warm note that makes the salsa taste like it came from a taqueria. Don’t skip it. It’s cheap and makes a huge difference.
Optional Add-ins:
Salt (pinch) — Sometimes you just need a little extra kick. I keep a small jar of Tajín or chili lime salt nearby for this.
Tomato (¼ cup, diced) — If you want a slightly thicker, tomatoier salsa, add a quarter cup of fresh tomato. But honestly? The chiles are the star. Tomatoes can make it watery if you’re not careful. I usually skip them for this specific smoky version.
Avocado (½, diced) — Not blended in, but stirred in at the end. For a creamy, rich texture. Great if you’re eating this with chips or on toast.
Equipment Needed
You don’t need fancy equipment for this. Here’s what I actually use.
Baking Sheet — A standard 13×18 inch sheet pan. I use a rimmed baking sheet because it catches any juices that leak out. Dark metal pans work great for getting a good char, but light-colored ones work too—just watch them closely.
Blender or Food Processor — A small blender is perfect for this quantity. If you have a high-speed blender, great. If you have a cheap, beat-up blender from college, it’ll still work. Just pulse it so you don’t puree it into a smooth soup unless you want that texture.
Knife — For chopping the onion and garlic. A dull knife makes you cry more—learned this the hard way with onions.
Peeling Bowl — A small bowl to catch the onion skins and garlic peels. Or just trash them directly. I’m lazy.
Spatula — For scraping the salsa out of the blender. Silicone spatulas are best because they get every last bit out.
Measuring Spoons — Pretty standard stuff. Dollar store versions work fine. Precision isn’t super critical here, but it helps consistency.
Citrus Juicer — Hand-held or stationary. I use a handheld one because it’s easier to clean. If you don’t have one, just squeeze with your hands. It’s messy but effective.
Storage Container — A small glass jar or plastic container with a lid. Glass is better because it doesn’t stain or retain odors. Plastic is fine if you’re trying to save weight or breakage risk.
How to Make It: Step-by-Step
Alright, let’s make this! I’m walking you through exactly how I do it, including the little tricks I’ve picked up over the years.
Step 1: Prep Your Oven and Pan (5 minutes)
Preheat your oven to 425°F (220°C). Line your baking sheet with parchment paper or aluminum foil. This makes cleanup a breeze—trust me, roasted chiles can be sticky and smelly if they stick to the pan. The parchment paper is worth the extra few cents.
Step 2: Roast the Chiles (15-20 minutes)
Wash your Hatch chiles and pat them dry. If they’re large, you can leave them whole. If they’re small, you can slice them in half lengthwise. Place them on the baking sheet in a single layer. Put them in the oven and roast for 15-20 minutes, turning them halfway through. You want them to get nice black blisters on all sides. They should look charred and wrinkled. Don’t burn them to a crisp, but don’t be shy about the char—that’s where the flavor is. If you’re using onions or garlic, you can roast them on the same sheet for the last 10 minutes. I usually just roast the chiles and add the raw onion/garlic later for a brighter taste, but roasted onion adds sweetness. Your call.
Step 3: Cool and Peel (10 minutes)
Once the chiles are charred, remove them from the oven and let them cool for about 10 minutes. This makes them easy to handle. You can also put them in a bowl and cover it with plastic wrap for 5 minutes to steam them—this helps the skins slip off easier. Once cool enough to touch, peel off the charred skins. You don’t need to get every single piece, but most of it. The seeds? I usually leave them in for a little extra heat, but if you’re sensitive to spice, scrape them out with a spoon. It’s your salsa, your rules.
Step 4: Blend It Up (2 minutes)
Add the peeled chiles, chopped onion, garlic, cilantro, lime juice, oil, salt, pepper, and cumin to your blender. Pulse a few times to chop everything up. Then blend on high for 10-15 seconds. Check the consistency. Do you want it chunky? Stop blending. Do you want it smooth? Blend a bit longer. I like a medium chunky texture—some bite, but mostly smooth. Be careful not to over-blend, or you’ll end up with a hot sauce instead of a salsa.
Step 5: Taste and Adjust (2 minutes)
This is the most important step. Taste the salsa. Does it need more salt? Add a pinch. More acid? Squeeze in a little more lime. More heat? Leave the seeds in next time. More freshness? Add a bit more cilantro. Adjust until it tastes perfect to you. Remember, the flavors will meld and intensify in the fridge, so taste it a little brighter than you think you want it.
Step 6: Store and Serve
Transfer the salsa to a clean jar or container. It will keep in the fridge for up to two weeks. If you want to freeze it, it works well for up to 3 months. Just thaw it in the fridge overnight and give it a good stir. It might separate a little, but that’s normal.
Total Time: About 30 minutes (15 minutes active, 15 minutes roasting/cooling)
Expert Tips & Tricks
Here’s everything I’ve learned from making this dozens of times. These tips will save you from my mistakes.
Don’t Be Afraid of the Char
The blackened skin is where the smoky flavor lives. If you’re too gentle with the roasting, your salsa will taste flat. Let those chiles get ugly. I’ve roasted them until they looked like they were on fire, and it was worth it. The char adds a depth that you just can’t get any other way.
Fresh Lime Juice is Non-Negotiable
I’ve tried bottled lime juice, and it just doesn’t work. It tastes like cleaning product. Fresh lime juice has a brightness and acidity that balances the richness of the roasted chiles. Buy a couple of limes, squeeze them, and toss the rest. It’s worth the effort.
Control the Heat
Hatch chiles vary in heat. Some are mild, some have a kick. If you want mild salsa, scrape out all the seeds and membranes. If you want it spicy, leave them in. I usually leave half the seeds in for a balanced heat level. Taste as you go.
Let It Rest
Don’t eat it immediately. Let the salsa sit in the fridge for at least an hour before serving. This gives the flavors time to meld and the acid to mellow out. It’s like a soup—it always tastes better the next day.
Use a Food Processor for Chunky Texture
If you want a chunky salsa, use a food processor instead of a blender. Pulse it a few times and stop. A blender tends to puree too much, making it smoother than you want.
Common Mistakes (and how to avoid them)
Mistake: Salsa is too watery
Fix: This usually happens if you don’t roast the chiles long enough or if you add too much lime juice. Roast until they’re soft and juicy, then let them drain on a paper towel before blending. Or, just use less lime juice.
Mistake: Salsa is too spicy
Fix: If you accidentally made it too hot, add more onion or a splash of cream/yogurt to mellow it out. Or just eat it with something bland like tortilla chips or rice.
Mistake: Salsa is too bland
Fix: It needs more salt and acid. Taste it, add a pinch of salt, squeeze a little lime, and taste again. Keep going until it pops.
Variations & Substitutions
Once you’ve nailed the basic version, here’s how you can mix it up. I’ve tried all of these.
Red Chile Salsa
Swap the green chiles for roasted red bell peppers or dried red chiles (rehydrated). It’s sweeter and less grassy. Great for dipping.
Jalapeño Lime Salsa
Use jalapeños instead of Hatch chiles. It’s spicier and brighter. Perfect for tacos.
Tomato-Based Green Salsa
Add ¼ cup of diced fresh tomato to the blender. It adds body and a slight sweetness. Good for a thicker dip.
Vegan Option
This recipe is already vegan! No dairy, no honey, just plants. Perfect for anyone avoiding animal products.
Gluten-Free
This recipe is naturally gluten-free. Just make sure your cumin and salt are certified gluten-free if you’re sensitive.
Dairy-Free
Again, naturally dairy-free. If you want a creamy version, stir in a dollop of sour cream or Greek yogurt before serving.
Serving & Storage
How to Serve:
I usually serve this straight from the jar at the dinner table—it looks rustic and stays fresh. But here are other ways I’ve enjoyed it:
Side Dishes:
- Tacos (fish, chicken, or veggie)
- Grilled cheese sandwiches (yes, really)
- Scrambled eggs (for breakfast)
- Corn on the cob
Toppings Bar:
When I have guests, I put out: extra lime wedges, chopped cilantro, crushed tortilla chips, and sliced avocado. Everyone customizes their bowl.
Wine Pairing:
Not a wine expert, but my wine-snob friend says a crisp Sauvignon Blanc or a light Pinot Grigio works great with this. It’s refreshing and cuts the heat.
Storage Instructions:
Refrigerator:
Store in an airtight container for up to 2 weeks. The salsa will darken slightly in the fridge—totally normal. The flavor will deepen over time.
Freezing:
This freezes well for up to 3 months. Pour it into an ice cube tray for single servings, or freeze in a flat bag to save space. Thaw in the fridge overnight. It might separate a little, but stir it up and it’s good as new.
Meal Prep:
Make this on Sunday and use it all week. It’s perfect for meal prep because it keeps well and adds flavor to boring meals. I use it to top my cozy turkey white bean chili on Wednesday for a fresh kick.
Nutrition Information
I’m not a nutritionist, but here’s the breakdown if you’re tracking.
Per Serving (based on 8 servings, ¼ cup each):
- Calories: 25
- Protein: 1g
- Carbs: 5g
- Fiber: 2g
- Sugar: 2g
- Fat: 1g
- Sodium: 150mg
What’s Good:
- Very low calorie
- High in Vitamin C from the chiles and lime
- Good source of fiber from the chiles and cilantro
- Low fat
What to Know:
- Contains sodium from salt
- Contains trace amounts of fat from oil
- High in Vitamin A from the chiles
My Take:
Look, this is a condiment, not a meal. It’s low calorie and nutrient-dense. It’s a great way to add flavor without adding a ton of calories. When I want to make it richer, I add avocado or cheese. But usually? I just eat a reasonable portion and enjoy the flavor.
Final Thoughts
So that’s my roasted hatch green chile salsa! I’ve probably talked your ear off at this point, but when you make a recipe this often, you have a lot to say about it.
This has saved weeknight dinners more times than I can count. It’s my answer to “what’s for dinner” when I’m tired, don’t want takeout, and still want something that tastes really good. It’s cheap, it’s easy, and it’s delicious. My kids (if I had them) would love it, my friends love it, and I love it because it’s simple.
Make it yours! Try different chiles, swap in your favorite herbs, adjust the spice level. The best recipes are the ones you adapt to your tastes. If you make this, drop a comment and let me know what you think! I love hearing how recipes turn out in your kitchen. And if something doesn’t work, tell me that too—I’m here to help troubleshoot.
Happy cooking! And I hope your kitchen smells half as good as mine does right now.
Frequently Asked Questions
Can I use jarred green chiles instead of fresh?
You can, but the flavor will be different. Jarred chiles are cooked and preserved, so they lack the fresh, grassy brightness of roasted fresh chiles. If you must use them, rinse them well to remove the brine, then roast them in the oven to add some char. It’s not ideal, but it works in a pinch.
Why did my salsa turn out watery?
This usually happens if you don’t roast the chiles long enough or if you add too much lime juice. Roast until they’re soft and juicy, then let them drain on a paper towel before blending. Or, just use less lime juice. You can also let the salsa sit in the fridge for a few hours to let the excess liquid separate, then scoop it off.
Can I make this ahead for a dinner party?
Absolutely! In fact, it’s better if you make it ahead. Make it 1-2 days before the party and let it sit in the fridge. The flavors will meld and deepen. Just stir it up before serving. It’s a great way to reduce stress during the party.
How do I reheat leftovers without it getting dry?
You don’t need to reheat this salsa. It’s meant to be eaten cold or at room temperature. If you want to serve it warm, gently heat it in a saucepan over low heat, stirring frequently. But honestly, it’s best straight from the fridge.
Can I double this recipe?
Yes! Just double all the ingredients and use a larger blender or food processor. The cooking times stay the same. I do this when I’m meal-prepping or feeding a crowd. Just make sure your blender is big enough for the volume.
What’s the best way to store this salsa?
Store it in an airtight container in the fridge. Glass jars are best because they don’t stain or retain odors. Plastic containers are fine too, just make sure they’re clean and dry. It will keep for up to 2 weeks.
Can I freeze this salsa?
Yes, it freezes well for up to 3 months. Pour it into an ice cube tray for single servings, or freeze in a flat bag to save space. Thaw in the fridge overnight. It might separate a little, but stir it up and it’s good as new.
Pin This Recipe!
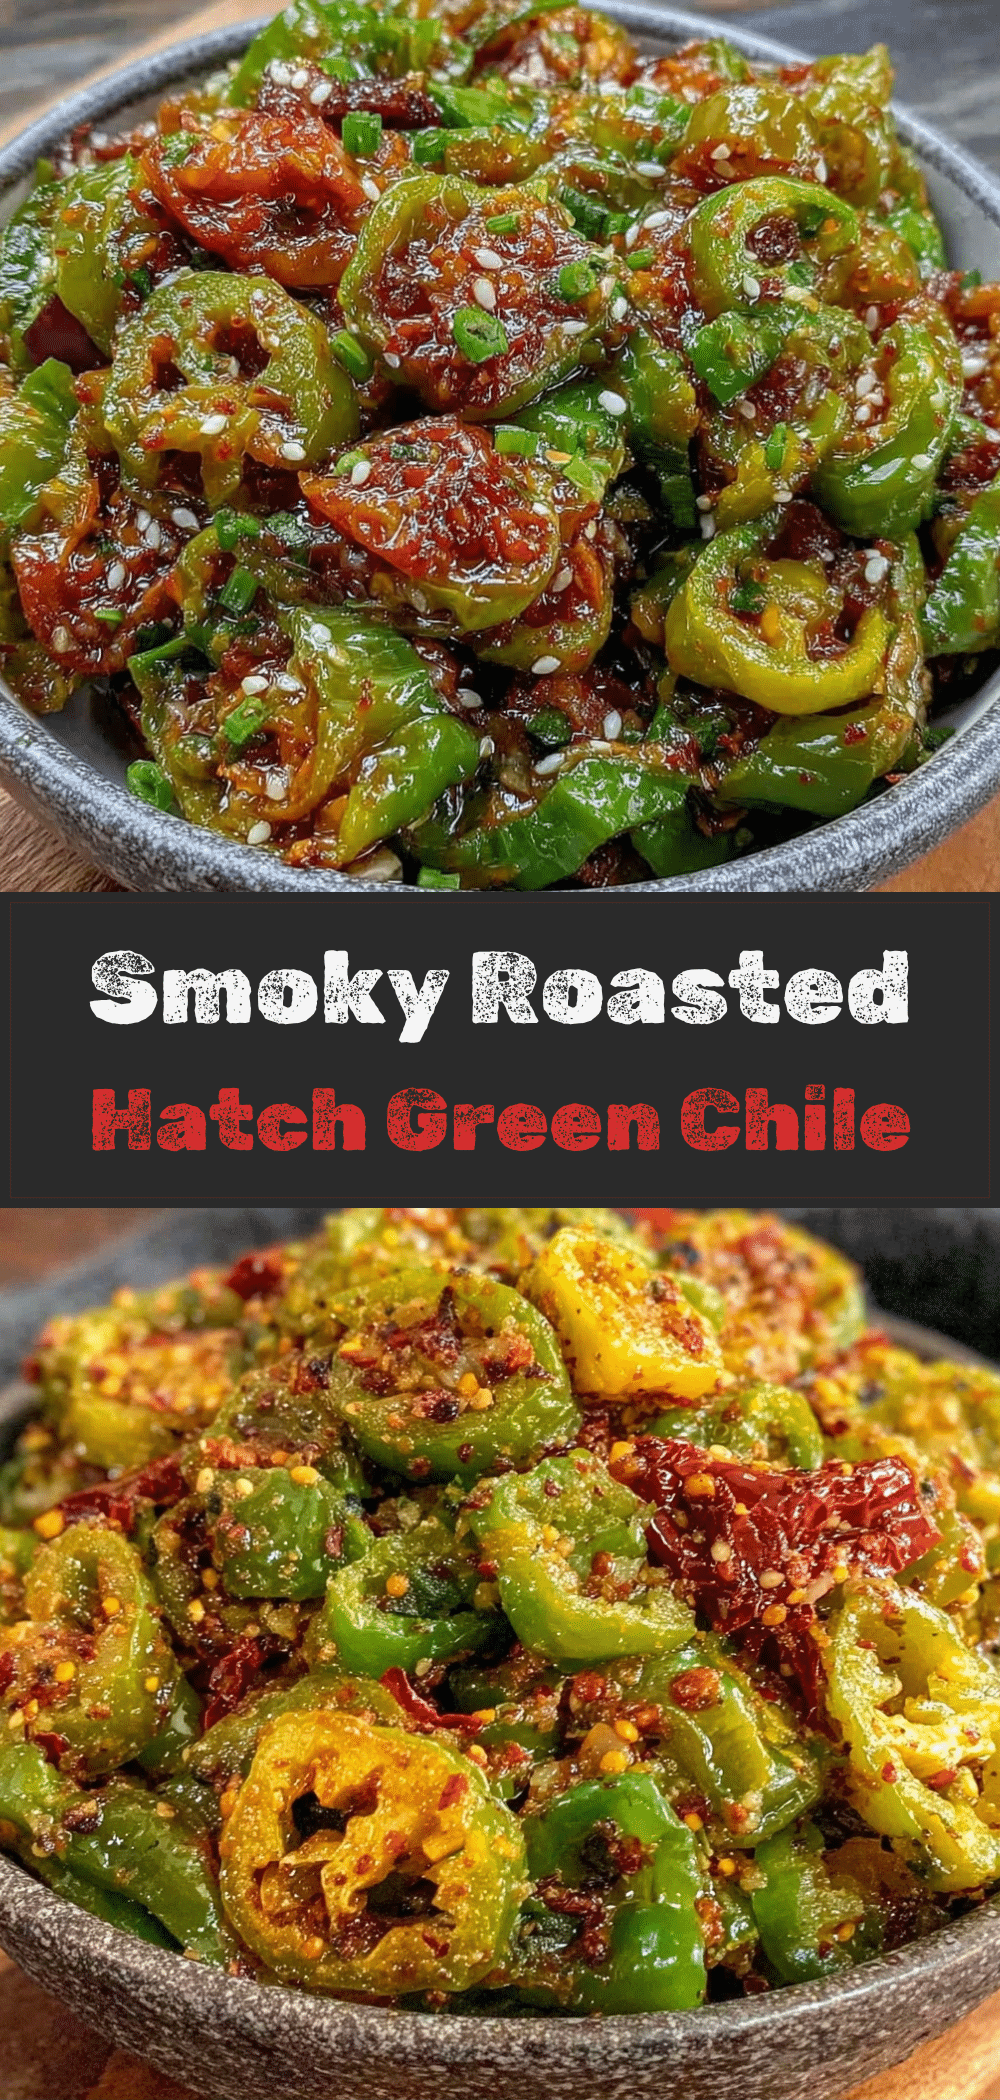
Roasted Hatch Green Chile Salsa: 1 Person Budget Recipe
- Total Time: 30 minutes
- Yield: 8 servings 1x
Description
A small-batch, smoky, and bright roasted hatch green chile salsa designed for solo cooks and budget-conscious meal prep. It uses simple pantry staples and takes about 30 minutes to make.
Ingredients
- 12–15 ounces fresh Hatch green chiles (about 8–10 medium peppers)
- 1/2 medium yellow onion, roughly chopped
- 3 cloves garlic, peeled
- 2 limes, juiced (about 1/4 cup fresh juice)
- 1/2 cup fresh cilantro, packed
- 1 tablespoon vegetable oil
- 1 teaspoon sea salt, plus more to taste
- 1/2 teaspoon black pepper, freshly cracked
- 1/2 teaspoon ground cumin
Instructions
- Preheat oven to 425°F (220°C). Line a baking sheet with parchment paper or aluminum foil.
- Wash and pat dry the Hatch chiles. Place them on the baking sheet in a single layer.
- Roast the chiles for 15-20 minutes, turning halfway through, until they have black blisters and are charred on all sides.
- Remove chiles from the oven and let them cool for about 10 minutes. Alternatively, cover them in a bowl with plastic wrap for 5 minutes to steam.
- Peel off the charred skins from the chiles. Leave seeds in for more heat or remove them for milder salsa.
- Add the peeled chiles, chopped onion, garlic, cilantro, lime juice, oil, salt, pepper, and cumin to a blender or food processor.
- Pulse to chop, then blend on high for 10-15 seconds until desired consistency is reached (chunky or smooth).
- Taste the salsa and adjust seasoning with more salt, lime, or cilantro as needed.
- Transfer to an airtight container and refrigerate for at least one hour before serving to allow flavors to meld.
- Store in the refrigerator for up to two weeks or freeze for up to three months.
Notes
Roasting the chiles until they are charred is essential for the smoky flavor. Fresh lime juice is non-negotiable for brightness. Let the salsa rest in the fridge for at least an hour before serving to improve flavor. If the salsa is too watery, ensure chiles are roasted until soft and drain excess liquid before blending.
- Prep Time: 15 minutes
- Cook Time: 15 minutes
- Category: Condiment
- Cuisine: Mexican
Nutrition
- Serving Size: 1/4 cup
- Calories: 25
- Sugar: 2
- Sodium: 150
- Fat: 1
- Carbohydrates: 5
- Fiber: 2
- Protein: 1
Keywords: roasted hatch green chile salsa, small batch salsa, budget recipe, single serving salsa, vegan salsa, gluten-free salsa, easy salsa, fresh salsa



