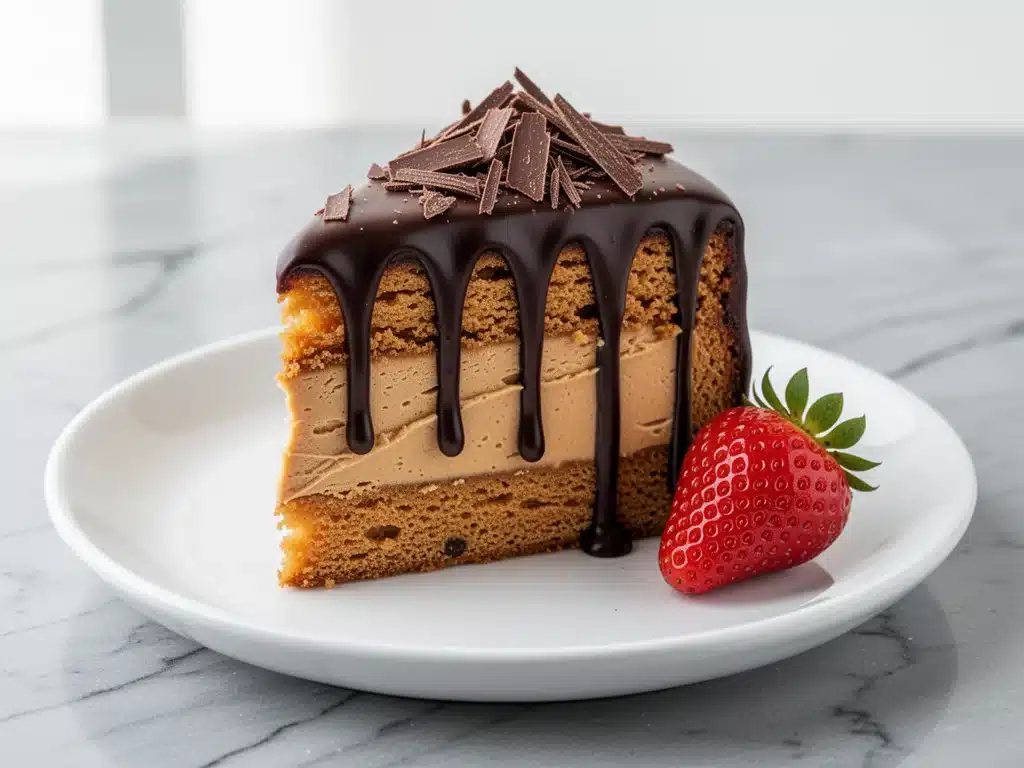
I have a confession to make. For years, I was the person who bought the boxed cake mix, the jarred frosting, and the canned peanut butter cups from the grocery store. I told myself I was “too busy” to bake from scratch. But then I had that Sunday afternoon where my kids were asking for dessert, I was feeling lazy, and I decided to just wing it with what I had in the pantry. I didn’t have Reese’s cups. I didn’t have the fancy boxed mix. I had peanut butter, chocolate, and a desperate need for something sweet.
I threw together a simple chocolate cake batter, swirled in some creamy peanut butter, and topped it with a quick chocolate ganache. The smell alone had everyone in the kitchen. When we dug in, my husband stopped mid-bite and looked at me like I’d just performed a magic trick. “This tastes like the inside of a Reese’s cup,” he said. “But, like, the homemade version. The good version.”
That accidental experiment turned into a obsession. I’ve made this Reese’s Peanut Butter Cake probably fifty times since then. And let me tell you, it is hands-down the best dessert I’ve ever made. It’s richer than takeout, easier than you think, and it tastes like you spent hours in the kitchen (even though it takes about 45 minutes total). If you’re looking for a dessert that feels indulgent but doesn’t require a degree in pastry arts, this is it. It’s the ultimate comfort food, right up there with my Tres Leches Cake but with a salty-sweet twist that hits different.
Why You’ll Love This Reese’s Peanut Butter Cake
There are a million reasons to bake this cake, but let’s be real—here are the ones that actually matter:
- It’s Stupidly Simple — Seriously. You don’t need a stand mixer. A whisk and a bowl are all you need. I’ve made this while holding a baby. I’ve made it at 11pm when I forgot to plan dessert. It just works.
- Salty-Sweet Perfection — The magic is in the ratio. The rich, dark chocolate cake balances perfectly with the salty, creamy peanut butter swirls. It’s the same vibe as Pecan Pie Bars but way faster to make.
- Moist as Can Be — Dry cake is a crime. This cake stays moist for days because of the peanut butter and buttermilk. I’ve kept leftovers in the fridge for four days, and it still tastes fresh. (Though it rarely lasts that long.)
- Customizable Swirls — You can make big pockets of peanut butter or tiny ribbons. I like big chunks because you get that intense peanut butter bite in every other forkful.
- Impressive but Low Stress — Serve this to your in-laws or your book club, and they’ll think you’re a baking genius. They won’t know it took you 20 minutes of active time. It’s the ultimate “I did this myself” flex.
This cake is my go-to when I need to impress without the stress. It’s warm, it’s gooey, and it smells like heaven. Plus, it’s a great way to use up that jar of peanut butter you bought for a smoothie three months ago and forgot about.
Ingredients You’ll Need
Here’s the best part: you probably have most of these ingredients already. This isn’t a recipe that requires a trip to three different specialty stores. It’s pantry-friendly, comfort-food friendly, and totally approachable.
For the Chocolate Cake Base
All-purpose flour (2 cups / 250g) — The standard workhorse. Don’t try to swap this for almond flour unless you want a totally different texture. This cake needs structure.
Cocoa powder (¾ cup / 75g) — Use good quality unsweetened cocoa. I love Hershey’s Special Dark because it has a deeper, richer chocolate flavor that stands up to the peanut butter. If your cocoa is old, it’ll taste dusty. Check the date.
Granulated sugar (1 ½ cups / 300g) — This isn’t a low-sugar recipe, and that’s okay. The sugar keeps the cake moist and tender. Don’t skimp, or it’ll be dense.
Buttermilk (1 cup / 240ml) — This is the secret weapon. The acidity tenderizes the gluten, making the cake super soft. If you don’t have buttermilk, make your own: add 1 tablespoon of lemon juice or white vinegar to a measuring cup, then fill the rest with regular milk. Let it sit for 5 minutes until it curdles. It works perfectly.
Vegetable oil (½ cup / 120ml) — I use oil instead of butter for the base because oil stays soft at room temperature. Butter-based cakes can get hard in the fridge. Oil keeps this cake moist and fudgy.
Large eggs (3) — Room temperature eggs blend better. If you forget, just drop them in a bowl of warm water for 5 minutes.
Baking powder & baking soda (1 tsp & 1 tsp) — Double leavening because we’re adding heavy mix-ins. This ensures the cake rises properly and doesn’t turn into a brick.
Salt (1 tsp) — Crucial. Salt makes the chocolate taste more like chocolate. Don’t skip it.
For the Peanut Butter Swirl
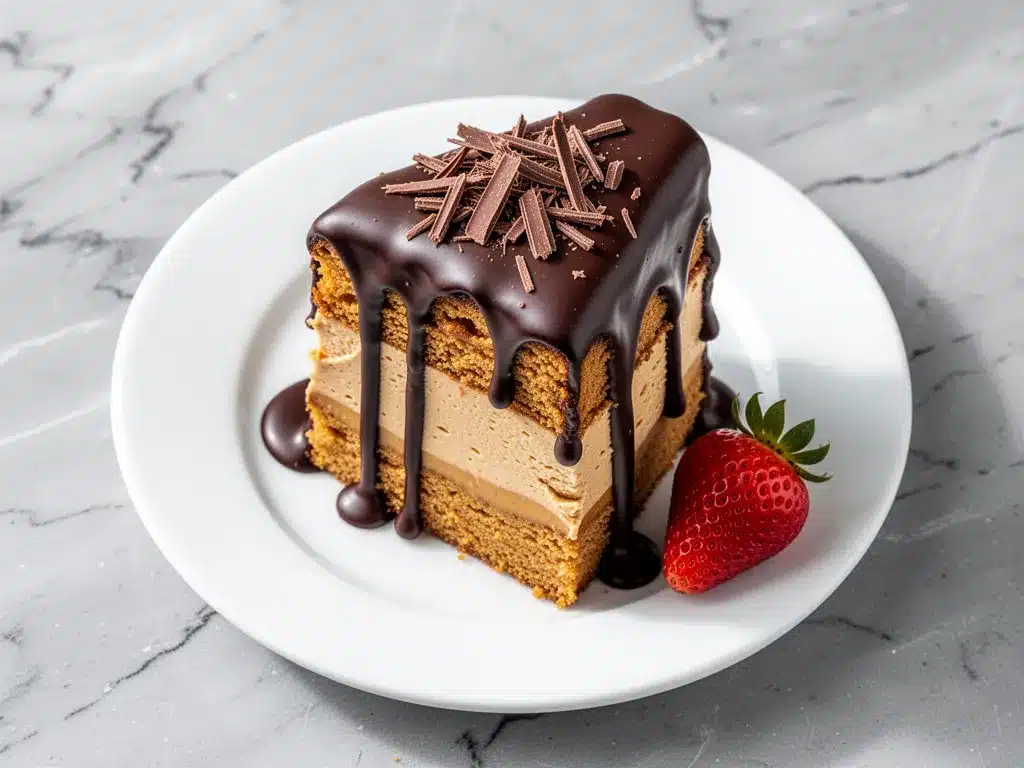
Creamy peanut butter (½ cup / 128g) — Use standard Jif or Skippy. Natural peanut butter with the oil on top won’t work here—it’s too runny and won’t hold its swirl. You want the stuff that sticks to the roof of your mouth.
Confectioners’ sugar (¼ cup / 30g) — This thickens the peanut butter so it stays in distinct swirls instead of dissolving into the batter.
For the Chocolate Ganache Topping
Semi-sweet chocolate chips (1 cup / 170g) — Or chopped chocolate bar. Chocolate chips are easier because they melt evenly. Avoid “baking chips” that are labeled as white or butterscotch—they have different melting points.
Heavy cream (½ cup / 120ml) — Full fat is non-negotiable. Light cream won’t make a thick enough ganache. You want it to drizzle but also hold its shape slightly.
Vanilla extract (1 tsp) — Just a splash to round out the flavors.
Equipment Needed
You don’t need fancy gadgets for this. Here’s what I actually use:
9×13 Inch Baking Pan — This is the classic size for sheet cakes. Grease it well. I use butter and a dusting of cocoa powder so the chocolate cake doesn’t stick.
Large Mixing Bowls — One big bowl for the dry ingredients, one for the wet. I use two medium bowls to keep things organized.
Whisk — A simple balloon whisk is perfect. You don’t need a mixer, but if you’re lazy, a hand mixer works too. Just don’t overmix.
Spatula — A rubber spatula is essential for scraping the bowl and folding the batter gently. I have a cheap one from the dollar store that does the job just fine.
Saucepan — Small to medium. For melting the ganache. I prefer a small saucepan because it heats evenly.
Knife or Fork — For swirling the peanut butter. I use a butter knife for big swirls and a fork for thin ribbons. Your choice.
How to Make It: Step-by-Step
Alright, let’s make this! I’m walking you through exactly how I do it, including the little tricks I’ve picked up over the years.
Step 1: Prep Your Oven and Pan (5 minutes)
Preheat your oven to 350°F (175°C). This is a standard baking temp that cooks the cake evenly without burning the edges. Grease your 9×13 pan with butter or non-stick spray. I like to dust it with a little cocoa powder after greasing—it prevents sticking and adds a nice chocolate flavor to the crust.
Step 2: Mix the Dry Ingredients (2 minutes)
In your large bowl, whisk together the flour, cocoa powder, sugar, baking powder, baking soda, and salt. Whisking the dry ingredients together first ensures there are no lumps of cocoa powder in your final cake. It also distributes the leavening agents evenly. This step is quick, so don’t rush it, but don’t overthink it either.
Step 3: Combine the Wet Ingredients (3 minutes)
In a separate bowl or large measuring cup, whisk the eggs, buttermilk, vegetable oil, and vanilla extract. The mixture might look a bit curdled at first—that’s normal. The acid in the buttermilk reacts with the eggs, but it’ll smooth out when you add it to the flour.
Step 4: Make the Batter (3 minutes)
Pour the wet ingredients into the dry ingredients. Use your whisk or spatula to mix until *just* combined. This is important: do not overmix. Once you see no more streaks of flour, stop. Overmixing develops gluten, which makes cake tough. We want tender, soft cake. The batter will be thick and glossy.
Step 5: Prepare the Peanut Butter Swirl (1 minute)
In a small bowl, mix the creamy peanut butter and confectioners’ sugar until smooth. It should be thick and spreadable. If it’s too stiff, add a tiny splash of milk (half a teaspoon). It needs to be dollop-able.
Step 6: Assemble and Swirl (5 minutes)
Pour half of the chocolate batter into your prepared pan. Spread it evenly. Now, drop large spoonfuls of the peanut butter mixture all over the batter. Don’t worry about being neat—random is better. Then, pour the remaining chocolate batter on top. Use a knife to gently swirl the peanut butter into the batter. I like to do a figure-eight motion. You want ribbons of peanut butter visible, but not fully mixed in. If you mix it too much, it’ll just turn brown batter. You want contrast.
Step 7: Bake (30-35 minutes)
Place the pan in the center of the oven. Bake for 30-35 minutes. The cake is done when a toothpick inserted into the center comes out with a few moist crumbs (not wet batter, but not completely clean either). Since there are peanut butter swirls, the toothpick might look messy. That’s okay. The edges should be pulling away slightly from the pan.
Pro Tip: Let the cake cool in the pan for at least 20 minutes. If you try to frost it while it’s hot, the ganache will melt into the cake, and you’ll lose all that pretty swirl definition. Patience pays off.
Step 8: Make the Ganache (5 minutes)
While the cake cools, make the topping. Heat the heavy cream in a small saucepan over medium heat until it just starts to simmer (small bubbles around the edges). Do not boil it over. Pour the hot cream over the chocolate chips in a heatproof bowl. Let it sit for 2 minutes. This allows the heat to melt the chocolate gently. Then, whisk from the center out until smooth and glossy. Stir in the vanilla. If the ganache looks too thick, add a teaspoon of warm cream. If it’s too thin, let it sit for another minute to thicken.
Step 9: Finish and Serve
Pour the warm ganache over the completely cooled cake. Use a spatula to spread it to the edges. Let the ganache set for 10-15 minutes. It will form a slight crust but stay soft underneath. Slice into squares and serve. I like mine with a cold glass of milk or a cup of coffee.
Expert Tips & Tricks
Here’s everything I’ve learned from making this dozens of times. These tips will save you from my mistakes.
Don’t Overmix the Batter — I said it once, but I’ll say it again. Overmixing = tough cake. Mix until just combined. Your batter should look thick and heavy, not runny.
Use Room Temperature Ingredients — Eggs and buttermilk at room temperature emulsify better. Cold ingredients can cause the batter to separate, leading to a dense texture. Take your eggs out of the fridge 30 minutes before you start.
Check Your Oven Temp — Ovens lie. If your cake is browning too fast on top but raw in the middle, cover it with foil after 20 minutes. If it’s not rising, your baking powder might be old. Check the expiration date.
The Swirl Technique — If you want big pockets of peanut butter, don’t swirl too much. Just drop dollops and give it one gentle pass with a knife. If you want a marbled effect, swirl more. I prefer big pockets because you get that intense peanut butter flavor.
Ganache Consistency — If your ganache is too thick to pour, warm it up for 10 seconds in the microwave. If it’s too thin, add a few more chocolate chips and stir. You want it to drizzle but also coat the back of a spoon.
Cool Completely — I know it’s tempting to cut into it right away, but the cake needs to set. If you cut it hot, it’ll crumble. Let it cool in the pan for 20 minutes, then transfer to a wire rack to cool completely. This takes about an hour total.
Variations & Substitutions
Once you’ve nailed the basic version, here’s how you can mix it up. I’ve tried all of these.
Reese’s Cup Stuffed — Instead of swirling peanut butter, press whole mini Reese’s cups into the batter before baking. They get warm and gooey inside. This is my kids’ favorite version.
Chocolate Peanut Butter Cup Cake — Add a layer of crushed Reese’s cups between two layers of cake. Make it a layer cake instead of a sheet cake. It’s fancy and impressive.
Gluten-Free Version — Use a 1:1 gluten-free flour blend (like Bob’s Red Mill or King Arthur). The texture will be slightly more crumbly, but it still tastes amazing. I’ve used Gluten-Free Pumpkin Bars techniques with success here.
Dairy-Free Option — Swap buttermilk for almond milk + lemon juice. Use dairy-free chocolate chips and coconut cream for the ganache. It’s not exactly the same, but it’s still delicious.
Nut-Free — Use sunflower seed butter or soy nut butter instead of peanut butter. Sunflower seed butter has a similar texture and color, so it works well in the swirl.
Spiked Version — Add a tablespoon of bourbon or rum to the ganache. It adds a nice depth of flavor that pairs well with the chocolate and peanut butter. Great for adult gatherings.
Serving & Storage
How to Serve
I usually serve this straight from the pan at the dinner table—it looks rustic and stays warm. But here are other ways I’ve enjoyed it:
- With Whipped Cream — A dollop of lightly sweetened whipped cream cuts through the richness.
- With Ice Cream — Vanilla bean ice cream is classic. The cold ice cream vs. warm cake is a texture dream.
- With Coffee — This cake is rich, so it pairs perfectly with a strong black coffee or espresso.
Toppings Bar: When I have guests, I put out crushed peanuts, extra chocolate chips, and sea salt flakes. Everyone customizes their slice.
Storage Instructions
Refrigerator: Store in an airtight container or cover tightly with plastic wrap for up to 5 days. The cake actually gets fudgier in the fridge, which I love. Take it out 20 minutes before serving to let it come to room temperature.
Freezing: Yes, you can freeze this! Wrap individual slices tightly in plastic wrap, then in foil. Freeze for up to 3 months. Thaw in the fridge overnight. The ganache might lose a little shine, but the taste is still great.
Reheating: If you want warm cake, microwave a slice for 15-20 seconds. It melts the ganache and makes the peanut butter gooey. Warning: It gets very hot inside.
Pro Tip: If leftovers are drying out, place a slice of bread in the container with the cake. The bread releases moisture, keeping the cake soft. (This is a grandma trick that actually works.)
Nutrition Information
I’m not a nutritionist, but here’s the breakdown if you’re tracking. This is a rich dessert, so portion control is key.
Per Serving (based on 12 slices):
- Calories: 480
- Protein: 8g
- Carbs: 55g
- Fiber: 3g
- Sugar: 38g
- Fat: 28g
- Saturated Fat: 12g
- Cholesterol: 45mg
- Sodium: 320mg
What’s Good: Decent protein from the peanut butter and eggs. Iron from the cocoa powder.
What to Know: High in sugar and fat. It’s a treat, not a health food. But it’s way better than store-bought cake because you control the ingredients. When I want to make it lighter, I use half the sugar in the batter and skip the ganache (though, honestly, the ganache is the best part).
Final Thoughts
So that’s my Reese’s Peanut Butter Cake! I’ve probably talked your ear off at this point, but when you make a recipe this often, you have a lot to say about it. This has saved dessert nights more times than I can count. It’s my answer to “what’s for dessert?” when I’m tired, don’t want to order out, and still want something that tastes really good. My kids are happy, my husband’s happy, and I’m happy because I’m not stressed about cooking.
Make it yours! Try different swirls, swap in your favorite chocolate, or add a pinch of chili powder for a kick. The best recipes are the ones you adapt to your family’s tastes. If you make this, drop a comment and let me know what you think! I love hearing how recipes turn out in your kitchen. And if something doesn’t work, tell me that too—I’m here to help troubleshoot.
Happy baking! And I hope your kitchen smells half as good as mine does right now.
Frequently Asked Questions
Can I use crunchy peanut butter?
You can, but the texture will be different. The chunks might sink to the bottom or create uneven swirls. Creamy peanut butter is smoother and easier to mix with the sugar for that perfect ribbon. If you love crunch, add chopped peanuts on top of the ganache instead.
Why did my cake sink in the middle?
This usually happens if you opened the oven door too early (letting the heat escape) or if you underbaked it. Make sure to test with a toothpick. If it comes out wet, bake for 5 more minutes. Also, don’t overmix the batter, as weak gluten structure can cause sinking.
Can I make this ahead for a party?
Absolutely. Make the cake 2 days ahead. Store it covered at room temperature. Make the ganache the day of and pour it over right before serving. This keeps the ganache fresh and glossy. I do this all the time for dinner parties.
Why did my ganache seize up?
Seizing happens if water gets into the chocolate. Make sure your bowl is completely dry. Also, if you boil the cream instead of just simmering it, the heat might be too high. Pour the hot (not boiling) cream over the chips and let it sit before whisking.
Can I use milk instead of buttermilk?
Not directly. Buttermilk’s acidity is what tenderizes the cake. If you don’t have buttermilk, make your own by adding 1 tablespoon of vinegar or lemon juice to 1 cup of milk. Let it sit for 5 minutes. This works perfectly.
How do I store leftovers?
Keep it in an airtight container at room temperature for up to 3 days, or in the fridge for up to 5 days. The fridge makes it fudgier, which I prefer. Just let it come to room temperature before eating for the best texture.
Pin This Recipe!
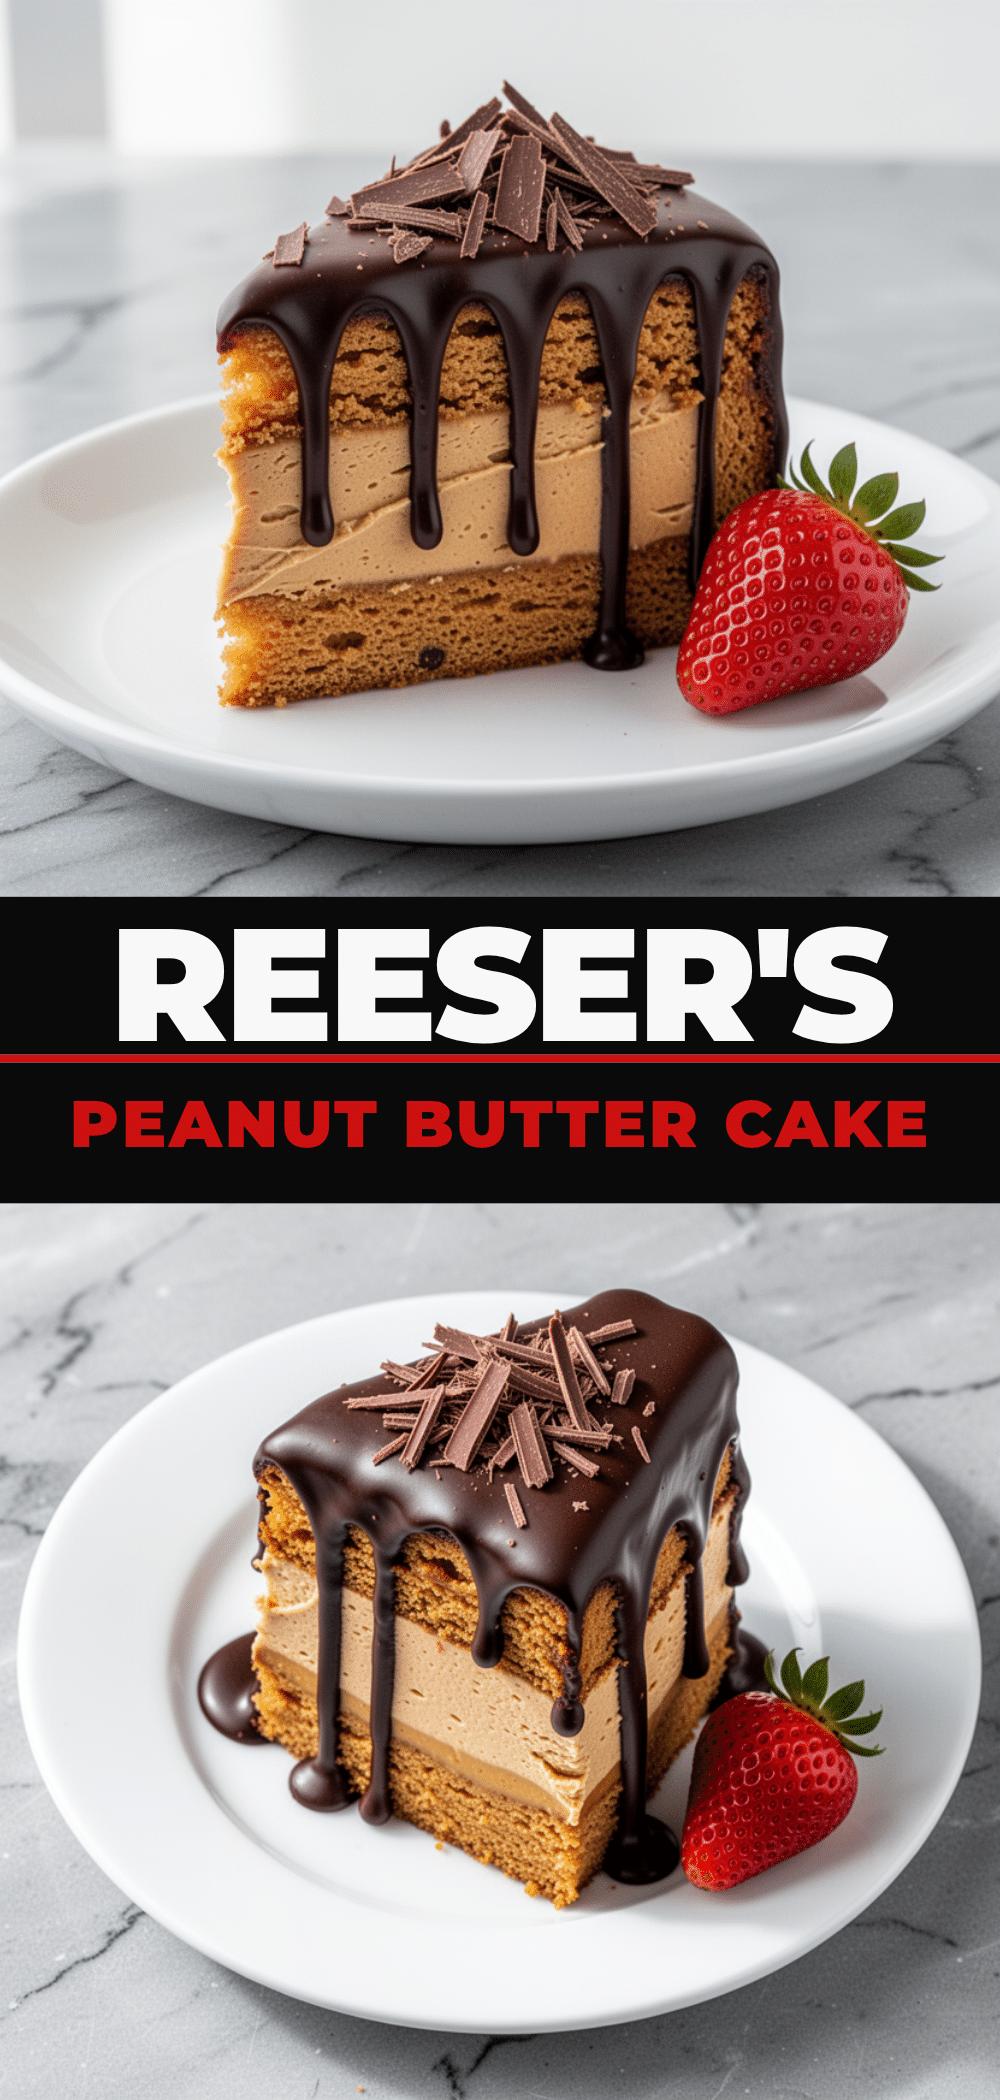
Reeses Peanut Butter Cake: 5-Step Easy Homemade Dessert
- Total Time: 45 minutes
- Yield: 12 servings 1x
Description
A rich, moist chocolate cake with creamy peanut butter swirls and a chocolate ganache topping. This easy homemade dessert tastes like the inside of a Reese’s cup and requires only basic pantry ingredients.
Ingredients
- 2 cups (250g) all-purpose flour
- ¾ cup (75g) unsweetened cocoa powder
- 1 ½ cups (300g) granulated sugar
- 1 cup (240ml) buttermilk
- ½ cup (120ml) vegetable oil
- 3 large eggs, room temperature
- 1 tsp baking powder
- 1 tsp baking soda
- 1 tsp salt
- ½ cup (128g) creamy peanut butter
- ¼ cup (30g) confectioners’ sugar
- 1 cup (170g) semi-sweet chocolate chips
- ½ cup (120ml) heavy cream
- 1 tsp vanilla extract
Instructions
- Preheat oven to 350°F (175°C). Grease a 9×13 inch baking pan with butter or non-stick spray and dust with cocoa powder.
- In a large bowl, whisk together flour, cocoa powder, sugar, baking powder, baking soda, and salt.
- In a separate bowl, whisk eggs, buttermilk, vegetable oil, and vanilla extract until combined.
- Pour wet ingredients into dry ingredients and mix until just combined. Do not overmix.
- In a small bowl, mix creamy peanut butter and confectioners’ sugar until smooth and thick.
- Pour half of the chocolate batter into the prepared pan. Drop large spoonfuls of peanut butter mixture over the batter. Pour remaining batter on top. Use a knife to gently swirl the peanut butter into the batter.
- Bake for 30-35 minutes, or until a toothpick inserted into the center comes out with moist crumbs.
- Let the cake cool in the pan for at least 20 minutes.
- While the cake cools, heat heavy cream in a saucepan until it just starts to simmer. Pour over chocolate chips in a heatproof bowl and let sit for 2 minutes. Whisk until smooth and glossy. Stir in vanilla.
- Pour warm ganache over the completely cooled cake. Let set for 10-15 minutes before slicing.
Notes
Do not overmix the batter to ensure a tender cake. Use creamy peanut butter, not natural, for proper swirls. Let the cake cool completely before adding ganache to prevent melting. For gluten-free, use a 1:1 gluten-free flour blend. For dairy-free, swap buttermilk for almond milk with lemon juice and use dairy-free chocolate and coconut cream.
- Prep Time: 20 minutes
- Cook Time: 35 minutes
- Category: Dessert
- Cuisine: American
Nutrition
- Serving Size: 1 slice
- Calories: 480
- Sugar: 38
- Sodium: 320
- Fat: 28
- Saturated Fat: 12
- Carbohydrates: 55
- Fiber: 3
- Protein: 8
Keywords: Reese's cake, peanut butter cake, chocolate cake, homemade dessert, easy baking, sheet cake, ganache, salty sweet dessert



