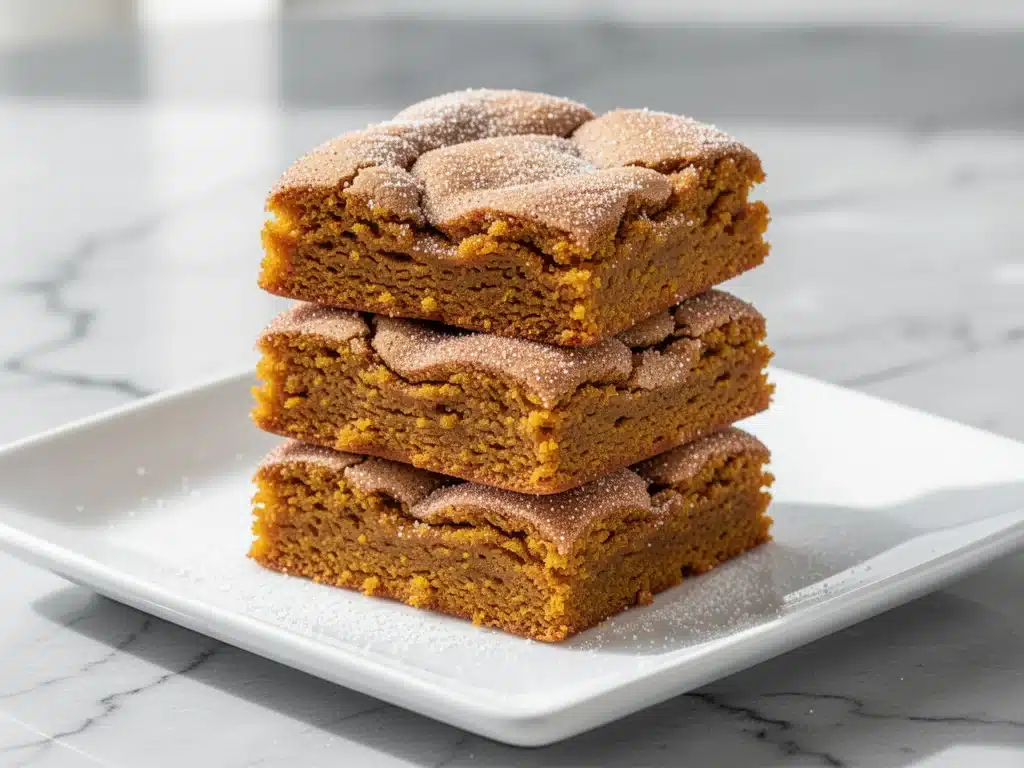
I have a confession to make: I used to think gluten-free baking was a sad compromise. You know the kind—dense, crumbly, and tasting faintly of despair. I’d bite into a “gluten-free cookie” and feel like I was eating a brick wrapped in sugar. But then last week, I stumbled onto something that completely changed my mind about what’s possible when you ditch the wheat.
I was staring at a can of pumpkin puree and a bag of brown sugar, wondering what to do with my leftover fall decor. I decided to mash up two of my absolute favorite things: the cozy spices of pumpkin pie and the chewy, cinnamon-sugar goodness of snickerdoodles. I wasn’t aiming for fancy. I just wanted something warm, comforting, and easy enough to throw together on a rainy Tuesday afternoon.
What came out of the oven was a disaster at first. Too dry. Too flat. But on my third attempt, I tweaked the ratios, added a secret ingredient for moisture, and finally nailed it. These Gluten-Free Fall Pumpkin Snickerdoodle Bars are soft, chewy, spiced to perfection, and covered in that addictive cinnamon-sugar crust. They’re the kind of bar you bake once and then have to hide in the back of the pantry because your family will eat them all in two days.
I’ve tested this recipe more times than I’d like to admit (seven, to be exact), tweaking the gluten-free flour blend and the spice levels until it was foolproof. Whether you’re gluten-free, celiac, or just someone who loves a good fall treat, these bars are going to become your new obsession. They’re better than fall molasses ginger cookies and way easier than making a whole pumpkin pie. Let’s get baking.
Why You’ll Love This Recipe
There are a lot of pumpkin recipes out there, but this one is different. It’s not a cake. It’s not a muffin. It’s a bar that sits right in that magical zone between a cookie and a brownie. Here’s why these Gluten-Free Fall Pumpkin Snickerdoodle Bars are worth your oven space:
- Zero Gluten-Free Dryness — The biggest fear with GF baking is that crumbly texture. I’ve solved this. These bars are moist, dense, and chewy. I’ve had friends who are hardcore gluten-free swear these are better than the regular version.
- 15 Minutes Prep Time — Seriously. You don’t need to stand over a mixer for hours. I throw everything in one bowl, stir, spread, sprinkle sugar, and bake. It’s perfect for when you want a treat but don’t have all day.
- Pantry-Friendly Ingredients — You probably already have the pumpkin puree, brown sugar, and spices. The only thing you might need is a good gluten-free flour blend. I’ll tell you which one works best below.
- Perfect for Gift-Giving — These bars travel well. I wrap them up in tin boxes and give them to neighbors, teachers, and coworkers. They look fancy but are super simple to make. Plus, they’re naturally nut-free if you skip the pecans, making them safe for school events.
- Leftovers Actually Taste Better — Unlike some baked goods that go stale by noon, these bars get softer and more flavorful the next day. The spices meld together, and the cinnamon-sugar crust gets that slight crunch. I deliberately bake a double batch for this reason.
This recipe has saved me more times than I can count. It’s my go-to when I need to bring something to a potluck, when I want a cozy snack with my coffee, or when I just need a hug in food form. It’s simple, reliable, and tastes like autumn in every bite.
Ingredients You’ll Need
Here’s the best part: you probably have most of this already. The beauty of this recipe is how few ingredients it takes to get that complex, cozy flavor. I’m particular about a couple of items here, so pay close attention to the notes below.
For the Bar Base
Gluten-Free All-Purpose Flour (2 cups / 240g) — This is the most important choice. Do not use rice flour alone. I recommend a blend that includes xanthan gum, like Bob’s Red Mill 1-to-1 or King Arthur Measure for Measure. If your blend doesn’t have xanthan gum, add ½ teaspoon separately. This ensures the bars hold together instead of crumbling.
Baking Powder (1 teaspoon) — Fresh baking powder is key for that lift. If your can is old, your bars will be flat bricks. I check the date every time I buy it.
Baking Soda (½ teaspoon) — Helps the bars spread and brown. Also reacts with the brown sugar for that deep flavor.
Salt (½ teaspoon) — Essential to balance the sweetness. Don’t skip it.
Unsalted Butter (½ cup / 113g, softened) — Softened, not melted. If you melt the butter, the texture changes. I take mine out of the fridge 30 minutes before baking. For dairy-free, use a high-quality vegan butter stick (not tub margarine).
Light Brown Sugar (1 cup / 200g, packed) — This gives the bars their chewiness and moisture. Dark brown sugar works too if you want a deeper molasses flavor. Light brown is classic for snickerdoodles.
Granulated Sugar (½ cup / 100g) — Adds structure and helps create that crisp edge.
Large Egg (1, room temperature) — Binds everything together. Room temp eggs mix better and create a smoother batter.
Pumpkin Puree (½ cup / 135g) — Use canned pure pumpkin, NOT pumpkin pie filling. Pie filling has sugar and spices added, which will throw off the balance. I like Libby’s or store brand. Make sure it’s well-stirred before measuring.
Pure Vanilla Extract (1 teaspoon) — Real vanilla makes a huge difference. I use Nielsen-Massey or McCormick. Avoid imitation vanilla.
For the Cinnamon-Sugar Topping
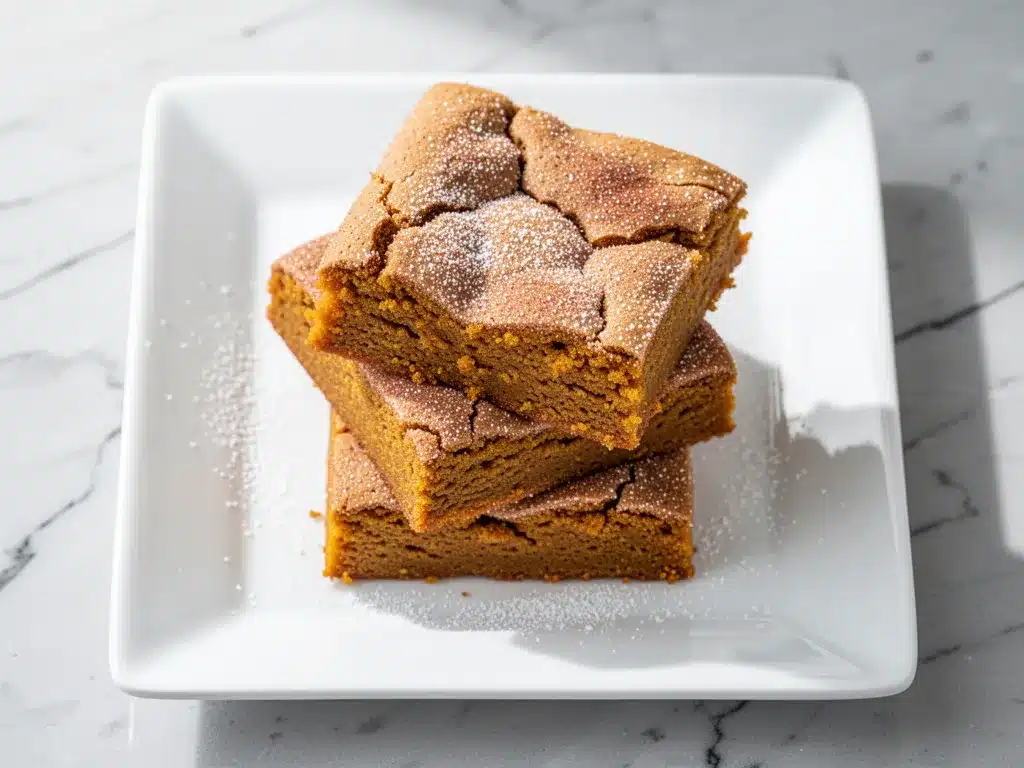
Granulated Sugar (2 tablespoons) — For the crust.
Ground Cinnamon (1 tablespoon) — Use fresh cinnamon if you can. Old cinnamon tastes dusty. I keep mine in a cool, dark place.
Ground Ginger (½ teaspoon) — Adds that warm, spicy kick that screams “fall.”
Ground Nutmeg (¼ teaspoon) — Just a hint. Too much nutmeg can taste medicinal.
Optional Add-Ins
White Chocolate Chips (½ cup) — I love the contrast of sweet white chocolate with the spiced pumpkin. It’s my favorite addition.
Chopped Pecans (½ cup) — Adds crunch and richness. Toast them first for extra flavor.
Cream Cheese Swirl — Mix 2 oz softened cream cheese with 1 teaspoon sugar and swirl it into the batter before baking. It adds a tangy richness that balances the sweetness.
Equipment Needed
You don’t need fancy gadgets for this. Here’s what I actually use:
9×9 Inch Baking Pan — This is the perfect size for these bars. They’ll be about 1 inch thick. If you want thicker bars, use an 8×8 pan, but watch the baking time. If you want thinner bars, use a 9×13 pan and reduce baking time by 5 minutes.
Mixing Bowls — One large bowl for the wet ingredients, one medium for the dry. I use glass bowls because I can see how well things are mixing.
Electric Hand Mixer or Stand Mixer — You can use a wooden spoon, but a mixer makes it faster and ensures the butter and sugar are properly creamed. I use a hand mixer because it’s easier to clean.
Parchment Paper — Line your pan with parchment, leaving an overhang on the sides. This is non-negotiable. It makes removing the bars effortless and keeps cleanup to zero. Grease the parchment lightly too.
Small Bowl — For mixing the cinnamon-sugar topping.
Spatula — A silicone spatula is great for scraping the bowl and spreading the batter evenly.
How to Make It: Step-by-Step
Alright, let’s make these Gluten-Free Fall Pumpkin Snickerdoodle Bars! I’m walking you through exactly how I do it, including the little tricks that keep them moist and chewy.
Step 1: Prep Your Oven and Pan (5 minutes)
Preheat your oven to 350°F (175°C). Line your 9×9 inch baking pan with parchment paper. Leave a few inches of overhang on the long sides—this acts as handles to lift the bars out later. Lightly spray the parchment with cooking spray or brush with melted butter. This ensures nothing sticks.
Step 2: Mix the Dry Ingredients (2 minutes)
In a medium bowl, whisk together the gluten-free flour, baking powder, baking soda, salt, ground ginger, and nutmeg. Whisking is important here to distribute the leavening agents evenly. If you skip this, you might get pockets of baking soda taste. Set this aside.
Step 3: Cream the Butter and Sugars (3 minutes)
In a large bowl, beat the softened butter, brown sugar, and granulated sugar together. Use your mixer on medium-high speed for about 2-3 minutes. You want the mixture to look light, fluffy, and pale. This step incorporates air, which helps the bars rise and stay chewy, not dense. Scrape down the sides of the bowl with a spatula to ensure everything is mixed.
Step 4: Add Wet Ingredients (2 minutes)
Add the egg and vanilla extract to the butter mixture. Beat on low speed just until combined. Then, add the pumpkin puree. Mix until the batter is smooth and uniform. The batter will be thick and slightly sticky—this is normal. Don’t add more flour!
Step 5: Combine Wet and Dry (2 minutes)
Gradually add the dry ingredients to the wet ingredients. Mix on low speed or use a spatula until just combined. Overmixing can make the bars tough. If you’re adding white chocolate chips or pecans, fold them in now. The batter will be thick and dough-like.
Step 6: Spread and Top (5 minutes)
Spread the batter evenly into your prepared pan. Use a wet spatula or your fingers (lightly greased) to smooth the top. In a small bowl, mix the 2 tablespoons granulated sugar, cinnamon, and nutmeg. Sprinkle this mixture evenly over the top of the batter. Press it down gently so it sticks. This creates that signature snickerdoodle crust.
Step 7: Bake (25-30 minutes)
Bake in the preheated oven for 25-30 minutes. The bars are done when the edges are golden brown and the center is set but still has a slight jiggle. A toothpick inserted into the center should come out with a few moist crumbs, not wet batter. If it comes out clean, you might have overbaked them. GF baked goods continue to cook as they cool.
Step 8: Cool and Cut (30 minutes)
Let the bars cool in the pan for at least 20 minutes. This is crucial. If you try to cut them while hot, they’ll fall apart. Once cooled, use the parchment overhang to lift the entire slab out of the pan. Place on a cutting board and slice into squares. I like 12-16 bars depending on how generous you are.
Expert Tips & Tricks
Here’s everything I’ve learned from making these dozens of times. These tips will save you from my mistakes.
Don’t Skip the Parchment
I cannot stress this enough. Gluten-free bars are stickier than regular ones. Without parchment, you’ll be scraping burnt sugar off your pan for hours. The overhang is your best friend for lifting the bars out cleanly.
Measure Flour Correctly
Gluten-free flour is tricky. If you scoop it directly from the bag, you’ll pack it down and use too much, resulting in dry bars. Spoon the flour into your measuring cup and level it off with a knife. This is the “spoon and level” method, and it makes a huge difference.
Room Temperature Ingredients
Make sure your egg and butter are at room temperature. Cold ingredients don’t emulsify properly, leading to a grainy batter. I put my egg in a bowl of warm water for 5 minutes if I forget.
Watch the Oven
Ovens vary. Start checking at 25 minutes. The edges should be set, but the center should still be soft. They firm up as they cool. If you wait until the center is completely firm in the pan, they’ll be dry once cooled.
Store Properly
These bars need to be stored in an airtight container at room temperature for up to 4 days. If your kitchen is hot, keep them in the fridge. They reheat beautifully in the microwave for 10-15 seconds.
Variations & Substitutions
Once you’ve nailed the basic version, here’s how you can mix it up. I’ve tried all of these.
White Chocolate Pumpkin
Add ½ cup white chocolate chips to the batter. The sweetness of the white chocolate pairs perfectly with the pumpkin spices. This is my personal favorite variation.
Pumpkin Spice Latte Bars
Add 1 tablespoon of instant espresso powder to the dry ingredients. It enhances the coffee-like flavor of the cinnamon and makes it taste like a dessert version of your morning latte.
Dairy-Free Version
Swap the butter for vegan butter sticks (not tub margarine) and use dairy-free white chocolate chips if adding them. The rest of the ingredients are naturally dairy-free.
Gluten-Free Oat Variation
Replace ½ cup of the gluten-free flour with certified gluten-free rolled oats. This adds chewiness and fiber. Blend the oats first if you want a smoother texture.
No-Pumpkin Fall Bars
If you don’t have pumpkin, you can use applesauce (¼ cup less than the pumpkin amount) or even roasted sweet potato puree. The texture will be slightly different, but still delicious.
Mini Cupcakes
Divide the batter into a muffin tin lined with cups. Bake for 18-20 minutes. Great for portion control and lunchboxes.
Serving & Storage
These bars are best served at room temperature. I love them with a hot cup of coffee or tea. They also pair wonderfully with a glass of cold milk or a latte.
How to Serve:
I usually cut them into 12 squares for a standard pan. They’re perfect for potlucks, office parties, or just as a snack. They travel well in a tin box, making them great gifts. I’ve given these to teachers, neighbors, and coworkers, and they always get compliments.
Storage Instructions:
Room Temperature: Store in an airtight container for up to 4 days. Place a piece of parchment between layers if stacking to prevent sticking.
Refrigerator: Store in an airtight container for up to 1 week. Let them come to room temperature before eating for the best texture.
Freezer: These bars freeze well! Wrap individual bars in plastic wrap and place them in a freezer bag. They’ll last for up to 3 months. Thaw at room temperature or microwave for 10 seconds.
Reheating: If you’ve refrigerated them, microwave for 10-15 seconds to soften the center. They’ll taste fresh out of the oven.
Nutrition Information
I’m not a nutritionist, but here’s the breakdown if you’re tracking. This is based on 12 bars, with no add-ins.
- Calories: 180
- Protein: 2g
- Carbs: 28g
- Fiber: 1g
- Sugar: 18g
- Fat: 8g
- Saturated Fat: 5g
- Cholesterol: 25mg
- Sodium: 120mg
These bars are a treat, so enjoy them in moderation. They’re higher in sugar than a savory snack, but they’re also packed with fall spices and pumpkin. If you want to reduce sugar, you can reduce the brown sugar to ¾ cup, but the bars might be slightly less chewy.
Final Thoughts
So that’s my Gluten-Free Fall Pumpkin Snickerdoodle Bars recipe! I know I’ve talked a lot about this, but when you find a recipe that works this well, you want to make sure it sticks. These bars have become a staple in my fall baking rotation. They’re easy, delicious, and satisfying for anyone, gluten-free or not.
I hope you give these a try. They’re the perfect way to use up that pumpkin puree you bought for pie, and they’re way easier than making a whole pie. Make them your own—add chocolate, nuts, or swirl in some cream cheese. The best recipes are the ones you adapt to your taste.
If you make these, I’d love to hear how they turn out! Drop a comment below and let me know what you think. And if you’re looking for more fall treats, check out my cozy fall apple cider doughnut loaf for a breakfast option.
Happy baking! And I hope your kitchen smells as good as mine does right now.
Frequently Asked Questions
Can I use a different gluten-free flour blend?
Yes, but stick to a 1-to-1 blend that includes xanthan gum. Rice flour alone or almond flour will change the texture too much. If your blend doesn’t have xanthan gum, add ½ teaspoon to the dry ingredients. I’ve tested Bob’s Red Mill 1-to-1 and King Arthur Measure for Measure, and both work perfectly.
Why are my bars dry?
This usually happens if you measure too much flour or overbake them. Remember to spoon and level your flour, don’t scoop it. Also, take them out when the center still has a slight jiggle. They’ll firm up as they cool. If you bake them until the center is completely firm in the pan, they’ll be dry.
Can I make these ahead of time?
Absolutely. You can make the batter and refrigerate it for up to 24 hours before baking. Just let it sit at room temperature for 15 minutes before spreading in the pan. You can also bake the bars ahead and store them in an airtight container for up to 4 days.
Do these taste like regular snickerdoodles?
They’re very close! They have that cinnamon-sugar crust and soft, chewy center. The pumpkin adds a subtle sweetness and moisture that makes them slightly denser than a traditional snickerdoodle, but the flavor profile is definitely snickerdoodle-inspired. If you love soft buttery cinnamon sugar pretzel bites, you’ll love these.
Can I freeze the batter?
I haven’t tried freezing the batter, but I think it might separate due to the pumpkin. It’s better to bake the bars and freeze the finished product. Wrap individual bars in plastic wrap and freeze for up to 3 months.
What if I don’t have pumpkin puree?
You can substitute with unsweetened applesauce (use ¼ cup less) or roasted sweet potato puree. The texture will be slightly different, but the flavor will still be delicious. Just make sure the substitute is unsweetened and has a similar consistency to pumpkin puree.
Can I make these in a different pan size?
Yes. For an 8×8 pan, bake for 30-35 minutes. For a 9×13 pan, bake for 20-25 minutes. Keep an eye on them, as baking times vary by oven. The bars are done when the edges are golden and the center is set.
Pin This Recipe!
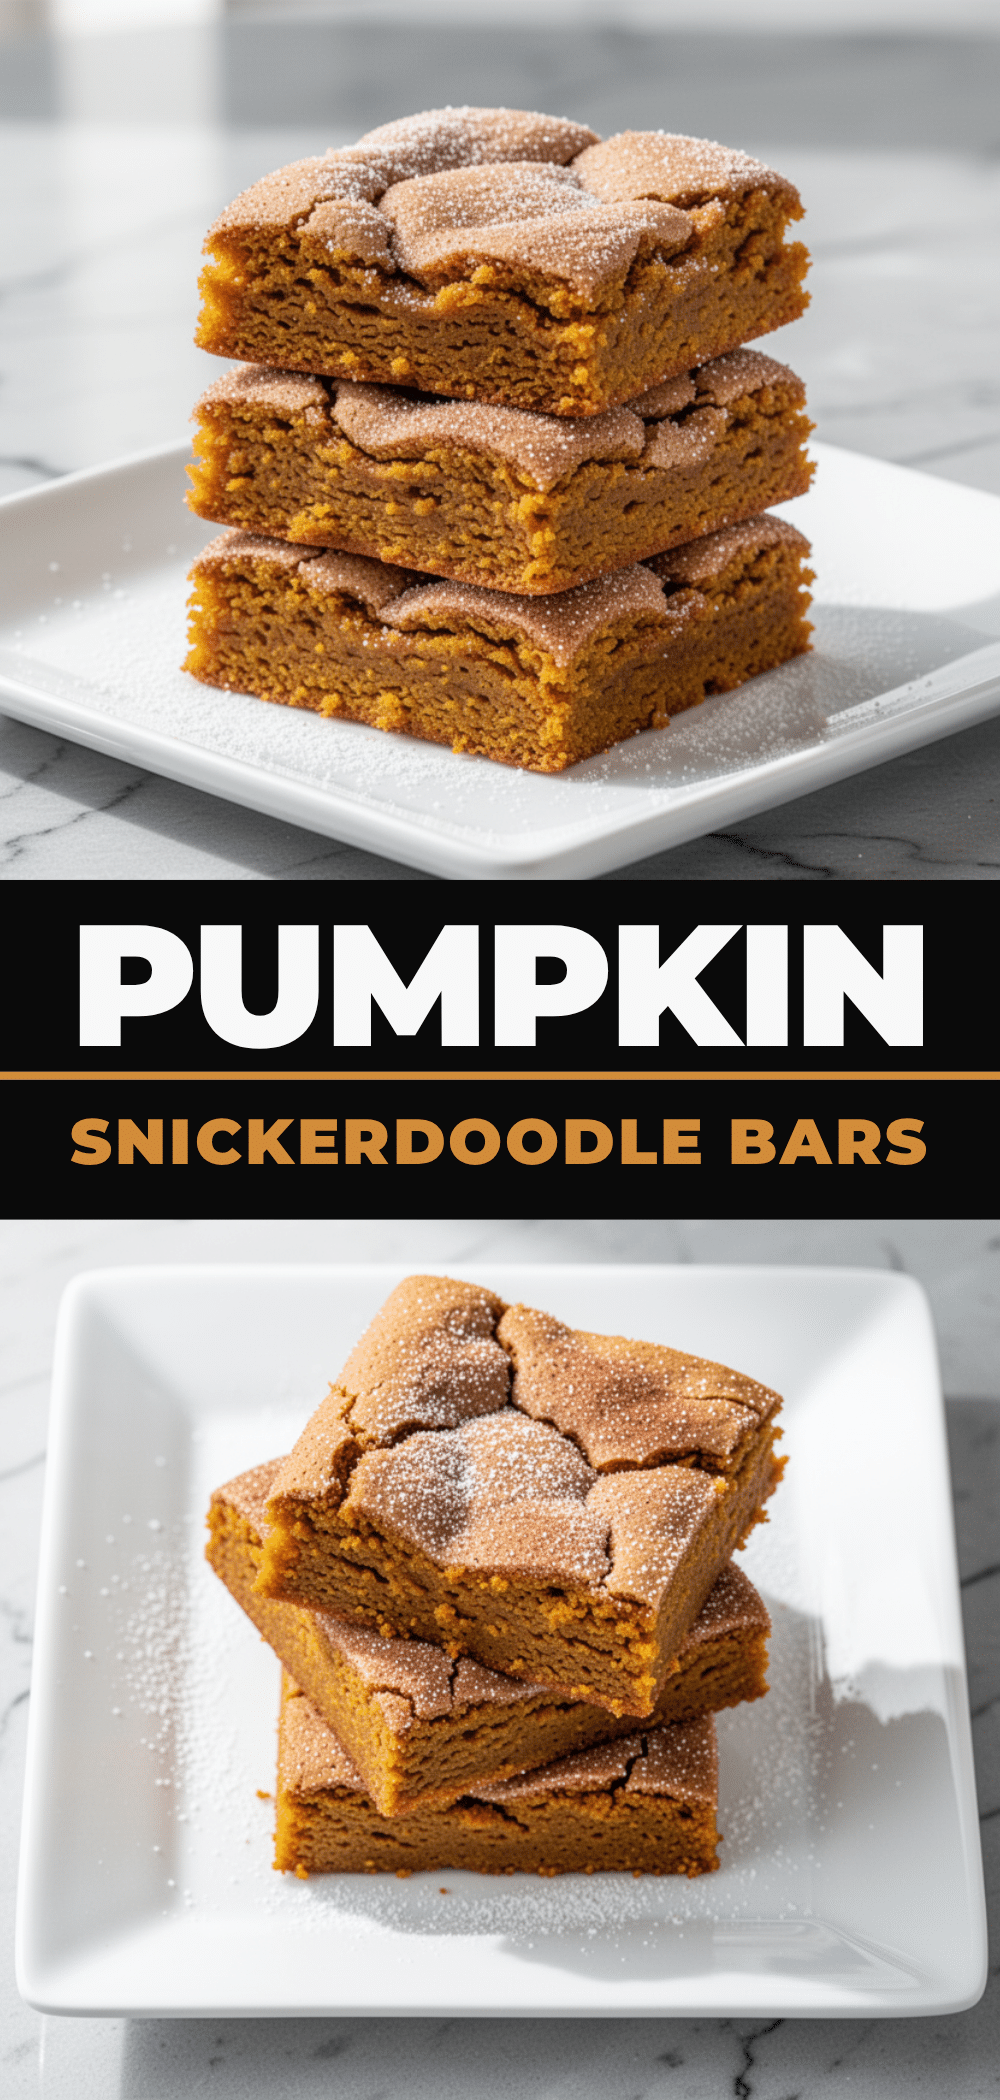
Gluten-Free Fall Pumpkin Snickerdoodle Bars
- Total Time: 45 minutes
- Yield: 12 servings 1x
Description
Soft, chewy, and spiced to perfection, these gluten-free bars combine the cozy flavors of pumpkin pie with the cinnamon-sugar crust of snickerdoodles. They are easy to make, moist, and perfect for fall baking.
Ingredients
- 2 cups (240g) Gluten-Free All-Purpose Flour (blend with xanthan gum)
- 1 teaspoon Baking Powder
- ½ teaspoon Baking Soda
- ½ teaspoon Salt
- ½ cup (113g) Unsalted Butter, softened
- 1 cup (200g) Light Brown Sugar, packed
- ½ cup (100g) Granulated Sugar
- 1 Large Egg, room temperature
- ½ cup (135g) Pumpkin Puree
- 1 teaspoon Pure Vanilla Extract
- 2 tablespoons Granulated Sugar (for topping)
- 1 tablespoon Ground Cinnamon
- ½ teaspoon Ground Ginger
- ¼ teaspoon Ground Nutmeg
- Optional: ½ cup White Chocolate Chips
- Optional: ½ cup Chopped Pecans
- Optional: 2 oz Cream Cheese mixed with 1 tsp sugar for swirl
Instructions
- Preheat oven to 350°F (175°C). Line a 9×9 inch baking pan with parchment paper, leaving an overhang on the sides, and lightly grease.
- In a medium bowl, whisk together the gluten-free flour, baking powder, baking soda, salt, ground ginger, and nutmeg. Set aside.
- In a large bowl, beat the softened butter, brown sugar, and granulated sugar on medium-high speed for 2-3 minutes until light and fluffy.
- Add the egg and vanilla extract to the butter mixture. Beat on low speed until combined.
- Add the pumpkin puree and mix until the batter is smooth and uniform.
- Gradually add the dry ingredients to the wet ingredients, mixing on low speed or with a spatula until just combined. Fold in optional add-ins if using.
- Spread the batter evenly into the prepared pan. In a small bowl, mix the topping ingredients (2 tbsp sugar, cinnamon, nutmeg) and sprinkle evenly over the batter, pressing gently to adhere.
- Bake for 25-30 minutes, or until edges are golden brown and the center is set but still has a slight jiggle.
- Let the bars cool in the pan for at least 20 minutes before lifting them out using the parchment overhang and slicing into squares.
Notes
Ensure gluten-free flour blend includes xanthan gum or add ½ teaspoon separately. Use the ‘spoon and level’ method for flour to avoid dry bars. Bars continue to cook as they cool, so remove from oven when center still has a slight jiggle. Store in an airtight container at room temperature for up to 4 days.
- Prep Time: 15 minutes
- Cook Time: 30 minutes
- Category: Dessert
- Cuisine: American
Nutrition
- Serving Size: 1 bar
- Calories: 180
- Sugar: 18
- Sodium: 120
- Fat: 8
- Saturated Fat: 5
- Carbohydrates: 28
- Fiber: 1
- Protein: 2
Keywords: gluten-free, pumpkin, snickerdoodle, bars, fall baking, easy dessert, dairy-free option



