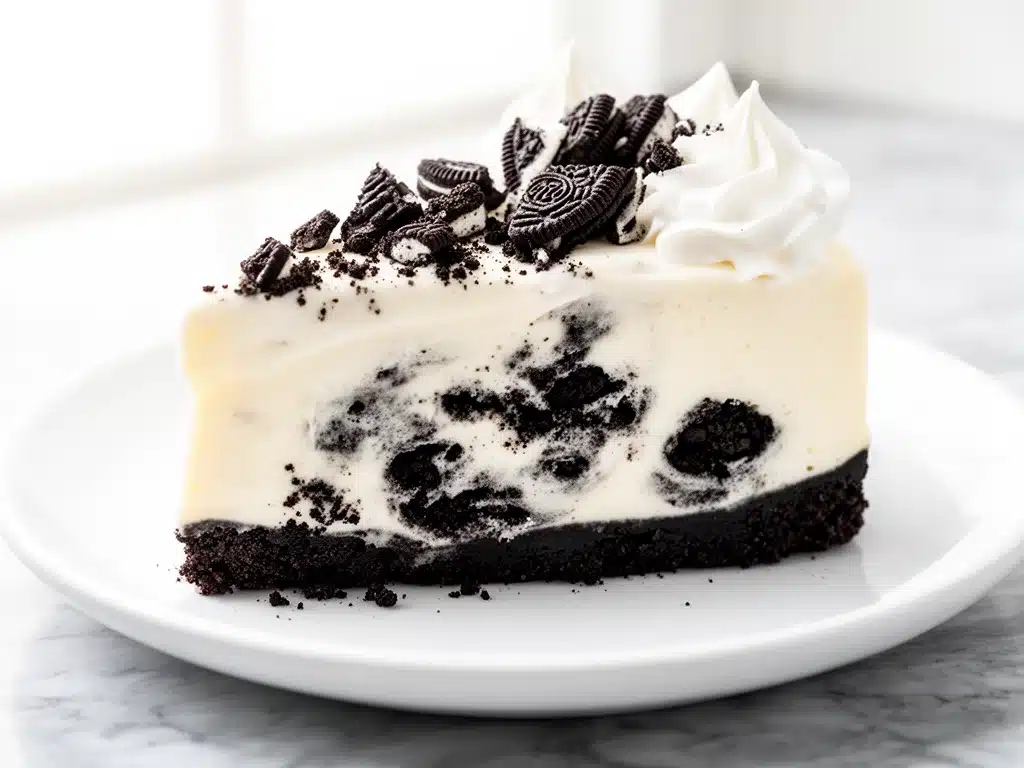
One summer afternoon, I found myself hosting an impromptu gathering with zero plans for dessert. The fridge was looking sparse, but I did spot a package of Oreos and some cream cheese hiding in the back. I decided to throw together a no-bake Oreo cheesecake on a whim, fully expecting a decent but forgettable result. Spoiler: It turned out so creamy and indulgent that my friends asked for the recipe before they left. Since that day, this no-bake Oreo cheesecake with extra-creamy texture has become my secret weapon for easy desserts that impress without any oven drama.
What makes this cheesecake special isn’t just the Oreos (though, hello, who doesn’t love those?), but the way the cream cheese and whipped cream come together to create a silky, luscious filling that melts in your mouth. I’ve made this recipe over a dozen times, messing up the ratios a few times (because, honestly, who measures perfectly the first time?), but now it’s foolproof and ready to become your new go-to dessert. Trust me, once you taste this, you’ll find yourself making it on repeat too.
Why You’ll Love This No-Bake Oreo Cheesecake Recipe
This no-bake Oreo cheesecake has completely changed the way I think about quick desserts. Here’s why I keep coming back to it:
- Ridiculously Creamy Texture — The blend of full-fat cream cheese and whipped cream creates a filling that’s smooth, fluffy, and rich without feeling heavy. I’ve never found another no-bake cheesecake that nails this balance.
- Zero Baking Stress — No oven means no heat in the kitchen during summer, and no risk of cracking or overbaking. I can prep this in under 20 minutes and let it chill while I relax.
- Oreos Everywhere — Crushed into the crust, folded into the filling, and sprinkled on top for maximum cookie goodness. Oreo lovers will be in heaven.
- Kid-Approved (and Adult-Approved) — Every time I make this, my kids and their friends devour it before dinner. No complaints from the adults either—just requests for seconds.
- Make-Ahead Friendly — I often prepare this the night before parties or potlucks, and it tastes even better the next day when the flavors meld together.
Honestly, this is the dessert I turn to when I want to impress without the usual fuss. It’s creamy, dreamy, and only requires a handful of ingredients you probably already have.
Ingredients You’ll Need
Here’s the best part: you likely have most of these ingredients sitting in your pantry and fridge already. I’m picky about a few things here, so I’ll explain why each matters.
- Oreos (24 cookies / about 360g) — For the crust and the filling. I use classic Oreos, but feel free to try Golden Oreos or double-stuffed if you want a twist.
- Unsalted Butter (5 tablespoons / 70g) — Melted to bind the Oreo crust. Salted butter throws off the flavor balance here.
- Cream Cheese (16 oz / 450g, softened) — Full-fat only for that signature creamy texture. I always leave it out for at least an hour to soften; cold cream cheese ruins the smoothness.
- Powdered Sugar (¾ cup / 90g) — Sweetens the filling without any grit. I prefer powdered over granulated for smoothness.
- Vanilla Extract (1 teaspoon) — Adds depth and enhances the cheesecake flavor. Pure vanilla is best if you have it.
- Heavy Whipping Cream (1 cup / 240ml) — Whipped to soft peaks for lightness. Full-fat cream is a must here to get that fluffy texture.
Optional but Amazing:
- Extra Oreo Pieces — For folding into the filling or topping. I like to crush a few by hand for a crunchy surprise.
- Chocolate Chips (½ cup / 90g) — Mix into the filling for a little extra indulgence.
Equipment Needed
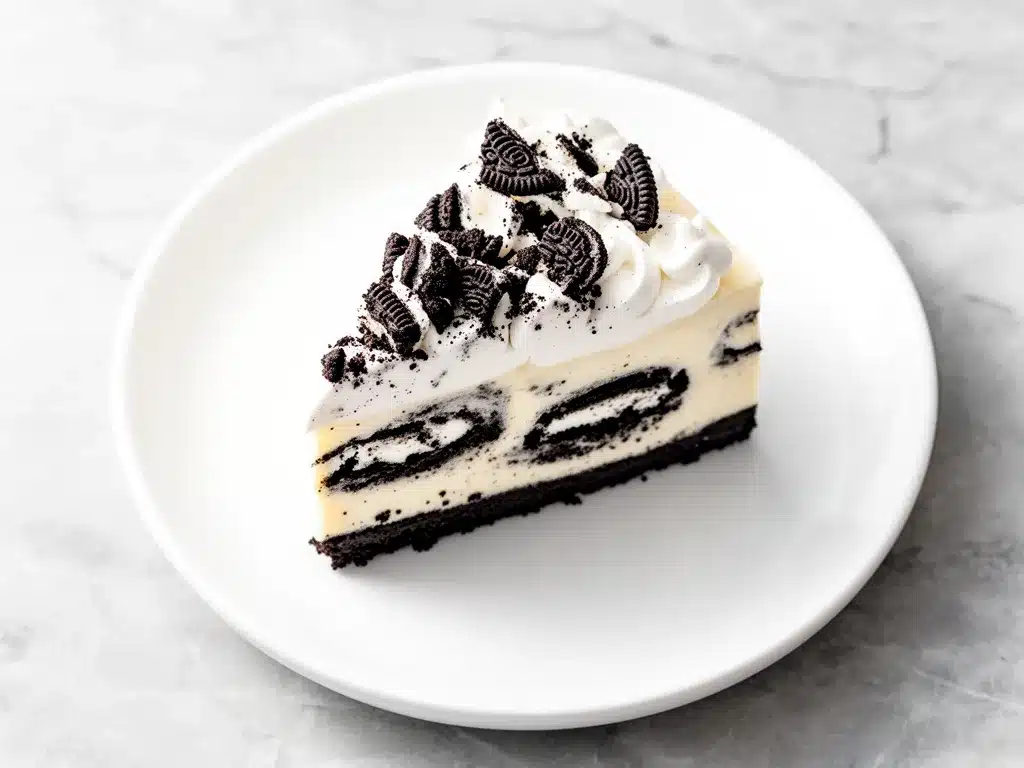
You don’t need fancy tools for this no-bake Oreo cheesecake. Here’s what I actually use:
- 9-inch Springform Pan — Makes it super easy to remove the cheesecake without messing up the sides. If you don’t have one, a regular pie dish works, but be gentle when serving.
- Mixing Bowls — One large bowl for the crust and another for the filling. Glass or metal works fine.
- Electric Mixer or Stand Mixer — For whipping the cream and beating the cream cheese filling until smooth. Hand mixing is possible but takes some serious elbow grease.
- Food Processor or Plastic Bag and Rolling Pin — To crush the Oreos finely for the crust. I usually use a food processor because it’s quick and even, but a rolling pin and baggy work just as well.
- Rubber Spatula — For folding the whipped cream gently into the cream cheese mixture without deflating it.
How to Make No-Bake Oreo Cheesecake: Step-by-Step
Alright, let’s make this! I’m walking you through exactly how I do it, including the little tricks that make all the difference.
Step 1: Crush the Oreos for the Crust (5 minutes)
Put 18 Oreos in your food processor and pulse until they become fine crumbs. No food processor? Put them in a sealed plastic bag and crush with a rolling pin until fine. Mix the crumbs with melted unsalted butter until the mixture looks like wet sand.
Step 2: Press the Crust into the Pan (5 minutes)
Pour the Oreo crust mixture into the bottom of your springform pan. Use the back of a spoon or a flat-bottomed glass to press it down firmly and evenly. This helps it set nicely. Pop it in the fridge while you make the filling.
Step 3: Beat the Cream Cheese and Sugar (5 minutes)
In a large bowl, beat the softened cream cheese with powdered sugar and vanilla extract until smooth and creamy. No lumps! This is crucial for that extra-creamy texture.
Step 4: Whip the Heavy Cream (3-4 minutes)
In a separate chilled bowl, whip the heavy cream until it forms soft peaks. Don’t overwhip—it should be fluffy but still smooth.
Step 5: Fold the Whipped Cream into the Cream Cheese Mixture (3 minutes)
Gently fold the whipped cream into the cream cheese mixture using a rubber spatula. Take your time here; you want to keep it light and airy without deflating the whipped cream.
Step 6: Stir in the Crushed Oreos (2 minutes)
Roughly chop the remaining 6 Oreos and fold them into the filling. This gives delightful chunks of cookie in every bite.
Step 7: Pour and Chill (5 minutes prep + at least 4 hours chilling)
Spread the filling evenly over the chilled crust, smoothing the top with your spatula. Cover with plastic wrap and refrigerate for at least 4 hours, preferably overnight. The longer it chills, the better it sets and the creamier it tastes.
Step 8: Serve and Enjoy
Before serving, sprinkle extra crushed Oreos on top or even drizzle some chocolate sauce if you’re feeling fancy. Slice with a warm knife (run under hot water, then dry) for clean cuts.
Expert Tips & Tricks
- Softened Cream Cheese Is Key: If your cream cheese is too cold, it won’t blend smoothly, and you’ll end up with lumps. I leave mine out at room temp for at least an hour before starting.
- Don’t Skip the Whipped Cream: It lightens the filling so it’s not dense or heavy. Plus, it adds to that dreamy, extra-creamy texture everyone loves.
- Chill, Chill, Chill: This cheesecake needs time to set up properly. I know it’s tempting to dig in early, but trust me—patience pays off.
- Press the Crust Firmly: A loosely packed crust falls apart when you slice. Firm pressure helps it hold together like a dream.
- Use a Springform Pan: It makes removing the cheesecake so much easier and keeps those beautiful sides intact.
- Warm Knife for Slicing: Run your knife under hot water, dry it, then slice. It cuts cleanly through the creamy filling without dragging.
Variations & Substitutions
Once you’ve nailed the basic no-bake Oreo cheesecake, try these twists I’ve tested:
- Chocolate Lover’s Dream: Mix ½ cup mini chocolate chips into the filling for extra richness.
- Mint Oreo Version: Swap classic Oreos for mint-flavored ones. Add a splash of peppermint extract with the vanilla for an extra kick.
- Peanut Butter Swirl: Drop spoonfuls of peanut butter onto the filling and swirl lightly with a knife before chilling. The salty-sweet combo is addictive.
- Berry Topping: Add fresh raspberries or strawberries on top before serving for a fresh, tart contrast.
- Gluten-Free: Use gluten-free chocolate sandwich cookies instead of Oreos.
- Dairy-Free: Substitute cream cheese with a vegan cream cheese and use coconut cream instead of heavy cream. Flavor and texture will change, but it still works in a pinch.
Serving & Storage
I usually serve this cheesecake straight from the springform pan, but it also looks great on a pretty cake stand if you want to impress guests. It pairs wonderfully with a cup of coffee or a cold glass of milk.
If you want to make it a full dessert spread, try serving it alongside vanilla bean ice cream or a light fruit salad to balance the richness.
Storage: Store leftover cheesecake in an airtight container in the fridge for up to 4 days. The texture stays creamy and delicious. When reheating (if you must), let it come to room temperature for about 15 minutes—don’t microwave it, or it’ll get weird.
Freezing isn’t my favorite for this dessert. The texture can get a bit grainy after thawing. If you do freeze, wrap tightly and thaw overnight in the fridge.
Nutrition Information
I’m not a nutritionist, but here’s the rough breakdown per serving if you slice this into 12 pieces:
| Nutrient | Amount |
|---|---|
| Calories | 350 |
| Protein | 5g |
| Carbohydrates | 30g |
| Fat | 24g |
| Saturated Fat | 14g |
| Sugar | 22g |
| Sodium | 190mg |
| Calcium | 80mg |
This dessert is definitely a treat—rich in fat and sugar—but also gives you a bit of calcium and protein from the cream cheese. I usually balance it out by serving with fresh fruit or a light salad the next day.
Final Thoughts
So that’s my no-bake Oreo cheesecake with an extra-creamy texture! I could talk all day about how much I love the way this comes together so easily and how the flavor never gets old. This recipe has saved me more times than I can count when I needed a quick, crowd-pleasing dessert that looks like I spent hours in the kitchen.
Make it yours—add more Oreos, swirl in peanut butter, or top with berries. The best part is how forgiving it is, so don’t be afraid to experiment. And if you ever feel stuck or something doesn’t turn out exactly right, drop me a comment—I’ve probably made the same mistake and can help you fix it.
Happy baking (or rather, no baking)! I hope your kitchen smells as sweet as mine does right now.
Frequently Asked Questions
Q: Can I use light cream or half-and-half instead of heavy cream?
A: Light cream or half-and-half won’t whip up properly and won’t give you that fluffy, airy texture. Heavy whipping cream is key here. If you only have half-and-half, you can try adding a bit of gelatin to stabilize it, but it’s extra work. I’d recommend sticking with heavy cream for this no-bake Oreo cheesecake.
Q: My cheesecake is too soft and won’t set—what did I do wrong?
A: Most likely, you didn’t chill it long enough. This cheesecake needs at least 4 hours (overnight is best) to firm up in the fridge. Also, make sure your cream cheese was softened but not melted, and that you folded the whipped cream gently to keep the airiness.
Q: Can I make this in advance for a party?
A: Absolutely! In fact, I recommend making it the night before so it has plenty of time to set. Just keep it covered tightly in the fridge, and add any decorative Oreo toppings right before serving.
Q: Can I substitute the Oreos for another cookie?
A: You can swap in any sandwich cookie you like, such as Golden Oreos, Biscoff, or chocolate wafers. Just be mindful of the flavor profile—it’ll change the cheesecake taste a bit, but it’s fun to experiment.
Q: How do I prevent the crust from getting soggy?
A: Pressing the crust firmly and chilling it before adding the filling helps. Some people also like to bake the crust for 5 minutes before chilling (even in a no-bake recipe) to seal it, but that’s optional. I’ve never had sogginess issues with this method.
Q: Can I freeze leftover cheesecake?
A: I don’t recommend freezing because the texture changes—sometimes it gets grainy or watery after thawing. It’s best to keep leftovers in the fridge and eat within 4 days.
Q: What’s the best way to crush Oreos if I don’t have a food processor?
A: Place the cookies in a sturdy zip-top bag, seal it, and crush them with a rolling pin or even a heavy pan. Just crush until you get fine crumbs for the crust, and chunkier pieces if you’re folding into the filling.
Pin This Recipe!
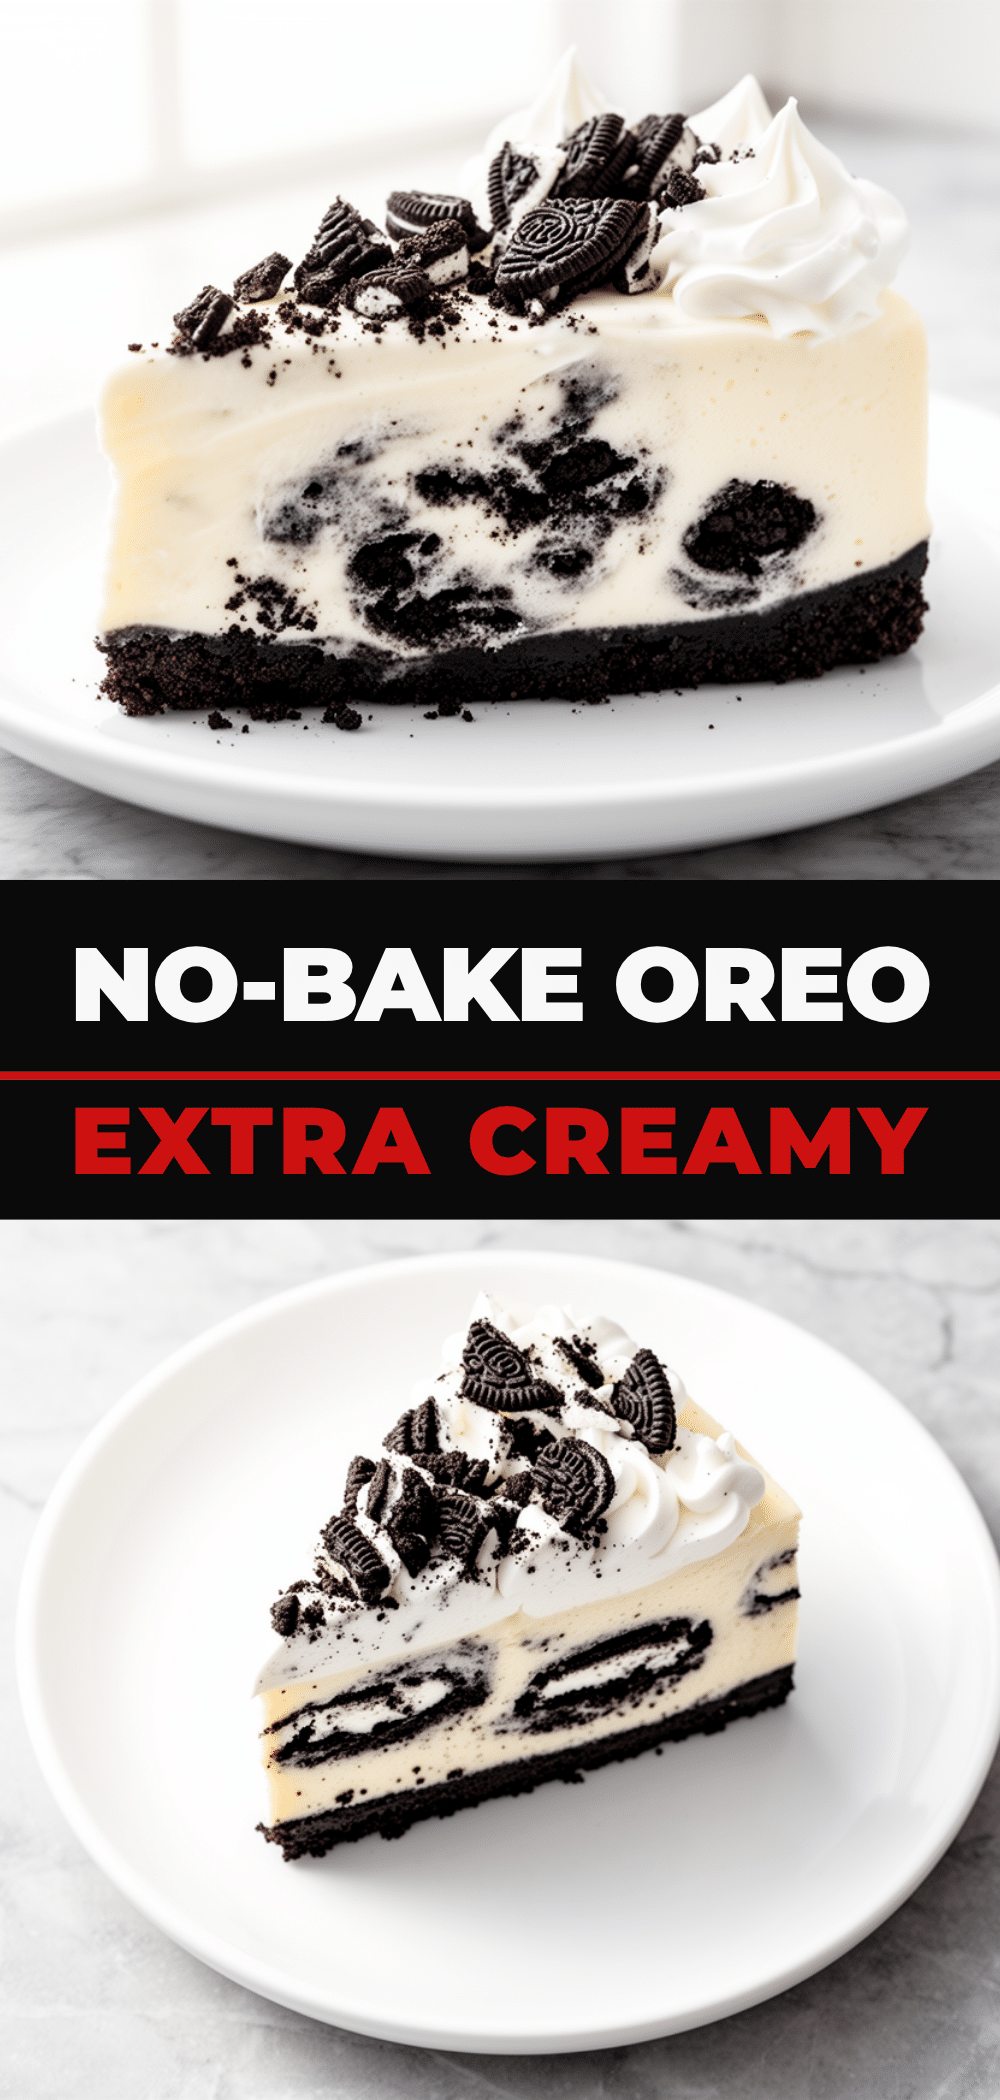
No-Bake Oreo Cheesecake Recipe Easy Extra-Creamy Dessert to Make on Repeat
- Total Time: 4 hours 20 minutes
- Yield: 12 servings 1x
Description
A creamy, no-bake Oreo cheesecake with a luscious filling and crunchy Oreo crust, perfect for quick and impressive desserts without any oven use.
Ingredients
- 24 Oreos (about 360g)
- 5 tablespoons unsalted butter (70g), melted
- 16 oz (450g) full-fat cream cheese, softened
- 3/4 cup (90g) powdered sugar
- 1 teaspoon vanilla extract
- 1 cup (240ml) heavy whipping cream
- Optional: extra Oreo pieces for folding or topping
- Optional: 1/2 cup (90g) chocolate chips
Instructions
- Crush 18 Oreos in a food processor until fine crumbs or crush in a sealed plastic bag with a rolling pin.
- Mix Oreo crumbs with melted unsalted butter until mixture resembles wet sand.
- Press the crust mixture firmly and evenly into the bottom of a 9-inch springform pan. Refrigerate while preparing filling.
- Beat softened cream cheese with powdered sugar and vanilla extract until smooth and creamy.
- Whip heavy cream in a chilled bowl until soft peaks form.
- Gently fold whipped cream into the cream cheese mixture using a rubber spatula.
- Roughly chop remaining 6 Oreos and fold into the filling.
- Spread filling evenly over chilled crust and smooth the top.
- Cover with plastic wrap and refrigerate for at least 4 hours or overnight to set.
- Before serving, sprinkle extra crushed Oreos on top or drizzle with chocolate sauce if desired.
- Slice with a warm knife for clean cuts and serve.
Notes
[‘Use full-fat cream cheese and heavy whipping cream for best texture.’, ‘Softened cream cheese is key to avoid lumps.’, ‘Do not overwhip the cream; whip to soft peaks.’, ‘Press crust firmly to prevent it from falling apart.’, ‘Chill cheesecake at least 4 hours or overnight for best results.’, ‘Use a warm knife for clean slicing.’, ‘Optional add-ins include chocolate chips or extra Oreo pieces.’, ‘For gluten-free, use gluten-free sandwich cookies.’, ‘For dairy-free, substitute cream cheese with vegan cream cheese and heavy cream with coconut cream.’]
- Prep Time: 20 minutes
- Cook Time: 0 minutes
- Category: Dessert
- Cuisine: American
Nutrition
- Serving Size: 1 slice (1/12 of che
- Calories: 350
- Sugar: 22
- Sodium: 190
- Fat: 24
- Saturated Fat: 14
- Carbohydrates: 30
- Protein: 5
Keywords: no-bake cheesecake, Oreo cheesecake, easy dessert, creamy cheesecake, no oven dessert, Oreo dessert



