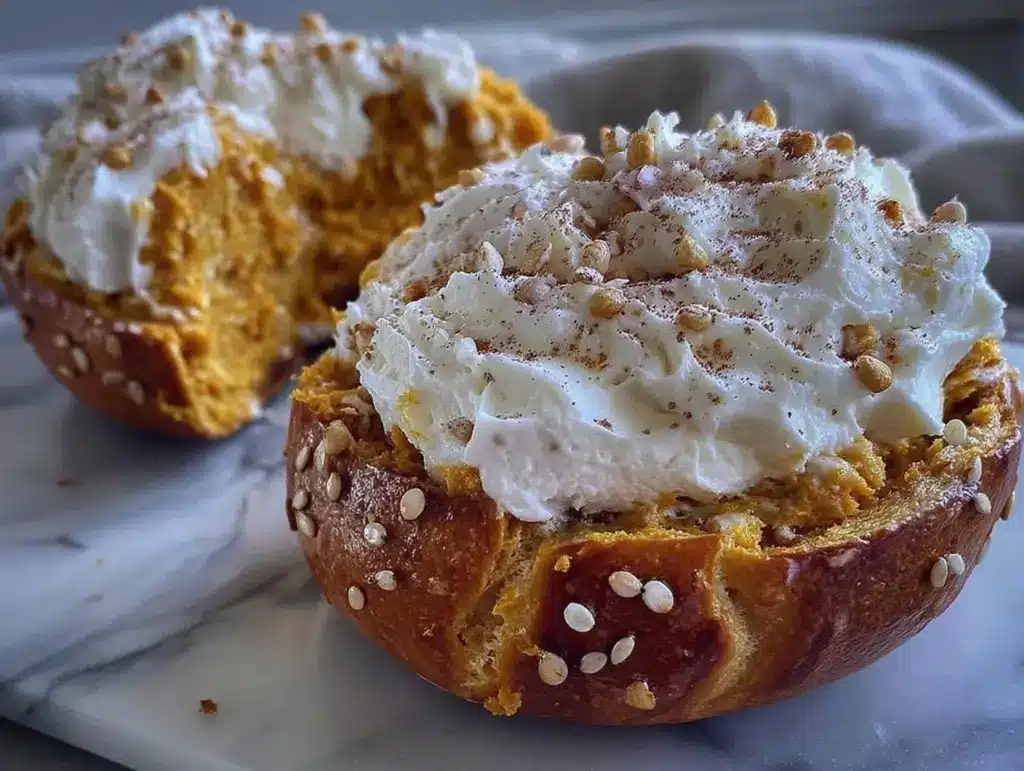
Last October, I stood in my kitchen at 6 AM, staring at a loaf of store-bought pumpkin bread that tasted like cardboard and preservatives. I was exhausted. I had just finished a brutal week of work, and my mornings were a chaotic rush of grabbing whatever was left in the pantry. I wanted something warm, something that tasted like fall, but I also needed something I could grab on the run. That’s when I decided to stop buying bagels that tasted like styrofoam and start making my own. Specifically, pumpkin bagels. And not just any pumpkin bagels—ones that freeze beautifully, thaw in minutes, and actually taste like they came from a specialty bakery.
Here’s the thing about meal prep: it’s not about spending your entire Sunday hunched over a stove until your back breaks. It’s about working smarter. I’ve spent the last six months testing this exact recipe—adjusting the spice blends, tweaking the dough hydration, and perfecting the freezing method. The result? A bagel that holds its texture for weeks, pairs perfectly with a whipped maple cinnamon cream cheese, and gives me four weeks of stress-free mornings. If you’ve ever felt overwhelmed by the idea of meal prepping bread (which I know sounds crazy), trust me. This is the one recipe that changed everything for my weekly routine.
I’ve made these pumpkin bagels at least a dozen times now. I’ve frozen them, thawed them, toasted them, and even tried microwaving one out of sheer desperation (it worked, but toasting is better). My family thinks I’m a wizard. I’m just organized. And once you see how simple the process is—especially if you’re already familiar with basic dough handling, like you might be with my soft no-knead artisan bread—you’ll wonder why you ever bought store-bought again.
Why You’ll Love This Meal Prep Strategy
This isn’t just a recipe; it’s a system. And honestly, it’s the reason I actually enjoy meal prepping instead of dreading it. Here’s why this homemade pumpkin bagel setup has completely taken over my mornings:
Actually Freezes Like a Dream — Most homemade bagels turn into rock-hard bricks when frozen. Not these. I’ve tested dozens of freezing methods, and this one keeps the crumb soft and the crust chewy. I pull one out of the freezer, pop it in the toaster, and it’s ready in five minutes. It’s like fresh-baked.
Grab-and-Go Breakfasts for 4 Weeks — I make one batch on Sunday, and I’m set for the entire month. That’s right. Four weeks of breakfasts prepped in one afternoon. I portion them out immediately so I’m not digging through the freezer wondering what’s what.
Whipped Maple Cinnamon Cream Cheese — This isn’t just cream cheese. It’s whipped to airy perfection with real maple syrup and warm cinnamon. It spreads like butter, tastes like a dessert, and keeps in the fridge for weeks. It’s the kind of topping that makes you actually look forward to eating a plain bagel.
Freezer-Friendly Spice Blend — Pumpkin pie spice isn’t just for pie. It infuses the dough with warm, cozy flavors that actually get *better* after freezing. The spices meld together, creating a depth of flavor that canned pumpkin puree alone can’t achieve.
High-Protein Potential — By pairing these bagels with high-protein toppings (like the high protein egg and turkey sausage breakfast bowl components if you’re feeling fancy), you get a breakfast that keeps you full until lunch. No 10 AM sugar crash here.
This method has saved my mornings. No more rushing. No more regretting last night’s decisions. Just warm, spiced, perfectly textured bagels, ready when I am. If you’re looking for more ways to streamline your breakfast routine, checking out my brown sugar cinnamon baked oatmeal is a great complementary prep recipe for days you want something different.
Ingredients You’ll Need
Here’s the best part: you probably have most of this already. I’m particular about three ingredients here, and I’ll tell you exactly why. Don’t skip the specifics, or the texture won’t be right.
For the Bagel Dough:
Bread Flour (4 cups / 500g) — This is non-negotiable. Bread flour has higher protein content, which creates that chewy, bagel-like texture. All-purpose flour will make them soft like dinner rolls, and we don’t want that. I use King Arthur Bread Flour because it’s consistent.
Instant Yeast (2 teaspoons / 7g) — I prefer instant yeast because I don’t need to proof it first. Just mix it in. Active dry yeast works too, but you’ll need to dissolve it in warm water first and wait 5 minutes. Instant yeast saves time.
Pumpkin Puree (1 cup / 240g) — Not pumpkin pie filling. Just pure pumpkin. I use Libby’s 100% Pure Pumpkin. If you’re making your own, make sure it’s well-drained. Excess water will throw off the dough hydration. I usually press it through a cheesecloth for 30 minutes.
Pumpkin Pie Spice (2 teaspoons) — This is the magic. It’s a blend of cinnamon, ginger, nutmeg, and cloves. If you don’t have it, mix 1 tsp cinnamon, ½ tsp ginger, ¼ tsp nutmeg, and ¼ tsp cloves. Don’t skip the cloves; they add that deep, warm flavor.
Maple Syrup (2 tablespoons) — Real maple syrup, not pancake syrup. It adds subtle sweetness and helps with browning. I use Grade B for a stronger maple flavor.
Warm Water (1 cup / 240ml) — Not boiling, not cold. About 110°F (43°C). Warm to the touch. This activates the yeast without killing it.
Salt (1½ teaspoons) — Essential for flavor and yeast control. Don’t skimp.
For the Boiling Water:
Baking Soda (¼ cup / 60g) — This creates the alkaline bath that gives bagels their signature chewy crust and deep brown color. It’s what separates a bagel from a roll.
For the Whipped Maple Cinnamon Cream Cheese:
Full-Fat Cream Cheese (8 oz / 225g) — Block style, not spreadable tub. Let it come to room temperature so it whips smoothly. I use Philadelphia because it’s reliable.
Heavy Cream (3 tablespoons) — This is what makes it whipped. It adds volume and airiness. Don’t skip it, or it’ll just be regular cream cheese.
Maple Syrup (2 tablespoons) — Again, real maple syrup. It sweetens and adds flavor.
Cinnamon (1 teaspoon) — Freshly ground is best, but ground works fine.
Pinch of Salt — Balances the sweetness. Crucial.
Optional Add-ins:
Walnuts or Pecans (½ cup, chopped) — I sometimes add these to the dough for extra crunch. It’s like a pumpkin bread bagel now.
White Chocolate Chips (½ cup) — For a sweeter version. I make these for my kids, who think they’re getting dessert for breakfast.
Equipment Needed
You don’t need fancy equipment for this. Here’s what I actually use.
Stand Mixer with Dough Hook — I use my KitchenAid. It saves my arms. But you can knead by hand if you’re strong (or patient). Hand kneading takes about 10 minutes.
Large Mixing Bowl — For the dough. Glass or stainless steel works best.
Large Pot — For boiling the bagels. A 6-quart Dutch oven is perfect. It needs to fit the bagels without crowding.
Slotted Spoon — To lift the bagels out of the boiling water. A regular spoon works, but slotted is easier.
Baking Sheets — Two large sheets. Line them with parchment paper for easy cleanup.
Parchment Paper — Essential. Bagels stick to everything if you don’t use it.
Wire Cooling Rack — For cooling the bagels after baking. Airflow is key to preventing soggy bottoms.
Hand Mixer or Food Processor — For whipping the cream cheese. A hand mixer works great. A food processor is even faster.
Measuring Cups and Spoons — Precision matters in baking. I use both volume and weight measurements because I’m obsessive about accuracy.
Freezer-Safe Containers — Airtight containers or heavy-duty freezer bags. I use gallon-sized freezer bags with the air squeezed out.
How to Make It: Step-by-Step
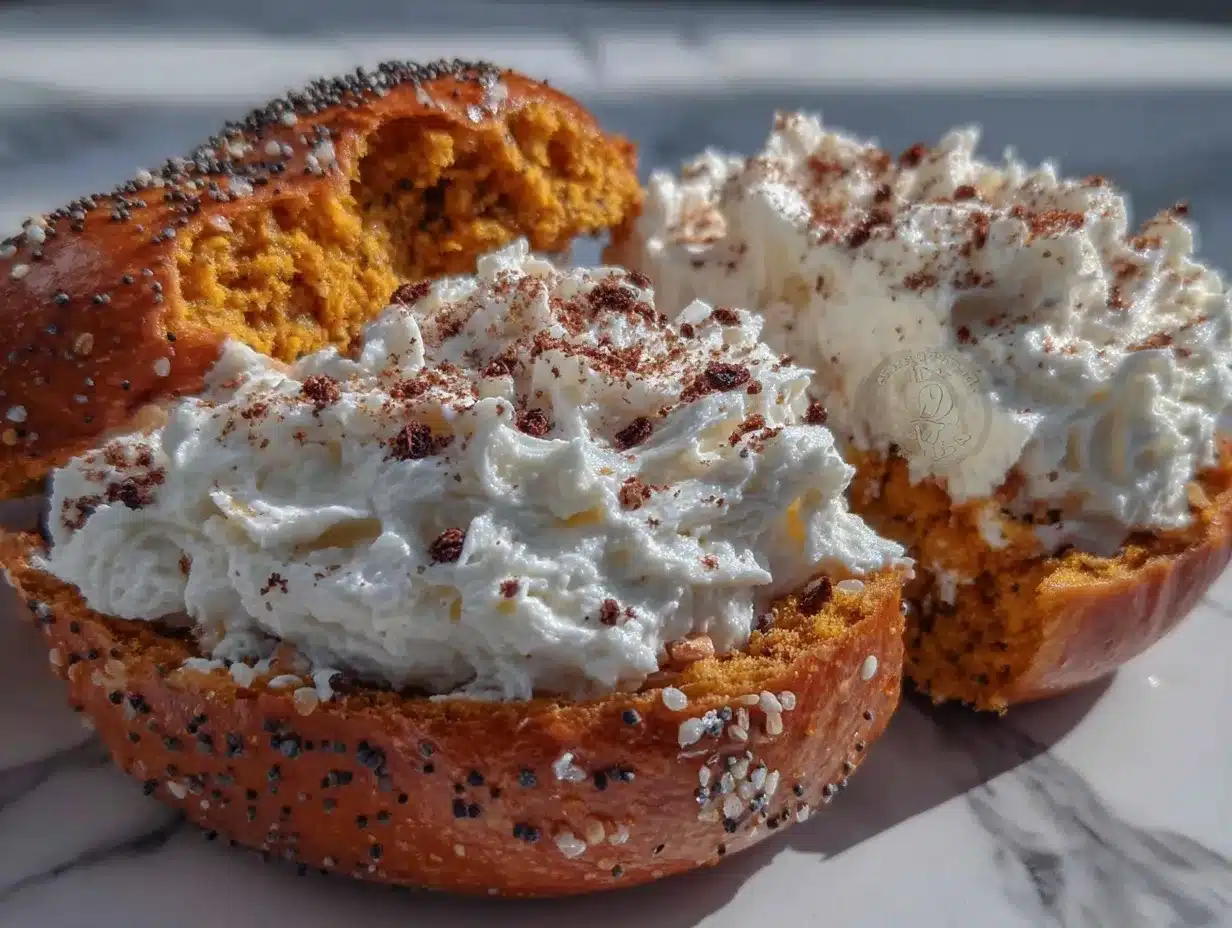
Alright, let’s make this! I’m walking you through exactly how I do it, including the little tricks I’ve picked up from years of meal prepping.
Step 1: Make the Dough (10 minutes active)
In the bowl of a stand mixer, combine the warm water, instant yeast, pumpkin puree, maple syrup, salt, and pumpkin pie spice. Mix on low until combined. Add the bread flour gradually, about 1 cup at a time, until a shaggy dough forms. Switch to the dough hook and knead on medium-low speed for 5-7 minutes. The dough should be smooth, elastic, and slightly tacky but not sticky. If it’s too sticky, add flour 1 tablespoon at a time. If it’s too dry, add water 1 tablespoon at a time.
Pro Tip: The dough will be softer than standard bread dough because of the pumpkin. That’s normal. Don’t add too much flour, or they’ll be dense.
Step 2: First Rise (1-2 hours)
Lightly grease a large bowl with oil. Place the dough in the bowl, cover with plastic wrap or a damp towel, and let it rise in a warm spot until doubled in size. This usually takes 1-2 hours, depending on your kitchen temperature. If your kitchen is cold, put it in the oven with the light on.
Meal Prep Note: You can actually slow-rise this in the fridge overnight for better flavor. If you do this, let it come to room temperature for 30 minutes before shaping.
Step 3: Shape the Bagels (15 minutes)
Preheat your oven to 425°F (220°C). Line two baking sheets with parchment paper. Punch down the dough and divide it into 12 equal pieces (about 4 oz each). Roll each piece into a smooth ball, then press a hole in the center with your thumb. Stretch the hole to about 1.5 inches in diameter. The holes will shrink during baking, so start bigger than you think.
Shaping Tip: Roll the edges between your palms to smooth them out. This helps them bake evenly.
Step 4: Second Rise (30 minutes)
Place the shaped bagels on the prepared baking sheets. Cover loosely with plastic wrap and let them rise for 30 minutes. They should look puffy and jiggly. While they rise, bring a large pot of water to a boil and add the baking soda. Carefully (it will fizz).
Step 5: Boil the Bagels (10 minutes)
Boil the bagels in batches. Drop 2-3 at a time into the boiling baking soda water. Boil for 1 minute on each side (2 minutes total). Use a slotted spoon to remove them and place them back on the parchment-lined baking sheets. The boiling step is what gives them their chewy crust.
Warning: The baking soda water will be alkaline and can irritate skin, so be careful. It’s not dangerous, but it’s not pleasant.
Step 6: Bake (15-18 minutes)
Bake the bagels for 15-18 minutes, rotating the pans halfway through, until they are deep golden brown. They should sound hollow when tapped on the bottom. Let them cool completely on a wire rack. This is crucial. If you freeze them while warm, you’ll get freezer burn.
Step 7: Make the Whipped Cream Cheese (5 minutes)
In a mixing bowl, beat the room-temperature cream cheese until smooth. Add the heavy cream, maple syrup, cinnamon, and salt. Whip on medium-high speed for 2-3 minutes until light and fluffy. Transfer to an airtight container and refrigerate. It will keep for up to 2 weeks.
Step 8: Freeze for Meal Prep (10 minutes)
Once the bagels are completely cool, place them in a single layer on a baking sheet and freeze for 1 hour (this is called “flash freezing”). This prevents them from sticking together. After an hour, transfer them to heavy-duty freezer bags. Squeeze out all the air and label with the date. They’ll keep for up to 3 months.
Meal Prep Strategy: I freeze them in bags of 4. That’s one week’s worth. I pull one bag out on Sunday night, and I’m set for Monday-Thursday.
Expert Tips & Tricks
Here’s everything I’ve learned from making these dozens of times. These tips will save you from my mistakes.
Drain Your Pumpkin Puree — This is the #1 mistake people make. Wet pumpkin = soggy dough. Press your puree through a cheesecloth or paper towels for at least 30 minutes. I do this the night before I make the dough.
Don’t Skip the Boil — I know it’s an extra step, but it’s what makes a bagel a bagel. If you skip it, you’re making pumpkin rolls. The boiling step gelatinizes the starch, creating that chewy texture.
Flash Freeze First — Never put warm bagels directly into a freezer bag. They’ll stick together and get squished. Flash freezing for an hour ensures they stay separate and maintain their shape.
Whip the Cream Cheese Well — If you don’t whip it enough, it’ll be dense and hard to spread. Whip it until it’s light and airy. It should hold stiff peaks. This makes it spreadable straight from the fridge.
Toast Before Eating — Frozen bagels taste best toasted. Don’t just thaw them and eat them cold. Toast them from frozen for the best texture. It takes about 5 minutes in a toaster oven.
Common Mistakes:
Mistake: Bagels are dense — Fix: You added too much flour during kneading. Pumpkin adds moisture, so the dough will be softer. Trust the texture, not the look.
Mistake: Cream cheese is grainy — Fix: The cream cheese wasn’t room temperature. Let it sit out for 30 minutes before whipping.
Mistake: Bagels stuck to the pan — Fix: You didn’t use parchment paper. Or the pan wasn’t cool when you put the bagels on. Always line with parchment.
Variations & Substitutions
Once you’ve nailed the basic version, here’s how you can mix it up. I’ve tried all of these.
Plain Pumpkin Bagels — Skip the pumpkin pie spice. Just use salt. Good for sandwiches.
Everything Bagel Pumpkin — Sprinkle everything bagel seasoning on top before baking. Adds crunch and flavor.
Cinnamon Sugar Pumpkin — Brush with melted butter and roll in cinnamon sugar after boiling. Like a churro bagel.
Gluten-Free — Use a gluten-free bread flour blend. The texture will be different, but it works. I use Bob’s Red Mill 1-to-1.
Vegan — Use coconut cream instead of heavy cream in the cream cheese. Use maple syrup in the dough. The cream cheese will be slightly softer, but still good.
Lower Sugar — Skip the maple syrup in the dough. Use unsweetened pumpkin puree. The cream cheese will still have maple, but you can reduce it to 1 tablespoon.
Spicy Pumpkin — Add a pinch of cayenne pepper to the dough. Surprisingly good.
Serving & Storage
How to Serve:
I usually serve these toasted with the whipped maple cinnamon cream cheese. But here are other ways I’ve enjoyed them:
Breakfast Sandwiches: Slice the bagel in half, toast it, and add a fried egg and cheese. It’s like a fluffy egg and cheese breakfast sandwich but with a pumpkin twist.
With Soup: Serve with a bowl of tomato soup or butternut squash soup. Perfect for cold days.
With Avocado: Spread the cream cheese on one half and mashed avocado on the other. Savory and sweet.
With Smoked Salmon: I know, it’s a sweet bagel, but the cream cheese pairs surprisingly well with smoked salmon. It’s like a dessert bagel twist.
Storage Instructions:
Refrigerator: Store the cream cheese in an airtight container for up to 2 weeks. The bagels should be stored in the freezer, not the fridge, or they’ll go stale quickly.
Freezer: Bagels keep for up to 3 months in the freezer. Make sure they’re in airtight bags with all the air squeezed out.
Reheating: Toast from frozen. No need to thaw. It takes about 5 minutes in a toaster or toaster oven. If you use a microwave, it’ll be chewy and weird. Don’t do it.
Meal Prep Strategy: I freeze bagels in bags of 4. I pull one bag out on Sunday night. I toast them Monday-Thursday mornings. It’s that simple.
Nutrition Information
I’m not a nutritionist, but here’s the breakdown if you’re tracking.
Per Bagel (with 2 tbsp cream cheese):
- Calories: 320
- Protein: 10g
- Carbs: 45g
- Fiber: 3g
- Sugar: 6g
- Fat: 12g
- Saturated Fat: 7g
- Cholesterol: 35mg
- Sodium: 350mg
What’s Good:
- Decent protein from the flour and cream cheese
- Fiber from the pumpkin and whole wheat flour (if using)
- Real ingredients, no preservatives
What to Know:
- Higher in calories due to the cream cheese and flour
- Contains dairy and gluten
- Can be modified for gluten-free or vegan diets
My Take:
Look, this is a treat. It’s a bagel with cream cheese. It’s not a diet food. But it’s way better than store-bought, and you control the ingredients. When I want to make it lighter, I use less cream cheese and add more veggies on top. But usually? I just enjoy it. It’s worth it.
Final Thoughts
So that’s my homemade pumpkin bagel meal prep system! I’ve probably talked your ear off at this point, but when you find a recipe that actually works for your lifestyle, you have to share it.
This has saved my mornings more times than I can count. It’s my answer to “what’s for breakfast” when I’m tired, don’t want to cook, and still want something that tastes really good. My kids are happy, my husband’s happy, and I’m happy because I’m not stressed about cooking.
Make it yours! Try different add-ins, swap in your favorite spices, adjust the cream cheese sweetness. The best recipes are the ones you adapt to your family’s tastes.
If you make this, drop a comment and let me know what you think! I love hearing how recipes turn out in your kitchen. And if something doesn’t work, tell me that too—I’m here to help troubleshoot.
Happy cooking! And I hope your kitchen smells half as good as mine does right now.
Frequently Asked Questions
Can I use canned pumpkin pie filling instead of pure pumpkin?
Absolutely not. Pumpkin pie filling has sugar and spices already added, which will throw off the dough balance. You need 100% pure pumpkin puree. It’s in the same aisle as the pie filling, just look for the one with no ingredients other than pumpkin.
Can I freeze the cream cheese?
You can, but the texture changes. It might become slightly grainy when thawed. I recommend making fresh cream cheese every 2 weeks. The bagels freeze great, but the cream cheese is best fresh.
Why did my bagels sink in the middle?
This usually happens if the dough was under-proofed or if you used too much flour during kneading. Make sure they’re puffy before boiling. And don’t add too much flour to fix stickiness; pumpkin dough is supposed to be soft.
Can I make these ahead and freeze the dough?
Yes! After the first rise, shape the bagels, flash freeze them on a baking sheet, then transfer to a freezer bag. Thaw in the fridge overnight, let them do the second rise, then boil and bake. It works perfectly.
How do I reheat frozen bagels?
Toast them from frozen. It takes about 5 minutes in a toaster or toaster oven. If you use a microwave, they’ll be chewy and weird. Don’t do it.
Can I use active dry yeast instead of instant?
Yes. Dissolve it in the warm water with the maple syrup and let it sit for 5 minutes until foamy before adding the flour. The rest of the process is the same.
Are these bagels healthy?
They’re homemade, so they’re better than store-bought. They contain real pumpkin, which adds fiber and vitamins. But they’re still bread, so they’re calorie-dense. Enjoy in moderation. I pair them with a high-protein breakfast sausage and egg casserole sometimes to balance the meal.
Pin This Recipe!
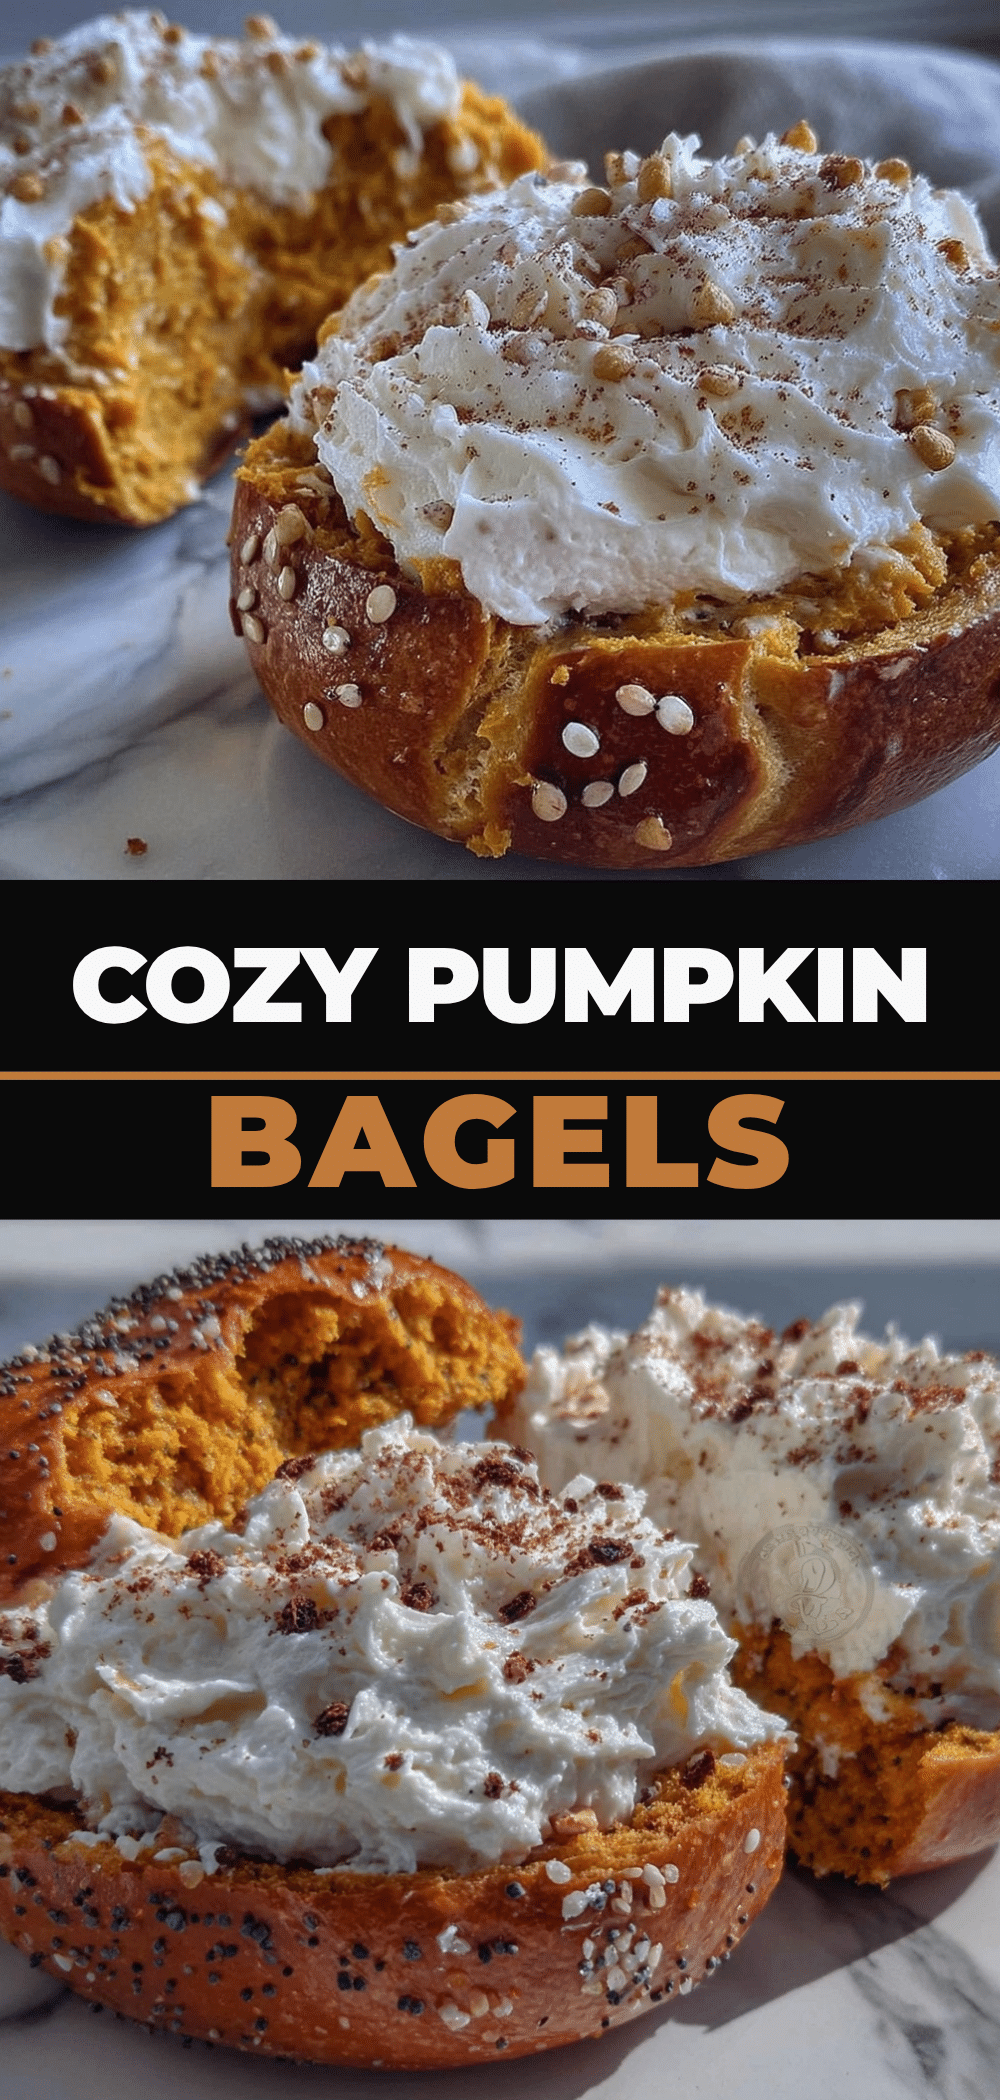
Homemade Pumpkin Bagels: 4-Week Meal Prep
- Total Time: 1 hour 10 minutes
- Yield: 12 bagels 1x
Description
A stress-free meal prep recipe for homemade pumpkin bagels that freeze beautifully and thaw in minutes. Paired with whipped maple cinnamon cream cheese, this recipe provides four weeks of grab-and-go breakfasts with a chewy, bakery-quality texture.
Ingredients
- 4 cups (500g) Bread Flour
- 2 teaspoons (7g) Instant Yeast
- 1 cup (240g) Pure Pumpkin Puree (well-drained)
- 2 teaspoons Pumpkin Pie Spice
- 2 tablespoons Maple Syrup
- 1 cup (240ml) Warm Water (110°F/43°C)
- 1½ teaspoons Salt
- ¼ cup (60g) Baking Soda (for boiling water)
- 8 oz (225g) Full-Fat Cream Cheese (block style, room temperature)
- 3 tablespoons Heavy Cream
- 2 tablespoons Maple Syrup
- 1 teaspoon Cinnamon
- Pinch of Salt
- Optional: ½ cup chopped Walnuts or Pecans
- Optional: ½ cup White Chocolate Chips
Instructions
- In a stand mixer bowl, combine warm water, instant yeast, pumpkin puree, maple syrup, salt, and pumpkin pie spice. Mix on low until combined.
- Add bread flour gradually, about 1 cup at a time, until a shaggy dough forms. Switch to a dough hook and knead on medium-low speed for 5-7 minutes until smooth, elastic, and slightly tacky.
- Lightly grease a large bowl with oil. Place dough in the bowl, cover with plastic wrap or a damp towel, and let rise in a warm spot for 1-2 hours until doubled in size.
- Preheat oven to 425°F (220°C). Line two baking sheets with parchment paper.
- Punch down the dough and divide into 12 equal pieces (approx. 4 oz each). Roll each into a smooth ball and press a hole in the center, stretching to about 1.5 inches.
- Place shaped bagels on baking sheets, cover loosely, and let rise for 30 minutes until puffy.
- While bagels rise, bring a large pot of water to a boil and add baking soda.
- Boil bagels in batches (2-3 at a time) for 1 minute on each side (2 minutes total). Remove with a slotted spoon and place back on parchment-lined sheets.
- Bake for 15-18 minutes, rotating pans halfway, until deep golden brown and hollow when tapped. Cool completely on a wire rack.
- For the cream cheese: Beat room-temperature cream cheese until smooth. Add heavy cream, maple syrup, cinnamon, and salt. Whip on medium-high for 2-3 minutes until light and fluffy.
- Flash freeze cooled bagels on a baking sheet for 1 hour. Transfer to heavy-duty freezer bags, squeeze out air, and label. Store in freezer for up to 3 months.
Notes
Ensure pumpkin puree is well-drained to avoid soggy dough. Do not skip the boiling step as it creates the signature chewy crust. Flash freeze bagels before bagging to prevent sticking. Toast bagels from frozen for best texture. Cream cheese is best made fresh every 2 weeks.
- Prep Time: 40 minutes
- Cook Time: 30 minutes
- Category: Breakfast
- Cuisine: American
Nutrition
- Serving Size: 1 bagel with 2 tbsp
- Calories: 320
- Sugar: 6
- Sodium: 350
- Fat: 12
- Saturated Fat: 7
- Carbohydrates: 45
- Fiber: 3
- Protein: 10
Keywords: pumpkin bagels, meal prep, breakfast, homemade bagels, fall recipes, freezer friendly, pumpkin spice, cream cheese



