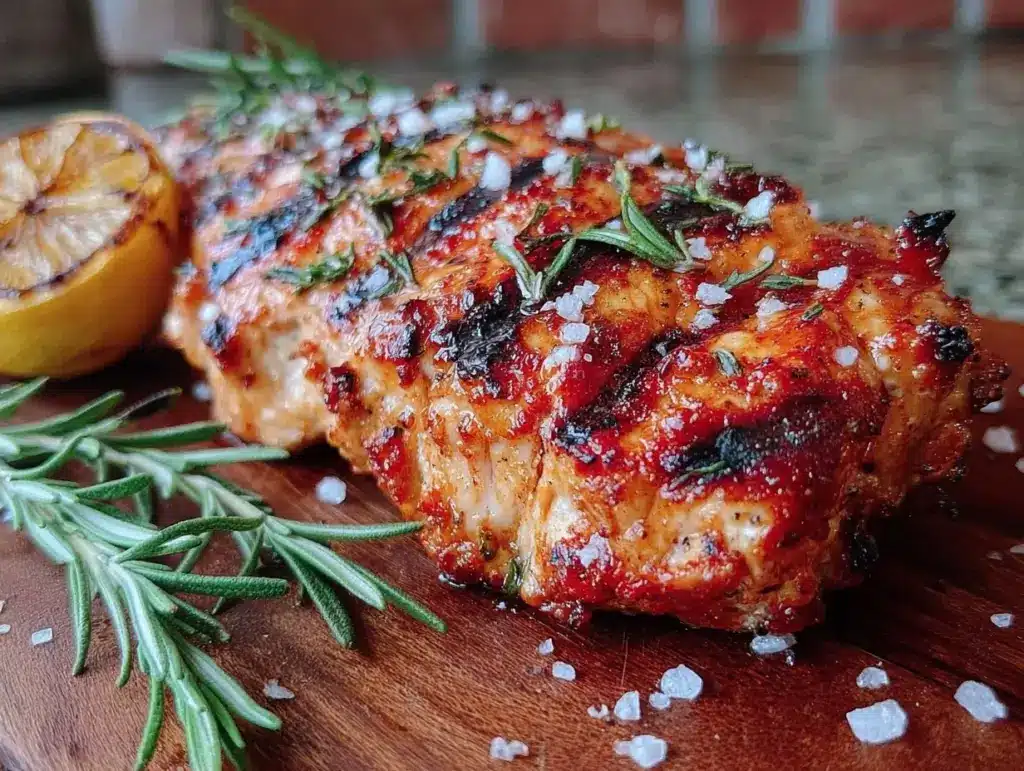
I used to think grilled chicken was just… sad. You know the kind. Dry, chalky, flavorless discs that sat on a plate looking like they were apologizing for existing. I spent years buying pre-marinated chicken at the grocery store, only to end up with rubbery meat that tasted like salt and regret. I was convinced I just didn’t have the “grilling gene.”
Then last summer, I decided to stop overcomplicating things. I stopped buying the pre-marinated packets. I stopped trying to use complex rubs with twelve ingredients I didn’t recognize. I went back to basics. Olive oil. Salt. Pepper. Lemon. That’s it. Four ingredients. And the result? Juicy, charred, bright, and actually delicious chicken that my kids (who usually pick off the meat and eat just the bun) asked for seconds.
This is grilled chicken breast with charred lemon. It’s the ultimate beginner-proof dinner. If you can brush oil on meat and squeeze a lemon, you can master this. There are no tricky temperatures to guess, no complicated marinades that need to sit for hours, and no special equipment required. Just simple, honest food that tastes like you spent way more time in the kitchen than you actually did.
I’ve made this at least a dozen times since that first successful attempt. It’s become my go-to “I don’t want to think” dinner. And honestly? It’s the kind of recipe that makes you feel like a cooking genius even when you’re running on three hours of sleep. Let’s get into how you can make this foolproof version at home.
Why You’ll Love This Recipe
There are a million chicken recipes out there, but this one sticks around for a reason. It’s not just easy; it’s reliable. Here’s why this grilled chicken breast with charred lemon has earned a permanent spot in your rotation:
- Four Ingredients, Maximum Flavor — Seriously. Olive oil, salt, pepper, and lemon. No fancy spices, no trips to three different stores. The lemon isn’t just a garnish; it’s the flavor engine. When you char it, it gets sweet and smoky, cutting through the richness of the chicken perfectly.
- Impossible to Mess Up — Chicken breast is notorious for drying out, but this method prevents it. By keeping the heat medium and using the charred lemon juice as a finishing touch, you keep the meat moist. I’ve grilled this for beginners who were terrified of grilling, and they’ve all nailed it on the first try.
- Ready in 20 Minutes — Prep takes about 5 minutes. Grilling takes 15. You’re done before the pizza delivery guy even gets his boots on. It’s perfect for those nights when you want something fresh but don’t have the energy to cook a big meal.
- Light but Satisfying — This isn’t heavy comfort food like a classic pecan pie or a German chocolate cake. It’s clean, bright, and makes you feel good. But it’s still filling enough to keep you happy until dinner.
- Zero Cleanup Stress — Whether you use a grill or a grill pan, you’re just wiping down a pan or tossing foil in the trash. No pots to soak, no sauces to scrub. It’s the kind of dinner that doesn’t leave you dreading the kitchen.
This recipe is my answer to “what’s for dinner?” when I want something that tastes special but requires zero effort. It’s confident, simple, and incredibly forgiving. Once you try this, you’ll wonder why you ever complicated chicken cooking in the first place.
Ingredients You’ll Need
Here’s the best part: you probably have everything you need in your kitchen right now. I’m not asking you to buy exotic spices or expensive cuts of meat. This is about working with what you have and making it shine.
For the Chicken
Chicken breasts (2 large, about 1.5 lbs / 700g) — Boneless, skinless is standard here. If they’re super thick, pound them down a bit so they cook evenly. I like to buy them from the butcher counter because they’re usually fresher, but the grocery store pack works fine too. Just make sure they’re roughly the same size so they finish cooking at the same time.
Extra virgin olive oil (3 tablespoons / 45ml) — This is your marinade and your heat conductor. Don’t skimp on quality here. Good oil adds flavor and helps the salt stick. I keep a bottle of mild extra virgin for cooking and reserve the fancy stuff for drizzling at the end, but for this, any good extra virgin works.
Kosher salt (1½ teaspoons) — Kosher salt is easier to control than table salt. It sticks better to the meat and doesn’t have that metallic aftertaste. If you only have table salt, use half the amount. But seriously, invest in a cheap box of kosher salt—it changes everything.
Freshly cracked black pepper (½ teaspoon) — Freshly cracked is non-negotiable. Pre-ground pepper loses its punch after a few weeks. Take the extra 10 seconds to crack it yourself. It adds a sharp, aromatic bite that balances the lemon.
For the Charred Lemon Finish
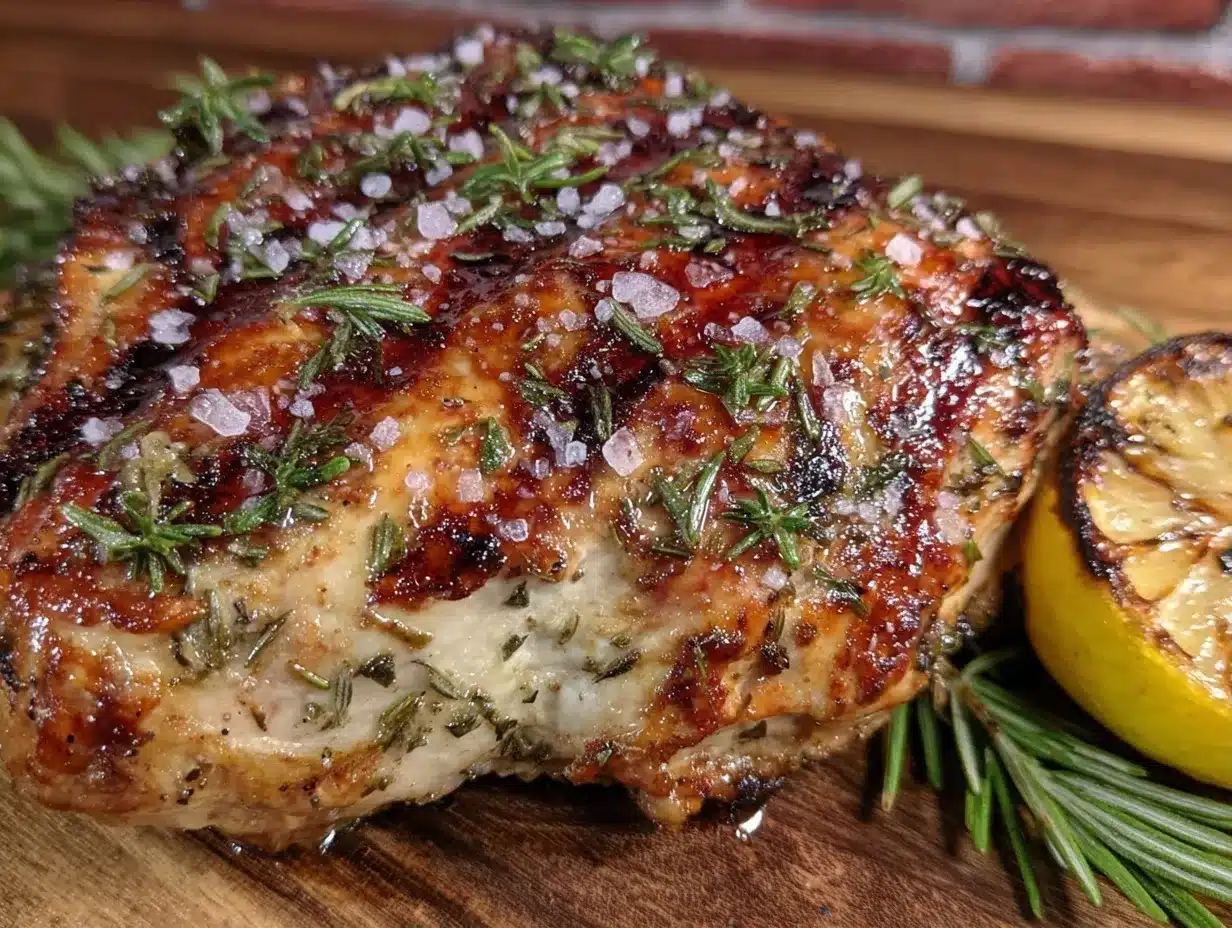
Large lemons (2 lemons) — You need these for two reasons: the char and the juice. Look for lemons that feel heavy for their size—that means they’re juicy. Meyer lemons are sweeter and work well too, but standard Eureka or Lisbon lemons give that classic bright acidity. Don’t use bottled lemon juice. Ever. It tastes flat and chemical.
Optional but recommended: Fresh herbs (parsley or cilantro) — I usually chop up a little bit of parsley and sprinkle it on top at the end. It adds color and a fresh herbal note. If you don’t have it, skip it. The chicken is great without it.
Equipment Needed
You don’t need fancy gear for this. Here’s what I actually use, plus alternatives if you don’t have the “real” thing.
Grill (outdoor or indoor) — I use a charcoal grill for the smoky flavor, but a gas grill works perfectly fine. If you don’t have an outdoor grill, a cast iron grill pan is your best friend. It creates those nice char marks and contains the mess. I love my Lodge grill pan; it’s heavy, durable, and gets the job done.
Basting brush — A silicone basting brush is handy for applying the oil. If you don’t have one, just use tongs to dip the chicken in the oil. Silicone is easier to clean than bristle brushes.
Tongs — Good quality kitchen tongs are essential. You don’t want to poke the chicken with a fork (that lets the juices out). Tongs let you flip and move without piercing the meat. I have a pair from IKEA that’s been with me for years—they’re cheap and they work.
Zester or fine grater — For the lemon zest. A microplane is best because it gives you fine, fluffy zest that melts into the chicken. If you don’t have one, a regular box grater works, just be careful of your knuckles.
Cutting board and knife — Standard stuff. Make sure your knife is sharp enough to squeeze a lemon without slipping.
Instant-read thermometer (optional but helpful) — If you’re nervous about overcooking, this is your safety net. It takes the guesswork out. But if you don’t have one, don’t worry—we’ll cover how to tell by touch and time.
How to Make It: Step-by-Step
Alright, let’s make this! I’m walking you through exactly how I do it, including the little tricks I’ve picked up so you don’t have to learn the hard way.
Step 1: Prep the Chicken (5 minutes)
Take your chicken breasts out of the fridge. This is crucial. Cold chicken hitting a hot grill will seize up and cook unevenly. Let them sit on the counter for 10-15 minutes while you get your grill ready. Pat them dry with paper towels. Moisture is the enemy of a good sear. If they’re wet, they steam instead of grill. Once they’re dry, place them on a plate.
Step 2: Season Simply (2 minutes)
Drizzle the olive oil over the chicken. Use your hands or a brush to coat both sides evenly. You want a thin, uniform layer. Then, sprinkle the kosher salt and black pepper over both sides. Rub it in gently. Don’t be shy with the salt—it’s the main flavor here. Set the seasoned chicken aside while you heat the grill.
Step 3: Char the Lemons (3 minutes)
While the chicken is resting, put your lemons on the grill (or under the broiler if using an indoor pan). Cut them in half crosswise. Place them cut-side down on the hot grill. Let them sit untouched for 2-3 minutes. You want them to get dark brown and charred, almost black in spots. This charring caramelizes the sugars and removes the bitter acidity, leaving a sweet, smoky flavor. Once charred, remove them and set aside. Don’t discard these! We’re going to squeeze them later.
Step 4: Grill the Chicken (12-15 minutes)
Clean your grill grates if needed, then oil them lightly with a paper towel dipped in oil (use tongs to hold the towel). Place the chicken on the grill. If you’re using a charcoal grill, aim for medium heat (about 375°F / 190°C). If you’re using a grill pan, medium-high heat works.
Close the lid and cook for 6-7 minutes on the first side. Do not touch it. Let the heat do its work. You’ll see juices pooling on top. When you lift it, it should release easily from the grates. If it sticks, it’s not ready to flip. Flip the chicken and cook for another 5-7 minutes on the other side. The chicken is done when the internal temperature reaches 165°F (74°C) or when the juices run clear and the meat is firm but not hard.
Step 5: Rest and Finish (5 minutes)
This step is non-negotiable. Remove the chicken from the grill and place it on a clean plate or cutting board. Let it rest for 5 minutes. This allows the juices to redistribute. If you cut it immediately, all that goodness runs out onto the plate, leaving you with dry meat. While it rests, take your charred lemons and squeeze the juice over the chicken. The heat from the chicken will warm the juice, infusing it into the meat. Squeeze every last drop from those charred halves.
Step 6: Slice and Serve
After resting, slice the chicken against the grain. This makes each bite tender and easy to chew. Serve immediately with the extra charred lemon halves on the side for anyone who wants more juice. It’s that simple.
Expert Tips & Tricks
Here’s everything I’ve learned from making this dozens of times. These tips will save you from my early mistakes.
Pound the Chicken Even
Chicken breasts are rarely uniform. One end is thick, one end is thin. If you don’t address this, the thin end will dry out before the thick end cooks. Place the breast between two sheets of plastic wrap and gently pound the thick end with a rolling pin or meat mallet until it’s about ¾ inch thick all the way across. This ensures even cooking.
Don’t Move the Chicken
When you put the chicken on the grill, set a timer for 6 minutes. Do not touch it. Do not peek. Do not poke it with a fork. Let the Maillard reaction happen. If you try to flip it too early, it will stick and tear. When it’s ready, it will release easily. If it resists, give it another minute.
Char Your Lemons Generously
Don’t be afraid of the char. The blackened spots are where the magic happens. They add a smoky, almost caramelized depth that fresh lemon juice just can’t provide. If your lemons aren’t charred enough, the juice will taste sharp and acidic. If they’re well-charred, the juice tastes sweet and complex.
Rest is Not Optional
I know it’s tempting to cut into it the second it comes off the grill. Resist. Resting for 5 minutes is the difference between juicy chicken and dry chicken. The proteins relax and reabsorb the juices. It’s the single most important step for tender meat.
Use a Thermometer (If You Have One)
If you’re nervous, use an instant-read thermometer. Insert it into the thickest part of the breast. When it hits 165°F, it’s done. Pull it off the heat immediately. The temperature will rise a few degrees as it rests, so you don’t want to overcook it on the grill.
Variations & Substitutions
Once you’ve nailed the basic version, here’s how you can mix it up. I’ve tried all of these, and they all work.
Herb-Infused Oil
Instead of plain olive oil, mix 2 tablespoons of chopped fresh rosemary or thyme into the oil before brushing the chicken. It adds an earthy, aromatic flavor that pairs beautifully with the lemon. I love this version in the summer when rosemary is plentiful.
Garlic Twist
Add 2 cloves of minced garlic to the olive oil before brushing. The garlic will toast slightly on the chicken, adding a savory depth. Be careful not to burn the garlic—if your grill is very hot, put the garlic in the oil after the chicken is already on the grill.
Spicy Kick
Add ½ teaspoon of red pepper flakes to the salt and pepper mix. It adds a gentle heat that cuts through the lemon’s brightness. I like this version when I’m serving it with a cool salad.
Gluten-Free & Dairy-Free
This recipe is naturally gluten-free and dairy-free. Just make sure your olive oil and salt are pure. No hidden additives. It’s a safe bet for anyone with dietary restrictions.
Vegetarian Swap
If you want to keep the charred lemon technique but skip the chicken, try it with thick slices of portobello mushrooms or blocks of firm tofu. The charred lemon juice works wonders on tofu, making it taste surprisingly savory and rich.
Serving & Storage
This grilled chicken is incredibly versatile. Here’s how I serve it and how to handle leftovers.
How to Serve
I usually serve this straight off the cutting board with a simple side of roasted vegetables or a crisp green salad. The charred lemon juice acts as a natural dressing, so you don’t need much else. Some of my favorite sides include:
- Grilled Asparagus — Same grill, same char. Perfect match.
- Cauliflower Rice — Light and fluffy, absorbs the lemon juice nicely.
- Quinoa Salad — Toss quinoa with cucumber, tomato, and feta for a Mediterranean vibe.
- Simple Arugula Salad — Just arugula, lemon juice, olive oil, and parmesan. No dressing needed.
It’s also great sliced over salads or wrapped in a tortilla with some avocado and salsa. I’ve even used it as a topping for roasted tomato soup for a heartier meal.
Storage Instructions
Refrigerator:
Store leftover chicken in an airtight container for up to 3 days. The chicken will stay moist if you keep the charred lemon juice in a separate small container and drizzle it on just before eating. If you store it with the juice, it might get soggy.
Reheating:
Reheat gently. Microwaving can dry it out quickly. I prefer to reheat it in a skillet over low heat with a splash of water or broth to steam it back to life. Or, eat it cold! Grilled chicken is actually really good cold on sandwiches or salads.
Freezing:
You can freeze grilled chicken, but the texture might change slightly. Let it cool completely, wrap tightly in plastic wrap, and place in a freezer bag. It’ll last for up to 3 months. Thaw in the fridge overnight before reheating.
Nutrition Information
I’m not a nutritionist, but here’s the breakdown if you’re tracking. This is per serving (1 chicken breast with juice).
- Calories: ~250
- Protein: 40g
- Carbs: 5g (mostly from the lemon)
- Fat: 10g
- Fiber: 1g
- Sodium: ~600mg (depending on salt brand)
It’s high in protein and low in carbs, making it a great option for balanced meals. The olive oil adds healthy fats, and the lemon provides vitamin C. It’s clean, simple fuel. If you want to make it lighter, you can reduce the olive oil to 2 tablespoons, but I don’t recommend it—the fat helps carry the flavor.
Final Thoughts
So that’s my go-to grilled chicken breast with charred lemon! I’ve probably talked your ear off at this point, but when you make a recipe this often, you have a lot to say about it. This has saved weeknight dinners more times than I can count. It’s my answer to “what’s for dinner?” when I want something that tastes good but doesn’t require a lot of effort.
This recipe is proof that you don’t need a dozen ingredients or hours of prep to make something amazing. Sometimes, simplicity is the secret weapon. The charred lemon adds a level of flavor that feels fancy, but it’s actually just chemistry. Sweetness from the char, acidity from the juice, smokiness from the grill. It’s a flavor bomb in every bite.
Make it yours! Try different herbs, add some spice, or pair it with your favorite sides. The best recipes are the ones you adapt to your tastes. And if you’re a beginner, don’t be afraid. You really can’t mess this up. If you can brush oil and squeeze a lemon, you can make this.
If you make this, drop a comment and let me know how it turned out! I love hearing how recipes work in your kitchen. And if something doesn’t work, tell me that too—I’m here to help troubleshoot. Happy grilling! And I hope your kitchen smells as good as mine does right now.
Frequently Asked Questions
Q: Can I use frozen chicken breasts?
A: It’s better to use fresh or thawed chicken. Frozen chicken releases a lot of water as it thaws, which makes it hard to get a good sear. If you must use frozen, thaw it completely in the fridge overnight and pat it very dry before seasoning. But fresh is always best for grilling.
Q: Why did my chicken stick to the grill?
A: This usually happens for two reasons: the grill wasn’t hot enough, or the chicken wasn’t ready to flip. Make sure your grill is preheated and clean. Oil the grates well. And don’t try to flip the chicken until it releases naturally. If it sticks, give it another minute. It should lift away easily when the proteins have set.
Q: Can I make this on a stovetop?
A: Absolutely. Use a cast iron skillet or a grill pan. Heat it over medium-high heat with a little oil. Cook for 6-7 minutes per side, just like on the grill. The char won’t be as intense, but the flavor will still be great. The charred lemon technique works the same way—you can char the lemons under the broiler.
Q: How do I know when the chicken is done without a thermometer?
A: Press the chicken with your finger or tongs. If it feels firm but still has a little give, it’s done. If it feels hard like a rock, it’s overcooked. If it feels soft and squishy, it needs more time. Also, cut into the thickest part—the meat should be white throughout, not pink or translucent.
Q: Can I marinate the chicken beforehand?
A: Yes, but keep it simple. Olive oil, salt, pepper, and lemon juice work well. Avoid marinating in too much acid (like pure lemon juice) for more than 30 minutes, as it can make the meat mushy. For this recipe, the quick oil and salt rub is usually enough, but a 1-hour marinate in the fridge works great if you have the time.
Q: What if my lemons aren’t juicy enough?
A: Roll the lemons on the counter with your palm before cutting them. This breaks the internal membranes and releases more juice. If they’re still dry, try microwaving them for 10 seconds before cutting. The heat helps loosen the juices. But usually, rolling them is enough.
Q: Can I use this method for chicken thighs?
A: Yes! Chicken thighs are actually more forgiving and stay juicier. They take slightly longer to cook, about 18-20 minutes total, but the same seasoning and charred lemon finish work perfectly. I actually prefer thighs for this recipe because they’re harder to overcook.
Pin This Recipe!
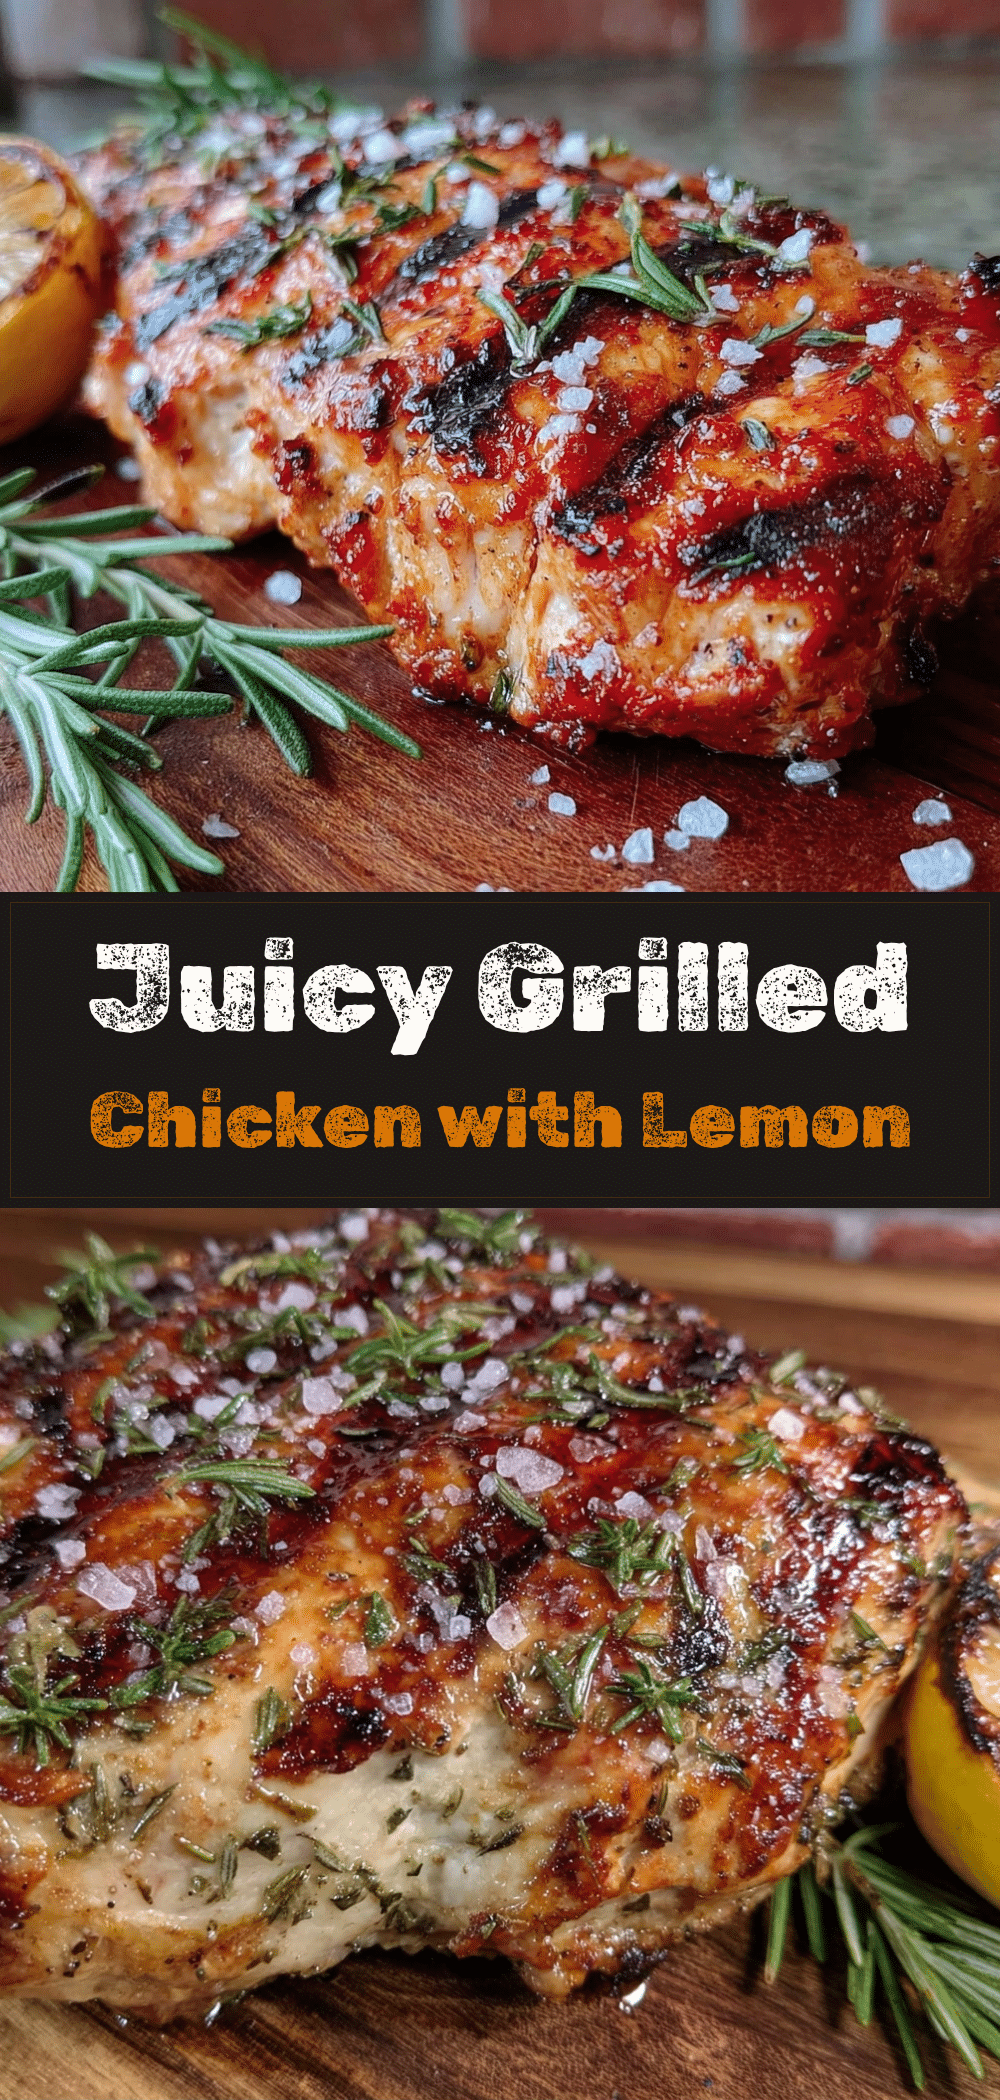
Grilled Chicken Breast: The 4-Ingredient Foolproof Dinner
- Total Time: 20 minutes
- Yield: 2 servings 1x
Description
A simple, beginner-proof grilled chicken breast recipe using only four ingredients: olive oil, salt, pepper, and charred lemon. This method ensures juicy, flavorful meat without complex marinades or special equipment.
Ingredients
- 2 large boneless, skinless chicken breasts (about 1.5 lbs / 700g)
- 3 tablespoons extra virgin olive oil
- 1½ teaspoons kosher salt
- ½ teaspoon freshly cracked black pepper
- 2 large lemons
- Fresh herbs (parsley or cilantro, optional)
Instructions
- Remove chicken from the fridge and let it sit on the counter for 10-15 minutes to reach room temperature. Pat dry with paper towels.
- Drizzle olive oil over the chicken and coat both sides evenly. Sprinkle with kosher salt and black pepper, rubbing gently to adhere.
- Cut lemons in half crosswise and place them cut-side down on a hot grill (or under a broiler) for 2-3 minutes until charred and dark brown. Remove and set aside.
- Preheat grill to medium heat (about 375°F / 190°C) or heat a cast iron grill pan over medium-high heat. Lightly oil the grates.
- Place chicken on the grill. Cook for 6-7 minutes on the first side without moving it. Flip and cook for another 5-7 minutes on the second side.
- Chicken is done when internal temperature reaches 165°F (74°C) or juices run clear.
- Remove chicken from heat and let it rest for 5 minutes to redistribute juices.
- Squeeze the juice from the charred lemons over the resting chicken.
- Slice chicken against the grain and serve immediately with extra charred lemon halves on the side.
Notes
For even cooking, pound the thick end of the chicken breasts to about ¾ inch thickness. Do not move the chicken while grilling to ensure a good sear. Resting the meat is crucial for juiciness. If using a stovetop, use a cast iron skillet and char lemons under the broiler.
- Prep Time: 5 minutes
- Cook Time: 15 minutes
- Category: Main Course
- Cuisine: American
Nutrition
- Serving Size: 1 chicken breast wit
- Calories: 250
- Sugar: 1
- Sodium: 600
- Fat: 10
- Saturated Fat: 2
- Carbohydrates: 5
- Fiber: 1
- Protein: 40
Keywords: grilled chicken, chicken breast, charred lemon, easy dinner, healthy recipe, gluten-free, dairy-free, low carb, high protein, beginner cooking



