There was a year when I treated pumpkin bread like a chore. You know the kind. The kind that sits in the back of your pantry, dusty and forgotten, until you desperately need something to use up a can of pumpkin puree before it goes bad. I used to pull out the same old recipe, mix it with generic spices that tasted more like cardboard than cinnamon, and bake a loaf that was dense enough to anchor a boat. It was edible, sure. But it wasn’t something I looked forward to. It was just… duty.
Then, last October, I decided to actually give it one more shot. I was tired of the dry, crumbly loaves I’d been making for years. I wanted something that tasted like a bakery treat but was easy enough to throw together on a Tuesday morning. So I did what I always do when I’m stuck: I messed with the fat.
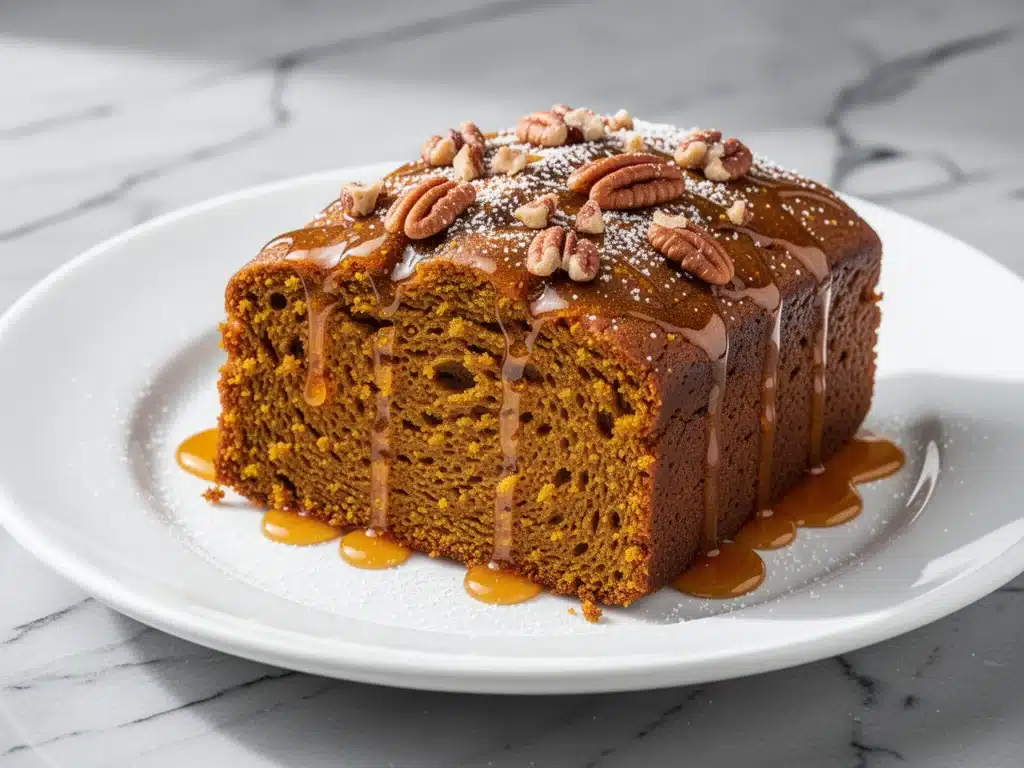
Instead of just dumping in butter, I decided to brown it. I let those milk solids turn golden and nutty, filling my kitchen with this incredible aroma that smelled like Thanksgiving and comfort all at once. Then, instead of a plain sugar topping, I whisked up a maple glaze that actually soaked into the crust. The result? A loaf so moist, so deeply spiced, and so fragrant that my husband walked into the kitchen, sniffed the air, and asked, “What is that smell? I need it.”
That was three months ago. Since then, I’ve made this fall pumpkin bread with brown butter maple glaze at least five times. It’s not a “once a year” recipe anymore. It’s my go-to when the leaves start turning, when I need to bring something to a potluck, or when I just need a warm slice with my morning coffee. It’s the kind of baking that feels sophisticated but is actually stupid simple. And once you try it, you’re going to want to make it on repeat, too.
Why You’ll Love This Pumpkin Bread Recipe
I’ve tested probably a dozen pumpkin bread recipes over the years, and this one is the clear winner. Here’s why it’s staying in my regular rotation:
The Brown Butter Factor — This is the game-changer. Browning the butter takes two extra minutes but adds this deep, nutty, toasty flavor that regular melted butter just can’t touch. It makes the bread taste like it came from a high-end bakery, not your average home kitchen.
Moisture Guaranteed — One of the biggest complaints about pumpkin bread is that it’s dry. This recipe uses both pumpkin puree and a touch of oil (plus the brown butter) to ensure every bite is tender and moist. It stays good for days without turning into a brick.
Spice Blend Perfection — I’ve tweaked the spice ratios so it’s not just cinnamon. There’s ginger, nutmeg, and cloves that actually shine through. It’s warm and aromatic without being overpowering. It smells like fall in a jar.
The Glaze Is Not Optional — I know, I know. Some people skip the glaze. Don’t be those people. The maple glaze adds a salty-sweet crunch to the top and a floral sweetness that cuts through the richness of the bread. It’s the finisher that makes the whole dish sing.
One-Bowl Wonder — You don’t need a stand mixer. You don’t need a bunch of bowls. You just need one large bowl and a whisk. Mix, pour, bake. It’s the kind of recipe that respects your time.
Freezer-Friendly — I love making two loaves at once. One for right now, one for later. This bread freezes beautifully. I’ll wrap a whole loaf in foil and freeze it, then thaw it out when I need a quick breakfast or snack. It tastes just as good thawed as it does fresh.
This is my answer to “what’s for breakfast?” or “what can I bring to the office?” when I want to impress people without spending hours in the kitchen. It’s reliable, delicious, and smells amazing while it bakes.
Ingredients You’ll Need for Pumpkin Bread
Here’s the thing about pumpkin bread: the quality of your ingredients matters more than you think. Since the flavor profile is so simple, you really taste every component. I’m particular about three things here, and I’ll tell you exactly why.
All-Purpose Flour (2 ½ cups / 315g) — I use all-purpose flour because it gives the right structure. Cake flour makes it too tender and it falls apart; bread flour makes it too chewy. AP is the sweet spot. Spoon it into the cup and level it off—don’t scoop, or you’ll pack it down and get dry bread.
Pure Pumpkin Puree (1 cup / 245g) — Not pumpkin pie filling! Make sure it’s 100% pure pumpkin. I use Libby’s because it’s consistent, but any brand works. If your puree looks watery, drain it in a sieve for 10 minutes first. Too much water makes the bread soggy.
Brown Butter (½ cup / 115g) — This is the star. You’ll make this yourself from unsalted butter. Let it cool slightly before adding. It adds that nutty depth I told you about. Trust me, you won’t go back to regular butter.
Maple Syrup (½ cup / 120ml) — Use real maple syrup, not the pancake syrup stuff. The grade doesn’t matter much, but darker, robust maple syrup has a stronger flavor that stands up to the spices. This goes into both the batter and the glaze.
Eggs (2 large) — Room temperature eggs mix better into the batter. I take them out of the fridge 30 minutes before I start. If I forget, I put them in a bowl of warm water for 5 minutes.
Granulated Sugar (1 cup / 200g) — I use white sugar for the main batter because it keeps the crumb tender. Some recipes use brown sugar, but I find it can make the bread dense. White sugar gives that classic pumpkin bread sweetness.
Vegetable Oil (¼ cup / 60ml) — Neutral oil keeps the bread moist. Canola or avocado oil works too. Don’t skip this—it works with the pumpkin puree to create that tender crumb.
Pumpkin Pie Spice (2 teaspoons) — Or make your own: 1 tsp cinnamon, ½ tsp ginger, ¼ tsp nutmeg, ¼ tsp cloves, ¼ tsp allspice. Ground spices lose potency over time, so if your jar has been sitting since last October, buy a new one. It makes a huge difference.
Baking Soda & Baking Powder (1 tsp each) — The double leavening ensures the loaf rises nicely without being too heavy. Don’t skip either one.
Salt (1 teaspoon) — Essential for balancing the sweetness. Don’t underestimate salt.
For the Glaze:
Powdered Sugar (1 cup / 120g) — Sifted to avoid lumps.
Maple Syrup (2 tablespoons) — Adds flavor and a bit of liquidity.
Milk (1-2 tablespoons) — Adjust for consistency.
Pinch of Salt — Cuts the sweetness.
Equipment Needed
You don’t need fancy gadgets for this. Here’s what I actually use:
Large Mixing Bowl — I use a 5-quart glass bowl. It’s big enough to mix everything without splattering. Any large bowl works.
Whisk — For mixing the wet ingredients and the glaze. A balloon whisk is best.
Measuring Cups and Spoons — Standard stuff. Dollar store versions work fine for this.
Loaf Pan (9×5 inch) — I use a metal pan. Glass pans heat differently and can cause the edges to burn before the center is done. If you only have glass, lower the oven temp by 25°F.
Parchment Paper — I line the pan with parchment, leaving an overhang on the sides. This is the secret to getting the loaf out intact. It’s a lifesaver.
Small Saucepan — For browning the butter. I use a light-colored stainless steel pan so I can see the color change clearly.
Cooling Rack — Essential for cooling the bread properly. If you let it cool in the pan, it gets soggy on the bottom.
Small Bowl — For whisking the glaze.
Brush (Optional) — For brushing the glaze on evenly. A pastry brush works well.
How to Make It: Step-by-Step
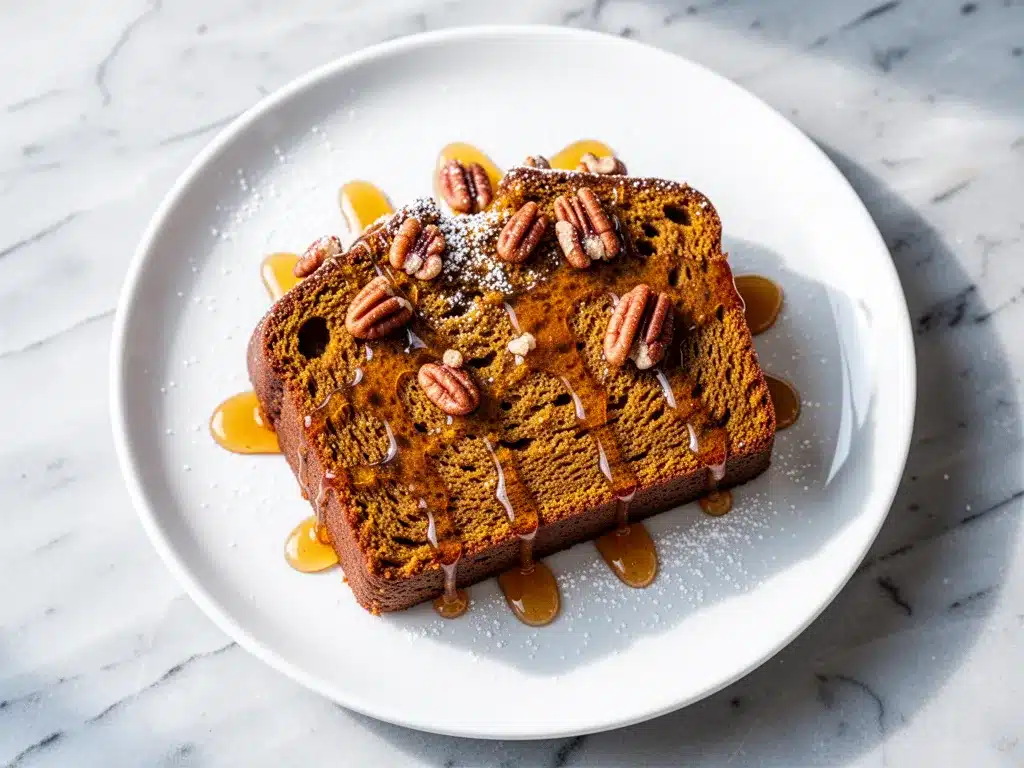
Alright, let’s make this! I’m walking you through exactly how I do it, including the little tricks I’ve picked up over the years.
Step 1: Prep Your Pan and Oven (5 minutes)
Preheat your oven to 350°F (175°C). Line your 9×5 inch loaf pan with parchment paper. Leave a little overhang on the long sides—this acts like a sling to help you lift the bread out later. Grease the parchment lightly with butter or oil. This prevents sticking.
Step 2: Brown the Butter (5-7 minutes)
This is the most important step. Put your ½ cup of butter in a light-colored saucepan over medium heat. Stir it constantly with a wooden spoon. It will melt, then foam up, then start to crackle. Watch it closely. Once the foam subsides, you’ll see little brown specks at the bottom and smell a nutty, toasted aroma. That’s it. Immediately pour it into a heatproof bowl to stop the cooking. Let it cool for 10 minutes so it’s warm, not hot, when you add the eggs.
Step 3: Mix the Wet Ingredients (3 minutes)
In your large bowl, whisk together the cooled brown butter, vegetable oil, granulated sugar, maple syrup, and eggs. Whisk vigorously for about a minute. You want the mixture to look emulsified and slightly pale. This incorporates air and helps the bread rise.
Step 4: Add the Pumpkin
Stir in the 1 cup of pumpkin puree until fully combined. The mixture will look thick and orange. Don’t worry if it looks a bit lumpy; that’s normal.
Step 5: Combine Dry Ingredients (2 minutes)
In a separate medium bowl, whisk together the flour, baking soda, baking powder, pumpkin pie spice, and salt. Whisking the dry ingredients separately ensures the spices are evenly distributed and there are no pockets of baking soda.
Step 6: Mix Everything Together (2 minutes)
Gradually add the dry ingredients to the wet ingredients. Use a spatula to fold them in gently. Stop mixing as soon as you no longer see streaks of flour. Overmixing develops gluten and makes the bread tough. It should look thick and dense. That’s exactly what you want.
Step 7: Bake (55-65 minutes)
Pour the batter into your prepared loaf pan. Smooth the top with your spatula. Bake for 55-65 minutes. At 55 minutes, check it. Insert a toothpick into the center. If it comes out clean or with just a few moist crumbs, it’s done. If it has wet batter, give it 5 more minutes. The top should be golden brown and pulling away slightly from the sides of the pan.
Step 8: Cool Completely (1 hour)
Let the bread cool in the pan for 10 minutes, then lift it out using the parchment sling and place it on a cooling rack. Let it cool completely before glazing. If you glaze it while it’s warm, the glaze will melt and run off. Patience is key here.
Step 9: Make and Apply the Glaze (5 minutes)
While the bread cools, whisk together the powdered sugar, maple syrup, milk, and salt until smooth. It should be thick but pourable. Drizzle it over the completely cool bread. Let it set for 10 minutes before slicing.
Expert Tips & Tricks for Perfect Pumpkin Bread
Here’s everything I’ve learned from making this dozens of times. These tips will save you from my mistakes.
Don’t Rush the Brown Butter
I’ve burned my butter twice. It happens fast. Once it starts smoking, it’s ruined. If you smell it burning, toss it and start over. It’s worth the extra butter.
Room Temperature Ingredients
Cold eggs and cold butter create a lumpy batter. Room temperature ingredients emulsify better, giving you a smoother, more even crumb. Plan ahead.
Check Your Oven Temp
Ovens vary. If your bread is browning too fast on top but raw in the middle, cover it loosely with aluminum foil after 30 minutes. This lets the inside cook without burning the top.
Use a Food Scale
If you have one, use it. Baking is chemistry, and weight is more accurate than volume. 1 cup of flour can vary by 20% depending on how you scoop it. A scale eliminates that guesswork.
The Toothpick Test
Don’t rely on time alone. Ovens differ. The toothpick is your best friend. If it comes out with wet batter, it needs more time. If it comes out clean, it’s done.
Cooling is Crucial
I know you want to eat it now. But slicing warm pumpkin bread makes it gummy. Let it cool completely for the best texture.
Glaze Consistency
If the glaze is too thick, add more milk, a teaspoon at a time. If it’s too thin, add more powdered sugar. You want it to drizzle but not run off the edges immediately.
Variations & Substitutions
Once you’ve nailed the basic version, here’s how you can mix it up. I’ve tried all of these.
Walnut or Pecan Version
Fold in 1 cup of chopped walnuts or pecans into the batter before baking. Toast them first for extra flavor. This adds crunch and richness.
White Chocolate Chip
Add ½ cup of white chocolate chips to the batter. It’s sweet and decadent. Great for holidays.
Spice It Up
Add ½ teaspoon of cardamom or a pinch of black pepper to the spice blend. It adds a subtle kick that’s surprising and delicious.
Maple Walnut Glaze
Stir ¼ cup of chopped toasted walnuts into the glaze before drizzling. Adds texture and visual appeal.
Dairy-Free
Use coconut oil instead of butter and maple syrup instead of milk in the glaze. The flavor changes slightly but it’s still tasty.
Gluten-Free
Use a 1:1 gluten-free flour blend. The texture might be slightly denser, but it works. Add a bit more xanthan gum if your blend doesn’t have it.
Vegan
Use flax eggs (2 tbsp ground flax + 6 tbsp water) and coconut oil. Use maple syrup in the glaze. It’s surprisingly good.
Mini Loaves
Divide the batter into 3 mini loaf pans. Bake for 35-40 minutes. Great for gifts!
Serving & Storage
How to Serve:
I usually serve this straight from the cooling rack, sliced thick. It’s perfect with a cup of coffee or tea. It also makes a great breakfast with scrambled eggs or a light lunch with soup. Try pairing it with my fall slow cooker spiced caramel apple cider for the ultimate autumn afternoon.
Side Dishes:
Serve with roasted butternut squash or a simple green salad. It pairs well with savory dishes too, like my fall brown butter sage gnocchi for a cozy dinner.
Storage:
Store in an airtight container at room temperature for up to 3 days. It stays moist thanks to the pumpkin and oil.
Refrigerator:
You can refrigerate it for up to 5 days, but it might dry out slightly. Let it come to room temperature before eating.
Freezer:
Wrap the whole loaf or individual slices tightly in plastic wrap, then in foil. Freeze for up to 3 months. Thaw at room temperature.
Reheating:
Warm slices in the microwave for 20-30 seconds. Or toast them lightly for a crispy edge.
Pro Tip:
If you’re making this for a gift, let it cool completely, wrap it in parchment, then in cellophane or a gift bag. Add a tag with the recipe. It’s a hit every time.
Nutrition Information
I’m not a nutritionist, but here’s the breakdown if you’re tracking. This is per slice (1/10 of the loaf).
| Nutrient | Amount |
|---|---|
| Calories | 280 |
| Protein | 4g |
| Carbs | 42g |
| Fiber | 2g |
| Sugar | 24g |
| Fat | 12g |
| Saturated Fat | 6g |
| Sodium | 250mg |
Look, this is comfort food with butter and sugar. It’s not a diet recipe. But it’s made with real ingredients, and a slice is a satisfying treat. When I want to make it lighter, I reduce the sugar slightly and add extra nuts for protein. But usually? I just enjoy a slice and move on with my day.
Final Thoughts
So that’s my go-to fall pumpkin bread with brown butter maple glaze! I’ve probably talked your ear off at this point, but when you make a recipe this often, you have a lot to say about it.
This has saved my autumn mornings more times than I can count. It’s my answer to “what’s for breakfast?” when I’m tired, don’t want takeout, and still want something that tastes really good. My family is happy, my guests are happy, and I’m happy because I’m not stressed about cooking.
Make it yours! Try different nuts, swap the spices, or adjust the glaze thickness. The best recipes are the ones you adapt to your family’s tastes. And if you want to branch out into other fall baking, check out my cozy fall apple cider doughnut loaf for another delicious seasonal treat.
If you make this, drop a comment and let me know what you think! I love hearing how recipes turn out in your kitchen. And if something doesn’t work, tell me that too—I’m here to help troubleshoot.
Happy baking! And I hope your kitchen smells half as good as mine does right now.
Frequently Asked Questions
Can I use canned pumpkin pie filling instead of pure pumpkin puree?
No. Pumpkin pie filling already has sugar and spices added, which will mess up the balance of this recipe. You need 100% pure pumpkin puree. It’s usually in the canned vegetables aisle, near the pie filling.
Why did my pumpkin bread turn out dense?
Usually, this means you overmixed the batter. Once you add the dry ingredients, mix just until combined. Overmixing develops gluten, which makes bread tough. Also, check your baking soda and powder—they might be old and not leavening properly.
Can I freeze this bread?
Absolutely! Wrap it tightly in plastic wrap and then foil. It freezes well for up to 3 months. Thaw at room temperature. I often make two loaves at once for this reason.
Why did my glaze run off the bread?
Either the bread wasn’t completely cool, or the glaze was too thin. Make sure the bread is cool to the touch. If the glaze is too runny, add more powdered sugar. It should drizzle but hold its shape slightly.
Can I use brown butter from the store?
You can, but it’s hard to find. Making it yourself takes 5 minutes and tastes so much better. You can also make it ahead and store it in the fridge. Just let it soften before using.
How do I know when the bread is done?
Insert a toothpick into the center. If it comes out clean or with a few moist crumbs, it’s done. If it has wet batter, bake for 5 more minutes. The top should be golden brown and pulling away from the sides.
Can I make this in a bundt pan?
Yes, but adjust the baking time. It will take longer, probably 60-70 minutes. Check with a toothpick at 60 minutes. The center might take longer to cook in a bundt pan.
Pin This Recipe!
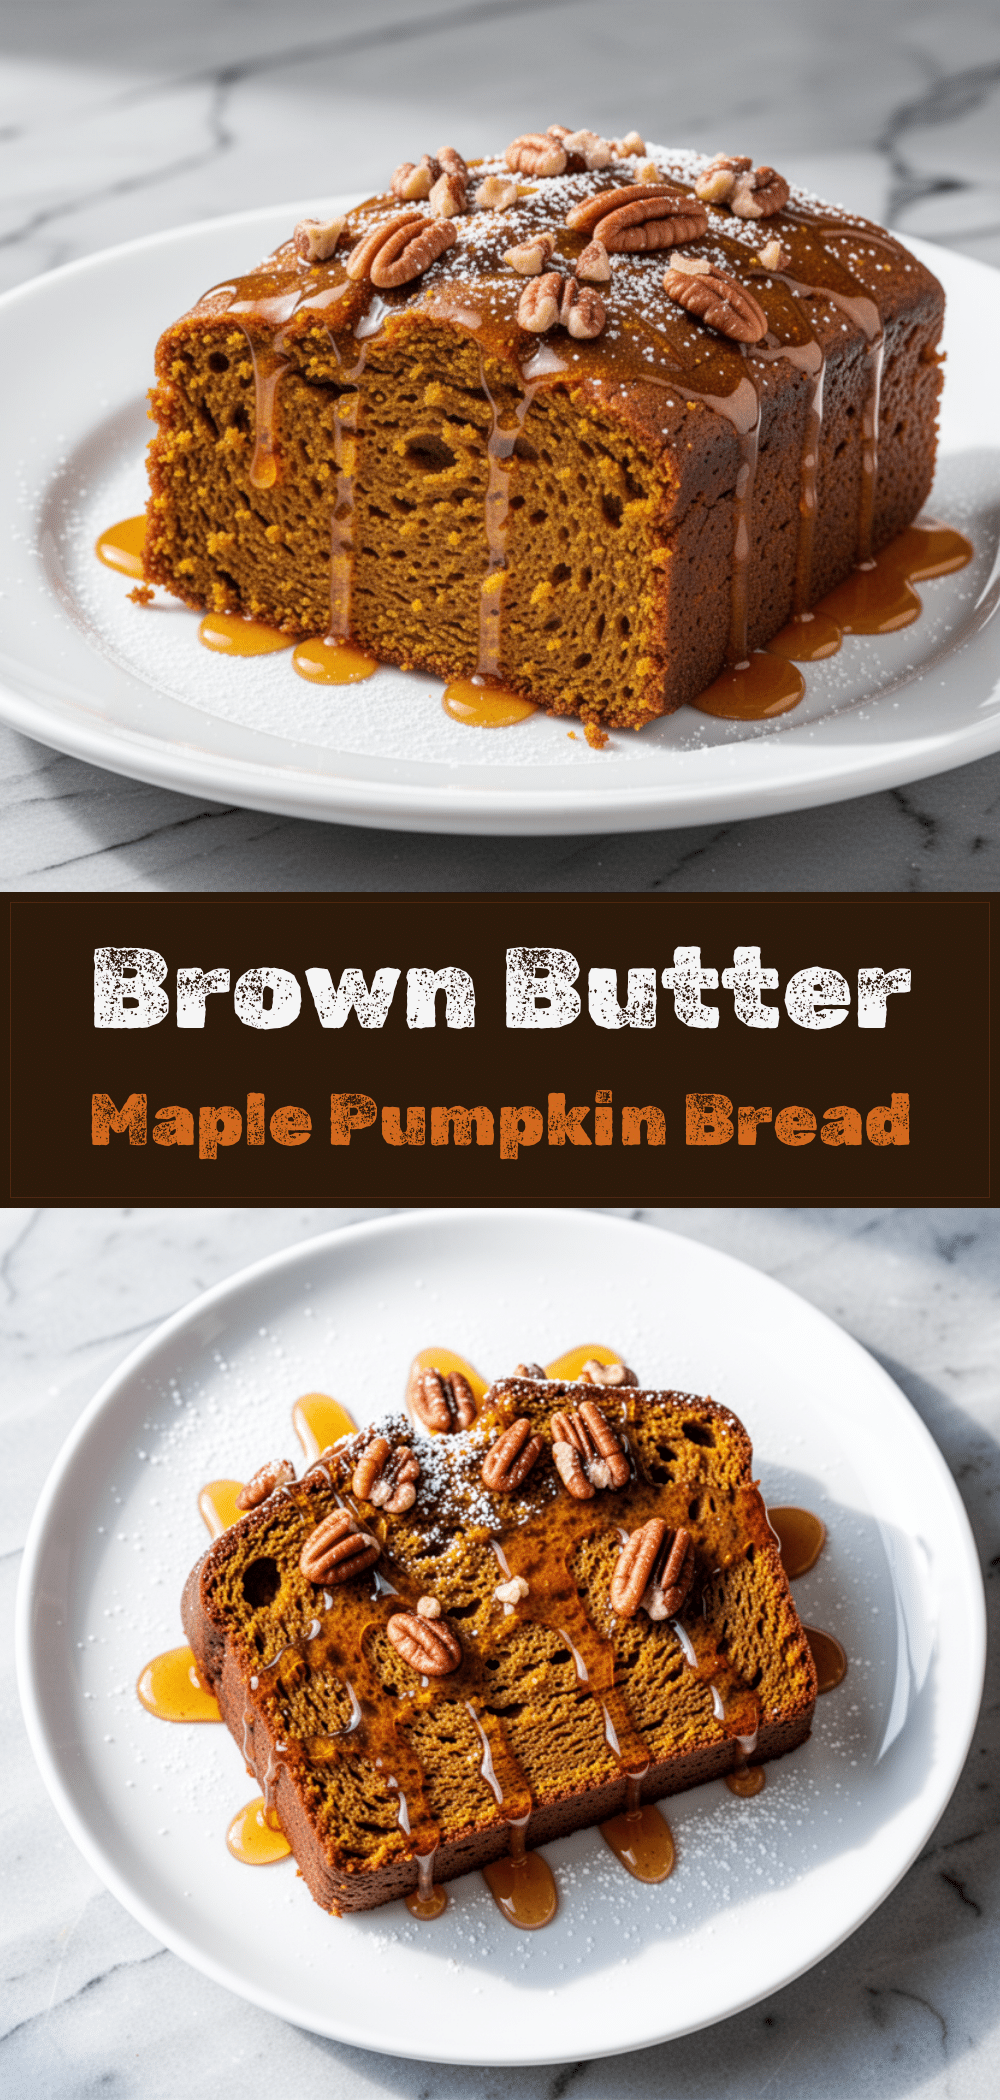
Fall Pumpkin Bread: Easy Brown Butter Maple Glaze Recipe
- Total Time: 75 minutes
- Yield: 10 servings 1x
Description
A moist, deeply spiced pumpkin bread made with nutty brown butter and topped with a sweet maple glaze. This one-bowl recipe is easy to make, freezer-friendly, and perfect for autumn mornings.
Ingredients
- 2 ½ cups all-purpose flour
- 1 cup pure pumpkin puree
- ½ cup unsalted butter (for browning)
- ½ cup real maple syrup
- 2 large eggs (room temperature)
- 1 cup granulated sugar
- ¼ cup vegetable oil
- 2 teaspoons pumpkin pie spice (or 1 tsp cinnamon, ½ tsp ginger, ¼ tsp nutmeg, ¼ tsp cloves, ¼ tsp allspice)
- 1 teaspoon baking soda
- 1 teaspoon baking powder
- 1 teaspoon salt
- 1 cup powdered sugar (for glaze)
- 2 tablespoons maple syrup (for glaze)
- 1–2 tablespoons milk (for glaze)
- Pinch of salt (for glaze)
Instructions
- Preheat oven to 350°F (175°C). Line a 9×5 inch loaf pan with parchment paper, leaving an overhang on the long sides, and grease lightly.
- Brown the butter in a light-colored saucepan over medium heat, stirring constantly until it foams, crackles, and smells nutty. Pour into a heatproof bowl and let cool for 10 minutes.
- In a large bowl, whisk together the cooled brown butter, vegetable oil, granulated sugar, maple syrup, and eggs until emulsified and slightly pale.
- Stir in the pumpkin puree until fully combined.
- In a separate medium bowl, whisk together the flour, baking soda, baking powder, pumpkin pie spice, and salt.
- Gradually add the dry ingredients to the wet ingredients and fold gently with a spatula until just combined. Do not overmix.
- Pour batter into the prepared loaf pan and smooth the top.
- Bake for 55-65 minutes, or until a toothpick inserted into the center comes out clean or with moist crumbs.
- Let the bread cool in the pan for 10 minutes, then lift it out using the parchment sling and place on a cooling rack to cool completely.
- While the bread cools, whisk together powdered sugar, 2 tablespoons maple syrup, milk, and a pinch of salt until smooth.
- Drizzle the glaze over the completely cool bread and let it set for 10 minutes before slicing.
Notes
Ensure pumpkin puree is 100% pure, not pie filling. If your puree is watery, drain it in a sieve for 10 minutes. Room temperature ingredients emulsify better. Do not overmix the batter to avoid a tough texture. The bread must be completely cool before glazing to prevent the glaze from melting. This bread freezes well for up to 3 months.
- Prep Time: 15 minutes
- Cook Time: 60 minutes
- Category: Breakfast
- Cuisine: American
Nutrition
- Serving Size: 1 slice (1/10 of the
- Calories: 280
- Sugar: 24
- Sodium: 250
- Fat: 12
- Saturated Fat: 6
- Carbohydrates: 42
- Fiber: 2
- Protein: 4
Keywords: pumpkin bread, brown butter, maple glaze, fall baking, autumn recipe, easy bread, one-bowl recipe, gluten-free option, vegan option



