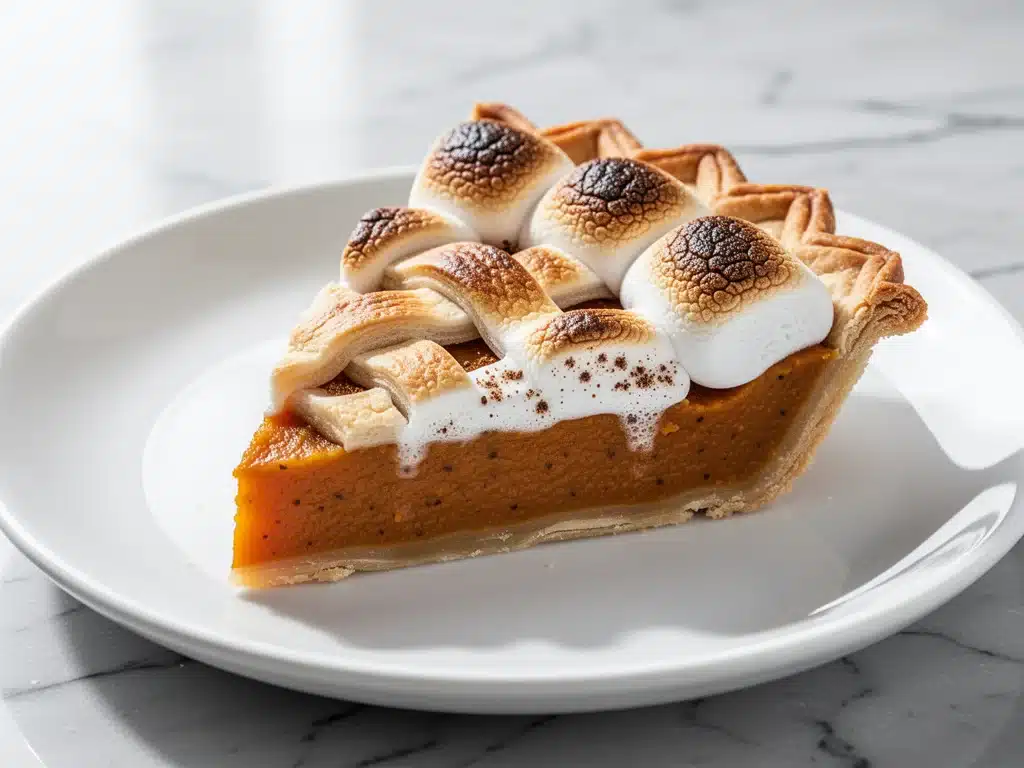
Last Thanksgiving, I stood in my kitchen feeling that familiar mix of pride and panic. I had just pulled my first sweet potato pie out of the oven, looking absolutely perfect. Golden crust, smooth filling, the whole nine yards. I brought it to the table, slicing a generous wedge for my uncle, the self-proclaimed “Pie Judge” of the family. He took a bite, chewed thoughtfully, and then said, “It’s fine. But it’s missing something. It’s too… sweet.”
I was devastated. I had spent hours making pie. I had measured everything twice. And yet, it was just “fine.” That night, I went home and stared at my pantry, wondering if I should just switch to buying store-bought crusts forever. Then, I remembered a trick I’d learned years ago while working a line in a busy French bistro: brown butter. That nutty, toasty, complex depth that changes everything it touches. I grabbed a stick of butter, melted it down until it smelled like hazelnuts, and whipped it into my next batch of filling. I added a dollop of toasted marshmallow on top for that nostalgic, campfire crunch.
I brought that second pie to my cousin’s house for Christmas dinner. My uncle took one bite, stopped mid-chew, and asked, “Did you change the recipe? This is incredible.” That was the moment I realized that fall brown butter sweet potato pie with toasted marshmallow top isn’t just a dessert. It’s a game-changer. It’s the kind of pie that makes people stop talking, put their forks down, and actually savor the moment.
I’ve made this pie at least fifteen times since that Thanksgiving disaster. I’ve tweaked the spice levels, experimented with different marshmallow techniques, and even tried it with gluten-free crusts. And every single time, it’s been a hit. It’s rich, it’s complex, and it’s got that perfect balance of earthy sweetness and salty crunch. If you’re looking for a holiday dessert that actually impresses, this is the one. It’s easier than you think, and the smell of brown butter filling the house? That’s the real secret ingredient.
Why You’ll Love This Recipe
There are a dozen reasons I keep coming back to this pie, but let’s be honest: it’s the flavor that keeps you hooked. Once you taste the difference that brown butter makes, you’ll never go back to plain butter pie again. Here’s why this fall brown butter sweet potato pie with toasted marshmallow top has earned a permanent spot in my holiday rotation.
It’s Not Just Sweet — Most sweet potato pies are one-dimensional. They’re just sweet, with a hint of cinnamon. This pie has depth. The brown butter adds a nutty, caramel-like complexity that pairs perfectly with the earthy sweetness of the potatoes. It’s sophisticated but still feels like home.
The Marshmallow Top is a Textural Dream — I know, I know. Some people think marshmallows on pie are too gimmicky. But hear me out. Toasting them gives you that slightly crisp, caramelized exterior with a gooey, warm center. It contrasts beautifully with the smooth, dense filling. It’s like having a s’more and a pie in one bite.
It’s Actually Make-Ahead Friendly — Unlike some delicate desserts that need to be served immediately, this pie tastes even better the next day. The flavors meld together, and the crust firms up just enough to slice cleanly. I make it two days before the holiday, and it’s still perfect when I pull it out.
It’s Surprisingly Simple — You don’t need fancy techniques or expensive ingredients. You just need patience for the butter (about 5 minutes) and a willingness to trust the process. I’ve taught my teenage nephew how to make this, and he didn’t burn a single thing. If you can melt butter, you can make this pie.
It’s a Conversation Starter — Every time I serve this, someone asks, “What’s different about this pie?” It’s the brown butter. It’s the toasted marshmallows. It’s the perfect balance of spices. It’s the kind of dessert that makes people want to know the recipe, and that’s always a win in my book.
This pie has saved my holiday dinners more times than I can count. It’s my answer to “What dessert should I bring?” when I’m tired, stressed, and don’t want to order takeout. My family is happy, my guests are impressed, and I’m happy because I’m not stressed about cooking. It’s reliable, delicious, and always a crowd-pleaser.
Ingredients You’ll Need
Here’s the best part: you probably have most of these ingredients already. This isn’t a recipe that requires a trip to three different specialty stores. It’s built on pantry staples and a few key items that make all the difference. I’m particular about three things here, and I’ll tell you exactly why.
Unsalted Butter (1/2 cup / 113g) — You’ll use half of this to brown, and the other half to grease the crust. Use high-quality butter if you can. I like Kerrygold or Plugrá. The flavor of the brown butter depends on the quality of the butter you start with. Don’t skimp here.
Sweet Potatoes (2 large, about 2 lbs / 900g) — I prefer Beauregard or Jewel varieties because they’re naturally sweeter and have a smoother texture. Avoid Garnet yams if you can; they can be stringy. Roast them whole in the oven until tender, then scoop out the flesh. Canned puree works in a pinch, but fresh tastes so much better. I always use fresh.
Evaporated Milk (1 can / 12oz / 340ml) — Not condensed milk! Evaporated milk is unsweetened and gives the filling a rich, creamy texture without being too sweet. It’s a secret weapon in Southern pie recipes. I keep a few cans in my pantry specifically for this.
Eggs (2 large + 1 yolk) — The whole eggs provide structure, and the extra yolk adds richness. Room temperature eggs mix more evenly into the filling, so I take them out of the fridge 30 minutes before I start. If I forget, I warm them in a bowl of hot water for a few minutes.
Granulated Sugar (3/4 cup / 150g) — This provides the sweetness, but not too much. You want the spices and the brown butter to shine through. I use regular white sugar, but you can substitute half with brown sugar for a deeper molasses flavor if you want.
Spices (1 tsp cinnamon, 1/2 tsp nutmeg, 1/4 tsp ginger, 1/4 tsp allspice) — I use ground spices because they’re consistent and easy to find. Freshly grated nutmeg is amazing, but it’s an extra step. For this recipe, ground works perfectly. I always buy my spices from a store with high turnover so they’re fresh.
Salt (1/2 tsp kosher salt) — Salt is crucial. It balances the sweetness and enhances the other flavors. Use kosher salt because it’s easier to control. Table salt is finer and can make the pie too salty if you’re not careful.
Marshmallows (1 bag / 10oz / 280g) — Use standard large marshmallows. I like Jet-Puffed or Marshmallow Fluff for the topping. Some people use mini marshmallows, but I find the larger ones toast better and give a more dramatic effect. You’ll toast them under the broiler, so they need to be sturdy enough not to melt completely.
Pie Crust (1 or 2 single crusts) — You can use store-bought if you’re in a rush, but homemade is better. I have a favorite soft no-knead artisan bread recipe that I sometimes adapt into a pie crust, but for this, I stick to a classic all-butter crust. If you want a shortcut, try these brown sugar bourbon pecan pie bars for a similar vibe but easier prep.
Vanilla Extract (1 tsp) — Pure vanilla, not imitation. It adds a warm, aromatic note that ties everything together. I keep a bottle of Nielsen-Massey in my pantry because it’s potent and flavorful.
Equipment Needed
You don’t need fancy equipment for this. Here’s what I actually use.
Large Skillet or Saucepan — For browning the butter. I use a stainless steel skillet because I can see the color change clearly. A light-colored pan is best so you don’t burn the butter without noticing.
Food Processor or Blender — For pureeing the sweet potatoes and mixing the filling. A food processor gives the smoothest texture, but a hand blender works too. I’ve also used a fork and a lot of elbow grease, but it’s not worth the effort if you have a machine.
9-inch Pie Dish — Ceramic or glass works best. I use a ceramic dish because it distributes heat evenly. Metal pans can make the crust soggy, so I avoid those.
Broiler — For toasting the marshmallows. Make sure your oven rack is in the top position, about 4-6 inches from the heating element. Watch it closely—it goes from perfect to burnt in seconds.
Measuring Cups and Spoons — Standard stuff. Dollar store versions work fine for this recipe.
Spatula — For scraping the brown butter and mixing the filling. Silicone is best because it doesn’t scratch the pan.
Pastry Brush — Optional, but nice for greasing the crust. I use mine to brush the crust with egg wash for a golden finish.
How to Make It: Step-by-Step
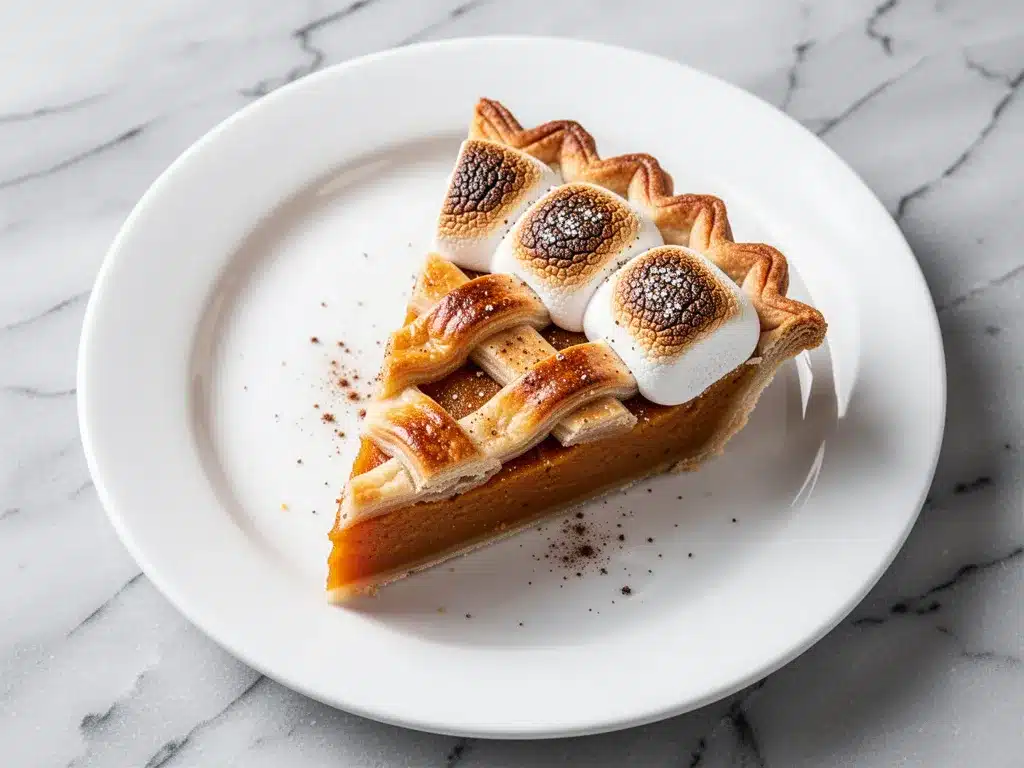
Alright, let’s make this! I’m walking you through exactly how I do it, including the little tricks I’ve picked up.
Step 1: Prepare the Sweet Potatoes (30-40 minutes)
Preheat your oven to 400°F (200°C). Wash the sweet potatoes and poke them a few times with a fork. Bake them directly on the oven rack for 45-60 minutes, until they’re very soft when squeezed. Let them cool completely, then cut them in half and scoop out the flesh. Mash it until it’s smooth. You need about 2 cups of puree. If it’s too watery, press it through a sieve to remove excess moisture. Wet puree makes a soggy pie, so this step is important.
Step 2: Brown the Butter (5 minutes)
Place the butter in a light-colored skillet over medium heat. Stir it constantly with a spatula. It will melt, then foam, then start to crackle. Watch it closely. When the foam subsides and you see brown specks at the bottom, and it smells nutty (like hazelnuts or toasted almonds), it’s done. This takes about 5-7 minutes. Immediately pour it into a heatproof bowl to stop the cooking. You want about 1/2 cup of brown butter.
Step 3: Mix the Filling (5 minutes)
In a food processor, combine the sweet potato puree, brown butter, evaporated milk, sugar, eggs, egg yolk, cinnamon, nutmeg, ginger, allspice, salt, and vanilla. Pulse until smooth. Taste it. If you want more spice, add a pinch more. If it’s too sweet, add a splash more vanilla. The mixture should be thick but pourable.
Step 4: Assemble the Pie (5 minutes)
Roll out your pie crust and fit it into the 9-inch pie dish. Trim the edges and flute them if you want. Pour the filling into the crust. Smooth the top with a spatula. If you have a second crust, you can make a lattice top, but I prefer a single crust with marshmallows on top for this version.
Step 5: Bake the Pie (45-50 minutes)
Place the pie on a baking sheet (to catch any drips) and bake at 350°F (175°C) for 45-50 minutes. The edges should be set, and the center should still have a slight jiggle. It will firm up as it cools. If the crust starts browning too quickly, cover it with foil or a pie shield.
Step 6: Toast the Marshmallows (2 minutes)
Remove the pie from the oven and let it cool for 10 minutes. Then, arrange marshmallows in a single layer over the top. Place the pie under the broiler for 1-2 minutes, watching it like a hawk. You want them golden brown and puffy, not melted into a puddle. If they start to burn, pull them out immediately.
Step 7: Cool and Serve
Let the pie cool completely on a wire rack. This is the hardest part, but it’s necessary for clean slicing. The filling needs to set. Once cooled, slice and serve. I like it with a dollop of whipped cream, but the toasted marshmallows are sweet enough on their own.
Expert Tips & Tricks
Here’s everything I’ve learned from making this dozens of times. These tips will save you from my mistakes.
Don’t Skip the Brown Butter — I know it seems like extra work, but it’s the heart of this pie. The nutty flavor transforms the whole dish. If you don’t brown it enough, you’ll just have melted butter. If you burn it, you’ll have bitter butter. Aim for the middle: golden brown, nutty aroma.
Remove Excess Moisture from Potatoes — Sweet potatoes vary in water content. If your puree is watery, your pie will be runny. Press it through a sieve or let it sit in a fine-mesh strainer for 30 minutes before mixing.
Watch the Broiler Like a Hawk — Marshmallows go from perfect to charcoal in seconds. Keep the oven door slightly open so you can see the pie, and stand right next to it. It’s a two-minute job, but it requires full attention.
Let It Cool Completely — I know you want to dig in immediately, but if you slice it hot, the filling will spill out. Let it cool for at least 2 hours. The flavors also deepen as it cools, so patience pays off.
Use a Baking Sheet — Pie filling can bubble over, especially with marshmallows on top. Place the pie dish on a rimmed baking sheet to catch any drips. It makes cleanup so much easier.
Common Mistakes — Mistake: Pie is watery. Fix: You didn’t remove enough moisture from the potatoes. Next time, press the puree. Mistake: Crust is soggy. Fix: Blind bake the crust for 10 minutes before adding the filling. Mistake: Marshmallows are burnt. Fix: Lower the rack position or reduce broil time to 30 seconds.
Variations & Substitutions
Once you’ve nailed the basic version, here’s how you can mix it up. I’ve tried all of these.
Gluten-Free Crust — Use a gluten-free pie crust mix. I’ve used Pillsbury and it works great. Just follow the package instructions.
Dairy-Free — Use vegan butter for browning and evaporated coconut milk instead of dairy evaporated milk. Use vegan marshmallows (like Dandies). It’s not quite the same, but it’s still delicious.
Less Sweet — Reduce the sugar to 1/2 cup. The brown butter and marshmallows provide plenty of sweetness, so you can cut back on the sugar if you prefer a less sugary pie.
Spice It Up — Add a pinch of cayenne pepper or a dash of black pepper to the filling. It adds a subtle kick that pairs well with the sweetness. I like this for fall evenings when I want something warming.
Alternative Toppings — Instead of marshmallows, try a crumble topping made with oats, brown sugar, and butter. Or go with a classic whipped cream and a drizzle of caramel. Both are great, but the toasted marshmallows are my favorite.
Different Nuts — If you’re a fan of fall cranberry pecan sourdough focaccia, you might like adding toasted pecans to the marshmallow topping. It adds crunch and a nutty flavor.
Serving & Storage
How to Serve: I usually serve this straight from the pie dish at the dinner table. It looks rustic and stays warm. But here are other ways I’ve enjoyed it:
Side Dishes: This pie is rich, so pair it with something light. A simple green salad with a vinaigrette works well. Or serve it with a cup of spiced cider, like this fall slow cooker spiced caramel apple cider.
Toppings Bar: When I have guests, I put out: whipped cream, extra toasted marshmallows, crumbled pecans, and a drizzle of caramel sauce. Everyone customizes their slice.
Refrigerator: Store in an airtight container or covered with plastic wrap for up to 4 days. The marshmallows will soften, but the pie is still good.
Reheating: Warm slices in the microwave for 30 seconds, or in a 300°F oven for 10 minutes. The marshmallows will get gooey again.
Freezing: This pie doesn’t freeze well because of the marshmallows. They become chewy and strange when thawed. Freeze the pie before adding the marshmallows, then toast them fresh when you’re ready to serve.
Nutrition Information
I’m not a nutritionist, but here’s the breakdown if you’re tracking.
Per Serving (based on 8 servings):
- Calories: 450
- Protein: 6g
- Carbs: 65g
- Fiber: 4g
- Sugar: 40g
- Fat: 18g
- Saturated Fat: 8g
- Cholesterol: 65mg
- Sodium: 220mg
What’s Good: Sweet potatoes are rich in vitamin A and fiber. The pie provides a good amount of energy for the holidays.
What to Know: It’s high in sugar and saturated fat, so enjoy in moderation. It’s a treat, not a health food.
My Take: Look, this is a dessert. It’s sweet, rich, and indulgent. It’s not a diet recipe. But it’s better than store-bought, and it’s made with real ingredients. When I want to make it lighter, I reduce the sugar and use a lighter crust. But usually? I just eat a slice and enjoy it.
Final Thoughts
So that’s my fall brown butter sweet potato pie with toasted marshmallow top! I’ve probably talked your ear off at this point, but when you make a recipe this often, you have a lot to say about it.
This pie has saved my holiday dinners more times than I can count. It’s my answer to “What dessert should I bring?” when I’m tired, don’t want takeout, and still want something that tastes really good. My family is happy, my guests are impressed, and I’m happy because I’m not stressed about cooking.
Make it yours! Try different spices, swap in your favorite nuts, adjust the sweetness to your liking. The best recipes are the ones you adapt to your family’s tastes.
If you make this, drop a comment and let me know what you think! I love hearing how recipes turn out in your kitchen. And if something doesn’t work, tell me that too—I’m here to help troubleshoot.
Happy baking! And I hope your kitchen smells half as good as mine does right now.
Frequently Asked Questions
Can I use canned sweet potato puree?
Yes, you can, but fresh tastes so much better. If you use canned, make sure it’s 100% pure sweet potato, not pie filling. Also, canned puree can be watery, so press it through a sieve to remove excess moisture. I’ve done this when I’m in a rush, and it works, but fresh is worth the effort.
Why did my pie filling crack?
Cracking usually means the pie was overbaked or the oven was too hot. Sweet potato pie is delicate. It should have a slight jiggle in the center when you take it out. It will firm up as it cools. If you bake it until it’s completely firm, it will crack. Next time, check it 5 minutes earlier.
Can I make this ahead for a dinner party?
Absolutely! This is my preferred way to make it. Bake the pie up to 2 days ahead. Store it covered in the fridge. When you’re ready to serve, let it come to room temperature, then toast the marshmallows. It actually tastes better after a day because the flavors meld together.
Why did my marshmallows burn?
Marshmallows burn very quickly under a broiler. Make sure your oven rack is in the top position, but not too close to the element. Watch it closely. It should take 1-2 minutes, but it can happen in 30 seconds if your broiler is strong. If you’re worried, use a lower broil setting or toast them under a regular oven setting at 400°F for a few minutes.
Can I use coconut milk instead of evaporated milk?
You can, but the texture will be different. Coconut milk is thicker and richer, so the pie will be denser. It also adds a coconut flavor, which might not pair well with the spices. If you want a dairy-free version, I recommend evaporated coconut milk, which has a similar consistency to dairy evaporated milk.
How do I store leftovers?
Store in an airtight container in the fridge for up to 4 days. The marshmallows will soften, but the pie is still good. Reheat slices in the microwave for 30 seconds or in a 300°F oven for 10 minutes. Don’t freeze it with the marshmallows on top.
Can I double this recipe?
Yes, but you’ll need two pie dishes. The baking time might be slightly longer, so check for doneness a few minutes later. I usually just make one pie because it’s enough for a small family. If you’re feeding a crowd, double it, but keep an eye on the ovens.
Pin This Recipe!
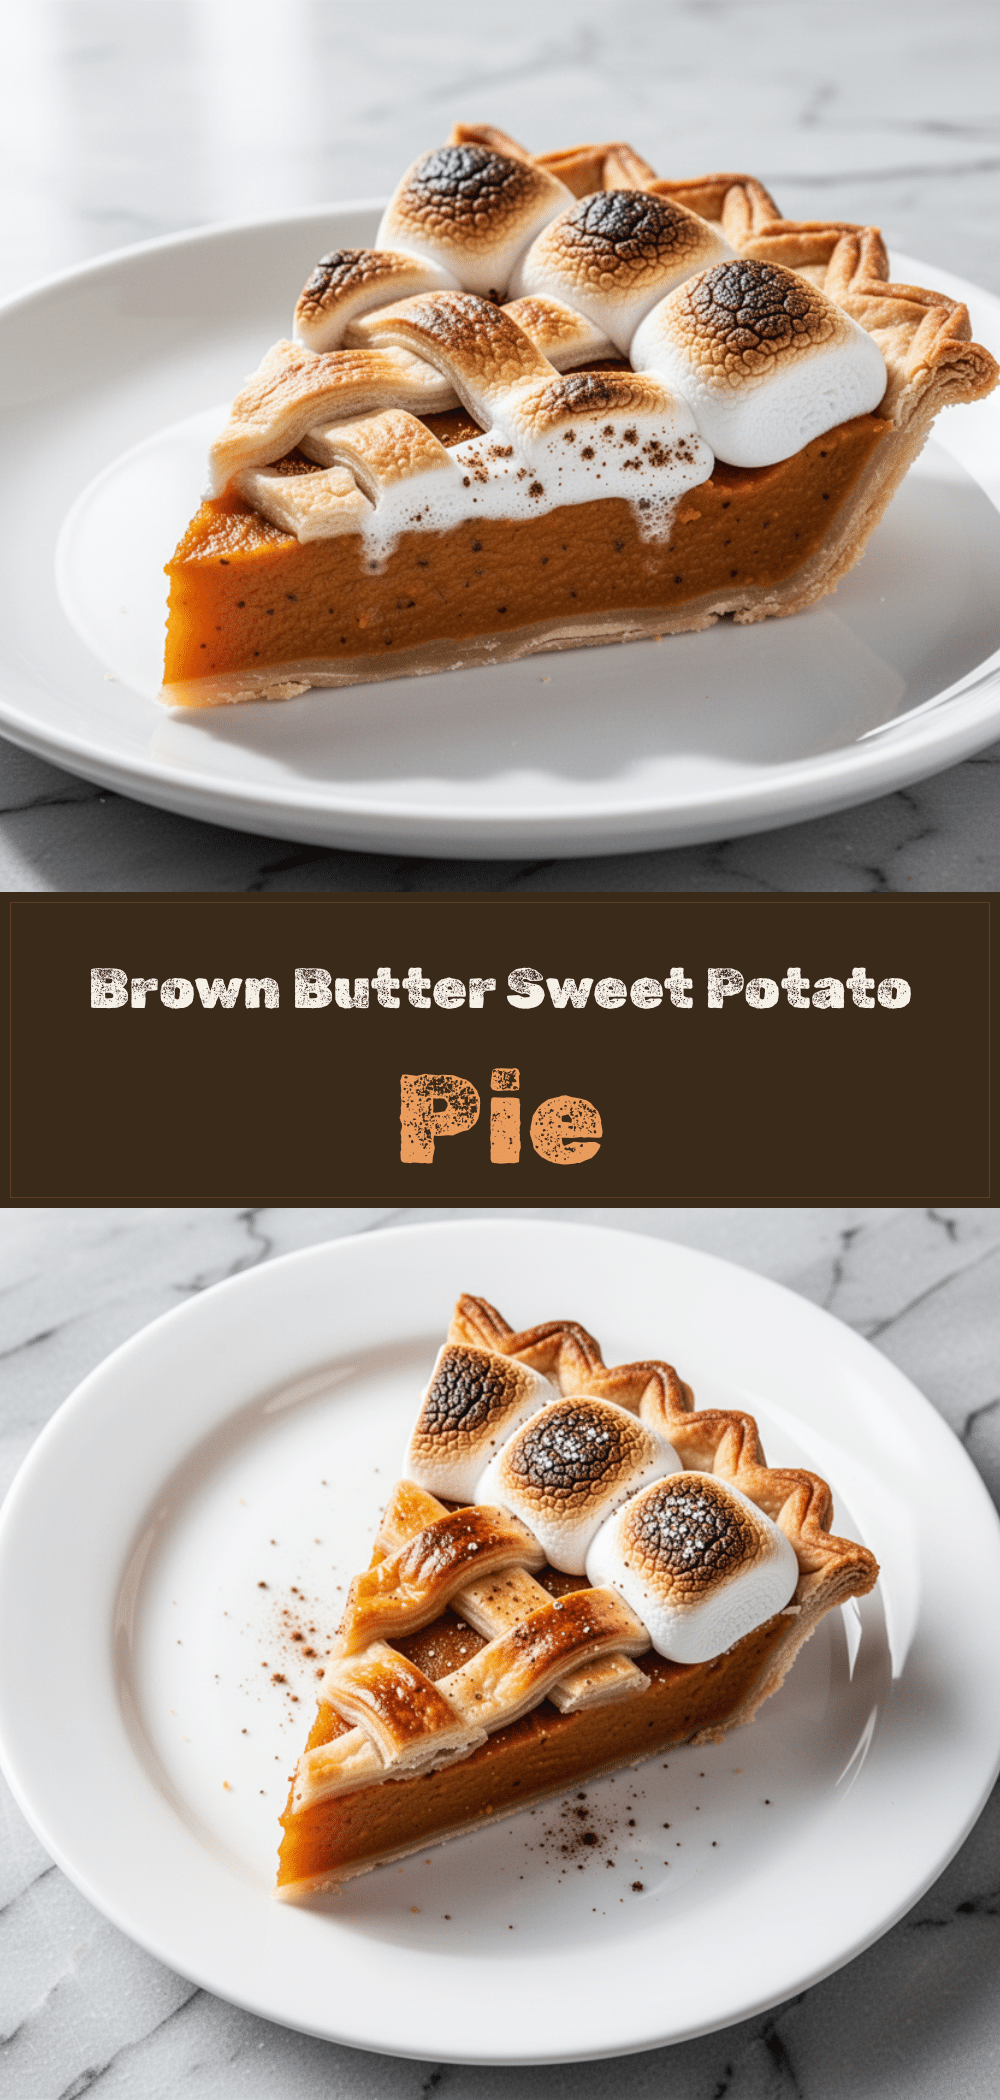
Fall Brown Butter Sweet Potato Pie with Toasted Marshmallow Top
- Total Time: 80 minutes
- Yield: 8 servings 1x
Description
A rich and complex holiday dessert featuring a nutty brown butter filling, earthy sweet potatoes, and a toasted marshmallow topping that provides a perfect textural contrast.
Ingredients
- 1/2 cup unsalted butter (divided)
- 2 large sweet potatoes (about 2 lbs / 900g)
- 1 can (12oz / 340ml) evaporated milk
- 2 large eggs + 1 egg yolk
- 3/4 cup granulated sugar
- 1 tsp ground cinnamon
- 1/2 tsp ground nutmeg
- 1/4 tsp ground ginger
- 1/4 tsp ground allspice
- 1/2 tsp kosher salt
- 1 tsp pure vanilla extract
- 1 bag (10oz / 280g) large marshmallows
- 1 or 2 single pie crusts (homemade or store-bought)
Instructions
- Preheat oven to 400°F (200°C). Wash sweet potatoes, poke with a fork, and bake for 45-60 minutes until tender. Cool, scoop out flesh, and mash into a smooth puree (approx. 2 cups). Press through a sieve if watery.
- Melt butter in a light-colored skillet over medium heat. Stir constantly until it foams, crackles, and turns golden brown with a nutty aroma (5-7 minutes). Immediately pour into a heatproof bowl to stop cooking.
- In a food processor, combine sweet potato puree, brown butter, evaporated milk, sugar, eggs, egg yolk, cinnamon, nutmeg, ginger, allspice, salt, and vanilla. Pulse until smooth.
- Fit pie crust into a 9-inch pie dish. Pour filling into the crust and smooth the top.
- Place pie on a baking sheet and bake at 350°F (175°C) for 45-50 minutes until edges are set and center has a slight jiggle.
- Remove pie from oven and let cool for 10 minutes. Arrange marshmallows in a single layer on top.
- Broil for 1-2 minutes, watching closely, until marshmallows are golden brown and puffy.
- Let pie cool completely on a wire rack (at least 2 hours) before slicing and serving.
Notes
Ensure sweet potato puree is not watery to prevent a soggy pie. Watch marshmallows closely under the broiler as they burn quickly. The pie tastes better the next day as flavors meld. Do not freeze with marshmallows on top.
- Prep Time: 30 minutes
- Cook Time: 50 minutes
- Category: Dessert
- Cuisine: American
Nutrition
- Serving Size: 1 slice
- Calories: 450
- Sugar: 40
- Sodium: 220
- Fat: 18
- Saturated Fat: 8
- Carbohydrates: 65
- Fiber: 4
- Protein: 6
Keywords: sweet potato pie, brown butter, marshmallow topping, holiday dessert, Thanksgiving, fall baking, gluten-free option



