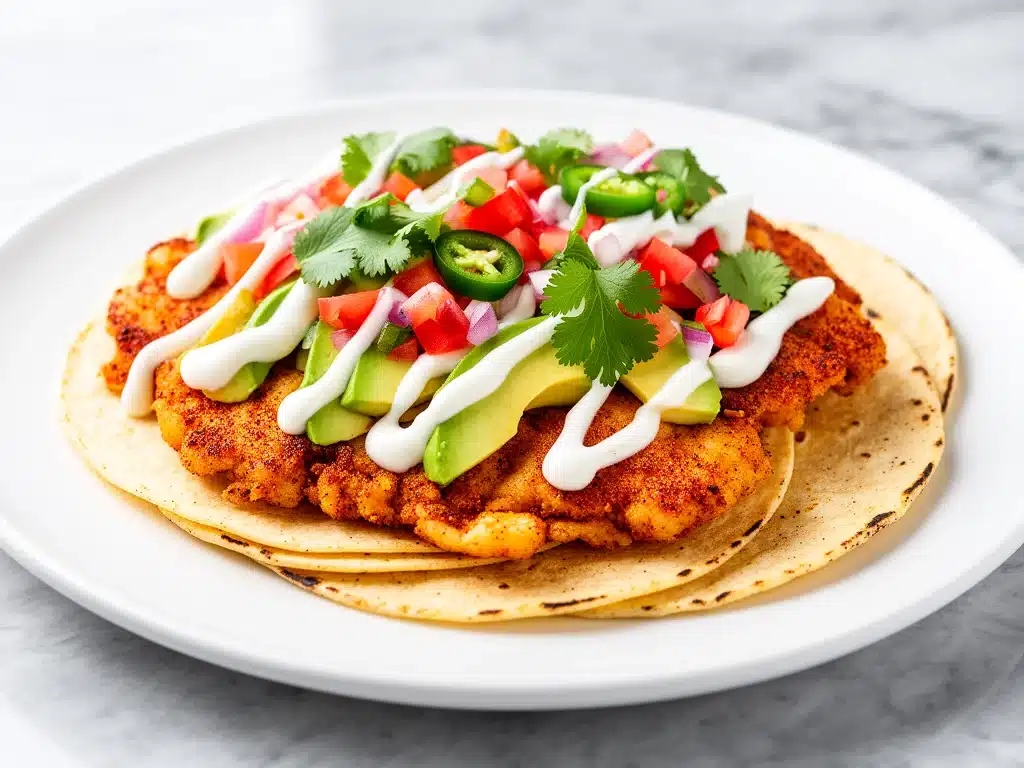
It was 7:30 PM on a Tuesday, and I was staring into the open fridge like it owed me money. The kids were already at the table, arguing over who got the last piece of bread, and I knew exactly what was coming: the “I’m hungry” whine that sounds like nails on a chalkboard. Takeout was out (too expensive), and a full roast chicken was out (too much work for a weeknight). Then I saw it: a couple of leftover rotisserie chicken breasts, a bag of tortillas, and a jar of salsa that had been living in the back of the pantry since Thanksgiving.
I didn’t want to just reheat chicken. That’s sad. That’s “what’s left from dinner” food. I wanted something with crunch. Something that would make my picky 9-year-old actually sit up straight. So I did what any desperate mom does: I smashed the chicken, seasoned it, and threw it in the pan until it was crispy enough to hear it crackle from the living room.
That was three months ago. Since then, I’ve made these crispy smashed chicken tacos probably fifteen times. They’ve replaced pizza night, they’ve survived game day parties, and they’ve even won over my husband’s skeptical dad. The secret isn’t fancy technique; it’s the texture. Shredded chicken is soft. Pulled chicken is tender. But smashed chicken? Smashed chicken is crispy on the outside, juicy on the inside, and holds together just enough to be eaten with one hand while you’re trying to help with homework.
If you’ve been making tacos the same way for years, I promise you this: smashing the meat changes everything. It creates more surface area for the seasoning to cling to, and it gives you that restaurant-quality crunch without needing a deep fryer. Let’s get into why these are about to become your new favorite family dinner.
Why You’ll Love These Crispy Smashed Chicken Tacos
I’m not exaggerating when I say these tacos have completely rewritten our weeknight routine. Before, I was stressed about getting something “healthy” that the kids would eat. Now, I just pull out the chicken and the spices. Here’s why this recipe is my new go-to:
- Texture That Actually Matters — Most chicken tacos are soft. These have a crust. The smashing technique creates little crispy edges that contrast with the tender center. It’s the difference between a boring sandwich and a really good grilled cheese. You’ll hear the crunch.
- Ready in 15 Minutes — Seriously. If you use store-bought rotisserie chicken, the actual cooking time is just 10 minutes. That’s it. You can have dinner on the table before the kids finish their math homework. This is a lifesaver when you’re running late.
- Pantry-Friendly Spices — You don’t need a specialty store for this. Cumin, chili powder, garlic powder, paprika—these are things you probably already have. If you don’t, it’s a quick trip to the aisle, and the rest of the ingredients (chicken, tortillas, salsa) are staples.
- Kid-Approved (Even the Picky Ones) — My son, who usually picks the meat off his tacos, actually asked for the crispy bits. The crunchy texture makes it fun to eat, and the mild seasoning isn’t overwhelming. They’re customizable, so even if they hate cilantro, they’re still getting a good meal.
- Great for Meal Prep — I make a double batch on Sundays. The smashed chicken holds up well in the fridge for three days, and you can reheat it in a skillet to keep it crispy. It’s not soggy like shredded chicken can be. I pack these for my husband’s lunch, and he loves them.
These aren’t just tacos; they’re a solution. A delicious, crispy, cheesy solution to the daily “what’s for dinner” panic. Once you try this method, you’ll never go back to plain shredded chicken again.
Ingredients You’ll Need
Here’s the best part: you don’t need a huge shopping trip for this. I’m particular about a few things, but mostly, this is simple, honest food. Here’s what you need to get started.
For the Chicken
Rotisserie Chicken (2 large breasts, about 3 cups meat) — I use store-bought rotisserie chicken because it’s already cooked and seasoned. It saves so much time. If you want to boil your own chicken, that works too, but rotisserie has more flavor. Make sure you remove the skin if you want it extra crispy, or leave it on if you like a bit more fat (your choice).
Avocado Oil or Olive Oil (2 tablespoons) — I use avocado oil because it has a high smoke point. You don’t want your oil burning before the chicken crisps up. If you don’t have avocado oil, light olive oil works. Just don’t use extra virgin if you’re cooking on high heat—it’ll smoke.
Chili Powder (1 tablespoon) — This is the base flavor. Use a good quality blend, not just pure chili powder if you can find a mix with cumin and garlic already in it. But a simple blend works great too.
Ground Cumin (1 teaspoon) — Adds that earthy, warm taco flavor. Don’t skip this. It’s what makes it taste like tacos and not just fried chicken.
Garlic Powder (1 teaspoon) — Fresh garlic burns too fast in this high-heat smash method. Powder distributes evenly and gives a consistent flavor. I use it every time.
Smoked Paprika (1 teaspoon) — This adds a subtle smokiness that mimics grilled flavor. If you don’t have smoked paprika, regular paprika works, but you’ll miss a little depth.
Salt and Black Pepper (to taste) — I use about 1 teaspoon of kosher salt and a generous crack of black pepper. Taste as you go.
For the Assembly
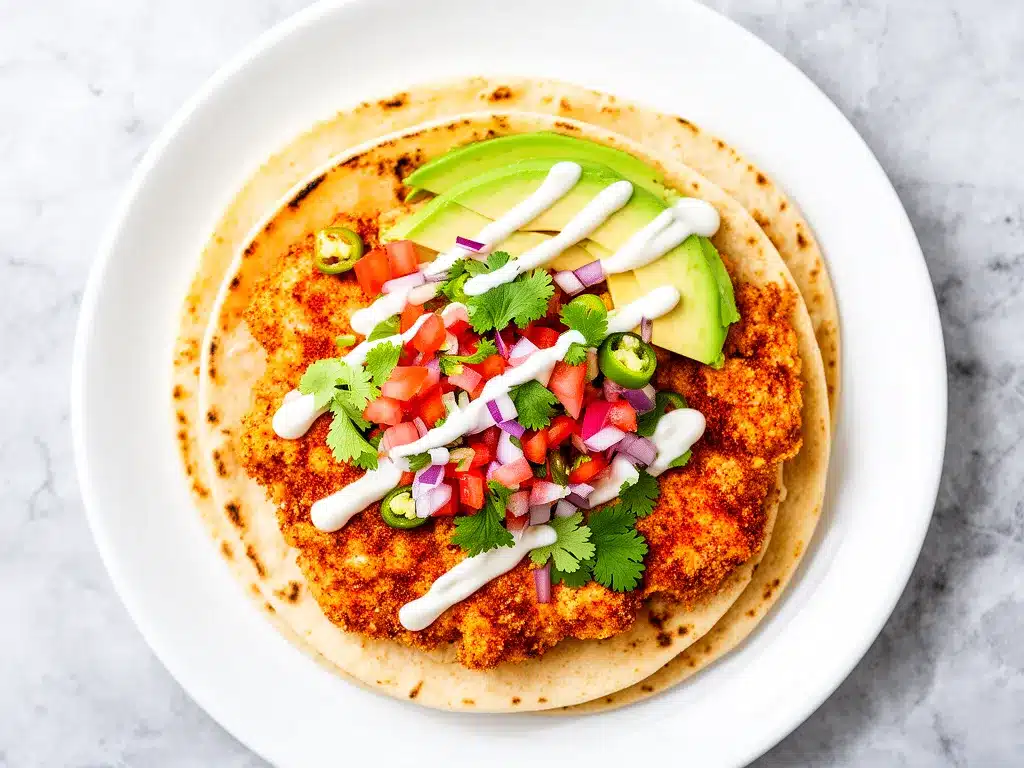
Flour Tortillas (8 small, 6-inch) — I prefer flour over corn for these because they’re more forgiving and hold the crispy chicken better. Corn can tear when you’re folding. Warm them up before serving—cold tortillas are a texture nightmare.
Shredded Mexican Cheese Blend (1 cup) — Cheddar and Monterey Jack mix is classic. It melts beautifully. I buy the pre-shredded kind because I’m lazy, but block cheese melts slightly better. Your call.
Diced Tomatoes and Green Chiles (1 can, 4.5 oz) — This is the classic “Rotel” style salsa. It adds acidity and a little kick. If you’re sensitive to spice, get the mild version.
Shredded Lettuce (1 cup, finely shredded) — I use iceberg or romaine. It adds crunch and cools down the hot tacos. Don’t use leaf lettuce; it gets soggy too fast.
Sour Cream (½ cup) — Or Greek yogurt if you want to be “healthy.” I usually use sour cream because it’s richer and balances the spice better.
Lime Wedges — Fresh lime juice is non-negotiable. It brightens up all the heavy flavors. Squeeze it on right before eating.
Optional Add-Ins
Cilantro — Chopped fresh. If your family hates it, skip it. I usually chop it up and put it on the side so the kids can decide.
Avocado or Guacamole — Sliced avocado adds creaminess. Guacamole is easier if you’re feeding a crowd.
Jalapeños — Fresh or pickled. If you like heat, add them. If not, leave them out.
Equipment Needed
You don’t need fancy gear for this. Here’s what I actually use in my kitchen.
Large Skillet (12-inch) — I use a cast iron skillet because it holds heat well and gives the best crust. Stainless steel works too. Just make sure it’s big enough to lay the chicken out in a single layer. If your pan is too small, you’ll steam the chicken instead of crisping it.
Meat Mallet or Heavy Pan — To smash the chicken. I have a specific meat mallet, but honestly, the bottom of a heavy cast iron skillet works just as well. You’re not pounding it into oblivion; you’re just flattening it.
Tongs — For flipping the chicken. Forks can tear the meat, and tongs give you better control.
Spatula — A thin metal spatula is best for getting under the crispy chicken without breaking it.
Mixing Bowl — For tossing the chicken with spices. Any bowl works.
Small Plate — To hold the smashed chicken while you season it.
How to Make Crispy Smashed Chicken Tacos
Alright, let’s get cooking. This is simple, but there are a few tricks to get that perfect crunch. I’m walking you through exactly how I do it.
Step 1: Prep the Chicken (2 minutes)
Take your rotisserie chicken and pull the meat off the bones. Discard the skin if you want it extra crispy, or leave it on for more flavor. Place the chicken breasts on a clean plate or cutting board. You want them in whole breast pieces, not shredded yet.
Why this matters: You need the chicken in a flat shape to smash it. If you start with shredded chicken, you can’t get that crispy crust. Whole breasts are the key.
Step 2: Smash the Chicken (1 minute)
Using a meat mallet, the bottom of a heavy glass, or the bottom of a skillet, gently press down on each chicken breast. You’re not trying to mince it. You’re flattening it to about ½ inch thick. You want it to look like a chicken cutlet. It’s okay if it tears a little; that actually helps with crispiness.
Sensory cue: You’ll feel the meat compress. It should look like a flattened patty. Don’t overdo it—if it’s too thin, it’ll dry out. Aim for uniform thickness.
Step 3: Season Generously (1 minute)
In a medium bowl, mix your chili powder, cumin, garlic powder, smoked paprika, salt, and pepper. Toss the flattened chicken breasts in the spice mix, making sure both sides are coated. Don’t be shy with the spices. This is where the flavor lives.
Pro tip: If you have time, let the seasoned chicken sit for 10 minutes while you heat the pan. It helps the spices adhere.
Step 4: Sear the Chicken (4-5 minutes per side)
Heat your large skillet over medium-high heat. Add the avocado oil. Once the oil shimmers (but isn’t smoking), add the chicken breasts in a single layer. Do not overcrowd the pan. If you’re cooking for a crowd, do this in batches.
Cook undisturbed for 4-5 minutes. You’re looking for a golden-brown crust. If you try to flip it too early, it’ll stick. Wait until you see the edges browning and the meat releasing easily from the pan.
Visual cue: The edges should look crispy and slightly curled. The bottom should be a deep golden brown, not pale.
Step 5: Flip and Finish (3-4 minutes)
Flip the chicken carefully. Cook for another 3-4 minutes until the other side is crispy and the chicken is heated through. Since the chicken is already cooked (from the rotisserie), you’re just heating it and crisping the outside. You don’t need to cook it to a specific internal temp, just until it’s hot and crunchy.
Troubleshooting: If the spices are burning before the chicken is done, lower the heat to medium. Spices burn fast. You want flavor, not bitterness.
Step 6: Warm the Tortillas (2 minutes)
While the chicken finishes, warm your tortillas. You can do this in a dry skillet for 30 seconds per side, or wrap them in a damp paper towel and microwave for 30 seconds. Warm tortillas are pliable and won’t tear when you fold them.
Step 7: Assemble the Tacos
Take a warm tortilla. Place a piece of crispy smashed chicken in the center. Top with shredded cheese, diced tomatoes and green chiles, shredded lettuce, and a dollop of sour cream. Squeeze fresh lime juice over everything.
Serve immediately. These tacos lose their crunch if they sit too long. Get them to the table hot.
Expert Tips for the Perfect Crunch
I’ve made these dozens of times, and I’ve learned a few things the hard way. Here’s how to avoid my mistakes.
- Don’t Crowd the Pan — This is the #1 mistake. If you put too many pieces of chicken in the pan, they steam instead of fry. Give each piece space. If you’re cooking for six people, do two batches. It’s worth it.
- High Heat is Key — You need medium-high to high heat to get that crust. Low heat just dries out the chicken. Don’t be afraid of the heat, but watch it closely so it doesn’t burn.
- Pat the Chicken Dry — If your rotisserie chicken is wet, pat it dry with paper towels before smashing. Moisture is the enemy of crispiness. Dry chicken = crispy chicken.
- Use a Heavy Pan — Cast iron or heavy stainless steel retains heat better than thin non-stick pans. Consistent heat = consistent crust.
- Warm Your Tortillas — Never serve cold tortillas. They’re stiff and break. Warm them up so they’re flexible and soft.
Variations & Substitutions
Once you’ve nailed the basic version, here’s how you can mix it up. I’ve tried all of these.
Spicy Version — Add a chopped jalapeño to the spice mix, or use hot sauce instead of sour cream. For extra heat, sprinkle crushed red pepper flakes on top.
Vegetarian Twist — Swap the chicken for mashed potatoes or black beans. Smash the beans flat and season them the same way. It’s surprisingly good and holds together well.
Quesadilla Style — Skip the lettuce and sour cream. Add the cheese and chicken to the tortilla, fold it in half, and cook it in the pan until the cheese melts. It’s basically a crispy chicken quesadilla.
Greek Style — Swap the taco spices for oregano, garlic, and lemon pepper. Use feta cheese instead of cheddar, and top with tzatziki sauce and cucumber. Totally different vibe.
Gluten-Free — Use corn tortillas instead of flour. They’re naturally gluten-free and hold up well if you don’t overfill them.
Serving & Storage
How to Serve: I usually set these up as a taco bar. Put the chicken in a big bowl, and have all the toppings in small dishes. Let everyone build their own. It’s interactive and fun for kids.
Side Dishes: These tacos are filling on their own, but they’re great with a side of Mexican rice or black beans. A simple side salad with cilantro-lime dressing also works well.
Storage: Store leftover smashed chicken in an airtight container in the fridge for up to 3 days. The tortillas and toppings should be stored separately.
Reheating: To keep the chicken crispy, reheat it in a skillet over medium heat. Don’t microwave it—it’ll get chewy and soft. If you must microwave, do it for 30 seconds and then finish it in the pan for a minute.
Nutrition Information
I’m not a nutritionist, but here’s the breakdown if you’re tracking. This is per taco (based on 8 tacos).
- Calories: 280
- Protein: 22g
- Carbs: 20g
- Fat: 12g
- Fiber: 2g
It’s a decent balance of protein and carbs. The main variables are the cheese and sour cream. If you want to lighten it up, use less cheese and Greek yogurt instead of sour cream. But honestly? It’s a treat. Enjoy it.
Final Thoughts
These crispy smashed chicken tacos have saved our weeknights. They’re fast, they’re cheap, and they taste amazing. My kids love the crunch, and I love that they’re ready in 15 minutes. If you’re stuck in a dinner rut, give this a try. You might just find yourself making them as often as I do.
If you make these, drop a comment and let me know how they turned out! I love hearing from you. And if you try the spicy version, tell me how much heat you added.
Frequently Asked Questions
Can I use fresh chicken instead of rotisserie?
Yes! Just cook the chicken breasts first (boil or bake until done), let them cool slightly, then smash and sear. Rotisserie is just faster because it’s already cooked.
Why did my chicken stick to the pan?
Usually, the pan wasn’t hot enough when you added the chicken. Make sure the oil is shimmering before you add the meat. Also, don’t flip it too early. Let the crust form.
Can I freeze these tacos?
I don’t recommend freezing assembled tacos. The tortillas get soggy and the lettuce wilts. You can freeze the cooked smashed chicken for up to 3 months, but thaw and reheat in a skillet to restore crispiness.
What kind of cheese melts best?
Cheddar and Monterey Jack are classic. Mozzarella is good if you want stretch, but it’s mild. Pepper Jack adds spice and melts well.
Can I make these in an air fryer?
You can, but you won’t get the same crust. Air frying is healthier but less crispy. If you use an air fryer, spray the chicken with oil and cook at 375°F for 5-7 minutes, flipping halfway.
Pin This Recipe!
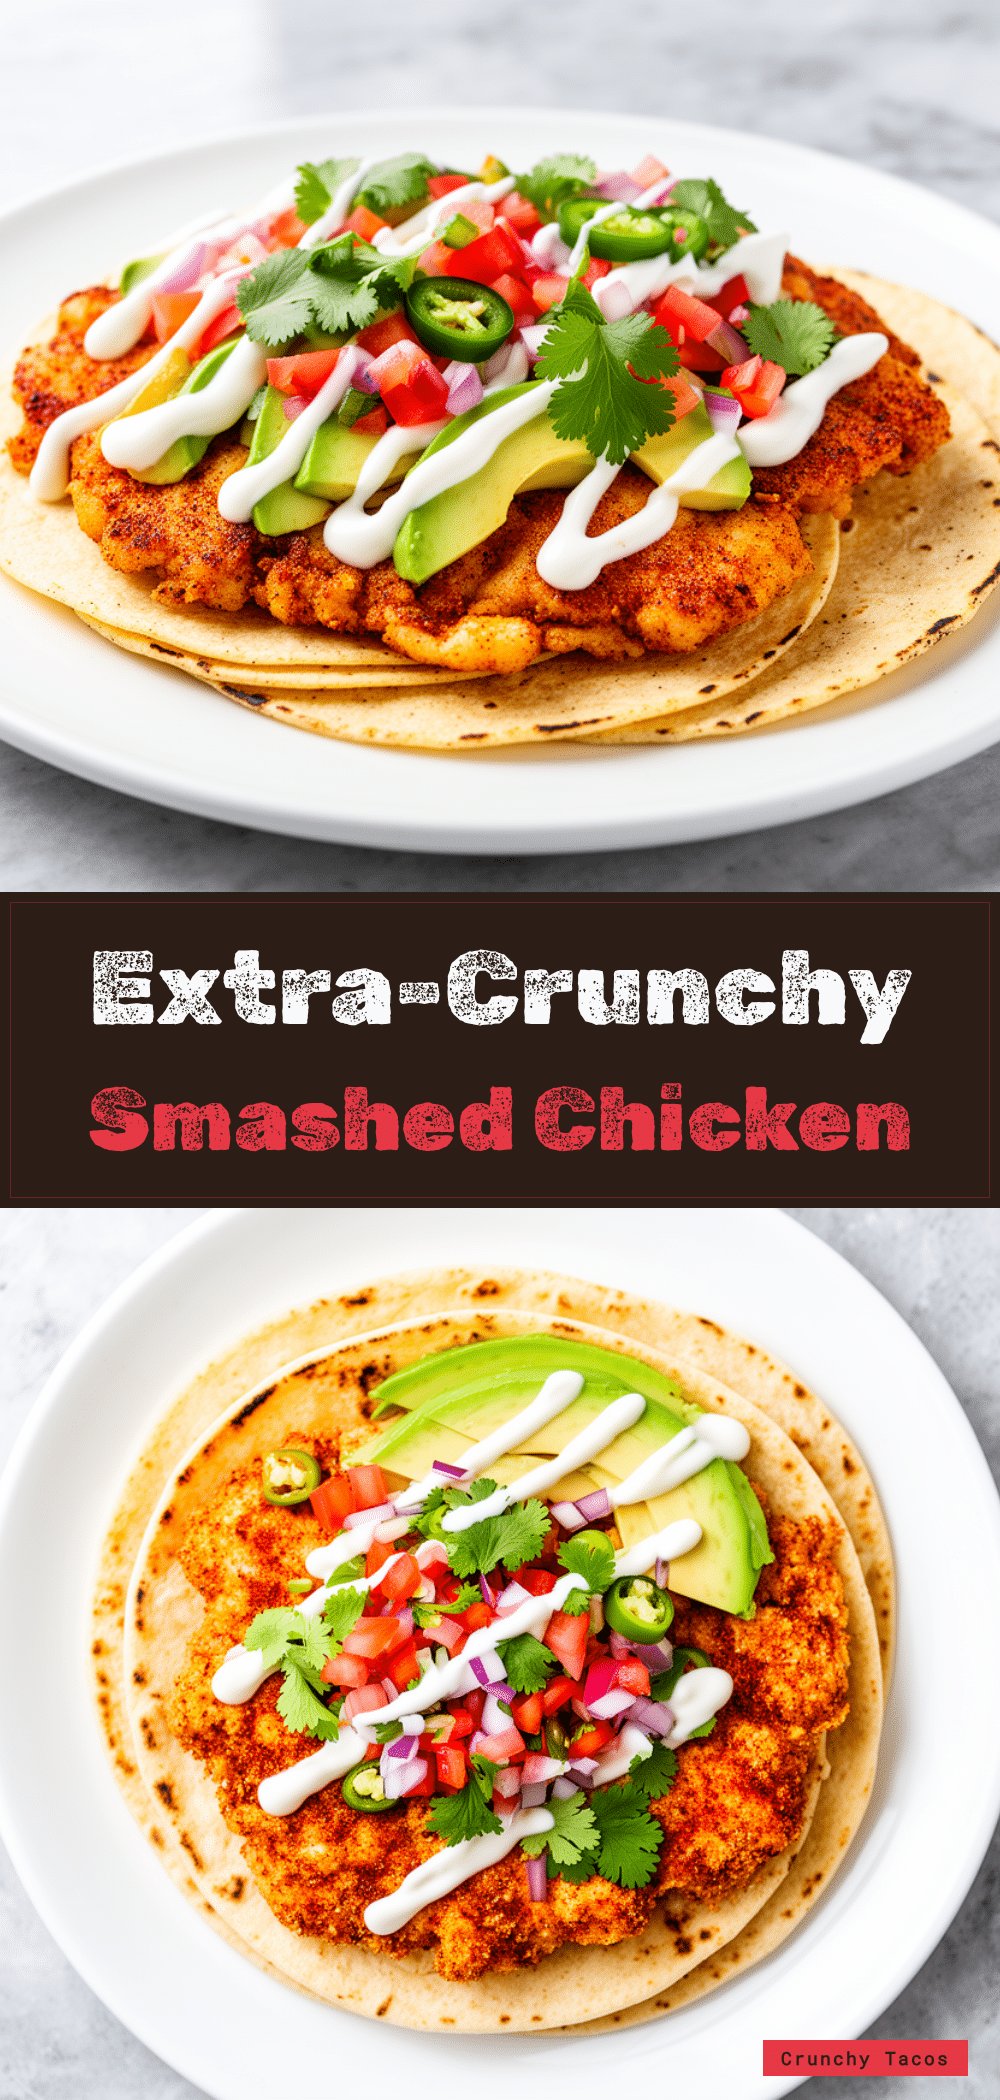
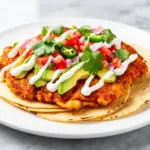
Crispy Smashed Chicken Tacos: Easy Family Favorite
- Total Time: 15 minutes
- Yield: 4 servings 1x
Description
A quick and easy weeknight dinner featuring rotisserie chicken breasts that are smashed flat, seasoned, and seared until crispy, then served in warm tortillas with classic taco toppings.
Ingredients
- 2 large rotisserie chicken breasts (about 3 cups meat, skin removed for extra crispiness)
- 2 tablespoons avocado oil or light olive oil
- 1 tablespoon chili powder
- 1 teaspoon ground cumin
- 1 teaspoon garlic powder
- 1 teaspoon smoked paprika
- 1 teaspoon kosher salt (or to taste)
- Generous crack of black pepper
- 8 small (6-inch) flour tortillas
- 1 cup shredded Mexican cheese blend (Cheddar and Monterey Jack)
- 1 can (4.5 oz) diced tomatoes and green chiles
- 1 cup finely shredded lettuce (iceberg or romaine)
- 1/2 cup sour cream
- Lime wedges for serving
- Optional: Chopped fresh cilantro, sliced avocado or guacamole, fresh or pickled jalapeños
Instructions
- Prep the chicken: Pull meat off rotisserie chicken breasts and place whole breast pieces on a plate or cutting board.
- Smash the chicken: Using a meat mallet or the bottom of a heavy skillet, gently press each chicken breast to flatten it to about 1/2 inch thick.
- Season: In a medium bowl, mix chili powder, cumin, garlic powder, smoked paprika, salt, and pepper. Toss the flattened chicken in the spice mix to coat both sides.
- Sear: Heat a large skillet (cast iron or stainless steel) over medium-high heat. Add avocado oil. Once shimmering, add chicken in a single layer without overcrowding.
- Cook first side: Cook undisturbed for 4-5 minutes until a golden-brown crust forms and edges curl.
- Flip and finish: Flip chicken and cook for another 3-4 minutes until the other side is crispy and chicken is heated through.
- Warm tortillas: Warm tortillas in a dry skillet for 30 seconds per side or microwave with a damp paper towel for 30 seconds.
- Assemble: Place crispy chicken in warm tortillas. Top with cheese, diced tomatoes and green chiles, shredded lettuce, sour cream, and a squeeze of fresh lime juice.
- Serve immediately while hot and crispy.
Notes
Do not crowd the pan to ensure the chicken crisps rather than steams. Pat the chicken dry before smashing to remove excess moisture. If spices burn, lower heat to medium. For a vegetarian version, substitute chicken with mashed potatoes or black beans. For gluten-free, use corn tortillas.
- Prep Time: 5 minutes
- Cook Time: 10 minutes
- Category: Main Course
- Cuisine: Mexican
Nutrition
- Serving Size: 1 taco
- Calories: 280
- Sugar: 2
- Sodium: 650
- Fat: 12
- Saturated Fat: 4
- Carbohydrates: 20
- Fiber: 2
- Protein: 22
Keywords: crispy smashed chicken tacos, rotisserie chicken recipes, easy weeknight dinner, family favorite tacos, quick meals, kid-friendly dinner