I still remember the exact moment I realized store-bought frozen appetizers were a lie. It was 2018, and I was hosting my first serious Super Bowl party. I bought two bags of those pre-made, frozen potato skins from the grocery store freezer aisle. You know the ones—they arrive at your party looking like sad, gray little boats, lukewarm and soggy even after 20 minutes in the oven. I popped one in my mouth, and it tasted like cardboard and regret. My friends were polite, but I saw the look. That “please stop eating that” look.
I threw them out immediately and decided to make crispy loaded potato skins from scratch. I was terrified I’d mess it up. I’ve heard horror stories about greasy potatoes, watery cheese, and skins that fall apart before they even reach the table. But here’s the thing: making them from scratch is actually stupidly simple. You don’t need fancy techniques. You don’t need a deep fryer (though if you have one, go for it). You just need good potatoes, a little oil, and the patience to let them get properly crispy.
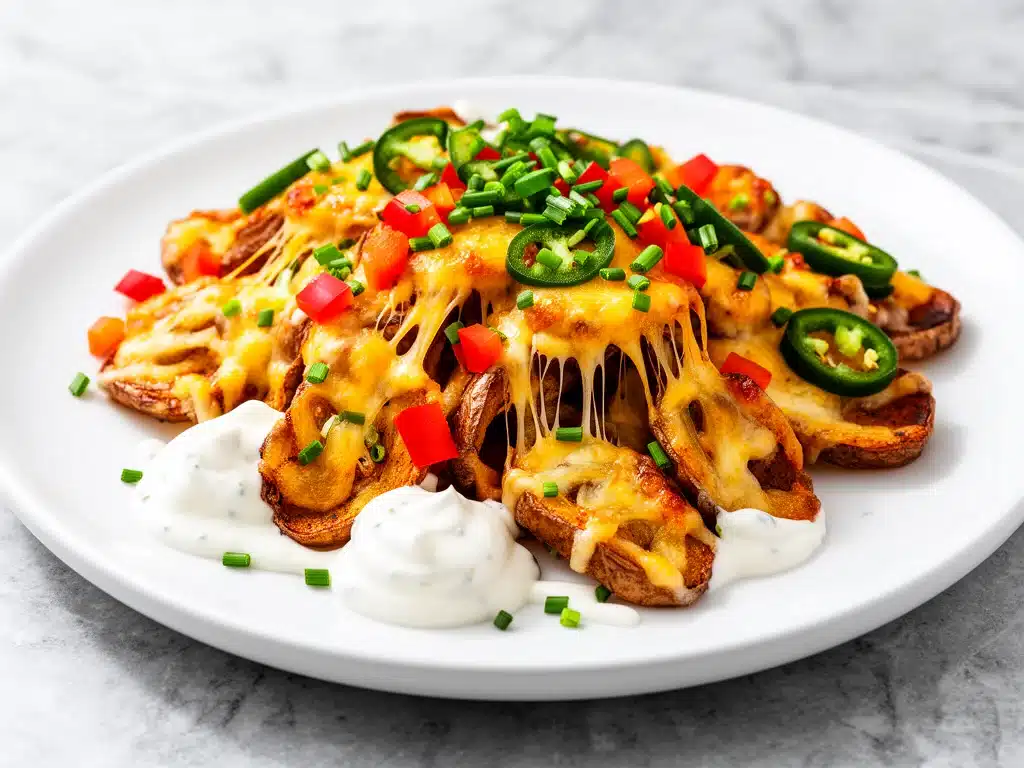
That night, I served up bowls of golden, crunchy potato skins piled high with melted cheddar, crispy bacon bits, and a dollop of sour cream. The silence in my living room changed. It went from polite chewing to the sound of people scraping the plates clean. My husband asked me to put the recipe on repeat for the next three weeks. I did. And now, this crispy loaded potato skins recipe is the undisputed champion of my appetizer rotation. It’s better than takeout, costs a fraction of the price, and smells like a party before anyone even arrives.
If you’ve been intimidated by the idea of hollowing out potatoes or worried about getting them crispy enough, trust me on this: you can do it. I’ve tested this method so many times that I can practically do it in my sleep. And I’m going to walk you through exactly how to get that perfect crunch every single time.
Why You’ll Love This Crispy Loaded Potato Skins Recipe
There are a hundred reasons why this recipe has taken over my kitchen, but let’s be real—you’re here because you want something that tastes incredible and doesn’t require a degree in culinary arts to make. Here’s why this version is the best one you’ll try:
Actually Crunchy, Not Soggy — Most homemade potato skin recipes fail because they skip the drying step. I’ve cracked the code on getting that deep-fried texture without actually deep-frying. The skins stay crisp for at least 15 minutes after coming out of the oven, which is crucial when you’re serving a crowd.
Pantry-Friendly Ingredients — You probably have everything you need right now. Russet potatoes, oil, salt, cheese, bacon, sour cream. That’s it. No obscure spices or hard-to-find items. It’s a true “what’s in my fridge” recipe.
Make-Ahead Friendly — This is the holy grail for party hosts. You can prep the skins hours in advance, store them in the fridge, and just pop them in the oven when guests arrive. The cheese melts in minutes, and they’re ready to serve. No last-minute stress.
Customizable to Hell — Want BBQ chicken? Go for it. Buffalo chicken? Sure. Vegan? Easy swap. These skins are a blank canvas. I’ve made them for my vegan sister, my meat-loving dad, and my gluten-free neighbor, and everyone finds their perfect combination.
Budget-Smart — Potatoes are cheap. Bacon is cheap. Cheese is cheap. You can feed a crowd of 10-12 people for under $20. Compare that to $8 a plate at a sports bar, and you’re saving serious money while eating better food.
This is my go-to when I need to impress people without spending hours in the kitchen. It’s reliable, delicious, and always disappears.
Ingredients You’ll Need
Here’s the best part: you probably have most of this already. I’m particular about three things here, and I’ll tell you exactly why. Don’t skip the details—it matters for the crunch.
Large Russet Potatoes (4 large, about 2 lbs / 900g) — Russets are non-negotiable. They have the perfect high-starch, low-moisture ratio for crispiness. Yukon Golds are too waxy; they’ll stay soft and greasy. Look for potatoes that are uniform in size so they cook evenly. If they’re too small, you’ll have tiny skins; if they’re too big, you’ll waste half the potato.
Vegetable Oil or Canola Oil (3 tablespoons) — You need a high-smoke-point oil. Olive oil burns too easily at high heat. I use vegetable oil because it’s neutral and cheap. Brush the skins lightly—don’t drown them. You want a thin coat, not a bath.
Kosher Salt (1 teaspoon) — Regular table salt works, but kosher salt adheres better to the oily surface. It also has a cleaner taste. Don’t skimp here. Salt is what brings out the potato flavor.
Sharp Cheddar Cheese (2 cups, shredded) — Buy a block and shred it yourself. Pre-shredded cheese is coated in cellulose (anti-caking agent) which prevents it from melting smoothly. You’ll end up with greasy, clumpy cheese instead of gooey goodness. It takes two minutes to shred, and it’s worth it.
Cooked Bacon (6 slices, cooked and crumbled) — Use thick-cut bacon if you can find it. It holds up better to the heat. Cook it until it’s crispy but not burnt, then chop it into small bits. Save a little extra to sprinkle on top at the end for presentation.
Sour Cream (½ cup) — Full-fat is best. Light sour cream can separate and look weird when heated. If you’re lactose intolerant, a good dairy-free sour cream works too, though the texture is slightly different.
Green Onions (2-3 stalks, thinly sliced) — For color and a fresh bite. They cut through the richness of the cheese and bacon. Don’t skip the garnish—it makes the dish look professional.
Optional Add-ins:
Jack Cheese (1 cup) — Mix with cheddar for a milder, stretchier melt.
Jalapeños (½ cup, diced) — For heat. Fresh or pickled, your call.
BBQ Sauce (for drizzling) — Turns these into a meal-sized snack.
Equipment Needed
You don’t need fancy equipment for this. Here’s what I actually use:
Baking Sheet — A standard half-sheet pan. I prefer parchment paper or a silicone mat for easy cleanup, but a bare pan works if you grease it well.
Potato Scooper or Spoon — A melon baller is ideal for getting into the corners, but a regular tablespoon works fine. Just be careful not to poke holes in the skin.
Olive Oil Brush or Pastry Brush — For applying oil evenly. A paper towel works in a pinch, but a brush gives you more control.
Sharp Knife — For slicing the potatoes in half. A dull knife will slip and hurt you. Learn this the hard way once, and you’ll never make that mistake again.
Cutting Board — Any size. I use a large plastic one because it’s easy to sanitize.
Microwave — Optional, but speeds up the cooking process significantly. If you’re short on time, this is your best friend.
Oven — Obviously. A standard convection or regular oven works. Convection helps with crispiness.
Small Bowl — For holding the scooped-out potato flesh so you don’t waste it.
How to Make Crispy Loaded Potato Skins: Step-by-Step
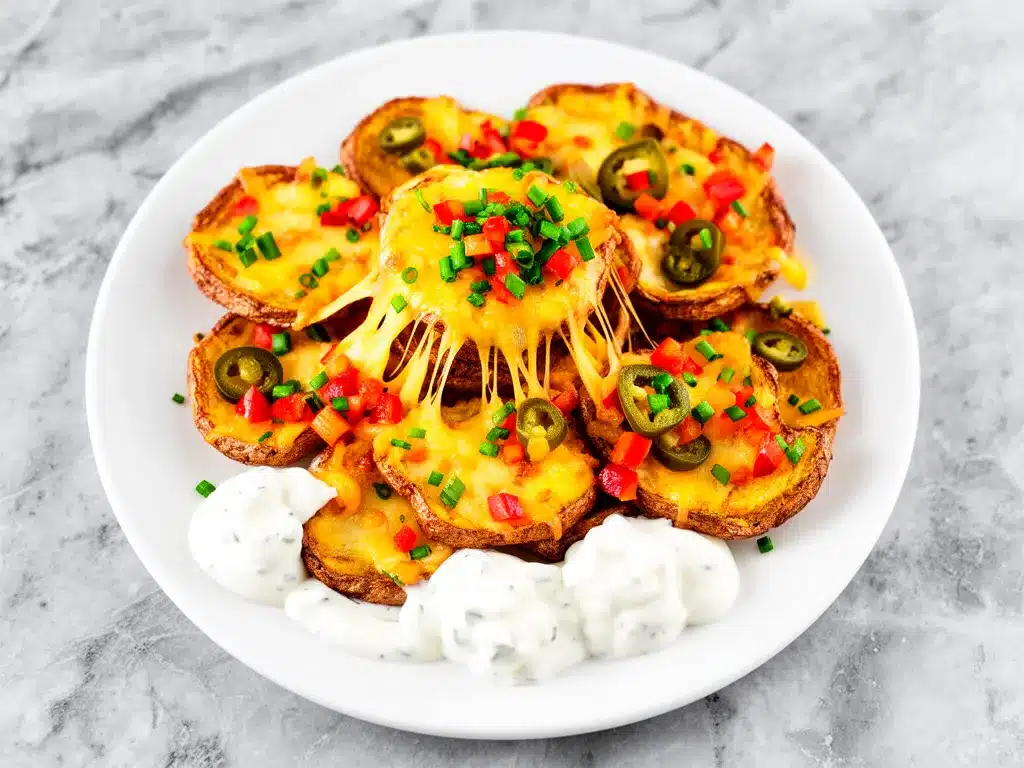
Alright, let’s make this! I’m walking you through exactly how I do it, including the little tricks I’ve picked up over the years.
Step 1: Prep the Potatoes (10 minutes)
Wash the potatoes thoroughly under cold water. Scrub them with a brush to remove any dirt. Pat them completely dry with a towel. Moisture is the enemy of crispiness, so this step is crucial. Preheat your oven to 400°F (200°C). Line a baking sheet with parchment paper or foil for easy cleanup.
Step 2: Cook the Potatoes (15-20 minutes)
You can bake them, but I microwave them for speed. Pierce each potato 4-5 times with a fork to let steam escape. Place them on a microwave-safe plate and cook on high for 5-7 minutes, flipping halfway through. They’re done when they’re tender all the way through. Let them cool for 5 minutes so you can handle them. If you bake them, it takes 45-60 minutes at 400°F, so microwave is my go-to for weeknight speed.
Step 3: Halve and Scoop (10 minutes)
Once cooled enough to touch, slice each potato in half lengthwise. Use a spoon or melon baller to scoop out the flesh, leaving about ¼ inch of potato attached to the skin. You want a uniform thickness so they cook evenly. Don’t worry about making it perfect—it’s rustic. Place the skins cut-side up on the prepared baking sheet.
Pro Tip: Save the scooped-out potato flesh! You can mash it with butter and milk for mashed potatoes, or fry it up for home fries. Don’t throw it away.
Step 4: The First Bake (10 minutes)
Brush the inside of each skin lightly with oil. Sprinkle with salt. Place them in the oven and bake for 10 minutes. This step dries out the skins and starts the crisping process. You’ll notice they look slightly dry and firm. This is good. It means they’re getting crunchy.
Step 5: Add the Toppings (5 minutes)
Remove the pan from the oven. Sprinkle each skin generously with shredded cheddar cheese. Add a small pile of crumbled bacon on top of the cheese. Return to the oven and bake for another 3-5 minutes, just until the cheese is melted and bubbly. Watch them closely—cheese goes from melted to burnt in seconds.
Step 6: Final Garnish and Serve (2 minutes)
Remove from the oven. Immediately sprinkle with sliced green onions and a pinch of extra salt if needed. Serve hot. They start to soften after about 10 minutes, so get them to the table fast.
Total Time: About 45 minutes (15 minutes active, 30 minutes hands-off)
Troubleshooting Common Issues:
Skins are soggy: You didn’t dry them enough before oiling, or you didn’t do the first bake. The first bake is non-negotiable for crunch.
Cheese is greasy: You used pre-shredded cheese. Shred your own. Also, make sure your oven is fully preheated.
Skins are burning: Your oven runs hot. Check them at 3 minutes instead of 5. Or move them to a lower rack.
Expert Tips & Tricks for Maximum Crunch
Here’s everything I’ve learned from making this dozens of times. These tips will save you from my mistakes.
Don’t Skip the First Bake
This is the #1 secret. Baking the empty skins first dries out the surface. If you add cheese immediately, the moisture from the potato steams the skin, making it soggy. The first bake creates a barrier. I learned this the hard way when my first batch looked like greasy discs. Now, I never skip it.
Oil Lightly, Not Heavily
You don’t need to deep fry them to get them crispy. A light brush of oil is enough. Too much oil makes them greasy and heavy. Think “glossy,” not “drenched.”
Use a Wire Rack (Optional but Nice)
If you have a wire cooling rack that fits in your baking sheet, place the skins on the rack. Air circulates underneath, helping them crisp on the bottom too. If you don’t have one, just flip them halfway through the first bake.
Shred Your Own Cheese
I can’t stress this enough. Pre-shredded cheese has anti-caking agents that prevent smooth melting. You’ll get a grainy, oily mess. Block cheese melts into gooey perfection. It takes 2 minutes, and it’s worth it.
Keep Them Hot
Potato skins lose their crunch fast. If you’re serving a large group, keep the finished skins in a low oven (200°F) while you finish the rest of the batch. They’ll stay warm and relatively crisp for 15-20 minutes.
Common Mistakes to Avoid:
Mistake: Overcrowding the pan. Fix: Leave space between skins. If they touch, they steam each other. Use two pans if needed.
Mistake: Using cold cheese. Fix: Keep cheese at room temp. It melts faster and more evenly.
Mistake: Burning the garlic. Fix: If you add garlic powder, add it with the cheese, not the oil. Garlic burns at high heat.
Variations & Substitutions
Once you’ve nailed the basic version, here’s how you can mix it up. I’ve tried all of these.
Buffalo Chicken Skins
Toss the scooped-out potato flesh with shredded rotisserie chicken and ¼ cup buffalo sauce. Spoon the mixture back into the skins before adding cheese. Top with blue cheese dressing and celery bits. My husband’s favorite.
BBQ Bacon Skins
Use smoked gouda instead of cheddar. Add a drizzle of BBQ sauce after baking. Top with crispy onion strings. Sweet, smoky, and addictive.
Veggie Lover’s
Add sautéed mushrooms and spinach to the potato flesh mixture. Top with mozzarella. Great for getting kids to eat veggies.
Spicy Jalapeño
Add diced jalapeños to the cheese mix. Use pepper jack cheese. Top with cilantro instead of green onions.
Dietary Modifications:
Gluten-Free: Naturally gluten-free. Just check your bacon and cheese for hidden gluten.
Dairy-Free: Use dairy-free cheese shreds (like Violife or Daiya) and coconut cream instead of sour cream. It’s not perfect, but it works.
Lower-Carb: Use smaller potatoes or just use the skins without the flesh filling. Skip the potato flesh mixture.
Serving & Storage
How to Serve:
I usually serve these straight from the baking sheet at the party. They look rustic and inviting. Pair them with a simple green salad and cold beer. Classic combo.
Side Dishes:
These are rich enough to be a meal, but they work great as an appetizer. If serving as a main, add a side of coleslaw or roasted vegetables.
Toppings Bar:
Set out small bowls of extra bacon, cheese, sour cream, jalapeños, and green onions. Let people customize their skins. It’s fun and interactive.
Storage Instructions:
Refrigerator: Store leftovers in an airtight container for up to 3 days. The skins will soften.
Reheating: Best method: Oven or toaster oven at 375°F for 5-7 minutes. This restores the crunch. Microwave will make them soggy. Avoid the microwave unless you’re in a huge rush.
Freezing: Not recommended. The texture changes too much. The skins become tough and the cheese separates. Make them fresh.
Pro Tip: If you’re meal prepping, prep the skins (steps 1-4) and store them in the fridge for up to 24 hours. When ready to serve, add toppings and bake. Saves time on game day.
Nutrition Information
I’m not a nutritionist, but here’s the breakdown if you’re tracking. Keep in mind this is an indulgent snack, so portion control is key.
Per Serving (based on 4 skins, makes 16 skins total):
– Calories: 280
– Protein: 12g
– Carbs: 24g
– Fiber: 2g
– Sugar: 1g
– Fat: 16g
– Saturated Fat: 8g
– Cholesterol: 40mg
– Sodium: 350mg
What’s Good:
– Decent protein from cheese and bacon
– Potassium from potatoes
– Can add vegetables to boost nutrition
What to Know:
– Higher in calories from cheese and oil
– Contains dairy and gluten (if using certain cheeses/bacon)
– Moderate sodium (use low-sodium bacon to reduce)
My Take:
Look, this is comfort food. It’s not a diet recipe. But it’s way better than chips or processed snacks, and you control the ingredients. When I want to make it lighter, I use less cheese and more veggies. But usually? I just eat a reasonable portion and enjoy it guilt-free.
Final Thoughts
So that’s my go-to crispy loaded potato skins! I’ve probably talked your ear off at this point, but when you make a recipe this often, you have a lot to say about it. This has saved game days more times than I can count. It’s my answer to “what do we eat while watching the game” when I want something substantial but fun.
My kids love helping me scoop the potatoes. My husband loves eating them. And I love knowing that I made something from scratch that tastes better than anything from a freezer aisle. Make it yours! Try different cheeses, add different toppings, adjust the spice level. The best recipes are the ones you adapt to your family’s tastes.
If you make this, drop a comment and let me know what you think! I love hearing how recipes turn out in your kitchen. And if something doesn’t work, tell me that too—I’m here to help troubleshoot.
Happy cooking! And I hope your kitchen smells half as good as mine does right now.
Frequently Asked Questions
Can I bake the potatoes instead of microwaving them?
Yes, absolutely. Bake them at 400°F for 45-60 minutes until tender. They’ll have a slightly crispier skin from the start, which is nice. But it takes much longer. I microwave for speed, but baking is traditional and works great if you have time.
Why are my potato skins soggy?
Usually, this happens because you skipped the first bake. The first bake dries out the moisture in the skin. Without it, the skin steams when you add the cheese. Also, make sure you’re not using too much oil. A light brush is enough.
Can I make these ahead of time?
Yes! Prep the skins through Step 4 (first bake) and store them in the fridge for up to 24 hours. When ready to serve, add toppings and bake for 5-7 minutes. This is perfect for party planning.
Can I freeze potato skins?
Not really. The texture of the skin becomes tough and rubbery when thawed. The cheese also separates. It’s best to make them fresh. If you have leftovers, eat them within 3 days.
Can I use Yukon Gold potatoes?
You can, but they won’t get as crispy. Russets are higher in starch and lower in moisture, which is key for crunch. If you only have Yukons, expect a softer, more potato-like texture. Not bad, just different.
How do I reheat leftovers?
Use an oven or toaster oven at 375°F for 5-7 minutes. This restores the crunch. The microwave will make them soggy and chewy. Avoid the microwave unless you’re in a huge rush.
Can I use pre-shredded cheese?
You can, but it’s not recommended. Pre-shredded cheese has anti-caking agents that prevent smooth melting. You’ll get a grainy, oily mess. Block cheese melts into gooey perfection. It takes 2 minutes to shred, and it’s worth it.
Pin This Recipe!
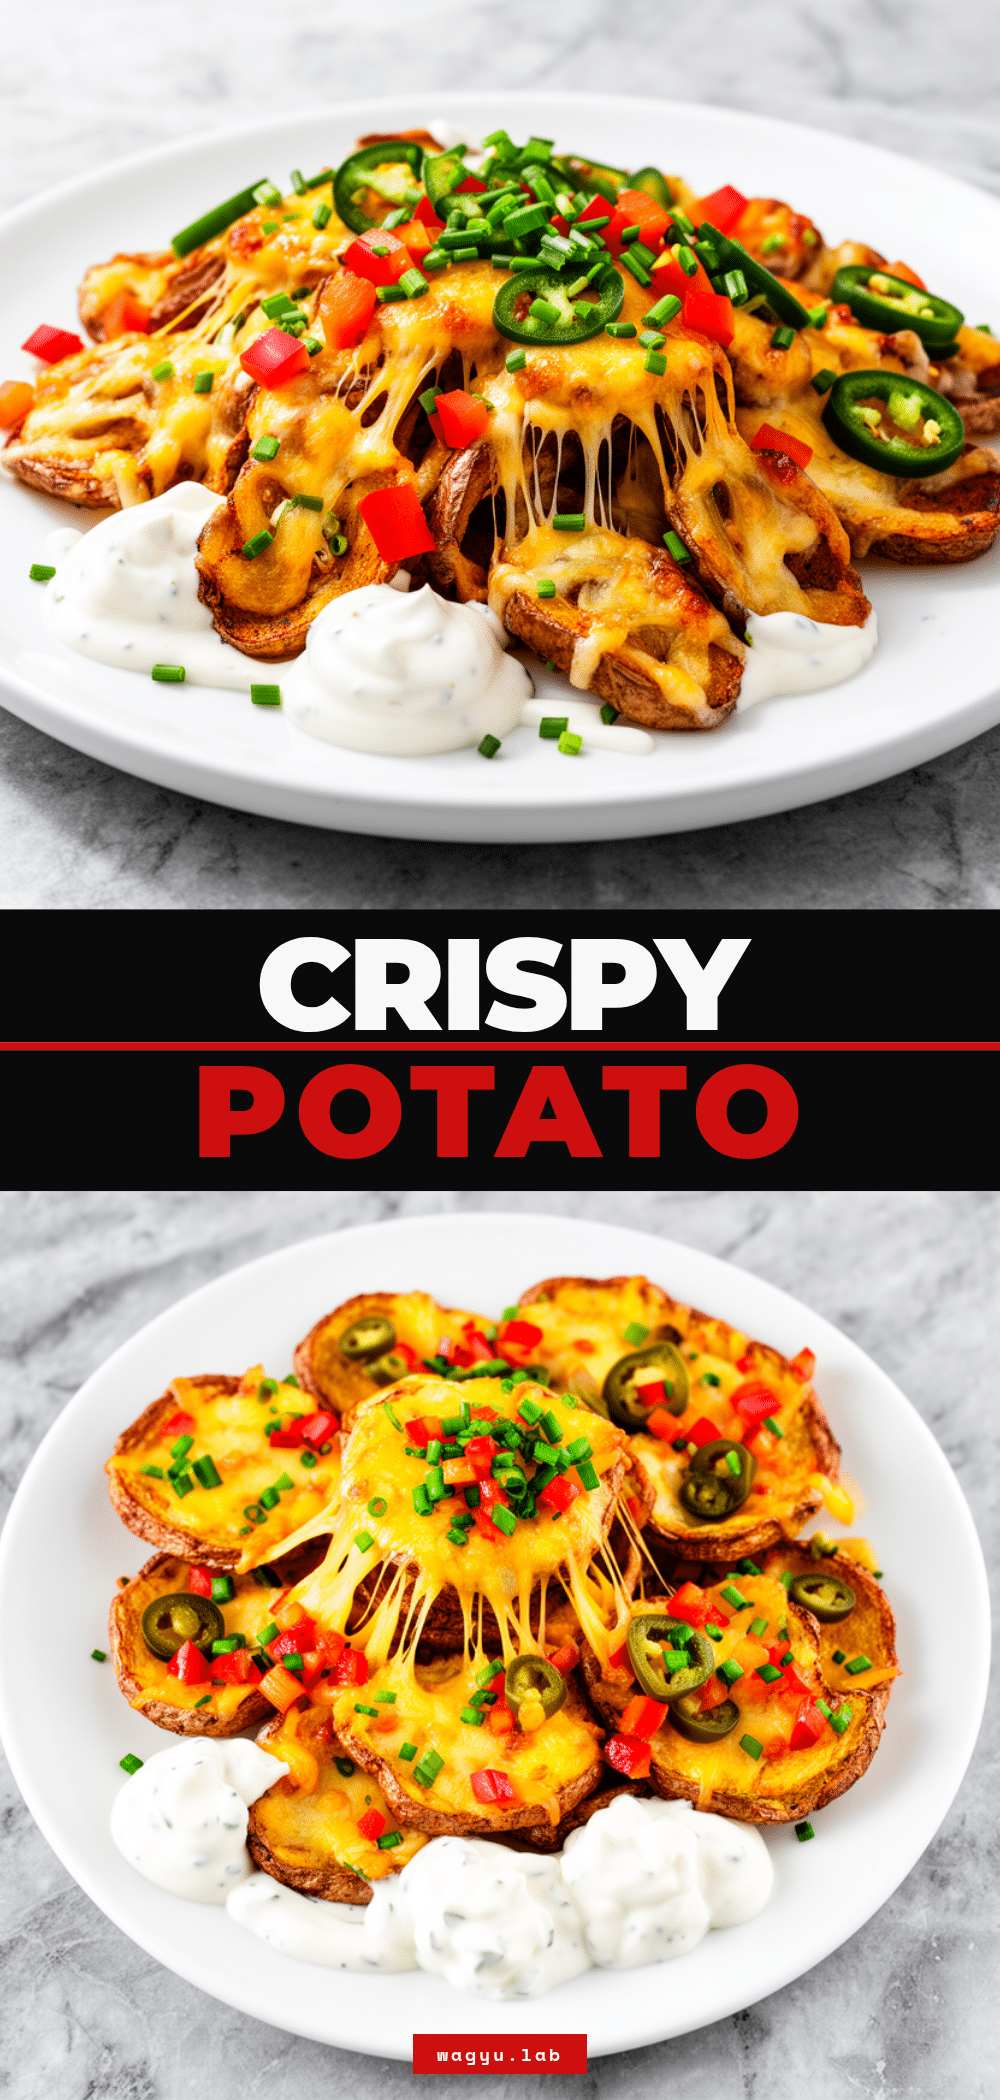

Crispy Loaded Potato Skins: Easy Appetizer
- Total Time: 45 minutes
- Yield: 16 servings 1x
Description
Homemade crispy loaded potato skins that are crunchy, cheesy, and bacon-filled. This recipe uses a two-bake method to ensure maximum crispiness without deep frying, making it a perfect, budget-friendly appetizer for parties.
Ingredients
- 4 large Russet potatoes (about 2 lbs / 900g)
- 3 tablespoons vegetable oil or canola oil
- 1 teaspoon kosher salt
- 2 cups sharp cheddar cheese, shredded from a block
- 6 slices thick-cut bacon, cooked and crumbled
- ½ cup full-fat sour cream
- 2–3 stalks green onions, thinly sliced
- Optional: 1 cup Jack cheese, ½ cup diced jalapeños, BBQ sauce for drizzling
Instructions
- Preheat oven to 400°F (200°C). Line a baking sheet with parchment paper or foil.
- Wash and scrub potatoes thoroughly, then pat completely dry. Pierce each potato 4-5 times with a fork.
- Microwave potatoes on high for 5-7 minutes, flipping halfway, until tender. Let cool for 5 minutes. (Alternatively, bake at 400°F for 45-60 minutes).
- Slice potatoes in half lengthwise. Scoop out the flesh, leaving about ¼ inch attached to the skin. Place skins cut-side up on the baking sheet.
- Brush the inside of each skin lightly with oil and sprinkle with salt.
- Bake empty skins for 10 minutes to dry them out and start the crisping process.
- Remove from oven. Sprinkle generously with shredded cheddar cheese and top with crumbled bacon.
- Return to oven and bake for 3-5 minutes until cheese is melted and bubbly.
- Remove from oven and immediately garnish with sliced green onions and extra salt if needed. Serve hot.
Notes
Do not skip the first bake; it is crucial for drying out the skins to ensure crispiness. Shred your own cheese to avoid anti-caking agents that prevent smooth melting. If serving a crowd, keep finished skins in a low oven (200°F) to maintain warmth and crunch. Avoid overcrowding the pan to prevent steaming.
- Prep Time: 15 minutes
- Cook Time: 30 minutes
- Category: Appetizer
- Cuisine: American
Nutrition
- Serving Size: 4 skins
- Calories: 280
- Sugar: 1
- Sodium: 350
- Fat: 16
- Saturated Fat: 8
- Carbohydrates: 24
- Fiber: 2
- Protein: 12
Keywords: potato skins, appetizer, super bowl food, crispy potatoes, bacon cheese, party snacks, easy recipes, game day food