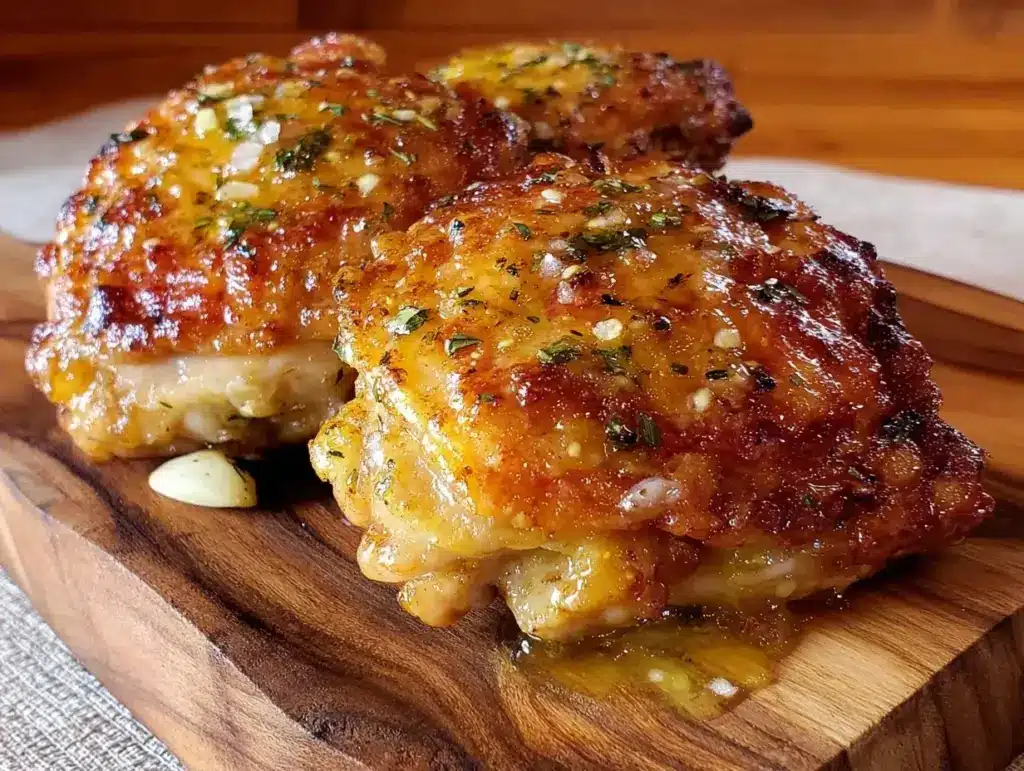
Last winter, I was in one of those moods where cooking felt like a chore. I wanted something warm, something comforting, but I absolutely did not want to stand over a hot stove stirring a pot for an hour. I was craving that specific texture—the kind where the skin snaps when you bite into it, and the meat underneath is so tender it falls apart. I tried a few recipes online, but they either came out pale and soggy or dry as cardboard. Then I stumbled onto a method that uses nothing but chicken thighs, butter, garlic, and a handful of herbs. No complicated marinades. No brining overnight. No fancy equipment.
I threw them in the oven, walked away, and came back to the most incredible smell. The kitchen looked like it belonged in a magazine. The chicken was golden, crispy, and dripping with garlic-herb goodness. My family didn’t even ask what was for dinner. They just started eating. That was three months ago, and we’ve had these crispy baked chicken thighs at least six times since. It’s become my “if you can only make one thing, make this” dinner. It’s foolproof, it’s minimal, and it tastes like you put in way more effort than you actually did.
Why You’ll Love This Recipe
There’s a reason this has replaced all my other weeknight chicken routines. It’s not just about taste (though that’s huge); it’s about how little it asks of you. Here’s why this 5-ingredient garlic herb butter chicken is taking over our dinner table:
- Zero Prep Stress — Seriously, if you can melt butter and sprinkle salt, you can make this. I don’t even bother measuring the herbs. I just eyeball it. The margin for error is practically non-existent.
- Crispy Skin, Every Time — The secret isn’t a fancy technique; it’s just baking them right side up on a rack. The air circulates, the skin crisps up, and you don’t have to flip them halfway through. I love that I can walk away and not worry about burning it.
- Flavor Bomb with Five Ingredients — Butter, garlic, herbs, salt, pepper, and chicken. That’s it. No obscure spices you need to drive to the store for. The garlic herb butter bastes the chicken as it cooks, keeping it moist while the skin gets shatteringly crisp.
- Beginner-Proof — Chicken thighs are forgiving. Unlike chicken breast, which dries out if you look at it wrong, thighs stay juicy even if you leave them in the oven for an extra five minutes. You really can’t mess this up.
- One Pan Cleanup — If you line your baking sheet or use a roasting pan, cleanup is a 30-second rinse. No scrubbing pans. No washing extra bowls. It’s the kind of dinner that leaves you with energy left over for the rest of the evening.
This is my go-to when I want to feel like a good cook without actually cooking. It’s reliable, it’s delicious, and it makes everyone at the table happy. If you’re looking for a simple chicken dinner that doesn’t require a grill or a marinade, this is it.
Ingredients You’ll Need
Here’s the best part: you probably have most of this already. This recipe relies on high-quality basics because there’s nowhere to hide. If the ingredients are good, the result is good. I’m not using anything fancy here, just the essentials done right.
For the Chicken
Chicken Thighs (2 pounds / 900g) — Bone-in, skin-on thighs are non-negotiable for this recipe. Boneless thighs cook too fast and lose their texture. Skinless thighs won’t get that crispy skin we’re after. Look for thighs that are roughly the same size so they cook evenly. If you can find organic or pasture-raised, the flavor is noticeably better, but standard grocery store thighs work fine too.
Kosher Salt (1 teaspoon) — I prefer kosher salt because it’s easier to control. Table salt is finer and can make the chicken too salty if you’re not careful. If you only have table salt, use half the amount. Salt is what draws out moisture and helps the skin crisp up.
Black Pepper (½ teaspoon) — Freshly cracked is best. Pre-ground pepper loses its punch quickly. Just a simple crack over the chicken adds that necessary earthy bite.
For the Garlic Herb Butter
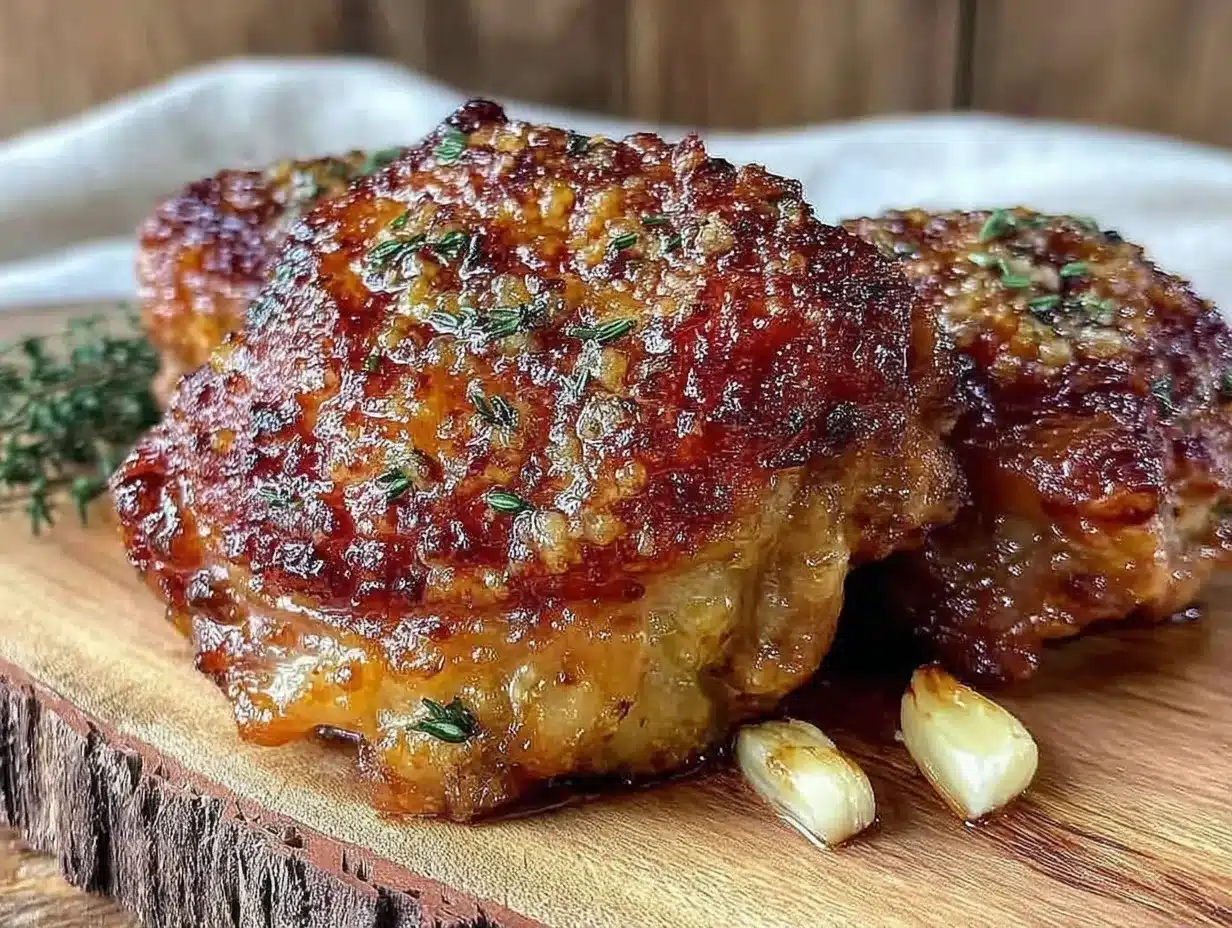
Unsalted Butter (4 tablespoons / ½ stick) — This is the star of the show. Use good quality butter. If you use salted butter, reduce the salt in the seasoning mix. Butter adds richness and helps the herbs stick to the chicken while it roasts.
Garlic (4 cloves, minced) — Fresh garlic only. Please, for the love of all things holy, do not use jarred garlic. It has a metallic aftertaste that ruins the clean flavor of the herbs. Minced finely so it distributes evenly. If you’re worried about burning, just make sure the butter is melted and cooled slightly before mixing.
Dried Herbs (1 teaspoon total) — I use a mix of dried thyme and rosemary. Dried herbs hold up better in the oven than fresh ones, which can burn or turn slimy. If you only have one, use thyme. It’s milder and more forgiving. You could also use Italian seasoning if that’s what you have on hand, but thyme and rosemary are classic for a reason.
Optional: Paprika (½ teaspoon) — Just a pinch for color. It gives that golden-red hue that makes the chicken look restaurant-quality. It doesn’t add heat, just visual appeal.
Substitutions
If you’re dairy-free, you can swap the butter for olive oil, but you won’t get the same rich basting effect. The skin might not crisp quite as nicely, but it’ll still taste good. For the herbs, fresh thyme works if you add it in the last 10 minutes of cooking, but dried is easier and less risky for beginners.
Equipment Needed
You don’t need fancy gear for this. Here’s what I actually use:
Baking Sheet or Roasting Pan — I use a standard half-sheet pan. It fits 8-10 thighs comfortably. If you have a roasting pan with a rack, even better, because the chicken sits higher and air circulates underneath.
Wire Rack — This is the secret weapon. Placing the chicken on a wire rack set inside the baking sheet allows heat to circulate under the skin. If you don’t have a rack, just place the chicken directly on the pan, but flip them halfway through. The rack makes it hands-off.
Small Bowl — For mixing the butter and herbs. Any small bowl works.
Pastry Brush or Spoon — To spread the butter mixture over the chicken. A brush gives a more even coat, but a spoon works fine if you’re being lazy.
Meat Thermometer — Optional but helpful. Chicken thighs are forgiving, but if you want to be precise, aim for 175°F (80°C) internal temperature. This is higher than breast meat because thighs need that higher heat to break down collagen and become tender.
How to Make It: Step-by-Step
Alright, let’s make this! It’s simpler than it looks, but there are a few key steps to ensure that crispy skin. I’m walking you through exactly how I do it.
Step 1: Prep the Chicken (5 minutes)
Take your chicken thighs out of the fridge and pat them dry with paper towels. This is crucial. Wet skin steams; dry skin crisps. Don’t skip this. If the skin is damp, it won’t get crispy. Lay them out on a plate or tray and pat them thoroughly dry on all sides. Discard the paper towels.
Step 2: Make the Garlic Herb Butter (2 minutes)
In a small bowl, combine the softened butter, minced garlic, dried herbs, paprika (if using), and half of the salt. Mix it well with a fork until it’s a uniform paste. If the butter is too hard, microwave it for 10 seconds to soften it. You don’t want it melted, just soft enough to spread.
Step 3: Season and Coat
Place the chicken thighs skin-side up on the wire rack. Sprinkle the remaining salt and pepper over the meat side (the side facing down). Then, take your garlic herb butter and rub it generously over the skin side. Get it under the edges if you can. You want the butter to coat the entire surface. This is where the flavor happens.
Step 4: Bake
Preheat your oven to 425°F (220°C). Place the baking sheet with the chicken in the center of the oven. Bake for 35-40 minutes. Do not open the oven door for the first 20 minutes. You want the heat to build up and start crisping the skin. After 35 minutes, check the chicken. The skin should be golden brown and crispy. If it’s not quite there, leave it in for another 5 minutes.
Step 5: Rest and Serve
Remove the chicken from the oven and let it rest for 5 minutes before serving. This allows the juices to redistribute. If you cut into it immediately, the juices will run out and the meat will be drier. Serve with the pan juices spooned over the top for extra flavor.
Expert Tips & Tricks
Here’s everything I’ve learned from making this dozens of times. These tips will save you from my early mistakes.
- Pat Dry, Pat Dry, Pat Dry — I cannot stress this enough. The drier the skin, the crispier the result. If you’re in a rush, use a clean kitchen towel. Paper towels work too, but they can leave lint.
- Don’t Crowd the Pan — Give the chicken some space. If the pieces are touching, they’ll steam each other instead of roast. Use two pans if you need to. Crowding is the enemy of crispiness.
- Use a Rack — I know it’s an extra dish to wash, but it’s worth it. The chicken sits in its own drippings if you don’t use a rack, and the bottom skin gets soggy. The rack keeps it all crispy.
- Higher Heat for Crispier Skin — 425°F is the sweet spot. Lower temperatures like 375°F will cook the chicken but won’t crisp the skin as effectively. Higher heat renders the fat faster.
- Check Temperature — Chicken thighs are safe to eat at 165°F, but they taste better at 175-180°F. The higher temperature breaks down the connective tissue, making the meat more tender and juicy. Don’t be afraid to go a bit higher.
Variations & Substitutions
Once you’ve nailed the basic version, here’s how you can mix it up. I’ve tried all of these, and they’re all winners.
Lemon Herb Version — Add the zest of one lemon to the butter mixture. Squeeze half a lemon over the chicken before baking. It adds a bright, fresh flavor that cuts through the richness.
Spicy Kick — Add ½ teaspoon of cayenne pepper or red pepper flakes to the butter. It adds a nice heat without overpowering the garlic and herbs.
Herb Swap — If you don’t have thyme or rosemary, use dried oregano or sage. Sage is particularly good with chicken and butter. You can also use fresh parsley for garnish after baking.
Gluten-Free — This recipe is naturally gluten-free. Just make sure your spices and herbs don’t have any added fillers (rare, but check labels if you’re sensitive).
Dairy-Free — Swap butter for olive oil or avocado oil. You won’t get the same rich basting, but the chicken will still be delicious and crispy.
If you’re looking for other easy chicken thigh recipes, this is a great counterpart to sweeter or saucier versions. It’s the perfect base for learning how to roast chicken properly.
Serving & Storage
How to Serve — I usually serve this straight from the oven. It pairs beautifully with roasted vegetables, mashed potatoes, or a simple green salad. The garlic herb butter is so good, I sometimes just dip crusty bread in the pan juices.
Leftovers — Store leftover chicken in an airtight container in the fridge for up to 3 days. The skin will soften in the fridge, but the meat stays juicy. To re-crisp, pop it in the oven at 400°F for 10 minutes or in an air fryer for 5 minutes.
Freezing — You can freeze cooked chicken thighs for up to 3 months. Thaw in the fridge overnight and reheat gently. I don’t recommend freezing raw chicken with the butter mixture, as the texture can change.
Meal Prep — This is great for meal prep. Make a big batch on Sunday, and you have dinner sorted for the week. Reheat with a side of steamed broccoli or quinoa for a complete meal.
Nutrition Information
I’m not a nutritionist, but here’s the breakdown if you’re tracking. This is per serving (based on 4 servings, 2 thighs each):
- Calories: 450
- Protein: 35g
- Carbs: 1g
- Fat: 32g
- Saturated Fat: 12g
- Sodium: 300mg
This is a high-protein, low-carb meal. The fat comes from the chicken skin and butter, which is where most of the flavor is. If you’re watching calories, you can remove the skin before eating, but you’ll miss out on the best part. It’s comfort food, after all.
Final Thoughts
So that’s my go-to crispy baked chicken thighs! I’ve probably talked your ear off at this point, but when you make a recipe this often, you have a lot to say about it. This has saved weeknight dinners more times than I can count. It’s my answer to “what’s for dinner” when I want something simple, delicious, and foolproof. My kids are happy, my husband’s happy, and I’m happy because I’m not stressed about cooking.
Make it yours! Try different herbs, add some lemon, or kick up the heat. The best recipes are the ones you adapt to your family’s tastes. If you make this, drop a comment and let me know what you think! I love hearing how recipes turn out in your kitchen. And if something doesn’t work, tell me that too—I’m here to help troubleshoot.
Happy cooking! And I hope your kitchen smells half as good as mine does right now.
Frequently Asked Questions
Q: Can I use chicken breast instead of thighs?
A: You can, but the cooking time will be shorter (about 25-30 minutes) and the texture will be different. Chicken breast can dry out easily. Thighs are more forgiving and stay juicier. If you use breast, keep a close eye on it.
Q: Why is my chicken skin not crispy?
A: Usually, this means the skin was too wet when it went into the oven, or the pieces were crowded on the pan. Make sure you pat the skin dry and give each piece space. Also, ensure your oven is fully preheated.
Q: Can I make this in an air fryer?
A: Yes! Cook at 400°F for 15-18 minutes, flipping halfway through. The skin gets even crispier in an air fryer. Just don’t overcrowd the basket.
Q: Do I need to brine the chicken first?
A: No, not for this recipe. The salt in the seasoning acts as a dry brine, drawing out moisture and seasoning the meat. Brining is optional and adds extra steps that aren’t necessary here.
Q: Can I prep this ahead of time?
A: Yes! You can season the chicken and leave it in the fridge for up to 24 hours before baking. This actually helps the skin dry out even more, leading to better crispiness. Just take it out of the fridge 20 minutes before cooking to take the chill off.
Q: What’s the best side dish to serve with this?
A: I love roasted potatoes, steamed green beans, or a simple arugula salad with lemon vinaigrette. The chicken is rich, so something bright and fresh balances it well. Check out this grilled chicken salad if you want a lighter option.
Pin This Recipe!
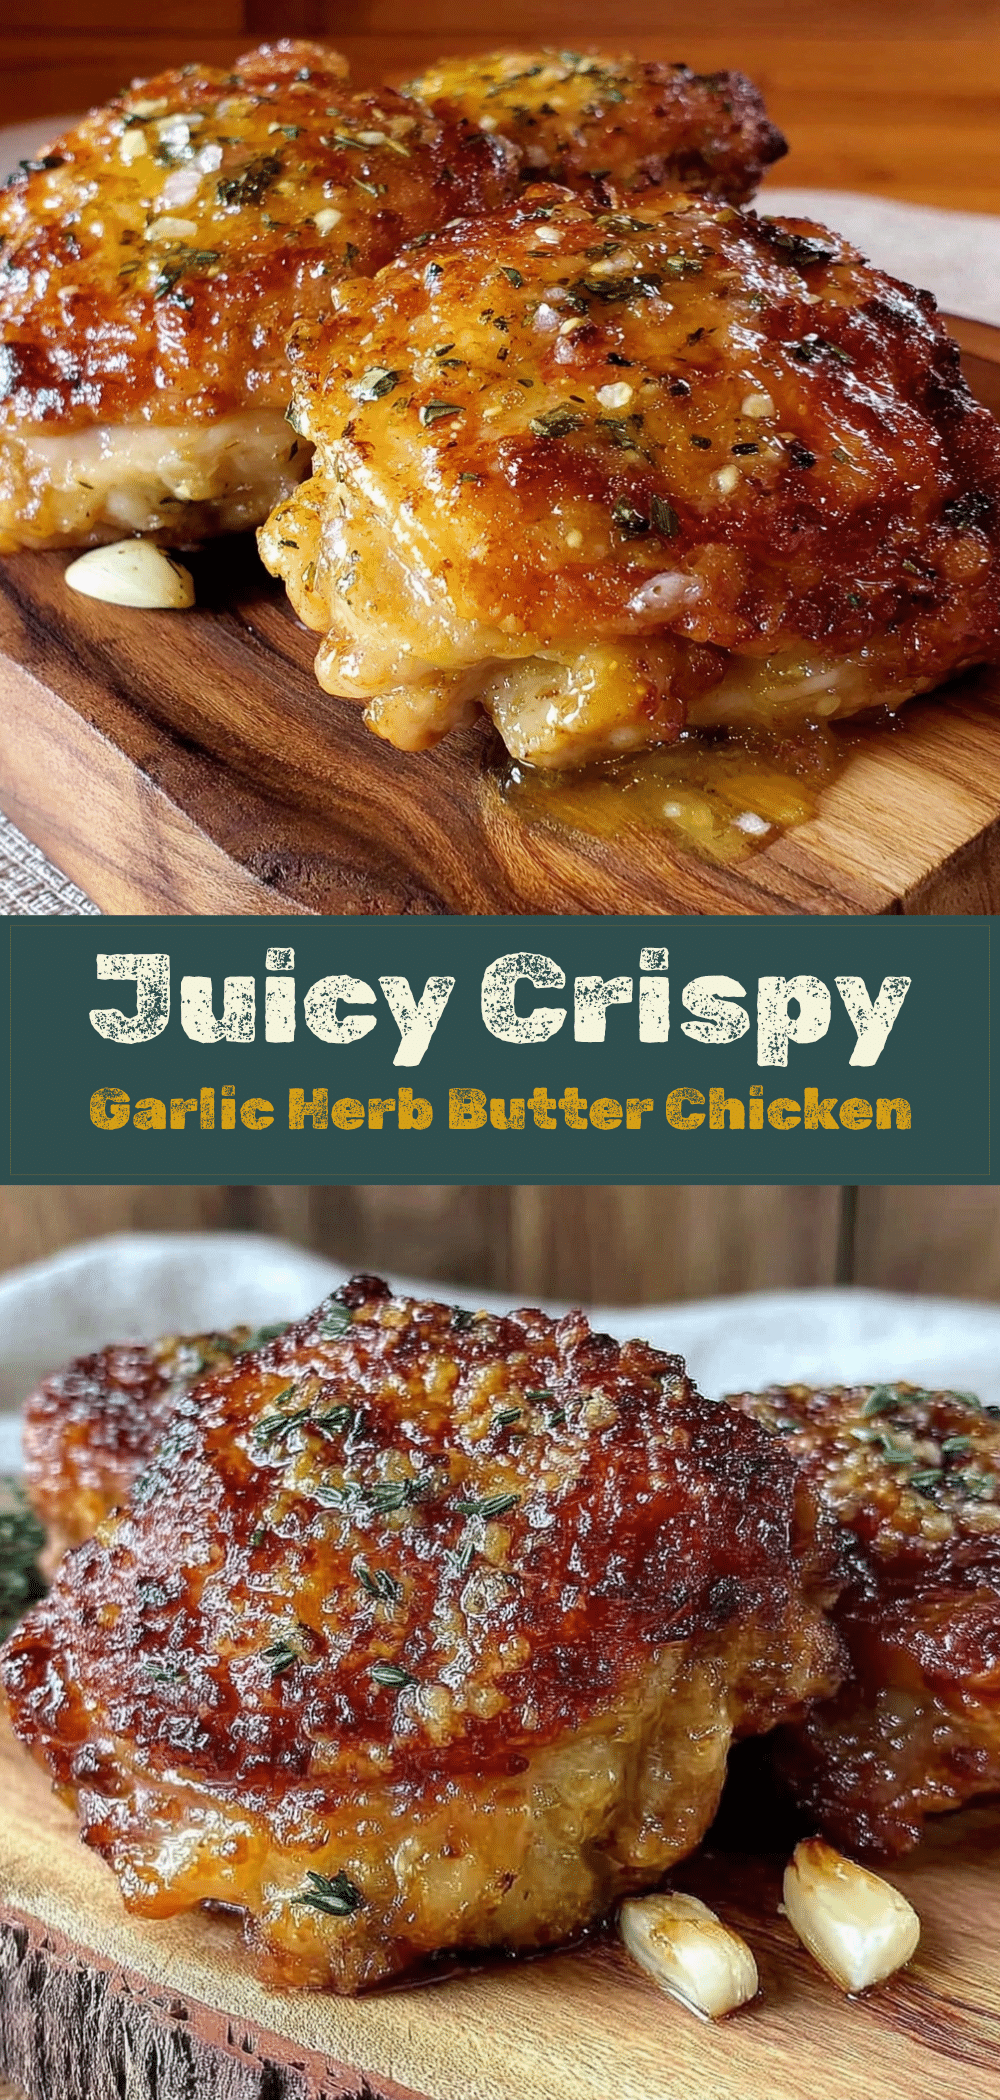

Crispy Baked Chicken Thighs: 5-Ingredient Garlic Herb Butter
- Total Time: 47 minutes
- Yield: 4 servings 1x
Description
A foolproof, minimal-effort recipe for golden, crispy baked chicken thighs coated in a rich garlic herb butter. Perfect for weeknight dinners with zero prep stress and easy cleanup.
Ingredients
- 2 pounds bone-in, skin-on chicken thighs
- 1 teaspoon kosher salt (divided)
- 1/2 teaspoon black pepper
- 4 tablespoons unsalted butter, softened
- 4 cloves garlic, minced
- 1 teaspoon dried herbs (thyme and/or rosemary)
- 1/2 teaspoon paprika (optional, for color)
Instructions
- Preheat oven to 425°F (220°C).
- Pat chicken thighs thoroughly dry with paper towels to ensure crispy skin.
- In a small bowl, mix softened butter, minced garlic, dried herbs, paprika (if using), and half of the salt to form a paste.
- Place chicken thighs skin-side up on a wire rack set inside a baking sheet.
- Sprinkle remaining salt and pepper over the meat side (bottom).
- Rub the garlic herb butter mixture generously over the skin side of the chicken.
- Bake for 35-40 minutes without opening the oven for the first 20 minutes.
- Check for golden brown, crispy skin. If needed, bake for an additional 5 minutes.
- Remove from oven and let rest for 5 minutes before serving.
- Serve with pan juices spooned over the top.
Notes
Ensure chicken skin is completely dry before baking for maximum crispiness. Do not crowd the pan; use two sheets if necessary. Chicken thighs are safe at 165°F but taste better at 175-180°F for tender texture. Can be prepped ahead and refrigerated for up to 24 hours.
- Prep Time: 7 minutes
- Cook Time: 40 minutes
- Category: Main Course
- Cuisine: American
Nutrition
- Serving Size: 2 thighs per serving
- Calories: 450
- Sodium: 300
- Fat: 32
- Saturated Fat: 12
- Carbohydrates: 1
- Protein: 35
Keywords: chicken thighs, baked chicken, garlic herb butter, crispy chicken, easy dinner, weeknight meals, gluten-free, high protein



