Last Tuesday, I was staring into my fridge at 7:30 PM, feeling that specific brand of hunger that comes from being too tired to cook but too proud to order takeout. The kids had just finished homework, the dog was asleep on the rug, and I desperately needed something sweet to close out the day. I didn’t have time for a complex baking project. I didn’t have the energy to wash a dozen bowls. But I did have flour, sugar, butter, and a craving for something warm and comforting.
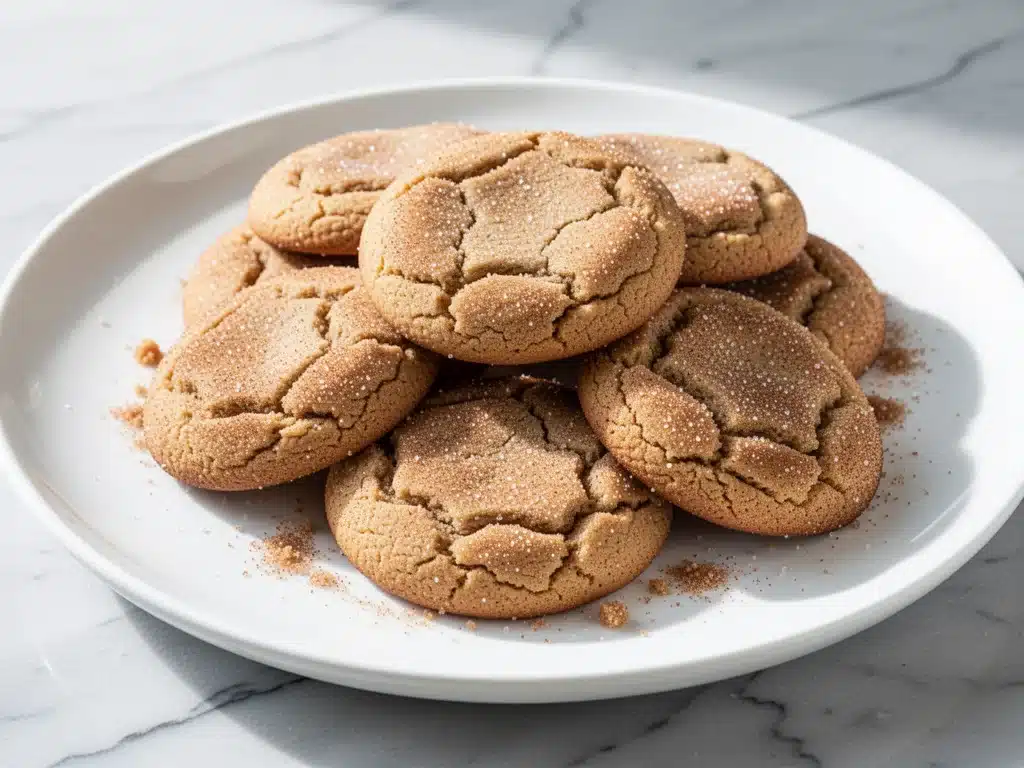
So I threw together what I thought would be a mediocre drop cookie. I mixed it in a single bowl, scooped it onto a sheet, and popped it in the oven. When they came out twenty minutes later, they were soft, chewy, and smelled like autumn itself. My daughter looked at me like I’d just performed magic. That moment is why I’ve made these chewy brown sugar snickerdoodle cookies every week since. They’re not just cookies; they’re a lifeline for busy weeknights.
I’ve tested this recipe about a dozen times, tweaking the ratios until I got that perfect balance of crisp edges and a center that’s gooey enough to make you close your eyes. This isn’t your standard, dry, crumbly snickerdoodle. This version is dense, rich, and deeply flavored. It’s the kind of treat that feels indulgent but comes together in less time than it takes to drive to a bakery. If you’re looking for a dessert that delivers big flavor with minimal fuss, you’re in the right place. These chewy brown sugar snickerdoodle cookies are about to become your new best friend.
Why You’ll Love This Recipe
There are a hundred cookie recipes out there, but this one has earned a permanent spot in my rotation. Here’s why I keep coming back to it, and why I think you will too.
- Stupid Simple — Seriously, if you can stir, you can make these. I mixed this entire batch in one large bowl with a wooden spoon. No electric mixer required, no creaming butter and sugar for twenty minutes. Just mix, scoop, bake. I’ve made this while holding my toddler on my hip.
- Lightning Fast — From start to finish, you’re looking at about 30 minutes. That includes prep time and cooling. Most of that time is just waiting for the oven to do its thing. I make these on weeknights when I need a win, and they never disappoint.
- Pantry-Friendly — You probably have 90% of these ingredients already. Flour, sugar, butter, eggs. The brown sugar gives them that deep, caramel flavor, and cinnamon is a staple for most. It’s a recipe that works when you’re low on fresh ingredients but high on hunger.
- The Texture is Unreal — I’m obsessed with chewy cookies. These have that perfect exterior that’s slightly crisp and an interior that’s soft and fudgy. They don’t spread into flat discs; they stay puffy and substantial. It’s the kind of texture that makes people ask for the recipe.
- Kid-Approved — My kids are notoriously picky. They usually prefer plain chocolate chips over anything fancy. But these? They devour them. The cinnamon-sugar coating is a crowd-pleaser, and the brown sugar flavor is sweet enough to satisfy any craving without being cloying.
This recipe has saved me from the “what’s for dessert?” panic more times than I can count. It’s reliable, delicious, and incredibly easy. No complicated techniques, no weird ingredients you have to order online. Just good, honest cookies that taste like they took all day.
Ingredients You’ll Need
Here’s the best part: you don’t need a specialty grocery store for this. Most of this is basic baking stuff. I’m particular about the butter and the brown sugar, though, because that’s where the flavor lives.
For the Dough
Unsalted Butter (1 cup / 226g) — This is non-negotiable. Use real butter, not margarine. I like to soften it to room temperature, but if you’re in a rush, you can microwave it in 10-second bursts. Soft butter mixes easier and creates a better texture. I use Kerrygold or Plugra when I can find them, but any good quality unsalted butter works.
Granulated White Sugar (1 cup / 200g) — This provides structure and helps the cookies spread slightly. Don’t skip it for all brown sugar; you need that balance. White sugar gives that slight crispness to the edges.
Brown Sugar (1 cup / 220g, packed) — This is the star of the show. Dark brown sugar has more molasses, which gives you that deep, caramel-like flavor and chewy texture. If you only have light brown sugar, it works, but the flavor will be milder. Pack it tightly into the cup for accuracy.
Egg (1 large) — One large egg at room temperature binds everything together. Room temp eggs incorporate into the dough more evenly. If you forgot to take it out, just drop the egg in a bowl of warm water for 5 minutes.
Vanilla Extract (2 teaspoons) — Use real vanilla, not imitation. The flavor is so prominent in these cookies that fake vanilla will taste harsh. I keep a bottle of Nielsen-Massey or pure extract in my pantry specifically for baking.
All-Purpose Flour (2 ½ cups / 315g) — Don’t over-measure this! Spoon the flour into your measuring cup and level it off. Packing it down will make your cookies dense and tough. I use Gold Medal or King Arthur, but any standard AP flour works.
Baking Soda (1 teaspoon) — This helps the cookies rise and spread. Make sure it’s fresh; old baking soda won’t give you that lift. If it’s been in your cabinet for years, toss it and buy a new box.
Cream of Tartar (1 teaspoon) — This is the secret ingredient that gives snickerdoodles their signature tang. It reacts with the baking soda to create that soft, chewy texture. You can find it in the baking aisle next to the spices. If you absolutely can’t find it, you can use 1 ½ teaspoons of baking powder instead, but the flavor won’t be quite the same.
Salt (½ teaspoon) — Even though these are sweet, salt is crucial. It balances the sugar and enhances the butter flavor. Don’t skip it.
For the Coating
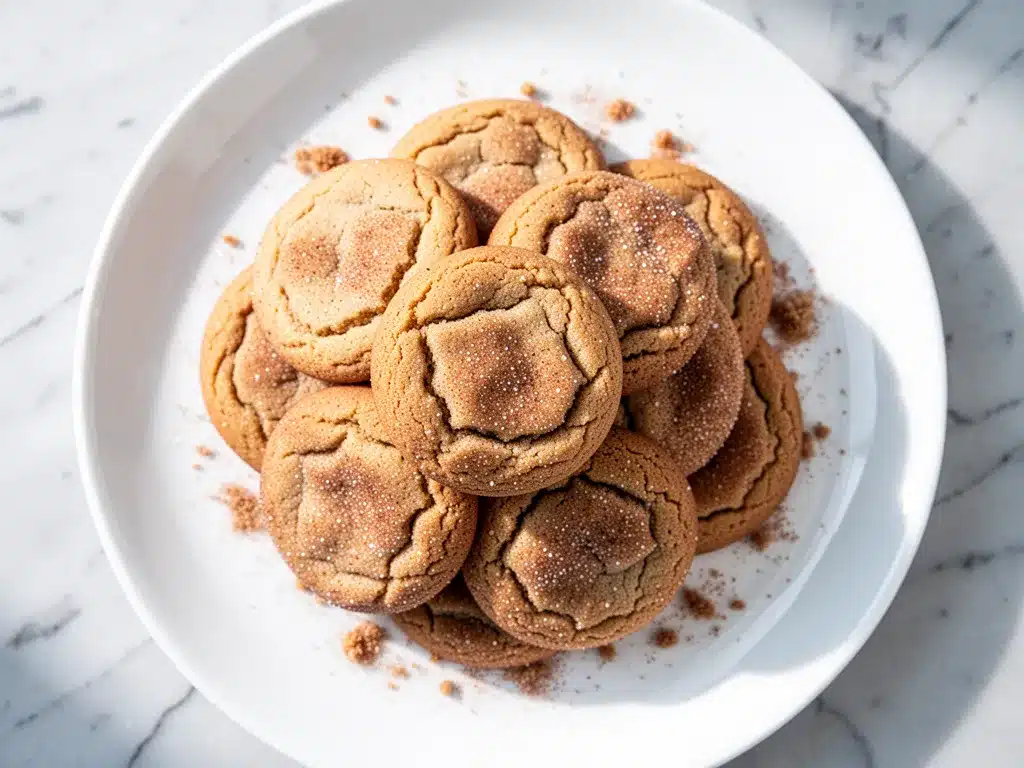
Granulated Sugar (2 tablespoons) — For rolling the dough balls in.
Ground Cinnamon (1 teaspoon) — Use a fresh jar. Old cinnamon loses its punch. I like a mix of Ceylon and regular cinnamon if I can find it, but standard ground cinnamon works perfectly.
Equipment Needed
You don’t need fancy gadgets for this. Here’s what I actually use in my kitchen.
Large Mixing Bowl — A 4-quart bowl is perfect. I like glass or ceramic because it’s easy to see what’s happening. Plastic works too, but I find it’s harder to scrape the sides clean.
Wooden Spoon or Spatula — For mixing. I prefer a wooden spoon because it’s sturdy and doesn’t scratch my bowl. A silicone spatula works great too for scraping.
Measuring Cups and Spoons — Standard stuff. Dollar store versions work fine for this. Just make sure your liquid measuring cup is clear so you can see the line.
Baking Sheets — I use half-sheet pans (18×13 inches). Light-colored aluminum pans are best because they reflect heat and prevent the bottoms from burning. Dark pans absorb more heat, so you might need to lower the oven temp by 25 degrees.
Parchment Paper — Line your baking sheets. This is non-negotiable for easy cleanup and even baking. It also prevents sticking. I never bake these directly on the metal pan.
Cooling Rack — Optional but nice. If you have space, transfer the cookies to a rack after baking. It stops the cooking process and keeps them from getting soggy on the bottom.
Ice Cream Scoop — This is my secret weapon. Using a small cookie scoop (about 1.5 tablespoons) ensures every cookie is the same size. This means they bake evenly. If you don’t have a scoop, use two spoons to portion the dough.
How to Make It: Step-by-Step
Alright, let’s make this! I’m walking you through exactly how I do it, including the little tricks I’ve picked up over the years.
Step 1: Prep Your Oven and Pans (2 minutes)
Preheat your oven to 350°F (175°C). This is crucial. If the oven isn’t hot enough, the cookies will spread too much and lose their chew. Line your baking sheets with parchment paper. I use two sheets because I like to bake one batch at a time for even browning, but you can bake both if you rotate them halfway through.
Step 2: Mix the Wet Ingredients (3 minutes)
In your large bowl, combine the softened butter, granulated sugar, and brown sugar. Since we’re using a wooden spoon, you’ll need to mix this by hand. It takes about 2-3 minutes of vigorous stirring until the mixture looks smooth and combined. It doesn’t need to be fluffy like a cake batter, just well-mixed. Add the egg and vanilla extract. Stir until fully incorporated. The mixture might look a little curdled at first—that’s normal. It will come together when you add the dry ingredients.
Step 3: Add the Dry Ingredients (2 minutes)
Whisk together the flour, baking soda, cream of tartar, and salt in a separate small bowl. This ensures the leavening agents are evenly distributed. Then, add the dry mixture to the wet mixture. Stir gently until just combined. Do not overmix! Once the flour disappears, stop. Overmixing develops gluten, which makes cookies tough. You want them tender and chewy. The dough should be thick and slightly sticky.
Step 4: Roll the Dough Balls (5 minutes)
Take a tablespoon of dough and roll it into a ball between your palms. Then, in a small bowl, mix the 2 tablespoons of sugar with the cinnamon. Roll the dough ball in this mixture until it’s fully coated. This coating is what gives snickerdoodles their signature look and flavor. Place the coated ball on the prepared baking sheet, leaving about 2 inches between each cookie. They will spread.
Step 5: Bake (10-12 minutes)
Place the baking sheet in the center of the oven. Bake for 10-12 minutes. You’re looking for cookies that are set around the edges but still soft in the center. They will look slightly puffy. If you wait until they look fully firm, they’ll be dry. The residual heat will finish cooking them as they cool. Rotate the pan halfway through if your oven has hot spots.
Step 6: Cool and Serve (10 minutes)
Remove the pan from the oven. Let the cookies sit on the hot pan for 5 minutes. This is important—they are very fragile right out of the oven and will break if you move them too soon. After 5 minutes, transfer them to a cooling rack to cool completely. Or, if you’re like me and have zero patience, eat them warm. Trust me, they’re even better warm.
Total Time: About 30 minutes (5 minutes active, 25 minutes mostly hands-off)
Expert Tips & Tricks
Here’s everything I’ve learned from making this dozens of times. These tips will save you from my mistakes.
Chill the Dough (Optional but Recommended)
If you have time, chill the dough in the fridge for 30 minutes before baking. This solidifies the butter, which helps the cookies hold their shape and prevents excessive spreading. It also deepens the flavor. If you’re in a rush, skip it, but chilled dough yields a better texture.
Don’t Overbake
This is the #1 mistake people make. The cookies should look soft and slightly undercooked in the center when you take them out. They will firm up as they cool. If they look golden brown and firm in the pan, they’re already overdone. Pull them when they still look a little shiny.
Use Room Temperature Butter
Cold butter won’t mix properly with the sugar, and melted butter will make the cookies greasy. Softened butter is the sweet spot. It should be cool to the touch but easily indented by your finger.
Measure Flour Correctly
Flour is the enemy of chewy cookies if you use too much. Always spoon and level. Never scoop directly from the bag, which packs the flour down. Too much flour = dry, crumbly cookies.
Storage for Freshness
Store cookies in an airtight container at room temperature for up to 5 days. Add a slice of bread to the container to keep them soft. The bread will harden, but the cookies will stay chewy. It’s a classic baker’s trick.
Variations & Substitutions
Once you’ve nailed the basic version, here’s how you can mix it up. I’ve tried all of these.
Chocolate Chip Twist
Fold in ½ cup of chocolate chips after mixing the dough. The caramel flavor of the brown sugar pairs perfectly with dark chocolate. It’s like a cookie version of those brown sugar bourbon pecan pie bars but in cookie form.
Pumpkin Spice Snickerdoodle
Add 2 tablespoons of pumpkin puree and increase the cinnamon to 2 teaspoons. This is great for fall. It’s similar to the vibe of gluten-free fall pumpkin snickerdoodle bars but as a drop cookie.
Gluten-Free Version
Use a 1:1 gluten-free flour blend. Make sure it contains xanthan gum, or add ½ teaspoon. The texture will be slightly more crumbly but still delicious.
Vegan Option
Use vegan butter sticks and a flax egg (1 tablespoon ground flaxseed mixed with 3 tablespoons water). The flavor will be slightly different, but still good. These fall molasses ginger cookies are also a great vegan-friendly option if you want something spicier.
Add-ins
Try adding toasted pecans or walnuts for crunch. Or a drizzle of caramel sauce after baking. The possibilities are endless.
Serving & Storage
These cookies are best served warm, straight from the oven. I usually pair them with a cold glass of milk, but they’re also great with coffee or tea. For a fancier presentation, serve them on a plate with a dollop of whipped cream or a scoop of vanilla ice cream. It’s like a deconstructed dessert.
Storage Instructions:
Store in an airtight container at room temperature for up to 5 days. They freeze beautifully too! Place them in a freezer-safe bag for up to 3 months. Thaw at room temperature for 30 minutes before eating.
Reheating:
If you want that fresh-baked taste, microwave a cookie for 10-15 seconds. It will be soft and gooey again. Or bake at 350°F for 3-4 minutes.
Meal Prep:
You can portion the dough balls and freeze them on a baking sheet. Once frozen, transfer to a bag. Bake straight from frozen, adding 1-2 minutes to the bake time. This is perfect for having fresh cookies on demand.
Nutrition Information
I’m not a nutritionist, but here’s the breakdown if you’re tracking. Keep in mind that these are rich cookies, so moderation is key.
| Nutrient | Per Cookie (approx.) |
|---|---|
| Calories | 180 |
| Fat | 9g |
| Carbs | 24g |
| Sugar | 16g |
| Protein | 2g |
| Fiber | 0.5g |
These cookies are higher in sugar and fat due to the butter and brown sugar. They’re a treat, not a health food. But homemade is always better than store-bought because you know exactly what’s in it. If you want to lighten it up, you can reduce the sugar by 2 tablespoons, though the texture will change slightly.
Final Thoughts
So that’s my go-to chewy brown sugar snickerdoodle cookies! I’ve probably talked your ear off at this point, but when you make a recipe this often, you have a lot to say about it.
This has saved weeknight desserts more times than I can count. It’s my answer to “what’s for dessert?” when I’m tired, don’t want takeout, and still want something that tastes really good. My kids are happy, my husband’s happy, and I’m happy because I’m not stressed about cooking.
Make it yours! Try different add-ins, swap in your favorite spices, adjust the cinnamon to your taste. The best recipes are the ones you adapt to your family’s tastes.
If you make this, drop a comment and let me know what you think! I love hearing how recipes turn out in your kitchen. And if something doesn’t work, tell me that too—I’m here to help troubleshoot.
Happy baking! And I hope your kitchen smells half as good as mine does right now.
Frequently Asked Questions
Can I use light brown sugar instead of dark?
Yes, you can. Dark brown sugar has more molasses, which gives a deeper flavor and chewier texture. Light brown sugar will work, but the cookies will be milder in flavor and slightly less chewy. If you want that deep caramel taste, stick with dark.
Why did my cookies spread too much?
This usually means the butter was too soft or melted, or the oven wasn’t hot enough. Make sure your butter is softened, not liquid. Also, check your oven temperature with a thermometer—ovens can be inaccurate. If your cookies are still spreading, chill the dough before baking.
Can I freeze the dough?
Absolutely! Portion the dough into balls, freeze them on a baking sheet, then transfer to a bag. Bake straight from frozen, adding 1-2 minutes to the bake time. This is great for having fresh cookies on demand.
What if I don’t have cream of tartar?
You can substitute with 1 ½ teaspoons of baking powder. The flavor won’t be quite the same (snickerdoodles have a slight tang from the cream of tartar), but the texture will still be soft and chewy. It’s a good backup option.
How do I store leftovers?
Store in an airtight container at room temperature for up to 5 days. Add a slice of bread to keep them soft. They also freeze well for up to 3 months.
Can I make these gluten-free?
Yes, use a 1:1 gluten-free flour blend. Make sure it contains xanthan gum, or add ½ teaspoon. The texture will be slightly more crumbly but still delicious.
Why are my cookies dry?
You probably overbaked them or used too much flour. Pull them when they still look slightly undercooked in the center. Also, measure your flour correctly—spoon and level, don’t scoop. And don’t overmix the dough.
Pin This Recipe!
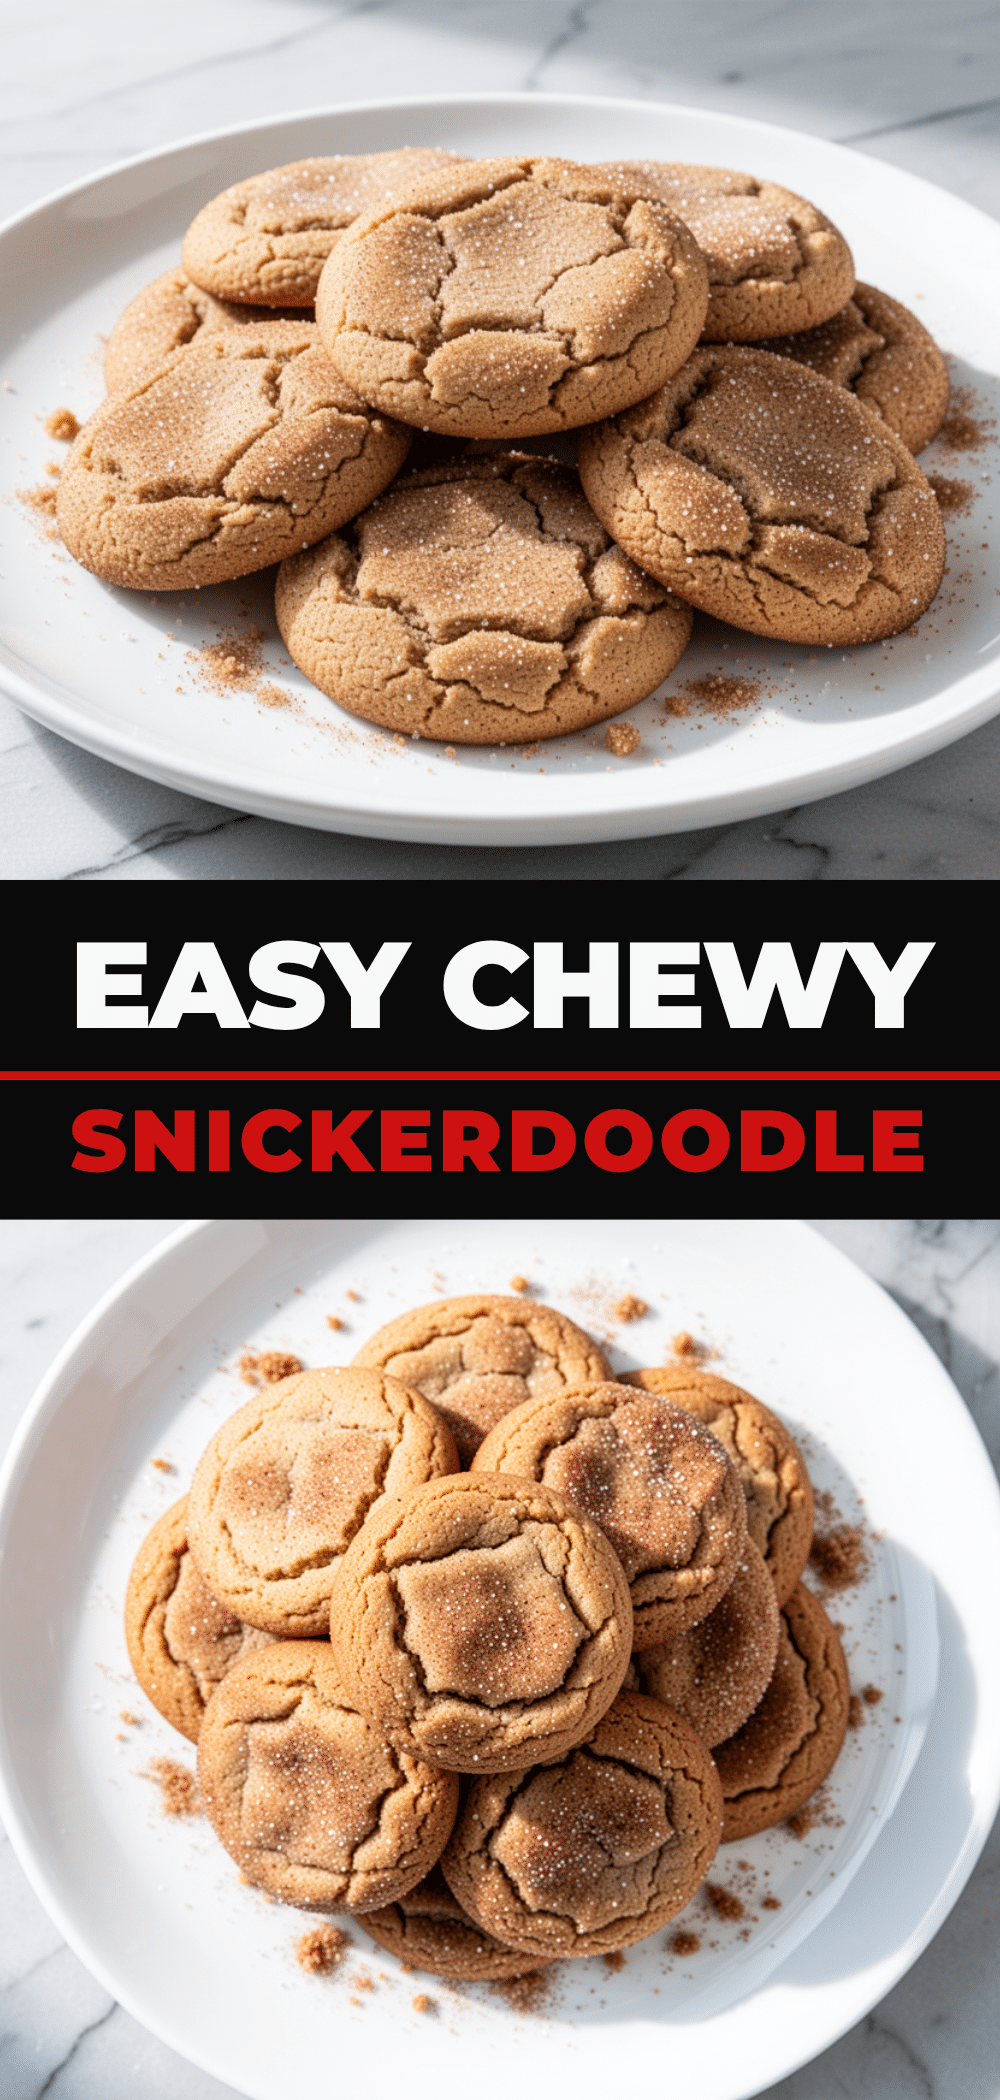

Chewy Brown Sugar Snickerdoodle Cookies
- Total Time: 30 minutes
- Yield: Approximately 24 cookies 1x
Description
Soft, chewy, and deeply flavored snickerdoodle cookies made with brown sugar and cinnamon. This simple 5-ingredient style recipe comes together in one bowl in under 30 minutes, making it the perfect weeknight treat.
Ingredients
- 1 cup (226g) unsalted butter, softened to room temperature
- 1 cup (200g) granulated white sugar
- 1 cup (220g) packed brown sugar (dark preferred)
- 1 large egg, room temperature
- 2 teaspoons pure vanilla extract
- 2 ½ cups (315g) all-purpose flour
- 1 teaspoon baking soda
- 1 teaspoon cream of tartar
- ½ teaspoon salt
- 2 tablespoons granulated sugar (for coating)
- 1 teaspoon ground cinnamon (for coating)
Instructions
- Preheat oven to 350°F (175°C). Line baking sheets with parchment paper.
- In a large bowl, combine softened butter, granulated sugar, and brown sugar. Mix vigorously with a wooden spoon or spatula for 2-3 minutes until smooth and combined.
- Add the egg and vanilla extract to the butter mixture. Stir until fully incorporated.
- In a separate small bowl, whisk together the flour, baking soda, cream of tartar, and salt.
- Add the dry ingredients to the wet ingredients. Stir gently until just combined. Do not overmix.
- Roll the dough into tablespoon-sized balls. In a small bowl, mix the 2 tablespoons of sugar with the cinnamon. Roll each dough ball in the cinnamon-sugar mixture to coat.
- Place coated dough balls on the prepared baking sheets, leaving about 2 inches between each cookie.
- Bake for 10-12 minutes, or until edges are set but centers are still soft. Rotate pan halfway through if needed.
- Let cookies cool on the baking sheet for 5 minutes before transferring to a wire rack to cool completely.
- Serve warm or at room temperature.
Notes
For best results, use room temperature butter and do not overmix the dough. If cookies spread too much, chill the dough for 30 minutes before baking. Store in an airtight container with a slice of bread to maintain softness for up to 5 days.
- Prep Time: 5 minutes
- Cook Time: 10-12 minutes
- Category: Dessert
- Cuisine: American
Nutrition
- Serving Size: 1 cookie
- Calories: 180
- Sugar: 16
- Sodium: 120
- Fat: 9
- Saturated Fat: 5.5
- Carbohydrates: 24
- Fiber: 0.5
- Protein: 2
Keywords: snickerdoodle cookies, brown sugar cookies, chewy cookies, easy cookie recipe, weeknight dessert, one bowl cookies, cinnamon sugar cookies



