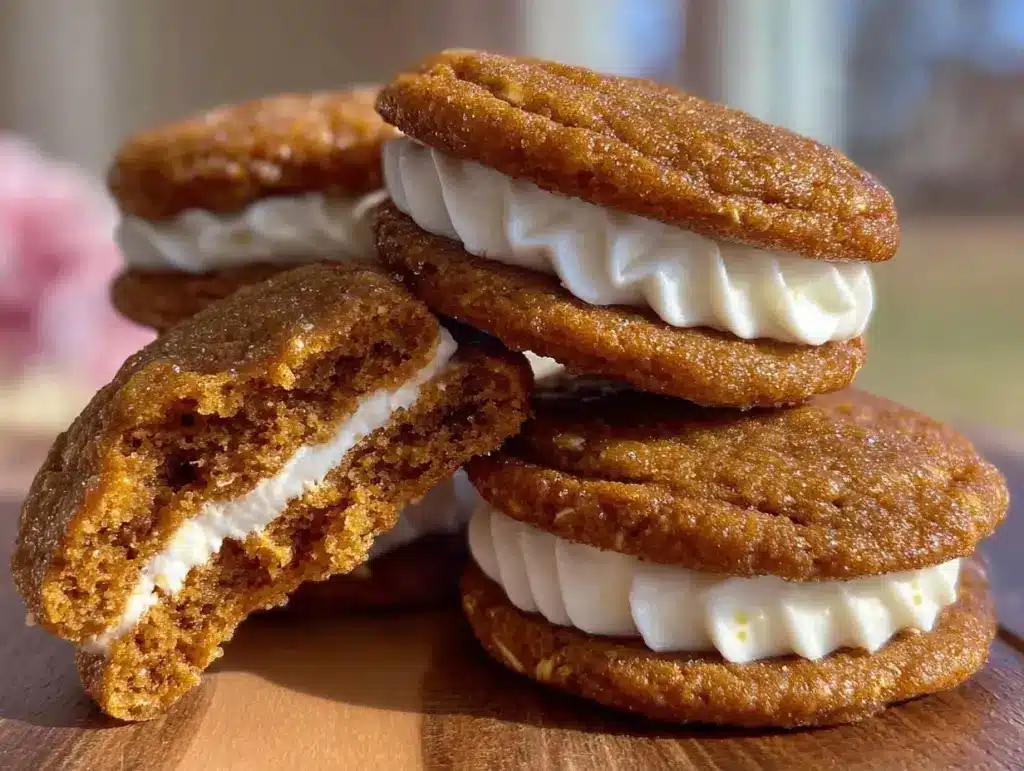
It was 2 AM. My kitchen was dark except for the glow of the oven light, and I was staring at a baking sheet that looked less like cookies and more like a science experiment gone wrong. The first batch had spread into flat, crispy discs because I forgot to chill the dough. The second batch was raw in the middle because I rolled the balls too thin. I was about to give up and order pizza when I remembered a tip from a pastry chef I’d interviewed years ago.
He told me that the secret to that perfect, store-bought texture isn’t in the flour ratio—it’s in the temperature of your butter and your patience with the dough.
I scraped those failed cookies into the compost (don’t judge, it happens to the best of us), chilled the dough for a solid four hours, and baked the third batch. When I pulled them out, they were tall, chewy, and golden at the edges. I split one open, slathered it with that fluffy, sweet marshmallow filling, and took a bite. It tasted exactly like childhood, but better. Richer. Chewier. More intense.
That was three years ago. Since then, I’ve made these chewy brown sugar oatmeal cream pies for every holiday, every school bake sale, and every Tuesday night when I just need something sweet to balance out a hard day. They’ve become my go-to comfort dessert. And I’m sharing the one trick that keeps them soft and chewy for days, plus how to make a filling that actually stays fluffy instead of turning into a sticky mess.
Why You’ll Love This Recipe
Let’s be real: baking is hard. It requires precision, timing, and the ability to ignore the fact that you’re covered in flour. But this recipe? It’s forgiving. It’s reliable. And the result is absolutely worth the effort.
Here’s why these brown sugar oatmeal cream pies have taken over my kitchen (and hopefully yours):
- Actually Chewy, Not Crispy — Most oatmeal cookie recipes end up crunchy. These stay soft and chewy for days if stored properly. I’ve had leftovers from Thursday that were still pillowy soft on Sunday.
- Marshmallow Filling That Doesn’t Suck — I’ve tried making filling with melted marshmallows (too sticky), buttercream (too sweet, cloying), and whipped cream (deflates instantly). This recipe uses a stabilized marshmallow fluff method that stays light, airy, and holds its shape.
- One-Bowl Dough — Seriously. You mix the wet ingredients, add the dry, fold in the oats. No fancy stand mixer needed. I use a wooden spoon 90% of the time.
- Impressive Factor — When I bring these to a dinner party, people assume I bought them at a fancy bakery. They don’t expect homemade cookies to look this professional. It’s a huge ego boost for a home cook.
- Make-Ahead Friendly — You can bake the cookies days in advance and store them separately. Assemble right before serving for the best texture. Or freeze the assembled pies for later snacking.
This is the kind of recipe that makes you feel like a baking wizard. You don’t need to be a pro. You just need to follow the steps and trust the process.
Ingredients You’ll Need
Before we dive in, let’s talk about what’s going into these cookies. I’m particular about a few things here, and I’ll tell you why.
For the Chewy Oatmeal Cookies
Unsalted butter (1 cup / 226g) — Room temperature. This is crucial. If your butter is too cold, it won’t cream properly with the sugar. If it’s melted, the cookies will spread too much. I take my butter out of the fridge about an hour before baking. If I’m in a rush, I cut it into cubes and microwave it for 10-second bursts until it yields to gentle pressure.
Dark brown sugar (1 ½ cups / 300g) — Pack it down. Dark brown sugar has more molasses, which adds that deep, caramel-like flavor and keeps the cookies chewy. Light brown sugar works, but the flavor is milder. I always keep a bag of dark brown sugar stocked specifically for this recipe.
Granulated sugar (½ cup / 100g) — This helps with the slight crispness on the edges while keeping the center soft. Don’t skip it. It balances the richness of the brown sugar.
Eggs (2 large) — Room temperature. Cold eggs can seize up your butter mixture. I usually have eggs sitting on the counter for an hour before I start.
Vanilla extract (2 teaspoons) — Use real vanilla. I’m not being pretentious; it makes a noticeable difference in flavor depth. I use Nielsen-Massey, but any good quality extract works.
All-purpose flour (2 ¼ cups / 280g) — Spoon and level. Don’t scoop directly from the bag, or you’ll pack in too much flour and get dry cookies. I use the spoon-and-level method every time.
Baking soda (1 teaspoon) — Freshness matters. If your baking soda has been in the pantry for two years, it might not work. Test it by dropping a little in vinegar—it should fizz vigorously.
Salt (1 teaspoon) — Enhances all the flavors. Don’t skimp.
Rolled oats (2 cups / 160g) — Old-fashioned rolled oats. Not instant oats, not steel-cut. Rolled oats give that classic chewy texture. I buy the store-brand large flakes; they’re cheaper and work perfectly.
Chopped walnuts or pecans (½ cup / 60g) — Optional, but I recommend it. The nuts add a nice crunch and bitterness to balance the sweetness. If you’re allergic or just don’t like nuts, skip them.
For the Marshmallow Filling
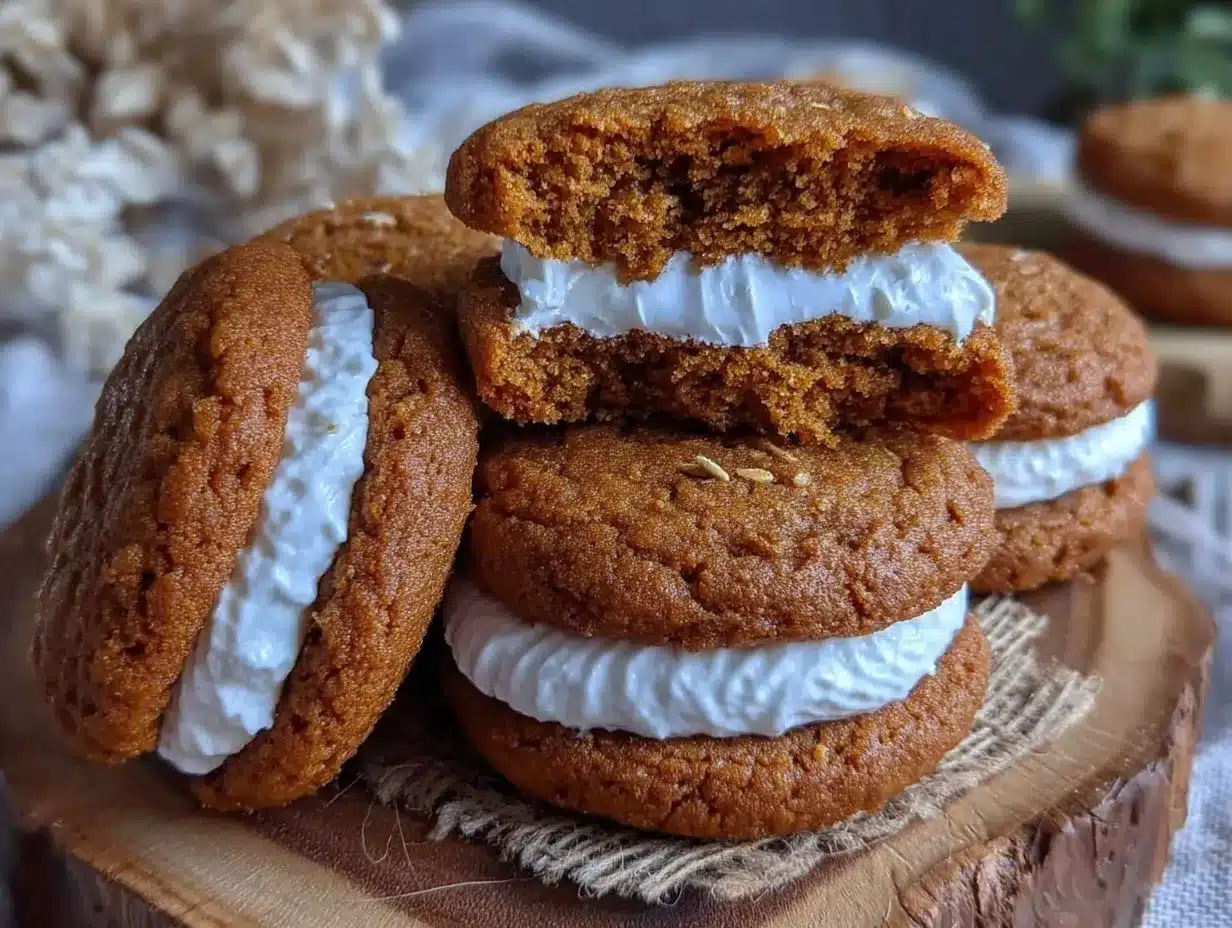
Marshmallows (10 oz / 280g) — Standard white marshmallows. I buy the big bag, not the fancy ones. They melt more evenly.
Unsalted butter (2 tablespoons / 28g) — Softened. This adds richness and helps stabilize the fluff.
Powdered sugar (2 cups / 240g) — Sifted. This prevents lumps in your filling. I use a small sieve and tap it over the bowl.
Vanilla extract (1 teaspoon) — For flavor.
Salt (pinch) — Just a pinch to cut the sweetness.
Equipment Needed
You don’t need anything fancy. Here’s what I actually use:
Large mixing bowl — I use a 5-quart stainless steel bowl. It’s sturdy and easy to clean.
Hand mixer or stand mixer — For creaming the butter and sugars. A hand mixer works fine if you don’t have a stand mixer. I’ve made this with a cheap $20 hand mixer from Target.
Rubber spatula — For folding in the oats. Silicone spatulas are best because they scrape the bowl clean.
Baking sheets — 2 large sheets. I use half-sheet pans. Dark metal pans are fine, but light aluminum ones prevent over-browning.
Parchment paper — Line your baking sheets. Cleanup is so much easier, and the cookies don’t stick.
Offset spatula — For spreading the filling. A butter knife works too, but an offset spatula gives you more control.
Cooling rack — Essential. Don’t skip this. Hot cookies will melt the filling if you assemble them immediately.
How to Make It: Step-by-Step
Alright, let’s make these! I’m walking you through exactly how I do it, including the little tricks I’ve picked up over the years.
Step 1: Cream the Butter and Sugars (5 minutes)
In a large bowl, beat the room-temperature butter, dark brown sugar, and granulated sugar together on medium-high speed. This is where the magic happens. You’re incorporating air into the butter, which helps the cookies rise and stay tender. Beat for about 3-4 minutes until the mixture is light, fluffy, and pale in color. It should look like whipped frosting. If it looks dense or yellow, keep beating. This step takes patience, but it’s worth it.
Step 2: Add Eggs and Vanilla (2 minutes)
Add the eggs one at a time, beating well after each addition. Scrape down the sides of the bowl with your spatula to make sure everything is incorporated. Add the vanilla extract. The mixture should be smooth and glossy.
Step 3: Mix Dry Ingredients (1 minute)
In a separate bowl, whisk together the flour, baking soda, and salt. You’re just distributing the leavening agent evenly. No need to overmix here.
Step 4: Combine Wet and Dry (2 minutes)
Gradually add the dry ingredients to the wet ingredients, mixing on low speed. Stop as soon as the flour disappears. Overmixing at this stage develops gluten, which makes cookies tough. You want tender, not chewy-chewy (yet).
Step 5: Fold in Oats and Nuts (2 minutes)
Switch to your rubber spatula. Fold in the rolled oats and chopped nuts until evenly distributed. The dough will look thick and chunky. This is normal.
Step 6: Chill the Dough (4 hours or overnight)
This is the one trick. Cover the bowl with plastic wrap and refrigerate for at least 4 hours, or preferably overnight. Chilling the dough solidifies the fat, which prevents the cookies from spreading too much in the oven. It also allows the flour to hydrate fully, resulting in a deeper, richer flavor. I know it’s tempting to bake them right away, but trust me—chilled dough makes better cookies. I learned this the hard way with my first batch (see the 2 AM story above).
Step 7: Scoop and Bake (15 minutes)
Preheat your oven to 350°F (175°C). Line baking sheets with parchment paper. Scoop the dough into 2-tablespoon balls (a cookie scoop is ideal, but two spoons work). Place them 2 inches apart on the baking sheets. Bake for 10-12 minutes, or until the edges are golden but the centers still look slightly soft and underdone. They will firm up as they cool. Do not overbake!
Step 8: Cool Completely
Let the cookies cool on the baking sheet for 5 minutes, then transfer them to a cooling rack. Let them cool completely to room temperature. This is non-negotiable. Warm cookies will melt the filling.
Step 9: Make the Marshmallow Filling
While the cookies cool, make the filling. In a microwave-safe bowl, combine the marshmallows and 2 tablespoons of butter. Microwave in 30-second intervals, stirring in between, until completely smooth and melted. This takes about 1-2 minutes total. Alternatively, you can melt them in a double boiler on the stove.
Let the mixture cool for 5 minutes until it’s warm but not hot. Then, beat in the sifted powdered sugar, vanilla, and salt using a hand mixer on medium speed. Beat for 2-3 minutes until the filling is thick, fluffy, and holds stiff peaks. It should look like a marshmallow fluff. If it’s too thin, add more powdered sugar. If it’s too thick, add a teaspoon of milk.
Step 10: Assemble the Cream Pies
Take two cooled cookies of similar size. Spread about 1-2 tablespoons of filling on the flat side of one cookie. Press the second cookie on top to form a sandwich. Gently press the sides to seal. Repeat with remaining cookies. You’ll get about 12-15 cream pies, depending on how generous you are with the filling.
Pro Tip: If you’re worried about the filling squishing out the sides, chill the assembled pies in the fridge for 30 minutes before serving. It sets the filling and makes them easier to handle.
Expert Tips & Tricks
Here’s everything I’ve learned from making this recipe dozens of times. These tips will save you from my mistakes.
The Chill is Non-Negotiable
I can’t stress this enough. If you skip chilling, your cookies will spread into flat pancakes. I’ve made this recipe without chilling once, and the texture was completely different—crispier and less flavorful. The chill allows the flavors to meld and the structure to set. If you’re short on time, freeze the dough balls for 30 minutes instead.
Underbake Slightly
The cookies should look soft in the center when you pull them out of the oven. They continue to cook on the hot baking sheet. If you wait until they look firm in the oven, they’ll be hard when they cool. I like them soft and chewy, so I pull them when the edges are just turning golden.
Use a Cookie Scoop
Uniform size means uniform baking. If you scoop by hand, some cookies will be huge and others tiny. A #40 cookie scoop (about 2 tablespoons) gives you perfect consistency. It also speeds up the process.
Don’t Overmix the Dough
Once you add the flour, mix until just combined. Overmixing develops gluten, which leads to tough cookies. It’s okay if there are a few streaks of flour left; they’ll disappear when you fold in the oats.
Store Properly
Store assembled cream pies in an airtight container at room temperature for up to 5 days. If your kitchen is humid, they might get soft faster. In that case, store them in the fridge. They’ll last up to 2 weeks refrigerated. Let them come to room temperature before eating for the best texture.
Freezing Success
You can freeze the baked cookies (unfilled) for up to 3 months. Thaw at room temperature before filling. You can also freeze the assembled pies! Place them on a baking sheet in the freezer until solid, then transfer to a freezer bag. They’ll keep for 3 months. Thaw in the fridge overnight. The texture might be slightly softer, but they’re still delicious.
Variations & Substitutions
Once you’ve nailed the basic version, here’s how you can mix it up. I’ve tried all of these.
Chocolate Chip Version
Add 1 cup of semi-sweet chocolate chips to the dough along with the oats. This is my husband’s favorite variation. The chocolate pairs beautifully with the brown sugar.
Pumpkin Spice Variation
Add 1 teaspoon pumpkin pie spice to the dry ingredients, and fold in ½ cup of canned pumpkin puree (drained of excess moisture) with the oats. This is perfect for fall. It’s similar to the flavor profile of my fall molasses ginger cookies, which are also great for autumn baking.
White Chocolate Macadamia
Replace the walnuts with chopped macadamia nuts and fold in ½ cup of white chocolate chips. It’s richer and sweeter. Great for special occasions.
Gluten-Free Option
Use a 1:1 gluten-free flour blend (like Bob’s Red Mill or King Arthur). The texture might be slightly more crumbly, but it still works. I’ve tested this with several brands, and the 1:1 blends are the most reliable.
Dairy-Free Version
Use dairy-free butter (like Miyoko’s or Earth Balance) and dairy-free marshmallows (many brands now offer them). The filling might be slightly less stable, but it’s still tasty. I’ve made this for my dairy-free friend, and she loved them.
Nut-Free
Simply omit the nuts. The cookies are still delicious without them. If you want crunch, add extra oats or a tablespoon of toasted coconut flakes.
Serving & Storage
How to Serve:
I usually serve these plain, but if I want to dress them up, I dust them with a little powdered sugar or drizzle them with melted chocolate. They’re also great with a glass of cold milk or a cup of coffee. I pair them with my fall brown butter sage gnocchi for a cozy dinner party menu, where the savory main course contrasts nicely with the sweet dessert.
Side Dishes:
These are a dessert, so they don’t need sides. But if you’re having a bake sale, I’ve seen them paired with hot chocolate or apple cider. Both are classic pairings.
Storage Instructions:
Store in an airtight container at room temperature for up to 5 days. If your kitchen is hot or humid, store them in the fridge. They’ll last up to 2 weeks refrigerated. Let them come to room temperature before eating for the best texture.
Freezing:
Freeze baked cookies (unfilled) for up to 3 months. Freeze assembled pies for up to 3 months. Thaw at room temperature. Do not refreeze after thawing, as the texture will suffer.
Pro Tip:
If the filling gets too soft from room temperature, chill the pies for 15 minutes before serving. It firms up the filling and makes them easier to eat without a mess.
Nutrition Information
I’m not a nutritionist, but here’s the breakdown if you’re tracking. Keep in mind, these are estimates based on standard ingredients.
Per Serving (1 cream pie, based on 15 pies):
- Calories: 380
- Protein: 4g
- Carbs: 52g
- Fiber: 1g
- Sugar: 38g
- Fat: 18g
- Saturated Fat: 9g
- Cholesterol: 35mg
- Sodium: 220mg
What’s Good:
– Contains oats, which offer some fiber and sustained energy.
– Made with real butter and vanilla, not artificial flavors.
– Can be customized with nuts for added protein and healthy fats.
What to Know:
– High in sugar due to the brown sugar and marshmallow filling.
– Contains dairy and gluten (unless modified).
– Moderate calories, but very satisfying, so a little goes a long way.
My Take:
Look, these are treats. They’re not health food. But they’re homemade, so you know exactly what’s in them. I make these in moderation, and they’re worth every calorie. When I want to make them lighter, I reduce the sugar in the filling by ¼ cup and add more oats to the dough. It’s still sweet, just slightly less so.
Final Thoughts
So that’s my recipe for chewy brown sugar oatmeal cream pies! I’ve talked your ear off about chilling the dough, but when you make a recipe this often, you have a lot to say about what works.
This has saved my dessert game more times than I can count. It’s my answer to “what should I bring to the party?” when I want to impress but don’t have hours to bake. My kids love them, my friends beg for the recipe, and I love them because they’re nostalgic yet elevated.
Make it yours! Try different nuts, add chocolate chips, or change up the filling. The best recipes are the ones you adapt to your tastes. And remember, the one trick that makes the difference is patience. Chill the dough. Underbake slightly. Let everything cool. Your future self will thank you.
If you make these, drop a comment and let me know what you think! I love hearing how recipes turn out in your kitchen. And if something doesn’t work, tell me that too—I’m here to help troubleshoot. Happy baking!
Frequently Asked Questions
Can I use instant oats instead of rolled oats?
You can, but the texture will be different. Instant oats are thinner and will make the cookies less chewy and more cake-like. I recommend sticking with old-fashioned rolled oats for that classic oatmeal cookie texture. If you must use instant, reduce the amount slightly so the dough isn’t too dry.
Why did my cookies spread too much?
This usually happens for three reasons: the butter was too warm, the dough wasn’t chilled, or the baking powder/soda was old. Make sure your butter is room temperature (soft but not melted), chill the dough for at least 4 hours, and check the expiration date on your leavening agents. My first batch spread because I was impatient and skipped the chill. Don’t make my mistake!
Can I make the filling ahead of time?
Yes, but it’s best made fresh. Marshmallow fluff can deflate or separate if stored for too long. I usually make it the day before and store it in the fridge in an airtight container. Let it come to room temperature and give it a quick whisk before using. It should still be fluffy.
How do I keep the filling from oozing out?
Use a moderate amount of filling—about 1-2 tablespoons per pie. Don’t overfill. Also, make sure the cookies are completely cool before assembling. Warm cookies will melt the filling, causing it to slide out. If you’re worried about mess, chill the assembled pies in the fridge for 30 minutes before serving.
Can I freeze these cream pies?
Absolutely. Freeze the assembled pies on a baking sheet until solid, then transfer to a freezer bag. They’ll keep for up to 3 months. Thaw at room temperature. The texture might be slightly softer, but they’re still delicious. I do this all the time when I have extra cookies.
What if I don’t have a hand mixer?
You can mix the dough by hand with a sturdy spoon or spatula. It will take more elbow grease, but it works. For the filling, you’ll need to beat the marshmallows and powdered sugar vigorously. A whisk works, but it takes longer. If you have a stand mixer, use it on medium speed.
Can I use light brown sugar instead of dark brown sugar?
Yes, but the flavor will be milder. Dark brown sugar has more molasses, which gives that deep, caramel-like taste. If you only have light brown sugar, it’s fine, but the cookies won’t have quite as rich a flavor. I always keep dark brown sugar on hand for this recipe.
Pin This Recipe!
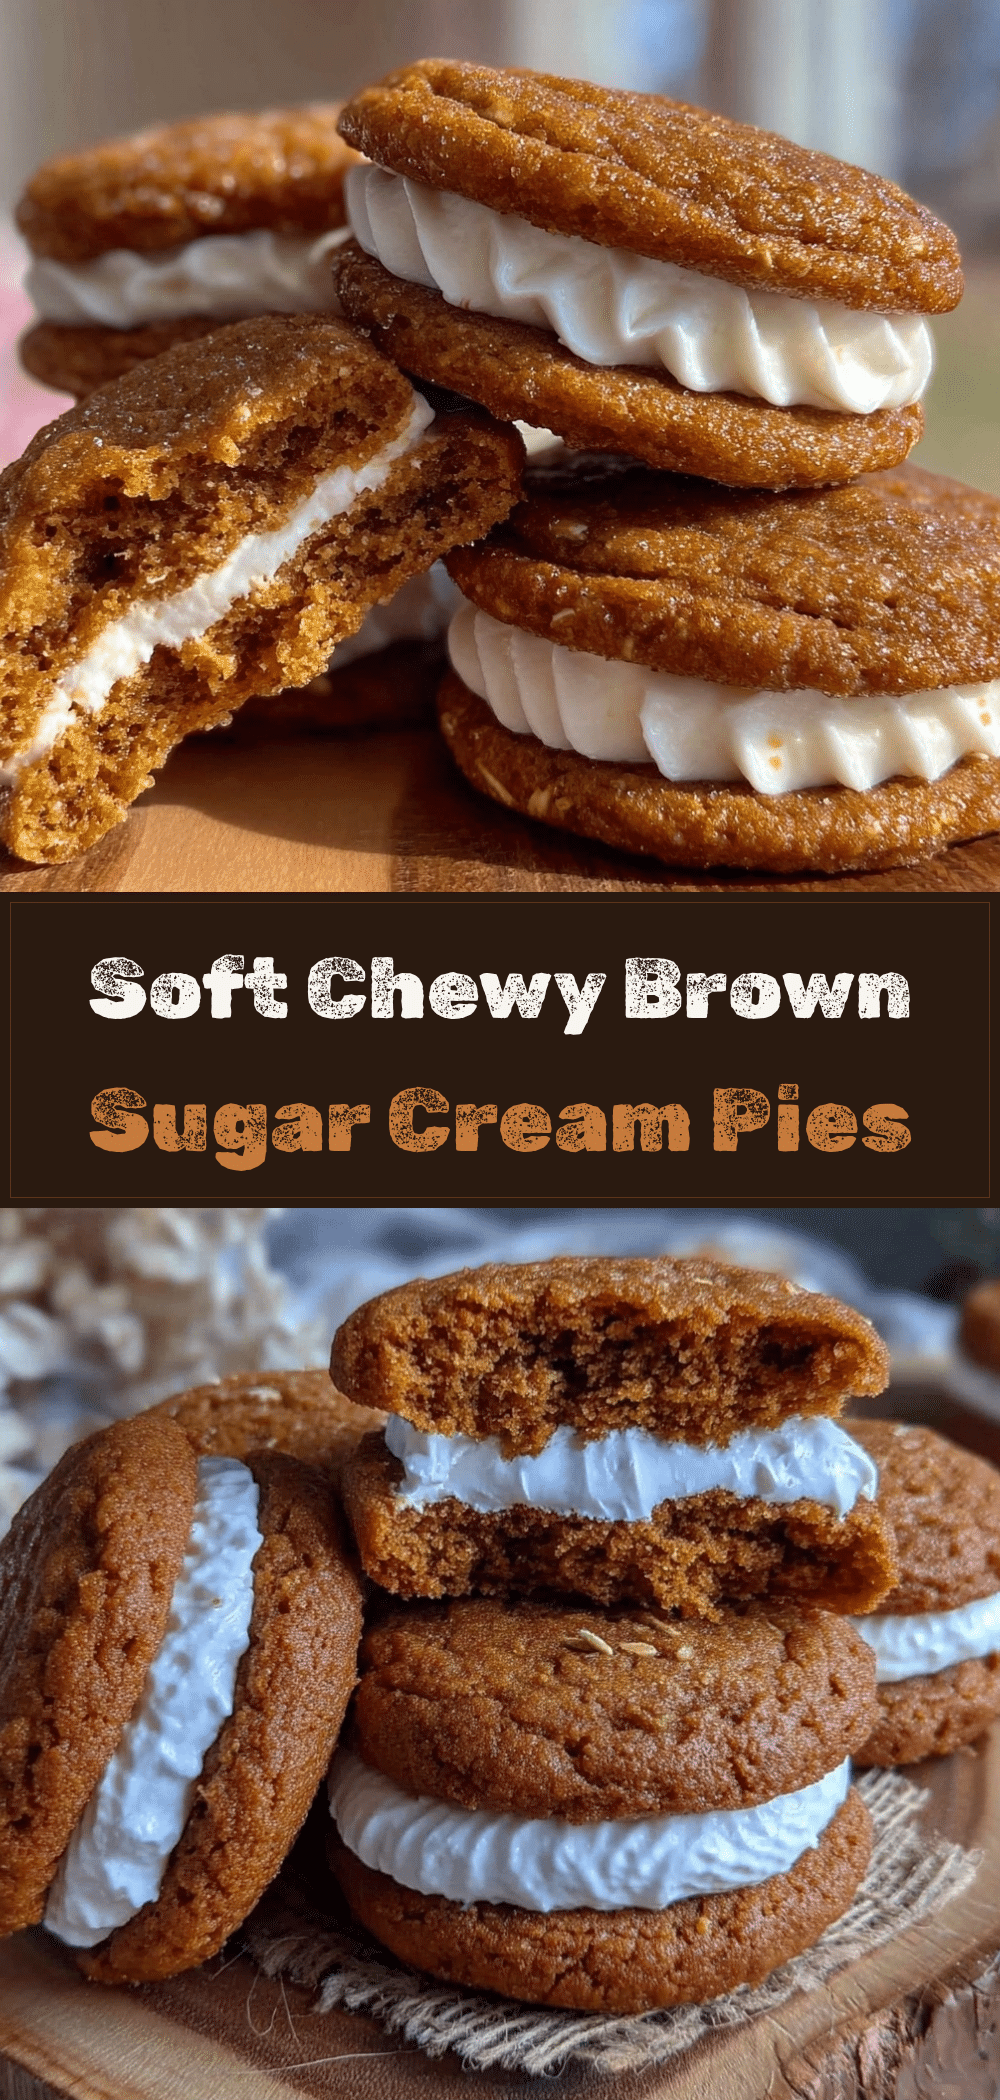
Chewy Brown Sugar Oatmeal Cream Pies
- Total Time: 4 hours 45 minutes
- Yield: 15 servings 1x
Description
Soft, chewy oatmeal cookies sandwiched with a fluffy, stabilized marshmallow filling. The secret to perfect texture is chilling the dough and underbaking slightly.
Ingredients
- 1 cup (226g) unsalted butter, room temperature
- 1 ½ cups (300g) dark brown sugar, packed
- ½ cup (100g) granulated sugar
- 2 large eggs, room temperature
- 2 teaspoons vanilla extract
- 2 ¼ cups (280g) all-purpose flour
- 1 teaspoon baking soda
- 1 teaspoon salt
- 2 cups (160g) old-fashioned rolled oats
- ½ cup (60g) chopped walnuts or pecans (optional)
- 10 oz (280g) standard white marshmallows
- 2 tablespoons (28g) unsalted butter, softened (for filling)
- 2 cups (240g) powdered sugar, sifted
- 1 teaspoon vanilla extract (for filling)
- Pinch of salt (for filling)
Instructions
- In a large bowl, beat room-temperature butter, dark brown sugar, and granulated sugar on medium-high speed for 3-4 minutes until light, fluffy, and pale.
- Add eggs one at a time, beating well after each addition. Scrape down the bowl and add 2 teaspoons vanilla extract.
- In a separate bowl, whisk together flour, baking soda, and salt.
- Gradually add dry ingredients to wet ingredients on low speed, mixing just until flour disappears.
- Fold in rolled oats and chopped nuts with a rubber spatula until evenly distributed.
- Cover dough and refrigerate for at least 4 hours or overnight.
- Preheat oven to 350°F (175°C). Line baking sheets with parchment paper.
- Scoop dough into 2-tablespoon balls and place 2 inches apart on sheets.
- Bake for 10-12 minutes until edges are golden but centers look slightly soft.
- Let cookies cool on baking sheet for 5 minutes, then transfer to a cooling rack to cool completely.
- While cookies cool, microwave marshmallows and 2 tablespoons butter in 30-second intervals until smooth. Let cool for 5 minutes.
- Beat in sifted powdered sugar, 1 teaspoon vanilla, and pinch of salt until thick and fluffy.
- Spread 1-2 tablespoons filling on one cookie and top with another to form a sandwich.
Notes
Chilling the dough is non-negotiable for preventing spreading and ensuring chewiness. Underbake slightly for soft centers. Store in an airtight container at room temperature for up to 5 days. Can be frozen for up to 3 months.
- Prep Time: 30 minutes
- Cook Time: 15 minutes
- Category: Dessert
- Cuisine: American
Nutrition
- Serving Size: 1 cream pie
- Calories: 380
- Sugar: 38
- Sodium: 220
- Fat: 18
- Saturated Fat: 9
- Carbohydrates: 52
- Fiber: 1
- Protein: 4
Keywords: oatmeal cream pies, chewy cookies, marshmallow filling, brown sugar cookies, homemade cookies, dessert recipe



