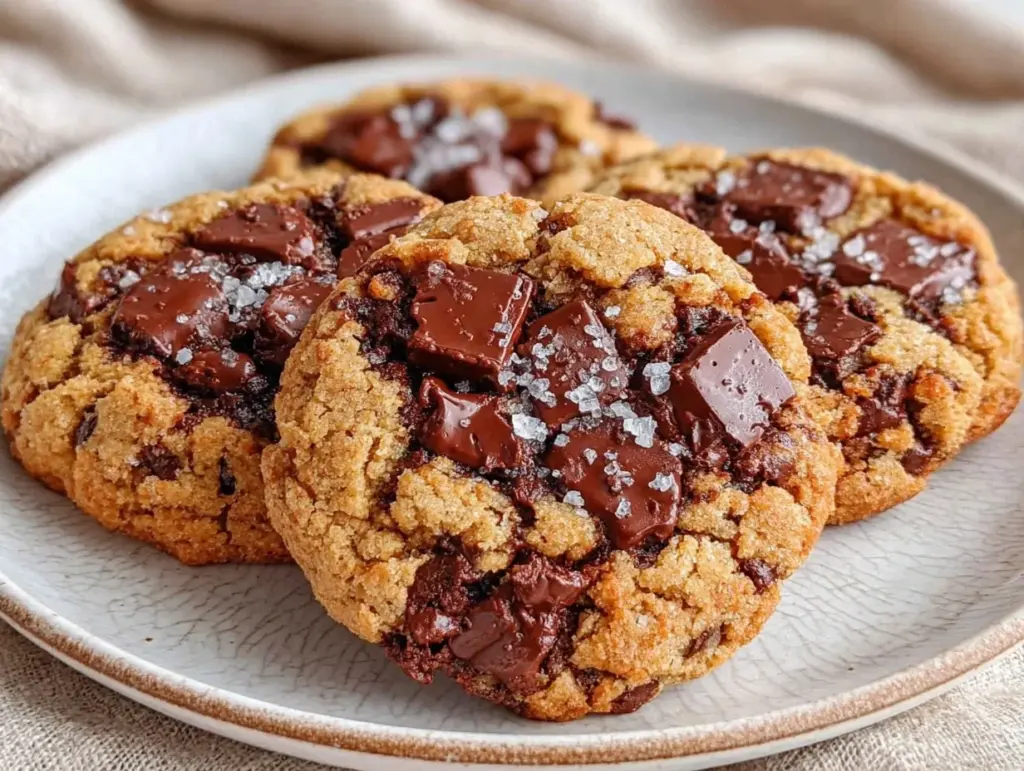
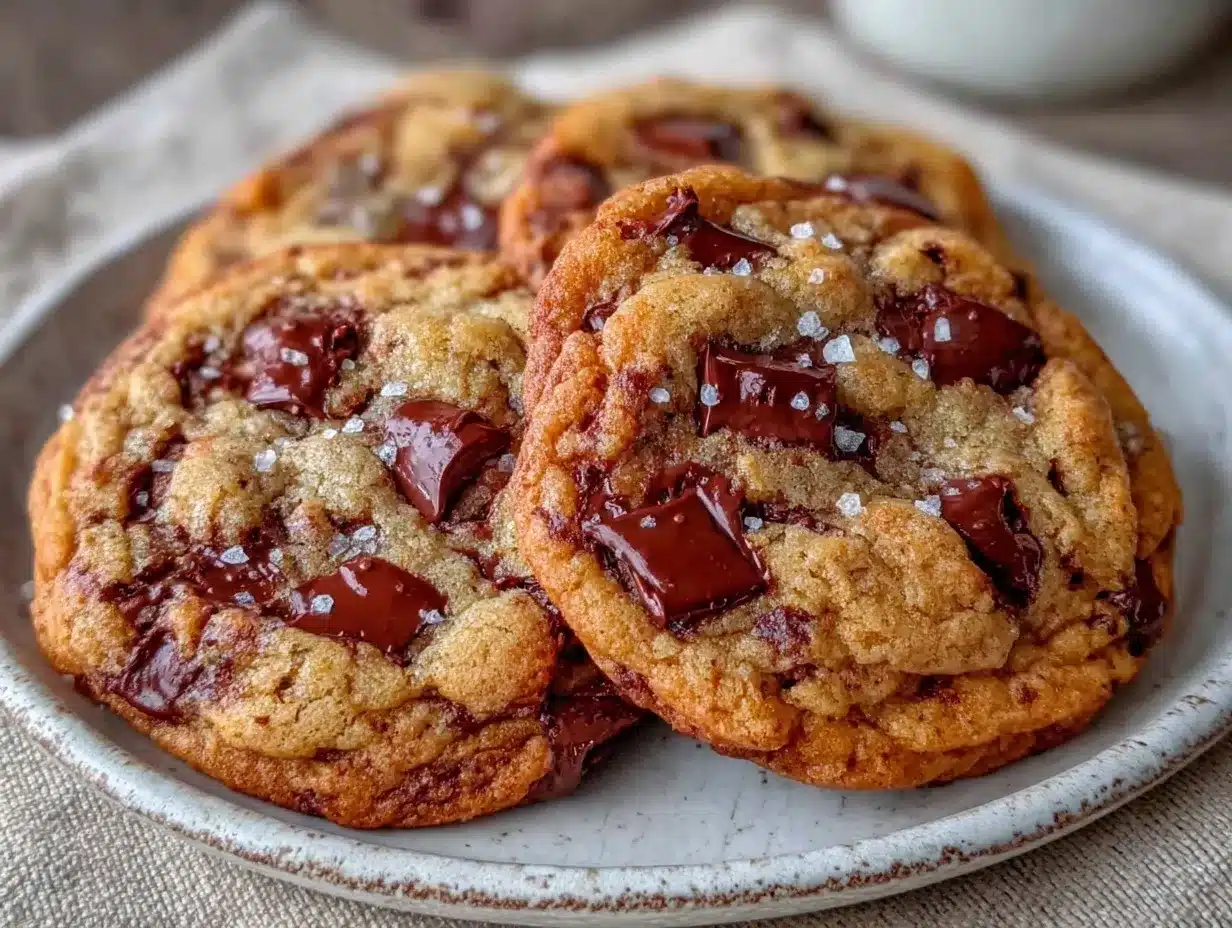
I have a confession to make. For years, I was a cookie baker who only made one kind: the thin, crispy, almost burnt-edge variety that shattered when you picked it up. I thought that’s what chocolate chip cookies were supposed to be. Then I tried my friend Sarah’s brown butter cookies. One bite, and my whole worldview shifted. They weren’t just cookies; they were clouds of toasty, nutty, gooey perfection.
But here’s the problem with brown butter cookies: most recipes are intimidating. They ask you to watch a pot of butter like a hawk, whisk constantly, and wait hours for dough to chill. For a beginner, that’s a lot of pressure. I wanted that incredible depth of flavor without the stress. I wanted a recipe that was forgiving, simple, and impossible to mess up.
So, I tested this chewy brown butter chocolate chip cookie recipe about twenty times. I tweaked the ratios, changed the chilling time, and experimented with different sugars. The result? A cookie that is deeply flavorful, perfectly chewy in the center, and crisp at the edges, but requires minimal effort. You really can’t mess this up. If you can only make one dessert this weekend, make this. It’s foolproof, it’s delicious, and it’s going to make you feel like a baking pro.
Why You’ll Love This Chewy Brown Butter Chocolate Chip Cookie Recipe
This isn’t just another cookie recipe. It’s the one that will replace your standard go-to. Here’s why this version sticks around in my kitchen (and your fridge):
- Maximum Flavor, Minimal Effort — Brown butter adds a nutty, caramel-like depth that regular melted butter just can’t match. But you don’t need fancy techniques. Just melt the butter and let it sit for five minutes. That’s it.
- Perfectly Chewy Texture — I’ve struggled with cookies that are either too cakey or too hard. This recipe uses a higher ratio of brown sugar to white sugar, which keeps them soft and chewy for days. They stay fresh even after a week.
- Beginner-Friendly Steps — No complex creaming methods or temperature puzzles. You mix wet, mix dry, combine, and scoop. It’s as simple as lemon raspberry cheesecake bars in terms of ease, but with way more indulgence.
- Forgiving Ingredients — You probably have everything on hand. No obscure flours or exotic spices. Just butter, sugars, flour, eggs, and chocolate. If you can’t find brown butter, you can use regular butter, but I promise the difference is worth the extra two minutes.
- Make-Ahead Friendly — You can scoop the dough and freeze it for later, or chill it for an hour if you’re impatient. It’s flexible enough for your schedule, whether you’re baking on a Tuesday or a Sunday.
This is the recipe I reach for when I want to impress guests but don’t want to spend hours in the kitchen. It’s reliable, delicious, and consistently turns out perfect.
Ingredients You’ll Need
This recipe is designed for simplicity. You don’t need a dozen exotic ingredients. Here’s what you’ll need, and why each one matters:
For the Dough
Unsalted Butter (1 cup / 226g) — This is the star. You’ll be browning it first. Use high-quality butter if you can; it makes a noticeable difference in flavor.
Light Brown Sugar (1 cup / 200g, packed) — This is key for chewiness. Dark brown sugar works too, but light gives a milder caramel flavor that pairs well with the brown butter. It adds moisture and keeps the cookies soft.
Granulated White Sugar (½ cup / 100g) — This helps create the crisp edges. Don’t skip it, or the cookies will be too soft and spread too much.
Large Egg (1) — Room temperature is best, but cold works fine. It binds the dough and adds structure.
Egg Yolk (1) — This is the secret weapon for chewiness. The extra fat from the yolk makes the cookies richer and softer. If you’re worried about waste, save the white for an omelet.
Vanilla Extract (2 teaspoons) — Use real vanilla, not imitation. It enhances the nutty flavor of the brown butter.
All-Purpose Flour (2¼ cups / 280g) — Spoon and level this method! Don’t scoop directly from the bag, or you’ll pack in too much flour and get dry cookies. I use Gold Medal flour.
Baking Soda (1 teaspoon) — Helps the cookies spread and brown. Make sure it’s not expired.
Salt (1 teaspoon) — Essential for balancing the sweetness. Use fine sea salt or table salt.
Chocolate Chips (2 cups / 340g) — I use semi-sweet chocolate chips, like Ghirardelli. You can also use chunks for a more rustic look. Avoid chocolate chips with added wax; they don’t melt as nicely.
Equipment Needed
You don’t need fancy gadgets for this. Here’s what I actually use:
- Medium Saucepan — For browning the butter. A light-colored pan helps you see the color change.
- Large Mixing Bowl — For combining the dough.
- Whisk — To beat the butter and sugars together.
- Measuring Cups and Spoons — Standard stuff. Dollar store versions work fine.
- Baking Sheets — Light-colored aluminum sheets work best. Dark sheets can cause over-browning.
- Parchment Paper — Prevents sticking and makes cleanup a breeze.
- Cooling Rack — Optional, but good for letting cookies cool evenly.
Pro Tip: Don’t have a light-colored pan? Use a wooden spoon to stir the butter. It helps you see the milk solids separating.
How to Make It: Step-by-Step
Alright, let’s make these! I’m walking you through exactly how I do it, including the little tricks I’ve picked up.
Step 1: Brown the Butter (5 minutes)
Place your unsalted butter in a medium saucepan over medium heat. Stir it constantly with a wooden spoon. It will melt, foam up, and then start to settle. Watch for little brown specks at the bottom and a nutty aroma. This takes about 5-7 minutes. Once it smells like toasted hazelnuts and looks amber-colored, immediately remove it from the heat. Pour it into a heat-safe bowl to cool slightly. Don’t rush this—burnt butter tastes bitter.
Step 2: Mix the Wet Ingredients (2 minutes)
In a large bowl, whisk together the browned butter, brown sugar, and white sugar until well combined. The mixture will look grainy at first, but that’s okay. Add the egg and egg yolk, and whisk vigorously until the mixture is smooth and glossy. This step is crucial for a chewy texture. Stir in the vanilla extract.
Step 3: Combine Dry Ingredients (1 minute)
In a separate medium bowl, whisk together the flour, baking soda, and salt. This ensures even distribution.
Step 4: Make the Dough (2 minutes)
Gradually add the dry ingredients to the wet ingredients. Mix with a spatula or wooden spoon until just combined. Do not overmix. Fold in the chocolate chips. The dough will be thick and sticky.
Step 5: Chill the Dough (Optional but Recommended)
For best results, cover the bowl and chill the dough in the refrigerator for at least 30 minutes, or up to 24 hours. This step prevents over-spread and intensifies the flavor. If you’re in a hurry, you can skip this, but the cookies will be thinner.
Step 6: Scoop and Bake (12-14 minutes)
Preheat your oven to 350°F (175°C). Line baking sheets with parchment paper. Scoop tablespoon-sized balls of dough onto the sheets, spacing them 2 inches apart. Bake for 12-14 minutes, or until the edges are golden brown but the centers still look slightly underbaked. They will continue to cook on the hot pan.
Step 7: Cool and Serve
Let the cookies cool on the baking sheet for 5 minutes, then transfer to a wire rack to cool completely. Eat them warm for the best texture!
Expert Tips & Tricks
Here’s everything I’ve learned from making this dozens of times. These tips will save you from my mistakes.
Don’t Burn the Butter
The most common mistake is browning the butter too much. It goes from perfect to burnt in seconds. If you smell smoke, start over. The color should be a light amber, like honey.
Spoon and Level the Flour
If you scoop the flour directly from the bag, you’ll pack it down, leading to dry, crumbly cookies. Spoon the flour into your measuring cup and level it off with a knife.
Chill the Dough
I know you want to eat these now, but chilling the dough makes a huge difference. It allows the flour to hydrate and the flavors to meld. It also prevents the cookies from spreading into one giant cookie on the pan.
Underbake Slightly
Take the cookies out when they look soft in the middle. They will firm up as they cool. Overbaking is the enemy of chewiness.
Use Good Chocolate
Don’t use cheap chocolate chips. They contain stabilizers that prevent melting. Use high-quality semi-sweet or dark chocolate chips for a better melt and richer flavor.
Variations & Substitutions
Once you’ve nailed the basic version, here’s how you can mix it up. I’ve tried all of these.
Nutty Variation
Add ½ cup of toasted pecans or walnuts to the dough. The nuts pair beautifully with the brown butter. Toast them in a dry pan for 3 minutes before adding.
White Chocolate Chip
Substitute half the semi-sweet chips for white chocolate chips. It adds a sweet, creamy contrast.
Maple Brown Butter
Replace 1 tablespoon of the brown sugar with maple syrup. It adds a subtle autumn flavor.
Gluten-Free
Use a 1:1 gluten-free flour blend. The texture will be slightly different but still delicious. I’ve used Bob’s Red Mill with great results.
Dairy-Free
Use a high-quality vegan butter stick. The flavor won’t be as nutty, but the texture will be similar.
Serving & Storage
How to Serve:
Serve these warm with a glass of cold milk. They’re also great for gifting in a tin. I like to layer them with parchment paper.
Storage:
Store in an airtight container at room temperature for up to 5 days. They stay soft and chewy. If they start to dry out, add a slice of bread to the container; the cookies will absorb the moisture.
Freezing:
You can freeze the dough balls for up to 3 months. Bake from frozen, adding 1-2 minutes to the baking time. Or freeze baked cookies for up to 2 months.
Reheating:
Microwave a cookie for 10 seconds to warm it up. It’ll be soft and gooey again.
Nutrition Information
I’m not a nutritionist, but here’s the breakdown if you’re tracking. This is a rich treat, so enjoy in moderation.
- Calories: 220
- Protein: 3g
- Carbs: 28g
- Fiber: 1g
- Sugar: 18g
- Fat: 12g
- Saturated Fat: 7g
- Cholesterol: 35mg
- Sodium: 150mg
Look, this is a cookie. It’s supposed to be delicious. It’s not a health food. But it’s better than store-bought, and you know exactly what’s in it.
Final Thoughts
So that’s my go-to chewy brown butter chocolate chip cookie recipe! I’ve probably talked your ear off at this point, but when you make a recipe this often, you have a lot to say about it.
This has saved my dessert game more times than I can count. It’s my answer to “what should I bake?” when I want something impressive but easy. My kids are happy, my husband’s happy, and I’m happy because I’m not stressed about baking.
Make it yours! Try different chocolates, add nuts, or adjust the sugar. The best recipes are the ones you adapt to your family’s tastes.
If you make this, drop a comment and let me know what you think! I love hearing how recipes turn out in your kitchen. And if something doesn’t work, tell me that too—I’m here to help troubleshoot.
Happy baking! And I hope your kitchen smells half as good as mine does right now.
Frequently Asked Questions
Can I use salted butter instead of unsalted?
You can, but reduce the added salt to ½ teaspoon. Salted butter varies in salt content, so it’s harder to control. Unsalted is best for baking.
Why did my cookies spread too much?
This usually means the butter was too warm when you mixed it, or you didn’t chill the dough. Make sure the browned butter has cooled to room temperature before mixing. Also, chill the dough for at least 30 minutes.
Can I freeze the dough?
Yes! Scoop the dough into balls, freeze them on a baking sheet, then transfer to a freezer bag. Bake from frozen, adding 1-2 minutes to the baking time.
Why did my cookies turn out cakey?
This happens if you use too much flour or overmix the dough. Spoon and level your flour, and mix until just combined. Also, make sure you’re using the right ratio of brown sugar to white sugar.
Can I use dark brown sugar?
Yes, but it will make the cookies darker and chewier with a stronger molasses flavor. Light brown sugar gives a milder, more caramel-like taste.
Do I need to cream the butter and sugar?
No. Since the butter is melted (browned), you just whisk it with the sugars until smooth. Creaming is for solid butter recipes, which create air pockets for lift. Here, we want density and chewiness.
How do I store leftovers?
Store in an airtight container at room temperature for up to 5 days. Add a slice of bread to keep them soft.
Pin This Recipe!
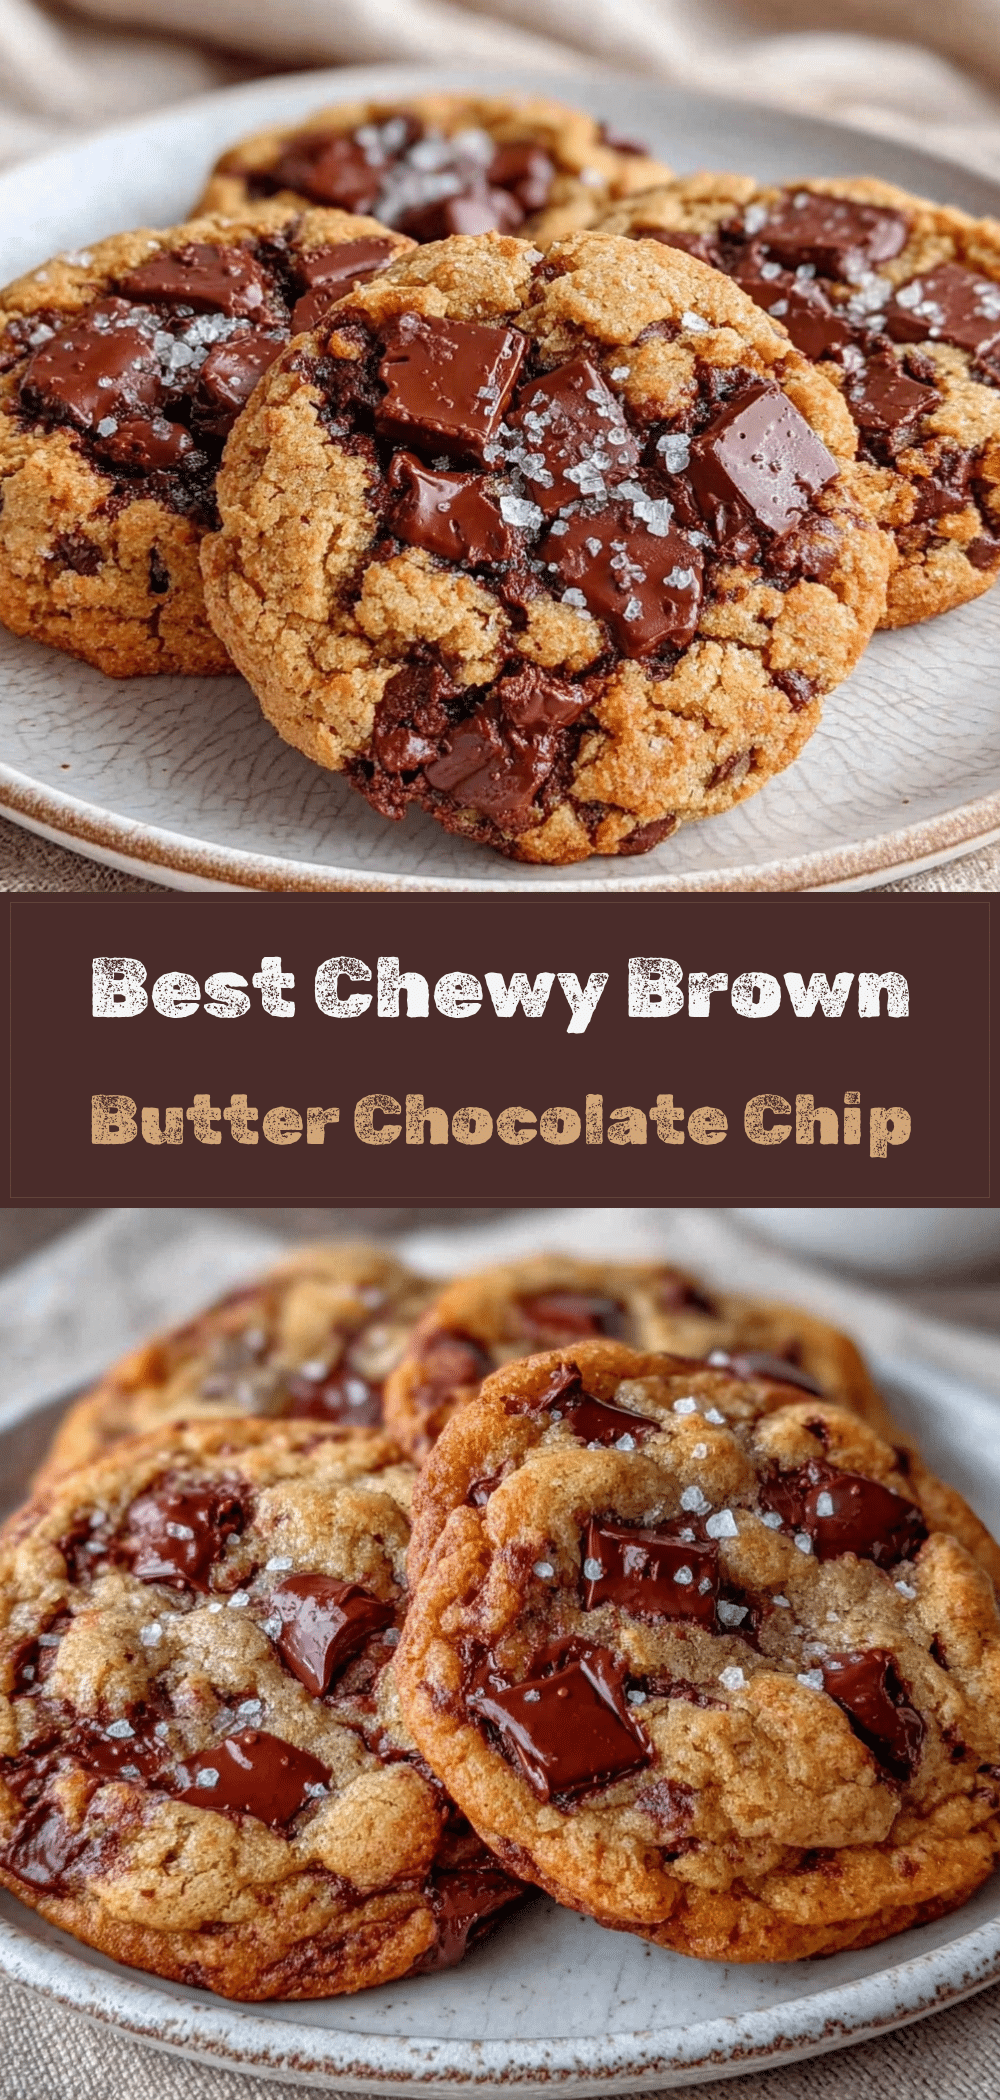
Chewy Brown Butter Chocolate Chip Cookies: Best Easy Beginner Recipe
- Total Time: 27-29 minutes
- Yield: Approximately 24 cookies 1x
Description
A foolproof, beginner-friendly recipe for chewy brown butter chocolate chip cookies that deliver maximum flavor with minimal effort. These cookies are soft in the center, crisp at the edges, and require no complex techniques.
Ingredients
- 1 cup (226g) unsalted butter
- 1 cup (200g) light brown sugar, packed
- ½ cup (100g) granulated white sugar
- 1 large egg, room temperature
- 1 egg yolk
- 2 teaspoons vanilla extract
- 2¼ cups (280g) all-purpose flour
- 1 teaspoon baking soda
- 1 teaspoon salt
- 2 cups (340g) semi-sweet chocolate chips
Instructions
- Brown the butter: Place unsalted butter in a medium saucepan over medium heat. Stir constantly until it foams, settles, and turns amber with a nutty aroma (5-7 minutes). Remove from heat and pour into a heat-safe bowl to cool slightly.
- Mix wet ingredients: In a large bowl, whisk together the browned butter, brown sugar, and white sugar until combined. Add the egg, egg yolk, and vanilla extract. Whisk vigorously until the mixture is smooth and glossy.
- Combine dry ingredients: In a separate medium bowl, whisk together the flour, baking soda, and salt.
- Make the dough: Gradually add the dry ingredients to the wet ingredients. Mix with a spatula or wooden spoon until just combined. Do not overmix. Fold in the chocolate chips.
- Chill the dough (Optional): Cover the bowl and refrigerate for at least 30 minutes or up to 24 hours to prevent spreading and intensify flavor.
- Preheat oven to 350°F (175°C). Line baking sheets with parchment paper.
- Scoop tablespoon-sized balls of dough onto the sheets, spacing them 2 inches apart.
- Bake for 12-14 minutes, or until edges are golden brown but centers still look slightly underbaked.
- Let cookies cool on the baking sheet for 5 minutes, then transfer to a wire rack to cool completely.
Notes
Do not burn the butter; it goes from perfect to burnt quickly. Spoon and level the flour to avoid dry cookies. Chilling the dough is recommended to prevent spreading. Underbake slightly for a chewy texture. Store in an airtight container with a slice of bread to maintain softness.
- Prep Time: 15 minutes
- Cook Time: 12-14 minutes
- Category: Dessert
- Cuisine: American
Nutrition
- Serving Size: 1 cookie
- Calories: 220
- Sugar: 18
- Sodium: 150
- Fat: 12
- Saturated Fat: 7
- Carbohydrates: 28
- Fiber: 1
- Protein: 3
Keywords: brown butter cookies, chocolate chip cookies, chewy cookies, beginner baking, easy dessert, homemade cookies