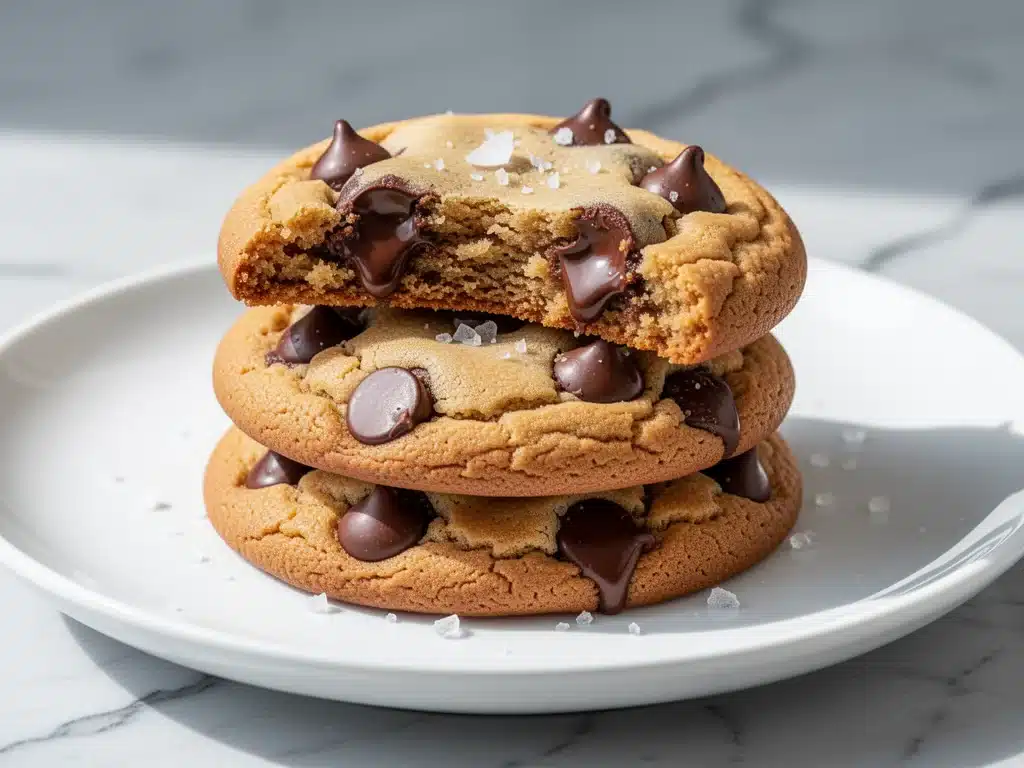
Last Saturday, I stood in my kitchen holding two plates of cookies, trying to look casual while my toddler, Leo, aggressively demolished the second batch. I had just pulled them out of the oven—the ones I’d spent the better part of an hour worrying over. I was nervous. Not because the recipe was hard, but because I had high stakes. My sister-in-law, Sarah, is the kind of person who can bake a sourdough loaf that makes grown men weep. She had promised to stop by for coffee, and I wanted to prove that my baking hadn’t gone completely rusty after a year of surviving on takeout.
These brown butter chocolate chip cookies were my ace in the hole. I’ve made chocolate chip cookies for twenty years. I’ve made the classic Toll House version until I could do it in my sleep. But they always felt… fine. Good, even. But never *wow*. Then I learned about browning butter. I’ll be honest—I was skeptical. I thought it was just a fancy chef trick to charge more for cookies. Turns out, it’s the secret to everything: deeper flavor, that nutty aroma, and a chewiness that keeps you coming back for one more.
When Sarah took her first bite, she paused. You know that pause? The one where you stop talking and just chew? That was it. She looked at me, raised an eyebrow, and said, “Okay, what’s different here?” I told her I browned the butter. She nodded slowly, took another bite, and didn’t say anything else for the rest of the visit. That is the highest compliment I have ever received in my life.
Since then, these brown butter chocolate chip cookies have become my go-to for impressing guests, holiday gifts, and satisfying my own serious chocolate cravings. They’re crispy on the edges, chewy in the center, and taste like a bakery version of a childhood memory. I’ve tested this recipe about twelve times to get the balance right, and I’m finally ready to share the exact method that works every single time. No guessing. No burnt butter. Just perfect cookies.
Why You’ll Love This Recipe
There are a lot of cookie recipes out there. You’ve probably got a few pinned on your board right now. But here’s the thing: most of them are just sugar and flour. This batch is different. It’s got depth. It’s got complexity. And it’s easier than you think it is.
- Flavor That Actually Has Depth — Browning butter changes everything. It cooks the milk solids in the butter until they turn golden brown and nutty. The result is a cookie that tastes toasty and caramel-like, even before you add the chocolate. It’s not just sweet; it’s savory-sweet in the best way.
- The Perfect Texture Combo — I spent months tweaking the flour-to-butter ratio to get this exact texture. You get that satisfying *crunch* when you break the edge, followed by a soft, chewy, almost fudgy center. It’s not cakey. It’s not flat and crispy. It’s the Goldilocks of cookies.
- Impressive But Not Pretentious — People think brown butter is hard. It’s not. It just takes three extra minutes on the stove. But the payoff? You look like a pro. I’ve served these at potlucks, and people always ask for the recipe. It’s my secret weapon for looking like I have my life together.
- Freezer-Friendly Dough — This dough is a dream for meal preppers. You can scoop the balls, freeze them, and bake them fresh whenever you want. I make a double batch, freeze half, and have warm cookies ready in 12 minutes on random Tuesday nights.
- Uses Simple Pantry Staples — You don’t need fancy ingredients. Just butter, sugar, eggs, flour, and chocolate. If you have these, you’re already halfway done.
This isn’t just a cookie recipe; it’s a confidence booster. Once you make these, you’ll never go back to plain butter cookies again. Trust me.
Ingredients You’ll Need
Here’s the best part: you probably have most of this already. I’m particular about a few things here, so pay attention to the details. This isn’t just a list; it’s a guide to getting it right.
For the Base
Unsalted Butter (1 cup / 226g) — This is where the magic happens. You need high-quality butter. I use Kerrygold or Plugrá. Don’t skimp. You’re going to brown it, so you want butter that tastes good even before it turns golden.
Granulated Sugar (¾ cup / 150g) — This gives the cookies their crisp edges. It spreads the dough out. Don’t reduce this, or you’ll get dense, cakey cookies.
Brown Sugar (1 cup / 200g) — Packed. This is what makes the centers chewy and adds that molasses flavor. Dark brown sugar is better if you want a deeper, toffee-like taste, but light works fine too.
Large Egg (1 whole) — Room temperature. Cold eggs can seize the butter. Let it sit out for 30 minutes if you forgot.
Egg Yolk (1 yolk) — This is the secret weapon. The extra yolk adds richness and that fudgy, chewy texture. It’s what separates these from your average cookie.
Vanilla Extract (2 teaspoons) — Use the real stuff. No imitation. The vanilla needs to shine through the nutty butter.
For the Structure
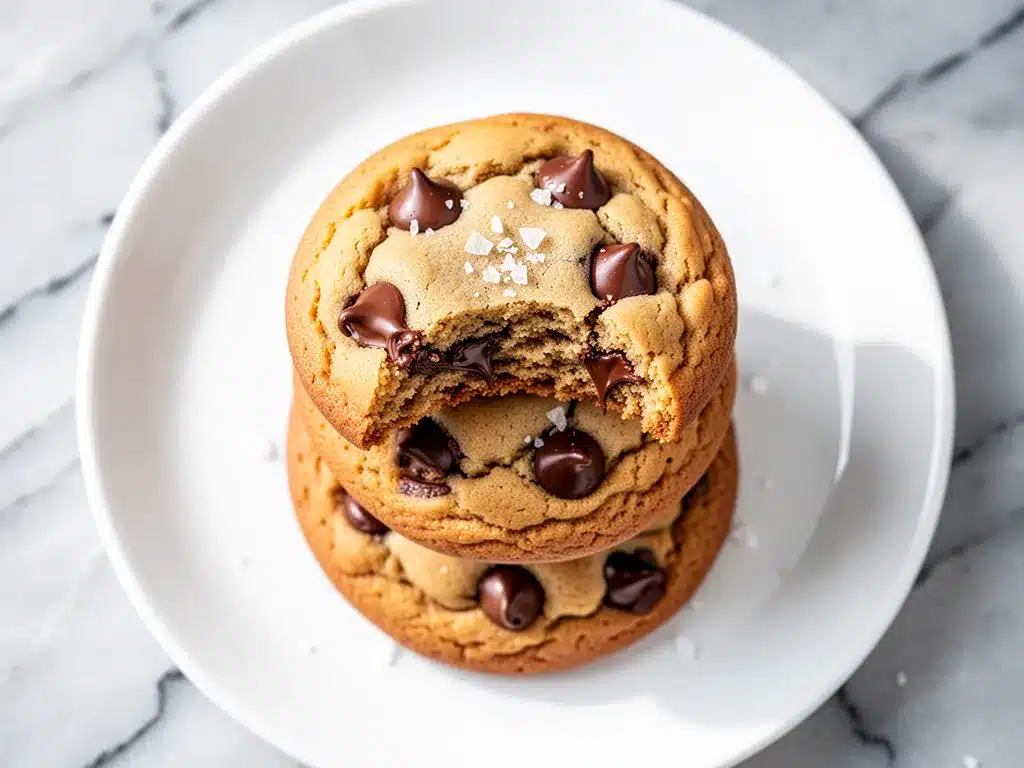
All-Purpose Flour (2 ¼ cups / 280g) — Spoon and level method. Do not scoop directly from the bag, or you’ll pack in too much flour and get dry cookies. I use King Arthur for consistency.
Baking Soda (1 teaspoon) — Fresh. If your can is older than six months, toss it. Test it with vinegar to be sure.
Salt (1 teaspoon) — Fine sea salt or table salt. This balances the sweetness. Don’t skip it.
For the Good Stuff
Chocolate Chips (2 cups / 340g) — I use a mix. Half semi-sweet (like Ghirardelli) and half milk chocolate (like Nestlé Toll House). The semi-sweet keeps it from being too sweet, and the milk chocolate adds creaminess. You can also chop up a chocolate bar for bigger, irregular chunks. I do that when I’m feeling fancy.
Flaky Sea Salt (for topping) — Maldon salt is my go-to. Sprinkle it on right after baking. It’s the restaurant finish.
Quick Tip: If you’re worried about the butter browning too fast, you can use brown butter sage gnocchi as inspiration for watching the butter closely—it’s the same principle! You’re looking for that nutty aroma and golden color.
Equipment Needed
You don’t need fancy gadgets for this. Here’s what I actually use:
Medium Saucepan — Light-colored stainless steel or enamel is best. You need to see the color change of the butter. A dark pan hides the browning, and you’ll miss the perfect moment.
Whisk — For breaking up the butter solids while it melts.
Mixing Bowls — One medium for wet ingredients, one large for dry.
Electric Mixer or Wooden Spoon — I use a hand mixer for speed, but a strong arm and a wooden spoon work fine. You just need to cream the butter and sugars until fluffy.
Baking Sheets — Light-colored aluminum sheets are best. Dark sheets bake faster and can burn the bottoms. If you only have dark sheets, lower the oven temp by 25°F.
Parchment Paper — Line your sheets. Cleanup is way easier, and the cookies don’t stick.
Cooling Rack — Essential. Don’t skip this, or the bottoms will get soggy.
Ice Cream Scoop — A #40 scoop (about 1.5 tablespoons) ensures uniform size. Uniform size means even baking. I hate guessing.
How to Make It: Step-by-Step
Alright, let’s make these! I’m walking you through exactly how I do it, including the little tricks I’ve picked up over the years.
Step 1: Brown the Butter (5-7 minutes)
Start by melting the butter in your saucepan over medium heat. Stir it constantly with a whisk. It will foam up and crackle. Don’t panic—that’s normal. As it melts, you’ll start to see little brown specks at the bottom. That’s the milk solids. Keep stirring. Listen closely. You’ll hear the crackling slow down to a quiet sizzle. That’s your cue. Smell the air. When it smells nutty, like toasted hazelnuts or popcorn, take it off the heat immediately. Pour it into a heat-proof bowl to stop the cooking. Let it cool for 10-15 minutes until it’s just warm, not hot. If it’s too hot, it will cook the eggs when you add them.
Step 2: Mix the Wet Ingredients (3 minutes)
In a medium bowl, whisk the cooled brown butter, granulated sugar, and brown sugar together until well combined. The mixture should look grainy but glossy. Add the whole egg, egg yolk, and vanilla extract. Whisk vigorously for about a minute. You’re incorporating air here. The mixture should lighten in color slightly. This step takes effort, but it’s worth it for the texture.
Step 3: Combine Dry Ingredients (2 minutes)
In a separate large bowl, whisk together the flour, baking soda, and salt. Make sure there are no clumps of baking soda. This ensures even rising.
Step 4: Bring It All Together (2 minutes)
Gradually add the dry ingredients to the wet ingredients. Mix on low speed or stir with a wooden spoon until *just* combined. Do not overmix! Once the flour streaks disappear, stop. Overmixing develops gluten, and you’ll get tough cookies. Fold in the chocolate chips last. Use a spatula. Be gentle.
Step 5: Chill the Dough (30 minutes – 24 hours)
This is non-negotiable. Chilling the dough prevents spreading and concentrates the flavors. I usually chill mine for at least an hour, but overnight is best. Cover the bowl with plastic wrap and put it in the fridge. If you’re in a rush, freeze the dough balls for 15 minutes instead.
Step 6: Scoop and Bake (12-14 minutes)
Preheat your oven to 350°F (175°C). Line two baking sheets with parchment paper. Scoop the dough into balls (about 1.5 tablespoons each) and place them 2 inches apart. They will spread. Bake for 12-14 minutes. The edges should be golden brown and crisp, but the centers should still look soft and slightly underdone. They will finish cooking on the hot baking sheet after you take them out. Do not overbake!
Step 7: The Finish (1 minute)
As soon as you pull the cookies out of the oven, sprinkle them with flaky sea salt. The heat will make the salt stick. Let them cool on the baking sheet for 5 minutes, then transfer to a wire rack to cool completely. Or, eat them warm. I won’t judge.
Troubleshooting: If your cookies spread too much, your butter was too warm when you mixed, or your oven runs hot. If they’re too cakey, you packed the flour too tightly. If they’re burnt on the bottom, your pans are too dark.
Expert Tips & Tricks
Here’s everything I’ve learned from making this dozens of times. These tips will save you from my mistakes.
Watch the Butter Like a Hawk
Brown butter goes from perfect to burnt in about 30 seconds. Once you see those brown bits, get ready. Stir constantly. If it smells like burnt toast, start over. Trust me, you don’t want that bitter taste in your cookies.
Cool the Butter Properly
If you add hot butter to the sugar, it will melt the sugar and make a greasy mess. If you add it too cold, it won’t mix well. Aim for warm to the touch, like a baby’s bottle. About 10-15 minutes at room temperature is usually perfect.
Don’t Skip the Chill
I know you want cookies now. But chilled dough spreads less and tastes better. The flavors meld together. If you bake warm dough, you’ll get flat, greasy cookies. Chill them. It’s worth the wait.
Use a Scale
If you have a kitchen scale, use it. Measuring flour by volume is inaccurate. 2 ¼ cups of flour can vary by 50 grams depending on how you scoop. Weighing ensures consistency. But if you don’t have a scale, spoon and level method is your friend.
Rotate Your Pans
Ovens have hot spots. Rotate your baking sheets halfway through baking for even browning. This is especially true if you’re baking two sheets at once.
Underbake Slightly
The cookies continue to cook on the hot pan. Pull them when they look slightly underdone in the center. They’ll firm up as they cool. Overbaking is the #1 mistake people make. They want them crisp all the way through, but they end up dry.
Variations & Substitutions
Once you’ve nailed the basic version, here’s how you can mix it up. I’ve tried all of these.
White Chocolate Macadamia Nut
Swap the chocolate chips for white chocolate chips and macadamia nuts. Add a pinch of sea salt on top. It’s tropical and rich.
Peanut Butter Swirl
Drop a teaspoon of peanut butter on top of each dough ball before baking. It creates a beautiful swirl and adds salty crunch.
Oatmeal Brown Butter
Add 1 cup of rolled oats to the dry ingredients. Adds chewiness and heartiness. Great for breakfast cookies.
Gluten-Free Version
Use a 1:1 gluten-free flour blend (like Bob’s Red Mill). The texture will be slightly more tender, but still delicious. I’ve tested this, and it works.
Vegan Version
Use vegan butter (like Miyoko’s) and flax eggs (1 tbsp ground flax + 3 tbsp water per egg). The flavor will be slightly different, but still good. Vegan butter browns well too.
Double Chocolate
Add 2 tablespoons of cocoa powder to the dry ingredients. Use dark chocolate chips. It’s intense and fudgy.
Serving & Storage
How to Serve:
These are best enjoyed warm, right out of the oven. Serve with a cold glass of milk. Classic. If you’re serving them at a party, arrange them on a platter with a small bowl of flaky salt on the side for people to sprinkle on their own.
Storage:
Store in an airtight container at room temperature for up to 5 days. Place a slice of bread in the container to keep them soft. The bread will dry out, but the cookies will stay chewy.
Freezing Dough:
Scoop the dough balls and freeze them on a baking sheet until solid. Then transfer to a freezer bag. Bake straight from frozen, adding 1-2 minutes to the bake time. This is my favorite way to have fresh cookies on demand.
Freezing Baked Cookies:
Yes, they freeze well! Let them cool completely, then store in an airtight container with parchment between layers. Freeze for up to 3 months. Thaw at room temperature.
Reheating:
Microwave for 10-15 seconds to warm them up. They’ll be soft and gooey again.
Nutrition Information
I’m not a nutritionist, but here’s the breakdown if you’re tracking. Keep in mind, these are estimates based on standard ingredients.
Per Cookie (makes approx. 24 cookies):
- Calories: 180
- Protein: 2g
- Carbs: 24g
- Fiber: 1g
- Sugar: 16g
- Fat: 9g
- Saturated Fat: 5g
Look, these are cookies. They’re meant to be indulgent. The brown butter adds healthy fats, and the extra yolk adds choline. But they’re still a treat. Enjoy them in moderation, or don’t. I won’t tell.
Final Thoughts
So that’s my brown butter chocolate chip cookies! I’ve talked your ear off, but when you make a recipe this often, you have a lot to say about it. These cookies have saved my social life. They’re my answer to “I brought something to share” when I have nothing else to offer. They’re reliable, delicious, and always a hit.
Make them your own. Try different chocolates. Add nuts. Change the salt. The best recipes are the ones you adapt to your taste. And if you make these, I want to hear about it. Drop a comment and let me know how they turned out. Did you brown the butter perfectly? Did you eat them warm? I love hearing from you.
Happy baking! And I hope your kitchen smells amazing.
Frequently Asked Questions
Can I use salted butter?
You can, but you’ll need to reduce the added salt in the recipe. I recommend using unsalted so you can control the sodium level. If you use salted butter, cut the added salt in half. Also, note that salted butter has more water, which can affect the texture slightly.
Why did my cookies spread too much?
This usually happens if the butter was too warm when you mixed the dough, or if the dough wasn’t chilled long enough. The fat melts too quickly in the oven before the structure sets. Next time, chill the dough for at least 2 hours. Also, make sure your baking sheets aren’t hot when you scoop the dough onto them.
Can I freeze the baked cookies?
Yes! Let them cool completely, then store in an airtight container. They’ll last for up to 3 months. Thaw at room temperature. You can also freeze the dough balls, which I prefer because you get fresh-baked cookies whenever you want.
What kind of chocolate is best?
I love a mix. Semi-sweet keeps it from being too sweet, and milk chocolate adds creaminess. Chopped chocolate bars create bigger, irregular chunks that melt in pockets. If you prefer less sweet, go all semi-sweet or dark. If you like it sweeter, use milk chocolate chips.
Can I make this recipe without browning the butter?
You can, but you’ll miss out on the nutty, toasty flavor that makes these cookies special. Regular melted butter works, but the cookies will be flatter and less flavorful. I don’t recommend skipping this step if you want the best results.
How do I know when the butter is browned?
Listen and smell. The crackling sound will slow down to a quiet sizzle. Look for golden brown milk solids at the bottom of the pan. Smell for a nutty, toasted aroma. As soon as you see the brown bits and smell the nuts, take it off the heat. It’s better to under-brown than over-brown.
Can I use whole wheat flour?
You can substitute up to half the all-purpose flour with whole wheat pastry flour. Regular whole wheat flour will make the cookies dense and heavy. Whole wheat pastry flour is lighter and works better in cookies. But for the classic texture, stick to all-purpose.
Pin This Recipe!
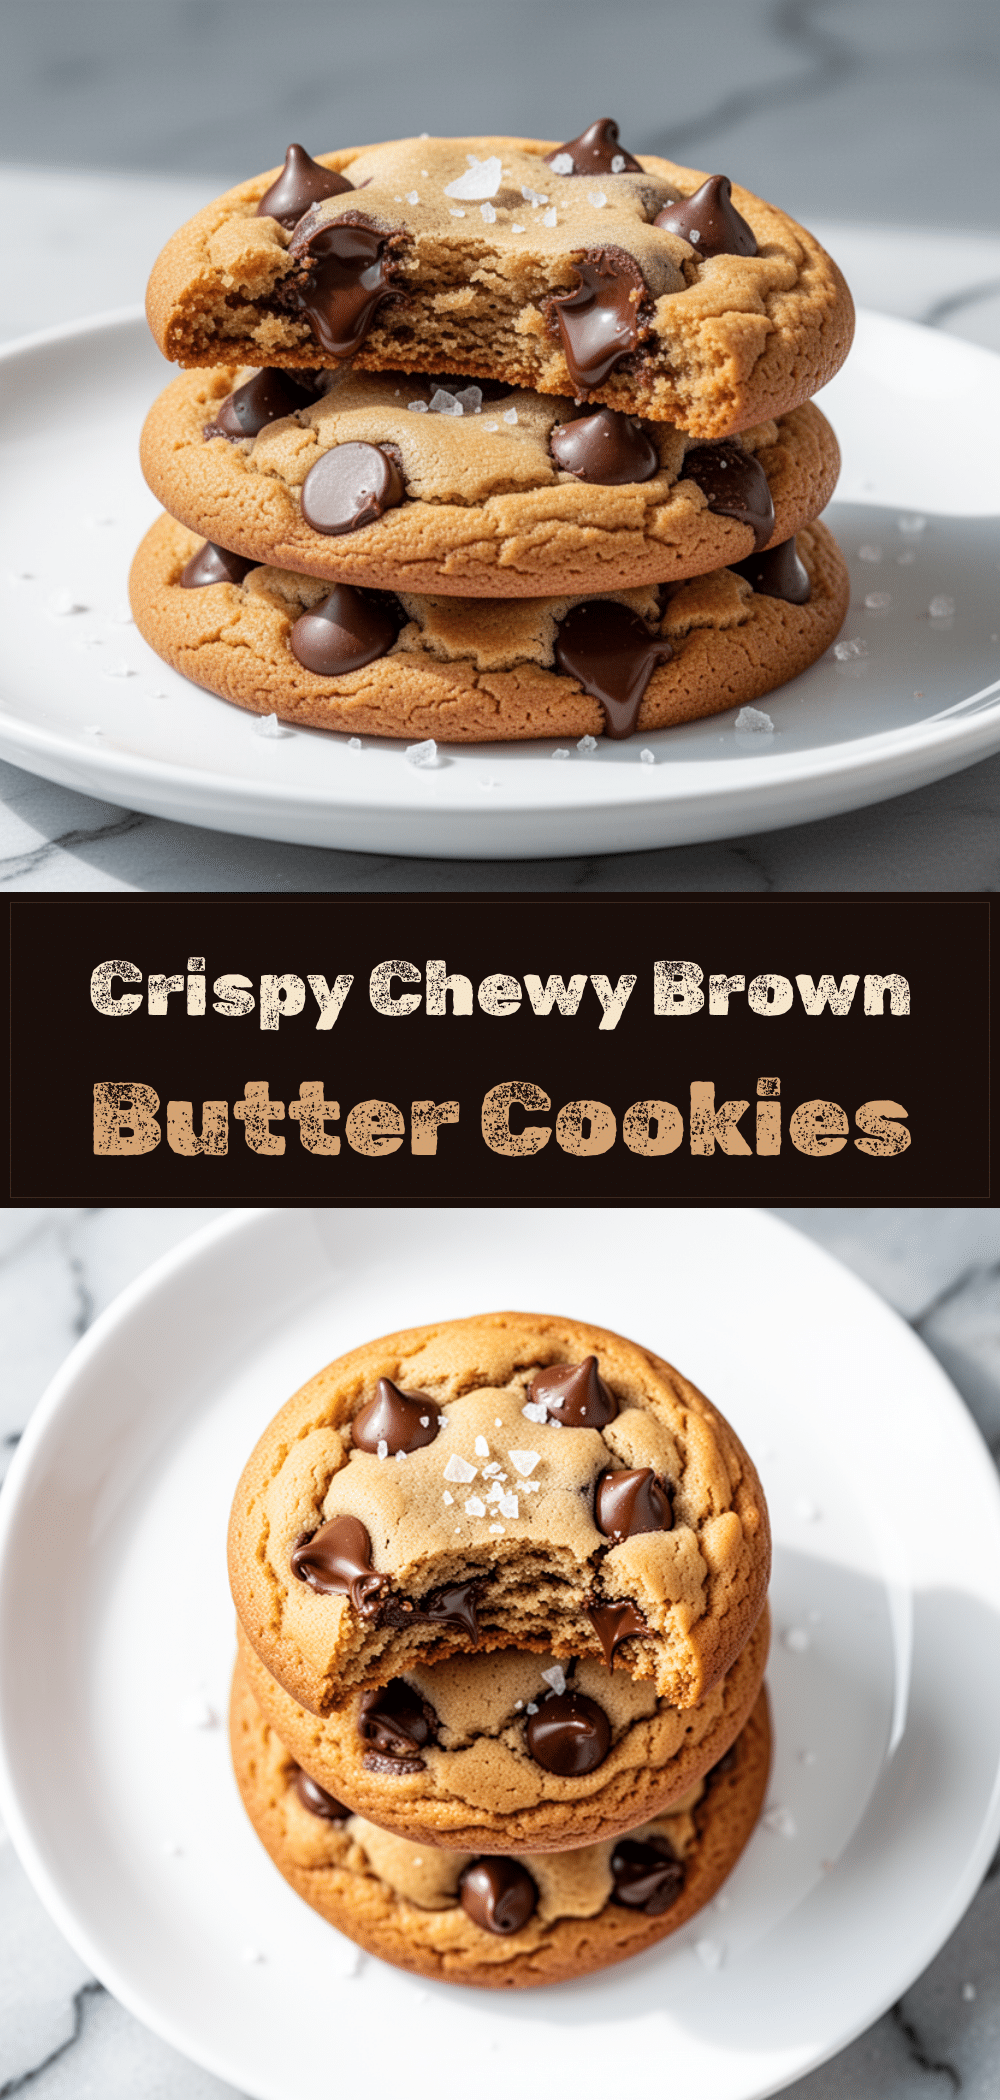
Brown Butter Chocolate Chip Cookies: Best Easy Batch
- Total Time: 45 minutes
- Yield: 24 cookies 1x
Description
These brown butter chocolate chip cookies feature a nutty, toasty flavor and a perfect texture with crispy edges and a chewy, fudgy center. They are easy to make, freezer-friendly, and use simple pantry staples.
Ingredients
- 1 cup (226g) unsalted butter
- ¾ cup (150g) granulated sugar
- 1 cup (200g) packed brown sugar
- 1 large egg, room temperature
- 1 egg yolk, room temperature
- 2 teaspoons vanilla extract
- 2 ¼ cups (280g) all-purpose flour
- 1 teaspoon baking soda
- 1 teaspoon fine sea salt
- 2 cups (340g) chocolate chips (mix of semi-sweet and milk)
- Flaky sea salt (for topping)
Instructions
- Brown the butter: Melt butter in a medium saucepan over medium heat. Stir constantly until it foams, then crackles, and finally smells nutty with golden brown specks at the bottom. Pour into a heat-proof bowl and cool for 10-15 minutes until warm.
- Mix wet ingredients: In a medium bowl, whisk the cooled brown butter, granulated sugar, and brown sugar until glossy. Add the whole egg, egg yolk, and vanilla extract. Whisk vigorously for about a minute until the mixture lightens in color.
- Combine dry ingredients: In a separate large bowl, whisk together the flour, baking soda, and salt to remove clumps.
- Bring it all together: Gradually add dry ingredients to wet ingredients. Mix on low speed or stir with a wooden spoon until just combined. Do not overmix. Fold in chocolate chips gently with a spatula.
- Chill the dough: Cover the bowl with plastic wrap and refrigerate for at least 30 minutes (or up to 24 hours) to prevent spreading and concentrate flavors.
- Preheat oven and prep sheets: Preheat oven to 350°F (175°C). Line baking sheets with parchment paper.
- Scoop and bake: Scoop dough into 1.5 tablespoon balls and place 2 inches apart on sheets. Bake for 12-14 minutes until edges are golden brown but centers look soft and slightly underdone.
- Finish: Immediately sprinkle with flaky sea salt. Let cool on the baking sheet for 5 minutes, then transfer to a wire rack to cool completely.
Notes
Ensure butter is cooled to warm (not hot) before adding to sugar to avoid cooking the eggs. Chill dough for best texture and to prevent excessive spreading. Use a scale for flour accuracy if possible. Rotate pans halfway through baking for even browning. Underbake slightly as cookies continue to cook on the hot pan.
- Prep Time: 30 minutes
- Cook Time: 12-14 minutes
- Category: Dessert
- Cuisine: American
Nutrition
- Serving Size: 1 cookie
- Calories: 180
- Sugar: 16
- Sodium: 180
- Fat: 9
- Saturated Fat: 5
- Carbohydrates: 24
- Fiber: 1
- Protein: 2
Keywords: brown butter cookies, chocolate chip cookies, easy cookie recipe, chewy cookies, baking from scratch, holiday cookies, freezer friendly dough



