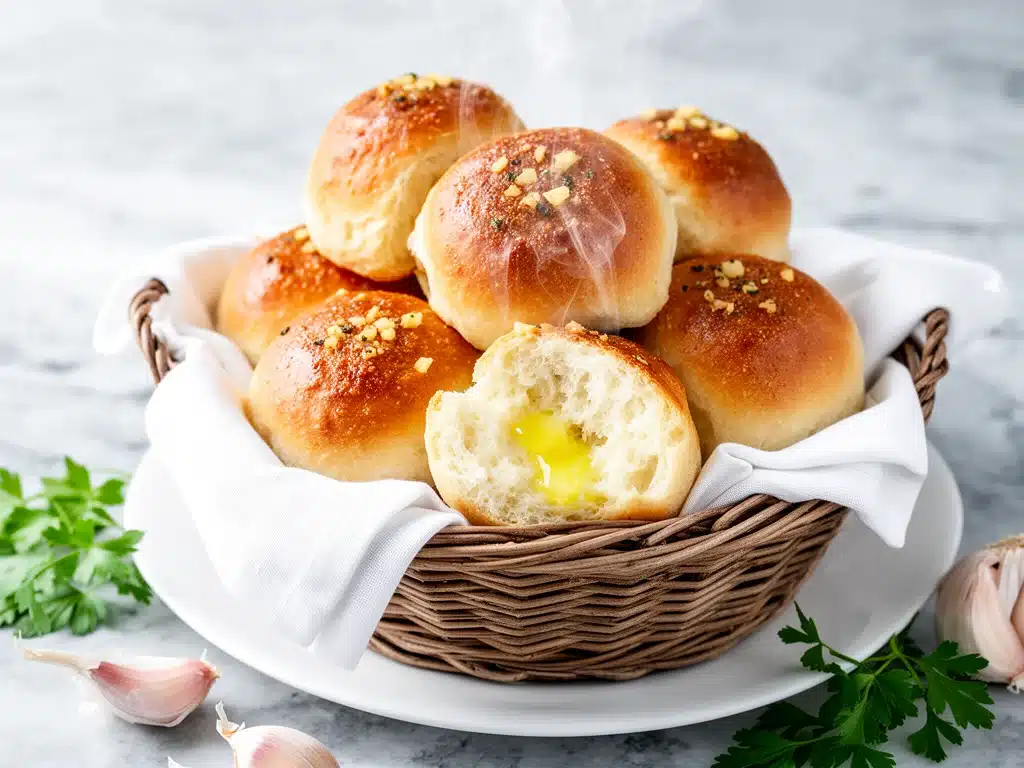
I have a confession to make: I used to think dinner rolls were the enemy of busy weeknights. You know the type. The kind of bread that takes two hours of rising time, requires a second rise, and demands your full attention when you’re supposed to be getting the kids to the bath and the dog fed. I spent years relying on frozen dough from the grocery store, thawing it out in a bowl, hoping it didn’t collapse under its own weight. It was never quite right. Too dense. Too bland. Or just… sad.
Then, last Tuesday, I was staring at the clock. It was 5:45 PM. I had forty-five minutes before I needed to pull the chicken out of the oven for our roast, and I realized I had zero bread. No baguette. No crackers. Just an empty counter and a growing sense of panic from my husband, who had just announced, “I hope we have something to dip our chicken in.”
I looked at my pantry. I had flour. I had butter. I had a ton of garlic. And I had twenty minutes to spare. So, I threw together what I thought would be a quick, messy experiment. I melted the butter until it smelled like hazelnuts, mixed in a mountain of garlic, and slathered it over some simple, no-knead dough balls. I popped them in the oven while the chicken roasted. When they came out, golden and crispy and smelling like heaven, my kids stopped arguing about their homework to ask for seconds.
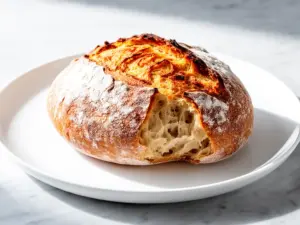
That was the moment I discovered brown butter garlic dinner rolls. Not just any rolls, but the kind that feel like a hug from the inside out. They are rich, savory, impossibly soft, and—here’s the best part—fast enough for a Tuesday night. I’ve made these rolls at least fifteen times since that chaotic evening. Some nights I add parsley. Some nights I go heavy on the garlic. But the core recipe stays the same because it works. It’s the ultimate cheat code for busy weeknights when you want to feel like a gourmet chef without actually spending hours in the kitchen.
If you’re skeptical, I get it. “Fast” and “homemade bread” usually don’t mix. But these brown butter garlic dinner rolls break the rules. They use a shortcut method that skips the long rise but keeps all the flavor. Trust me. Once you taste that crispy, garlic-butter crust giving way to a pillowy soft interior, you’ll never go back to frozen dough again. Your weeknight dinners are about to get a serious upgrade.
Why You’ll Love This Recipe
There are a lot of bread recipes out there, but these brown butter garlic dinner rolls have completely changed how I handle dinner parties and lazy weeknights. Here’s why they’ve earned a permanent spot in my rotation:
- Stupid Simple Dough — Seriously, if you can mix flour and water, you can make this. I use a no-knead approach for the base, which means no stand mixer, no arm workout, and no complicated folding techniques. Just stir, scoop, and bake. I’ve made these while holding a toddler on my hip. It happens.
- Lightning Fast — From start to finish, you’re looking at about 20 minutes of active prep plus baking time. The dough doesn’t need a long proof because we’re using a bit of chemical leavening alongside the yeast to speed things up. This is perfect for when you realize you forgot dessert—or bread—five minutes before guests arrive.
- Flavor Bomb — Regular garlic bread is good. Brown butter garlic bread is religious. Browning the butter changes everything. It adds a nutty, toasty depth that regular melted butter just can’t match. Combined with fresh garlic and a touch of salt, these rolls are addictive. My husband literally licks his fingers after eating one. He doesn’t even try to hide it.
- Pantry-Friendly — You probably have most of this already. Flour, butter, yeast, garlic, milk. That’s it. If you have a jar of garlic in the fridge (which you should, if you cook), you’re golden. I keep the butter on the counter so I don’t forget to take it out for softening.
- Makes Amazing Leftovers — Okay, let’s be real: leftovers rarely last. But if they do, these rolls are amazing toasted the next day. I reheat them in a toaster oven for three minutes to crisp up the crust. They taste like fresh garlic bread from a fancy restaurant.
- Budget-Smart — Homemade rolls cost pennies compared to bakery bread. Feeding a family of four with these costs less than $2. That’s a win in my book, especially when they taste this good.
This is my go-to when I need dinner to just work. No complicated techniques, no weird ingredients, just reliable, delicious food that makes everyone happy. Whether it’s a busy Tuesday or a Sunday family gathering, these brown butter garlic dinner rolls never fail to impress.
Ingredients You’ll Need
Here’s the best part: you probably have most of this already in your kitchen. I’m particular about three ingredients here, and I’ll tell you exactly why. Quality matters more here than in most bread recipes because the flavor is so simple.
For the Dough
All-purpose flour (3 cups / 375g) — I use King Arthur or Gold Medal. Both work great. Don’t use whole wheat unless you want dense bricks. For these soft rolls, all-purpose is the sweet spot. Measure it by spooning it into the cup and leveling it off, not scooping directly (which packs it down and leads to dry dough).
Instant yeast (2 teaspoons / 7g) — I prefer instant yeast because you can mix it directly with the dry ingredients. No need to bloom it first. Active dry yeast works too, but you’ll need to dissolve it in warm milk first. Instant yeast is faster and easier for weeknight cooking.
Sugar (2 tablespoons / 25g) — Just a little bit to feed the yeast and help with browning. Honey works too if you want a slightly floral note. I usually just use white sugar because it’s what I always have.
Salt (1 teaspoon / 6g) — Essential for flavor. Don’t skip it. If you’re watching sodium, you can reduce to ½ teaspoon, but the rolls will taste flatter.
Warm milk (1 cup / 240ml) — Whole milk is best for richness. It should be warm to the touch, like a baby’s bottle. Not hot, or you’ll kill the yeast. If you’re dairy-free, use warm almond or oat milk, but the texture won’t be quite as tender.
Egg (1 large) — This adds structure and helps the rolls brown beautifully. I use a large egg from my fridge. Room temp is ideal, but cold works fine since the warm milk will bring it up to speed.
For the Brown Butter Garlic Glaze
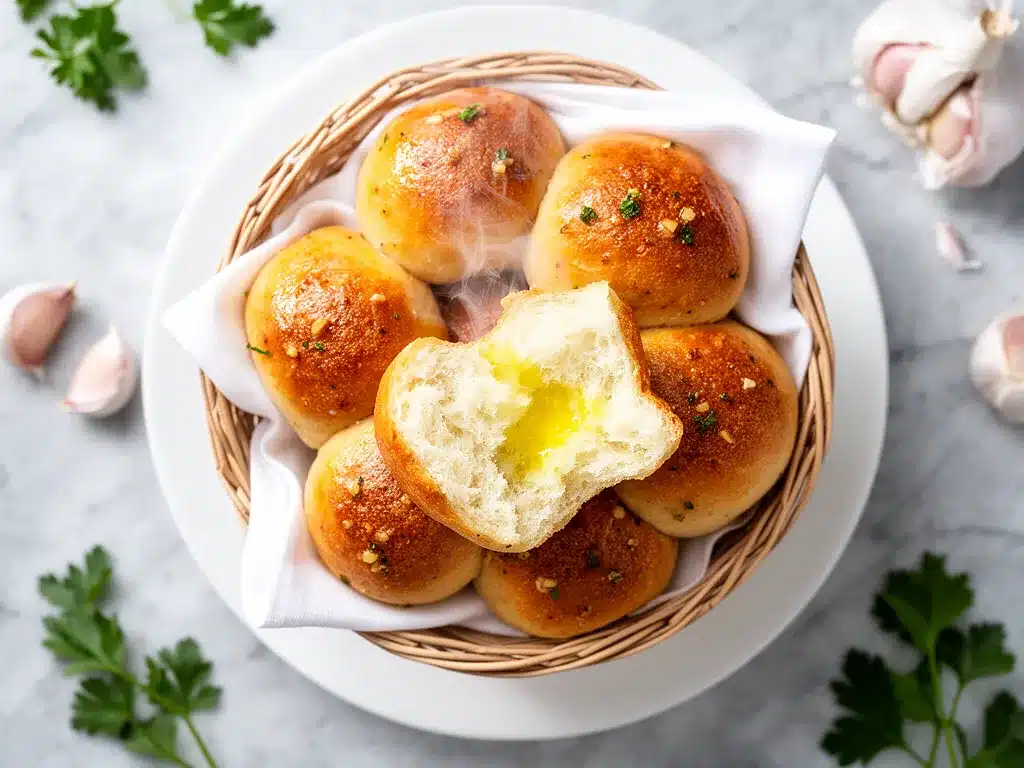
Unsalted butter (½ cup / 113g) — This is where the magic happens. Use good quality butter if you can. I like Land O’Lakes or Plugrá. The higher fat content makes a richer brown butter. Salted butter works, but you’ll need to reduce the salt in the dough slightly.
Garlic (4-5 cloves, minced / about 1 tablespoon) — Yes, five cloves. Don’t be shy. Fresh garlic only. No jarred stuff here. The sharp bite of fresh garlic cuts through the richness of the butter. If you’re sensitive to raw garlic, you can mince it super finely or even grate it on a microplane.
Fresh parsley (2 tablespoons, chopped) — Optional but recommended. It adds a pop of color and a fresh, grassy note that balances the heavy butter. I grow parsley in my garden, so I always have some. Dried parsley works in a pinch, but fresh is better.
Red pepper flakes (¼ teaspoon) — Just a pinch. It adds a tiny bit of heat that makes you want another roll. I add this because my kids love a little kick, but you can skip it if you prefer mild.
Extra salt (½ teaspoon) — For the glaze. The butter needs seasoning to really make the garlic pop.
Equipment Needed
You don’t need fancy equipment for this. Here’s what I actually use.
Medium Saucepan — For browning the butter. I use a stainless steel saucepan because I can see the color change clearly. A light-colored pan is best so you don’t burn the butter without noticing. My old non-stick pan works too, but it’s harder to see the brown bits forming.
Large Mixing Bowl — For combining the dough. I use a 5-quart bowl. It needs to be big enough to handle the sticky dough without making a mess. Glass or ceramic bowls are great because they don’t conduct heat, so the dough doesn’t overheat if the kitchen is warm.
Whisk — For mixing the dry ingredients and whisking the glaze. A simple wire whisk is perfect. I use one from the dollar store; it does the job just fine.
Silicone Spatula — For scraping the bowl and stirring the dough. It’s flexible and gets into the corners. I have a few of these lying around the house. One for dough, one for sauces. Don’t mix them up.
9×13 Inch Baking Dish — To bake the rolls in. I use a ceramic baking dish. It holds heat well and gives the rolls a nice crust on the bottom. Glass works too. Metal pans are fine, but they might brown the bottoms too quickly, so keep an eye on them.
Pastry Brush — For applying the glaze. I use a silicone brush because it’s easy to clean and doesn’t shed bristles. A natural bristle brush works too, but you have to be careful not to get butter in the bristles if you’re using a natural one. Silicone is just easier for weeknight cooking.
Measuring Cups and Spoons — Standard stuff. I use metal measuring spoons for dry ingredients and a liquid measuring cup for the milk. Accuracy matters in bread, so don’t eyeball it too much.
How to Make It: Step-by-Step
Alright, let’s make this! I’m walking you through exactly how I do it, including the little tricks I’ve picked up. This process is designed to be fast but thorough.
Step 1: Brown the Butter (5 minutes)
This is the most critical step. Grab your saucepan and add the butter. Turn the heat to medium. Stir it constantly with a wooden spoon or silicone spatula. The butter will melt, foam up, and then start to crackle. Watch it closely. You’re looking for the foam to settle and the milk solids at the bottom to turn a deep golden brown. It will smell nutty, like hazelnuts or toasted almonds. This takes about 3-5 minutes. Once you see those brown bits and smell that aroma, immediately remove it from the heat and pour it into a heat-proof bowl to stop the cooking. If you leave it on the burner, it will burn. I burned one batch once. It tasted bitter and had to be thrown out. Don’t be like me. Set a timer for 3 minutes.
Step 2: Mix the Dough (5 minutes)
While the butter cools slightly, start your dough. In your large mixing bowl, combine the flour, instant yeast, sugar, and salt. Whisk them together to distribute the yeast evenly. Make a well in the center. Pour in the warm milk and the egg. Mix with a wooden spoon or your hands until a shaggy dough forms. It will look sticky and messy. That’s okay. Don’t add more flour yet. Cover the bowl with a damp towel or plastic wrap and let it sit for 10 minutes. This is the “autolyse” step, which helps the flour hydrate and makes the dough easier to handle later.
Step 3: Shape the Rolls (5 minutes)
After the 10-minute rest, the dough should be softer. If it’s still too sticky, add a tablespoon of flour at a time until it’s manageable. Turn it out onto a lightly floured surface. Divide the dough into 9-12 equal pieces. I use a bench scraper to cut them evenly. Roll each piece into a smooth ball by tucking the edges underneath. Place them seam-side down in your greased 9×13 baking dish. They should be snug but not squished. Leave a little space between them so they can expand. Cover loosely and let them rise while you finish the glaze. This second rise takes about 15-20 minutes.
Step 4: Make the Glaze and Bake (20 minutes)
Preheat your oven to 375°F (190°C). In a small bowl, mix the cooled brown butter with the minced garlic, chopped parsley, red pepper flakes, and extra salt. Stir well. When the rolls have puffed up and look jiggly, brush the glaze generously over the tops. Get into the nooks and crannies. The butter will soak in and create that amazing crispy crust. Bake for 18-20 minutes, or until the rolls are golden brown and sound hollow when tapped on the bottom. If they’re browning too fast, cover them loosely with foil for the last 5 minutes.
Step 5: Cool and Serve
Let the rolls cool in the pan for 5 minutes. They’ll be very hot and steamy. Then, brush them with a little extra brown butter glaze if you want them extra glossy. Serve warm. These brown butter garlic dinner rolls are best eaten fresh out of the oven, but they keep well for a day or two.
Expert Tips & Tricks
Here’s everything I’ve learned from making this dozens of times. These tips will save you from my mistakes.
- Don’t Skip the Browning — I know it’s tempting to just melt the butter, but the nutty flavor is what makes these rolls special. It’s worth the 3 minutes of watching. If you burn it, start over. It’s not worth ruining the whole batch.
- Warm Milk is Key — The milk should be around 110°F (43°C). Too cold, and the yeast won’t activate. Too hot, and it will die. If you don’t have a thermometer, test it on your wrist. It should feel warm, like bathwater, not hot.
- Don’t Overwork the Dough — These rolls are meant to be soft. Over-kneading develops too much gluten, making them tough. Mix until just combined. The 10-minute rest does the work for you.
- Watch the Oven — Every oven is different. My oven runs hot, so I check at 15 minutes. If the tops are getting too dark, tent with foil. You want a deep golden brown, not black.
- Glaze While Hot — Brushing the glaze on right before baking infuses the flavor into the crust. Brushing it on after baking keeps the crust soft. I prefer the crispy crust, so I glaze before baking. But if you like softer rolls, glaze after.
Variations & Substitutions
Once you’ve nailed the basic version, here’s how you can mix it up. I’ve tried all of these.
- Cheesy Garlic Rolls — Sprinkle ½ cup of shredded mozzarella or parmesan on top of the rolls before baking. The cheese melts into the brown butter and creates a savory crust. My kids love this version.
- Herb-Infused — Add 1 tablespoon of dried rosemary or thyme to the glaze. It adds an earthy, aromatic note that pairs beautifully with the garlic. Great with roast chicken.
- Spicy Jalapeño — Add 1 finely diced jalapeño to the glaze. It adds a fresh heat that complements the nutty butter. I make this for game day parties.
- Gluten-Free — Use a 1:1 gluten-free flour blend. The texture will be slightly denser, but the flavor is still amazing. I use Bob’s Red Mill 1:1 blend, and it works well.
- Dairy-Free — Use olive oil instead of butter for the glaze. For the dough, use water instead of milk and a dairy-free egg substitute. It won’t be as rich, but it’s still tasty.
Serving & Storage
How to Serve: I usually serve these straight from the pan at the dinner table. They look rustic and inviting. Pair them with roasted chicken, pasta, or even just a simple salad. They’re versatile enough to go with almost anything.
Storage: Store leftovers in an airtight container at room temperature for up to 2 days. They’ll stay soft if kept sealed. If they start to dry out, microwave them for 10-15 seconds to refresh.
Reheating: To crisp them up, toast them in a toaster oven or regular oven at 350°F for 5 minutes. This brings back that crispy crust. Avoid the microwave if you want texture.
Freezing: You can freeze baked rolls for up to 3 months. Let them cool completely, then wrap tightly in plastic and foil. Thaw at room temperature and reheat in the oven. They won’t be as fresh as day-one, but they’re still good.
Nutrition Information
I’m not a nutritionist, but here’s the breakdown if you’re tracking. These are estimates based on 12 rolls.
Per Roll:
- Calories: 180
- Protein: 4g
- Carbs: 24g
- Fat: 8g
- Fiber: 1g
Look, this is comfort food. It has butter and flour. It’s not a diet recipe. But it’s way better than store-bought, and you control the ingredients. When I want to make it lighter, I reduce the butter in the glaze or use less sugar in the dough. But usually? I just enjoy a reasonable portion and savor the flavor.
Final Thoughts
So that’s my brown butter garlic dinner rolls! I’ve probably talked your ear off at this point, but when you make a recipe this often, you have a lot to say about it. These rolls have saved weeknight dinners more times than I can count. They’re my answer to “what’s for bread?” when I’m tired, don’t want takeout, and still want something that tastes really good.
Make it yours! Try different herbs, add cheese, or adjust the garlic. The best recipes are the ones you adapt to your family’s tastes. If you make these, drop a comment and let me know what you think! I love hearing how recipes turn out in your kitchen. And if something doesn’t work, tell me that too—I’m here to help troubleshoot.
Happy cooking! And I hope your kitchen smells half as good as mine does right now.
Frequently Asked Questions
Can I use active dry yeast instead of instant yeast?
Yes, you can. Just dissolve the active dry yeast in the warm milk with the sugar and let it sit for 5-10 minutes until it gets foamy. Then proceed with the recipe. It takes a bit longer, but the result is the same.
Why did my rolls turn out dense?
This usually happens if the dough was over-kneaded or if the yeast was killed by hot milk. Make sure your milk is warm, not hot. Also, don’t add too much extra flour when shaping. The dough should be slightly sticky.
Can I make the dough ahead of time?
Yes! After mixing the dough, cover it and refrigerate it overnight. Let it come to room temperature for about an hour before shaping and baking. This can actually improve the flavor. I do this all the time for Sunday dinners.
Why did my brown butter burn?
Brown butter goes from perfect to burnt very quickly. Make sure you use a light-colored pan so you can see the color change. Stir constantly and remove from heat as soon as you smell the nutty aroma. If it’s already burnt, you have to start over. You can’t salvage it.
Can I freeze the raw dough?
It’s better to bake them first and then freeze. Raw dough can lose its rise potential if frozen and thawed. But if you must, shape the rolls, let them rise until doubled, then freeze them on a baking sheet. Once frozen, transfer to a bag. Thaw and bake as usual.
Pin This Recipe!
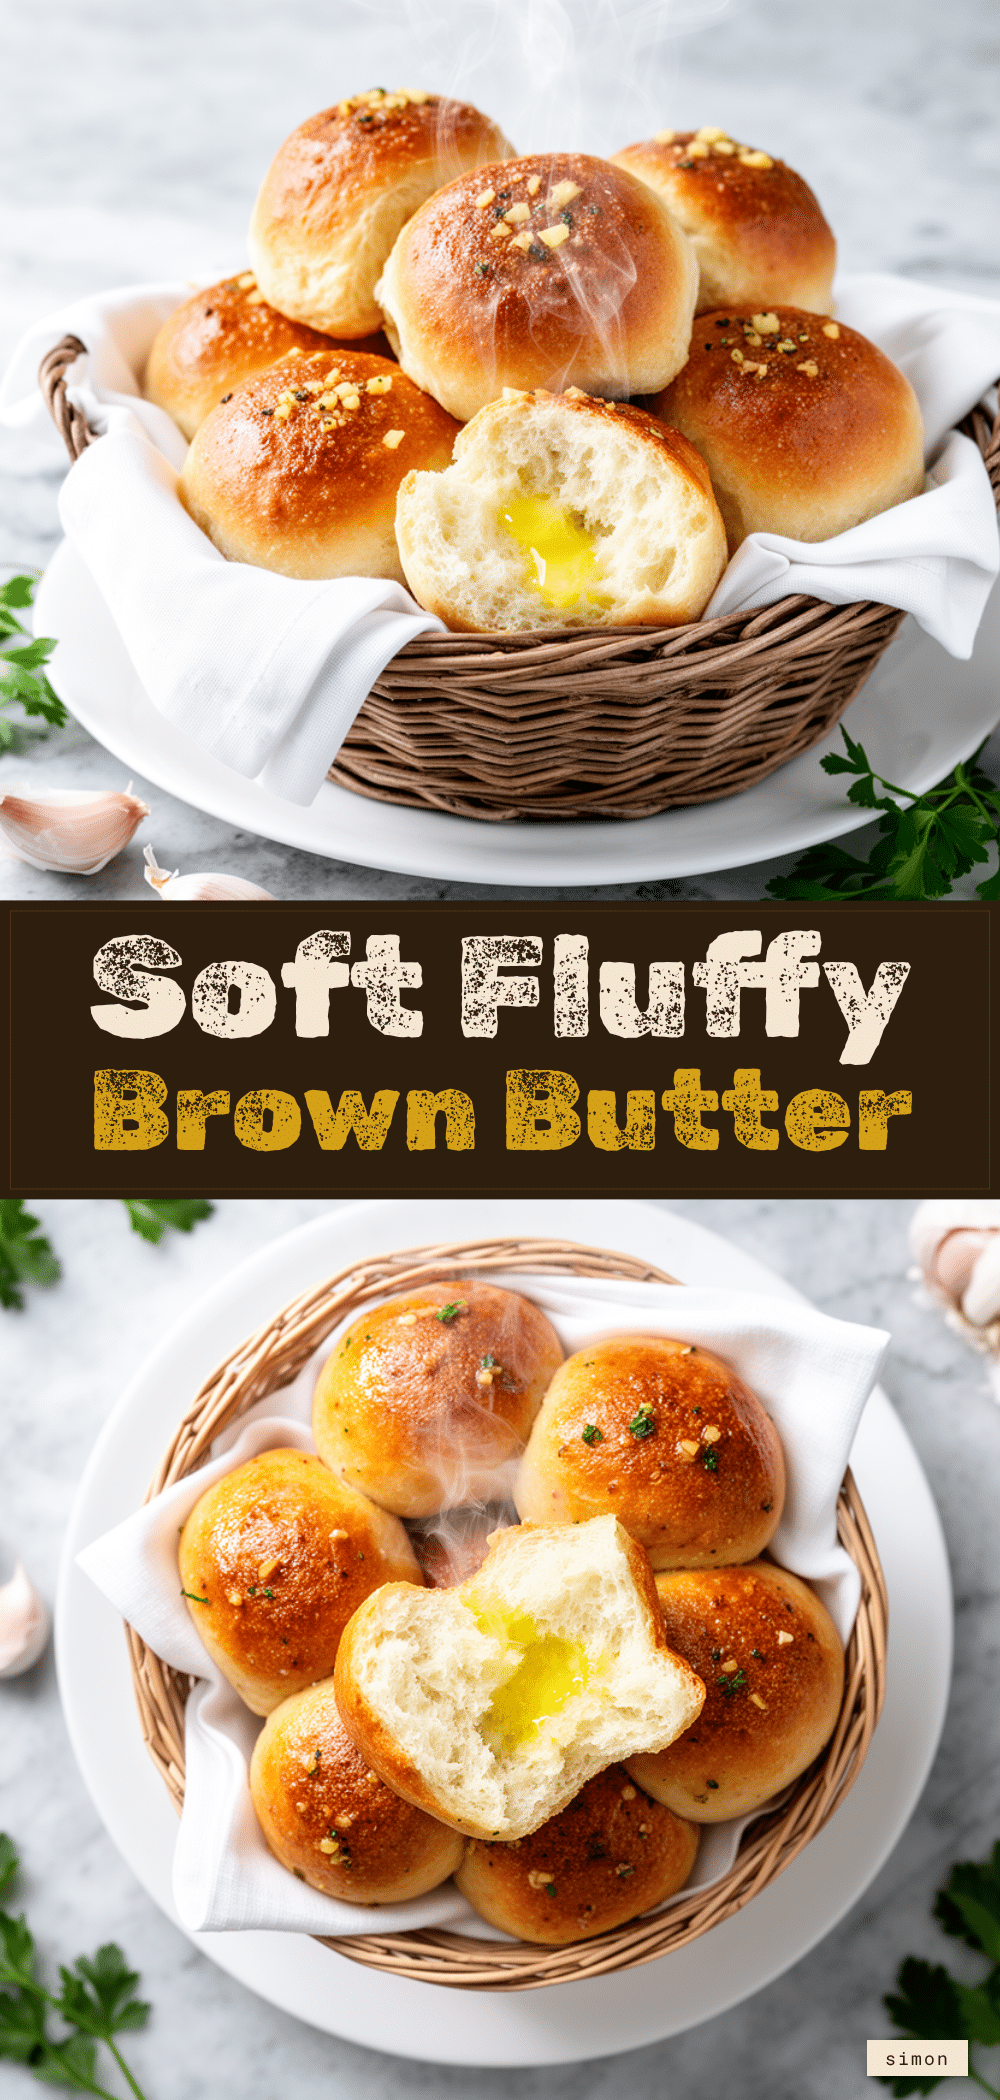

Brown Butter Garlic Dinner Rolls: 20-Minute Perfect Side
- Total Time: 40 minutes
- Yield: 12 servings 1x
Description
Rich, savory, and impossibly soft dinner rolls made with a quick no-knead dough and topped with a nutty brown butter garlic glaze. Perfect for busy weeknights.
Ingredients
- 3 cups (375g) all-purpose flour
- 2 teaspoons (7g) instant yeast
- 2 tablespoons (25g) sugar
- 1 teaspoon (6g) salt
- 1 cup (240ml) warm whole milk
- 1 large egg
- ½ cup (113g) unsalted butter
- 4–5 cloves garlic, minced
- 2 tablespoons fresh parsley, chopped
- ¼ teaspoon red pepper flakes
- ½ teaspoon extra salt
Instructions
- Brown the butter: Melt butter in a medium saucepan over medium heat, stirring constantly until it foams, crackles, and turns deep golden brown with a nutty aroma (3-5 minutes). Immediately remove from heat and pour into a heat-proof bowl to cool slightly.
- Mix the dough: In a large mixing bowl, whisk together flour, instant yeast, sugar, and salt. Make a well and pour in warm milk and egg. Mix until a shaggy dough forms. Cover and let rest for 10 minutes.
- Shape the rolls: Turn dough onto a lightly floured surface. Divide into 9-12 equal pieces and roll into smooth balls. Place seam-side down in a greased 9×13 inch baking dish. Cover loosely and let rise for 15-20 minutes.
- Make the glaze: Whisk the cooled brown butter with minced garlic, chopped parsley, red pepper flakes, and extra salt.
- Bake: Preheat oven to 375°F (190°C). Brush the glaze generously over the risen rolls. Bake for 18-20 minutes until golden brown and hollow when tapped.
- Cool and serve: Let cool in the pan for 5 minutes. Brush with extra glaze if desired and serve warm.
Notes
Ensure milk is warm (around 110°F) but not hot to avoid killing the yeast. Do not over-knead the dough to maintain softness. If the brown butter burns, start over as it cannot be salvaged. Rolls can be stored in an airtight container for up to 2 days or frozen for up to 3 months.
- Prep Time: 20 minutes
- Cook Time: 20 minutes
- Category: Side Dish
- Cuisine: American
Nutrition
- Serving Size: 1 roll
- Calories: 180
- Sugar: 3
- Sodium: 350
- Fat: 8
- Saturated Fat: 5
- Carbohydrates: 24
- Fiber: 1
- Protein: 4
Keywords: brown butter, garlic rolls, dinner rolls, quick bread, weeknight dinner, no-knead bread, garlic bread, homemade rolls