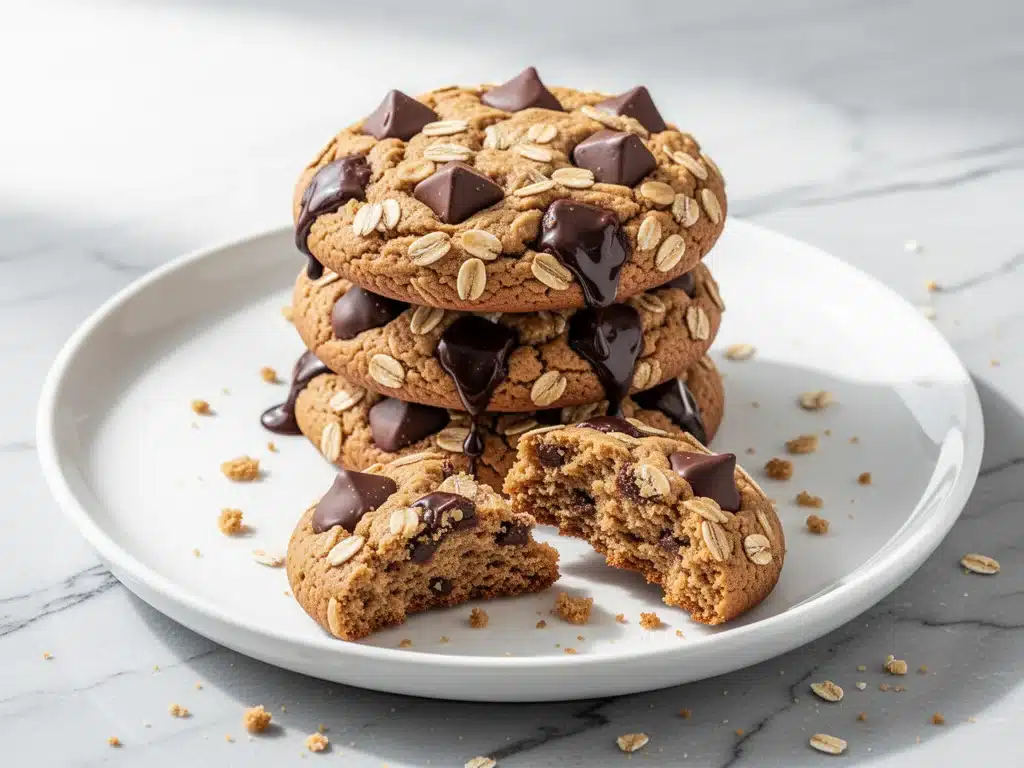
I still remember the look on my non-vegan friend Sarah’s face when I handed her a plate of these cookies at our office potluck. She took a bite, chewed thoughtfully, and then squinted at me like I’d just admitted to being a spy. “Wait,” she said, “these are vegan?” I nodded, trying not to grin too hard. She took another bite, then a third, and spent the rest of the afternoon asking for the recipe. That’s the magic of these vegan peanut butter oatmeal cookies with dark chocolate—they don’t just taste good, they trick your brain into thinking you’re eating something completely indulgent and dairy-loaded.
For years, I avoided baking vegan cookies. My fear was simple: they’d be dry, crumbly, or taste like they were made from cardboard and good intentions. I tried so many recipes that left me with sad, flat discs that shattered if you looked at them wrong. I even considered giving up on vegan baking entirely after one particularly disastrous attempt at a vegan chocolate chip cookie that tasted like burnt almonds and regret.
But then I stopped trying to replicate traditional cookies and started thinking about what makes a cookie *good*. Chewy? Oats. Rich? Peanut butter. Sweet? Dark chocolate. It’s a formula that works whether you’re using butter or not. These cookies have become my go-to for everything—office parties, last-minute gifts, and quiet Sunday mornings when I need a hug in cookie form. They’re thick, chewy, packed with melty chocolate chunks, and have that perfect peanut butter flavor that hits you before you even take a bite.
What started as a desperate attempt to make something edible for a dietary restriction turned into my favorite recipe in my entire collection. I’ve made these at least fifty times now, tweaking ratios and testing different oats, and I can honestly say: this is the one. The one people ask for. The one that disappears first. The one that proves you don’t need eggs or butter to make something absolutely delicious.
Why You’ll Love This Vegan Peanut Butter Oatmeal Cookie Recipe
There are about a dozen reasons I keep making these cookies, but let’s be real—you don’t need a list. You need to know if they’re actually worth the effort. Here’s why these vegan peanut butter oatmeal cookies with dark chocolate have earned a permanent spot in my rotation:
- They’re actually chewy, not crumbly — I’ve tested this recipe with brown rice flour, almond flour, and just oats. The secret? Using quick oats in the dough (not just rolled oats) creates that tender, chewy texture. These cookies hold together perfectly but melt in your mouth.
- Only 8 core ingredients — Seriously. You don’t need a grocery trip. You probably have most of this in your pantry right now. Peanut butter, oats, sugar, flour, chocolate, and a few pantry staples. That’s it. No weird vegan substitutes or hard-to-find ingredients.
- Ready in 25 minutes — From mixing to oven to cooling, you’re looking at about 25 minutes. I make these on weeknights when I want a treat but don’t want to spend hours baking. They’re faster than ordering takeout and infinitely better.
- Everyone loves them, vegan or not — This isn’t just a niche recipe for my vegan friends. My meat-and-potatoes dad loves them. My gluten-intolerant sister loves them (when I swap the flour). My coworkers think they’re the best cookies in the building. They’re a crowd-pleaser in the truest sense.
- They freeze beautifully — I make a double batch and freeze half the dough. When I suddenly crave cookies at 9 PM on a Tuesday, I just pull out a few dough balls and bake them. They taste just as good fresh as they do from frozen. This has saved me more times than I can count.
- They’re naturally dairy-free and egg-free — No need for expensive egg replacers or butter substitutes. The peanut butter and oats provide all the richness and structure you need. It’s simple, honest baking.
This is my answer to “what can I bring to the party?” or “I need a treat but I’m trying to eat cleaner.” These cookies hit that sweet spot—literally and figuratively. They’re indulgent enough to feel like a real dessert but wholesome enough that you won’t feel guilty eating two (or three, or four). I keep this recipe bookmarked on my phone because it’s the one I reach for when I need something reliable, delicious, and universally loved.
Ingredients You’ll Need
Here’s the best part: you probably have most of this already. This vegan peanut butter oatmeal cookie recipe relies on simple, accessible ingredients. I’m particular about three things here, and I’ll tell you exactly why.
For the Dough
Peanut butter (1 cup / 250g) — Use natural, creamy peanut butter. I prefer brands like Smuck’s Natural or Justin’s that don’t have added oils or sugars. The texture matters here; if your peanut butter is too oily, drain off the excess. If it’s too stiff, warm it up slightly in the microwave for 10 seconds. This is the star of the show, so don’t cheap out on it.
Quick oats (1 ½ cups / 120g) — Not rolled oats. Quick oats are finer and create a chewier, more tender cookie. I know some people swear by rolled oats, but I’ve tested both, and quick oats give you that soft-baked texture we’re going for. You can pulse rolled oats in a food processor to mimic quick oats if that’s all you have.
All-purpose flour (1 cup / 125g) — This provides structure. I use regular all-purpose flour, but you can substitute with a 1:1 gluten-free flour blend if needed. I’ve tested Bob’s Red Mill 1:1 blend and it works perfectly. Just don’t use almond flour or coconut flour—they’ll change the texture entirely.
Brown sugar (½ cup / 100g, packed) — Brown sugar is non-negotiable here. It adds moisture, chew, and that caramel-like depth. Light brown sugar works fine, but dark brown sugar gives a more robust molasses flavor. I like to use a mix of both for balance.
Granulated sugar (½ cup / 100g) — This helps with crisp edges. The combination of brown and white sugar gives you the best of both worlds: chewy centers and slightly crisp edges.
Coconut oil (¼ cup / 60ml, melted) — This replaces butter. I use refined coconut oil so it doesn’t taste like coconut, but unrefined works too if you don’t mind a subtle coconut flavor. Let it cool slightly before mixing so it doesn’t cook the oats.
Vanilla extract (2 teaspoons) — Don’t skip this. Vanilla brings everything together and adds that warm, bakery-like aroma. Use real vanilla extract, not imitation. The difference is noticeable.
For the Structure and Rise
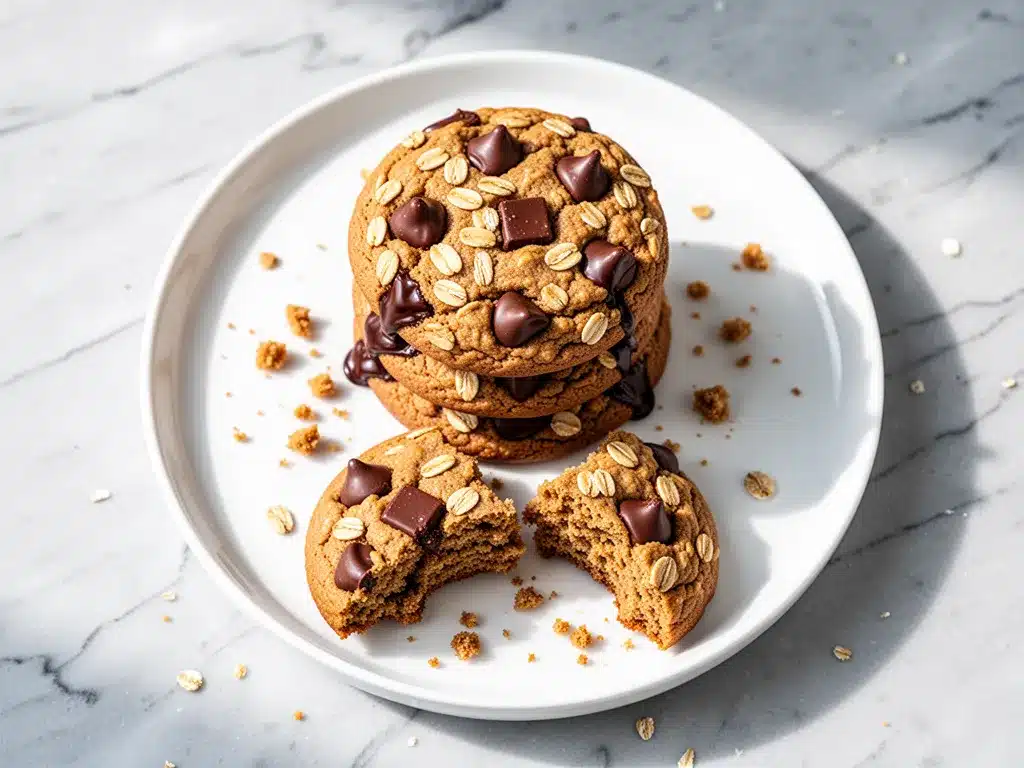
Ground flaxseed (1 tablespoon + 3 tablespoons water) — This is your “egg” replacer. Mix the ground flax with water and let it sit for 5 minutes until it becomes gelatinous. I buy pre-ground flax in the baking aisle, but you can grind whole flaxseeds yourself in a coffee grinder. It adds binding and a tiny bit of nuttiness.
Baking soda (1 teaspoon) — This helps the cookies spread and rise slightly. Make sure it’s fresh—old baking soda won’t work properly. If your baking soda has been sitting in the back of your cabinet for two years, toss it and buy new.
Salt (½ teaspoon) — Salt is flavor enhancer #1. It balances the sweetness and makes the peanut butter taste more intense. Don’t skip it, even if you’re watching sodium.
For the Chocolate
Dairy-free dark chocolate chunks (1 cup / 170g) — I use Ghirardelli 60% Cacao baking bars chopped into chunks, or Enjoy Life chocolate chips. Chopping your own chocolate gives you better distribution and bigger melty pockets. Pre-chipped chocolate is fine, but it melts too evenly and you don’t get those glorious gooey centers.
Optional: Sea salt flakes — A light sprinkle on top right after baking elevates everything. The salt crystals contrast with the sweet chocolate and peanut butter. I do this every time now.
Substitutions and Notes
No peanut butter allergy? You can substitute with sunflower seed butter (SunButter), but the flavor will be different. Almond butter works too but is more expensive. Cashew butter is mild and works well if you want a subtler taste.
Want them gluten-free? Swap the all-purpose flour for a 1:1 gluten-free blend. I’ve tested Bob’s Red Mill and King Arthur, and both work perfectly. The texture will be slightly more tender, but still delicious.
Lower sugar? You can reduce both sugars by 2 tablespoons, but the cookies will be less chewy and more cake-like. I don’t recommend cutting more than that—the sugar is what keeps them moist.
Equipment Needed
You don’t need fancy equipment for this. Here’s what I actually use:
Large mixing bowl — I use a 4-quart stainless steel bowl. It needs to be big enough to fold in the chocolate chunks without making a mess. My old ceramic bowl works fine, too.
Small bowl — For mixing the flax “egg.” Any small bowl will do.
Wooden spoon or silicone spatula — For mixing the dough. I prefer a sturdy silicone spatula because it scrapes the bowl clean. A wooden spoon works great too.
Baking sheets — Two standard half-sheet pans. I line them with parchment paper for easy cleanup. I’ve tried silicone mats, but parchment gives better browning.
Cooling rack — Optional but helpful. The cookies continue to cook on the hot pan, so transferring them to a rack stops the cooking process. If you’re impatient like me, you can just let them cool on the pan for 5 minutes.
Coffee grinder or food processor — Only needed if you’re grinding whole flaxseeds. Otherwise, skip this.
Serrated knife — For chopping chocolate bars into chunks. A regular knife works, but a serrated one makes it easier and safer.
Measuring cups and spoons — Standard stuff. I use both liquid and dry measuring cups for accuracy. The dollar store versions work fine.
Cookie scoop (optional) — I use a 2-tablespoon scoop for uniform cookies. It makes baking faster and ensures even baking. If you don’t have one, just use two spoons to drop dollops of dough.
How to Make It: Step-by-Step
Alright, let’s make this! I’m walking you through exactly how I do it, including the little tricks I’ve picked up over dozens of batches.
Step 1: Make the Flax “Egg” (5 minutes)
In a small bowl, whisk together 1 tablespoon of ground flaxseed with 3 tablespoons of warm water. Let it sit for 5 minutes until it thickens and becomes gelatinous. It should look like a thin glue. This is your binder, so don’t rush this step. If it’s still too watery after 5 minutes, let it sit for another 2-3 minutes.
Step 2: Cream the Wet Ingredients (3 minutes)
In a large mixing bowl, combine the peanut butter, melted coconut oil, brown sugar, and granulated sugar. Mix with a wooden spoon or electric mixer on medium speed until smooth and well combined. The mixture should look creamy and uniform. If your peanut butter is stiff, you might need to mix longer. This step takes about 2-3 minutes. Don’t skip creaming—it ensures even distribution of flavors.
Step 3: Add Vanilla and Flax Egg (1 minute)
Stir in the vanilla extract and the prepared flax “egg.” Mix until fully incorporated. The dough will start to look a bit thicker and stickier. This is normal. The flax adds moisture and helps bind everything together.
Step 4: Mix in Dry Ingredients (2 minutes)
Add the quick oats, all-purpose flour, baking soda, and salt to the wet mixture. Stir gently until just combined. Do not overmix! You want the flour to disappear, but if you mix too much, you’ll develop gluten and get tough cookies. The dough should be thick, sticky, and uniform. It will look a bit dry at first, but the chocolate chunks will add moisture.
Step 5: Fold in Chocolate Chunks (2 minutes)
Gently fold in the dairy-free dark chocolate chunks using a spatula. Reserve a small handful to press on top of the cookies later—I love having visible chocolate on top. The dough will be thick and heavy. If it’s too dry to hold together, add 1 tablespoon of water or extra peanut butter. If it’s too wet, add 1 tablespoon of flour.
Step 6: Scoop and Chill (30 minutes)
Using a cookie scoop or spoon, drop balls of dough onto parchment-lined baking sheets, spacing them about 2 inches apart. I chill the dough for 30 minutes in the fridge. This step is optional but highly recommended—it prevents the cookies from spreading too thin and helps them stay thick and chewy. If you’re in a hurry, you can skip this, but the cookies will be thinner. Place the baking sheets in the fridge while you wait.
Step 7: Bake (10-12 minutes)
Preheat your oven to 350°F (175°C). Bake the chilled dough balls for 10-12 minutes. The edges should be lightly golden, and the centers should still look slightly soft and underbaked. They will firm up as they cool. Do not overbake! These cookies continue to cook on the hot pan. If you bake them until they look fully set, they’ll be dry and crumbly.
Step 8: Cool and Finish (10 minutes)
Remove the baking sheets from the oven and immediately press a few extra chocolate chunks on top of each cookie for that professional look. Sprinkle with sea salt flakes if using. Let the cookies cool on the baking sheet for 5 minutes, then transfer to a wire rack to cool completely. They’ll be soft when you first take them out, but they’ll firm up as they cool. Be patient—resisting the urge to eat them hot is the hardest part.
Total Time: About 25 minutes active, plus 30 minutes chilling (or skip chilling for 25 minutes total).
Makes: About 24 cookies
Expert Tips & Tricks
Here’s everything I’ve learned from making these dozens of times. These tips will save you from my mistakes.
Chill the Dough
This is the #1 tip. Chilling the dough prevents over-spreading and concentrates the flavors. I’ve made these both chilled and unchilled, and the chilled version is objectively better. The cookies are thicker, chewier, and have a more complex flavor. If you’re short on time, at least chill for 15 minutes. But 30 minutes is ideal.
Don’t Overbake
Take them out when they look slightly underdone. The residual heat will finish cooking them on the pan. Overbaked vegan cookies tend to be dry and crumbly. I pull mine out when the edges are just starting to turn golden but the centers still look soft and puffy.
Use Natural Peanut Butter
Processed peanut butter with added sugars and oils can make the cookies too cakey. Natural peanut butter gives you that authentic, rich peanut flavor and the right texture. Just remember to stir it well before measuring, and drain any excess oil if it’s very runny.
Chop Your Own Chocolate
Pre-chipped chocolate melts too evenly. Chopping a bar gives you irregular chunks that create pockets of melty chocolate and crispy chocolate bits. It’s worth the extra 2 minutes. I use a serrated knife and chop the bar into rough chunks—some big, some small.
Room Temperature Ingredients
Make sure your coconut oil is melted but not hot. If it’s too hot, it can cook the oats or make the dough greasy. Let it cool to room temperature before mixing. Same with the peanut butter—if it’s straight from the fridge, warm it slightly so it mixes easily.
Common Mistakes (and how to avoid them)
- Mistake: Cookies spread too thin — Fix: Chill the dough longer, or add 1 extra tablespoon of flour. Also, make sure your baking soda is fresh.
- Mistake: Cookies are too dry — Fix: You overbaked them. Next time, take them out 1-2 minutes earlier. Or, add 1 extra tablespoon of peanut butter to the dough.
- Mistake: Dough is too sticky — Fix: Add 1 tablespoon of flour at a time until it’s manageable. Don’t add too much, or the cookies will be tough.
Variations & Substitutions
Once you’ve nailed the basic version, here’s how you can mix it up. I’ve tried all of these.
White Chocolate Macadamia Nut
Swap the dark chocolate for dairy-free white chocolate chunks and add ½ cup macadamia nuts. It’s sweet, tropical, and absolutely delicious. My kids prefer this version.
Snickerdoodle Style
Add 1 teaspoon cinnamon to the dry ingredients, and roll the dough balls in a mixture of cinnamon and sugar before baking. They taste like snickerdoodle cookies with a peanut butter twist.
Chewy Trail Mix
Add ½ cup chopped walnuts and ½ cup raisins along with the chocolate. It’s like a trail mix cookie. I make this for hiking trips because it’s dense, energy-packed, and delicious.
Coconut Version
Substitute half the flour with shredded coconut, and use coconut oil (unrefined for flavor). Add chocolate chips and a sprinkle of flaked coconut on top. It’s tropical and chewy.
Lower Sugar
Reduce both sugars by 2 tablespoons and add 1 mashed banana for moisture. The cookies will be less sweet but still flavorful. I make this version when I’m trying to cut back on sugar.
Dietary Modifications:
- Gluten-Free: Use a 1:1 gluten-free flour blend. Everything else is naturally gluten-free.
- Nut-Free: Substitute peanut butter with sunflower seed butter (SunButter). The flavor will be different but still tasty.
- Oil-Free: Substitute coconut oil with applesauce (use ¼ cup applesauce for ¼ cup oil). The cookies will be slightly more cake-like but still good.
Serving & Storage
How to Serve:
I usually serve these with a cold glass of oat milk or coffee. They’re perfect for afternoon snacks, office potlucks, or as a dessert after dinner. I also like to warm them slightly in the microwave for 15 seconds—they get gooey and delicious.
Side Pairings:
These cookies pair beautifully with coffee, tea, or cold milk. I also serve them alongside my fall caramel apple crisp for a cozy dessert spread. For a more substantial snack, pair them with a bowl of roasted red pepper soup—the sweet and savory combo is amazing.
Storage Instructions:
- Room Temperature: Store in an airtight container for up to 5 days. They stay soft and chewy if kept sealed.
- Refrigerator: Store for up to 2 weeks. Let them come to room temperature before eating for best texture.
- Freezer: Freeze baked cookies in an airtight container for up to 3 months. Thaw at room temperature. You can also freeze the dough balls—just add 1-2 minutes to the bake time.
Pro Tip: If your cookies start to dry out, store them with a slice of bread in the container. The bread releases moisture and keeps the cookies soft. I’ve used this trick for years and it works every time.
Nutrition Information
I’m not a nutritionist, but here’s the breakdown if you’re tracking. These estimates are per cookie (based on 24 cookies).
| Nutrient | Per Cookie |
|---|---|
| Calories | 145 |
| Protein | 4g |
| Carbs | 18g |
| Fiber | 2g |
| Sugar | 10g |
| Fat | 7g |
| Saturated Fat | 3g |
| Sodium | 95mg |
What’s Good:
Decent protein from peanut butter and oats. Fiber from the oats. Naturally dairy-free and egg-free. Lower in saturated fat than traditional butter cookies.
What to Know:
Moderate in sugar from the brown and white sugar. Calorie-dense due to peanut butter and chocolate. If you’re watching calories, stick to 1-2 cookies per serving.
My Take:
Look, these are cookies. They’re meant to be enjoyed. They’re not a health food, but they’re made with wholesome ingredients and no processed junk. I don’t feel guilty eating two of these. When I want to make them lighter, I reduce the sugar and add more oats. But usually? I just enjoy them and move on.
Final Thoughts
So that’s my go-to vegan peanut butter oatmeal cookie recipe! I’ve probably talked your ear off at this point, but when you make a recipe this often, you have a lot to say about it.
This recipe has saved me more times than I can count. It’s my answer to “what can I bring?” or “I need a treat but I’m vegan.” My friends are happy, my family is happy, and I’m happy because I’m not stressed about finding something everyone can eat. These cookies are reliable, delicious, and universally loved.
Make it yours! Try different chocolate, swap in your favorite nuts, or adjust the sugar. The best recipes are the ones you adapt to your tastes. If you make these, drop a comment and let me know what you think! I love hearing how recipes turn out in your kitchen. And if something doesn’t work, tell me that too—I’m here to help troubleshoot.
Happy baking! And I hope your kitchen smells half as good as mine does right now.
Frequently Asked Questions
Can I use rolled oats instead of quick oats?
You can, but the texture will be different. Rolled oats are thicker and chewier, which means your cookies will be more textured and less tender. If you only have rolled oats, pulse them in a food processor for 10-15 seconds to break them down into smaller pieces. This mimics quick oats and gives you a better result. I’ve tested both, and quick oats give the soft, chewy texture I prefer.
Why did my cookies spread too thin?
This usually happens for one of three reasons: the dough wasn’t chilled, the butter substitute was too warm, or the baking soda was old. Make sure you chill the dough for at least 30 minutes. Also, check your baking soda—if it’s been sitting in the cabinet for a while, it might not be active enough. Finally, make sure your coconut oil is melted but cooled to room temperature, not hot.
Can I make these ahead for a party?
Absolutely. I make the dough ahead and freeze it in balls. When I need them, I just pop a few in the oven. You can also bake them 2 days ahead and store in an airtight container. They’ll stay soft if stored properly. I do this all the time for office parties—just pack them in a nice container and bring them in.
Can I use almond butter instead of peanut butter?
Yes, but the flavor will be different. Almond butter is milder and more expensive. Sunflower seed butter (SunButter) is a great nut-free alternative, though it has a slightly different taste. Cashew butter works well too if you want a subtle flavor. Just make sure you use a natural, creamy nut butter without added sugars or oils.
How do I store leftover cookies?
Store in an airtight container at room temperature for up to 5 days. If your kitchen is humid, store them in the fridge for up to 2 weeks. To keep them soft, add a slice of bread to the container. The bread absorbs excess moisture and keeps the cookies tender. I’ve used this trick for years and it works every time.
Can I freeze the cookie dough?
Yes! Scoop the dough into balls and freeze them on a baking sheet for 1 hour, then transfer to an airtight container or freezer bag. They’ll keep for up to 3 months. Bake them straight from frozen, adding 1-2 minutes to the bake time. This is my favorite way to have cookies ready to go—I always have dough balls in the freezer.
Why are my cookies dry?
You probably overbaked them. Vegan cookies continue to cook on the hot pan after you take them out of the oven. Remove them when the edges are lightly golden but the centers still look soft. They’ll firm up as they cool. If they’re already dry, next time reduce the bake time by 1-2 minutes, or add 1 extra tablespoon of peanut butter to the dough.
Can I make these without oil?
Yes, substitute the coconut oil with ¼ cup of unsweetened applesauce. The cookies will be slightly more cake-like and less chewy, but still delicious. I’ve tested this version when I wanted to cut calories, and while they’re not quite the same, they’re still good. Just don’t expect the same rich, fudgy texture.
Pin This Recipe!
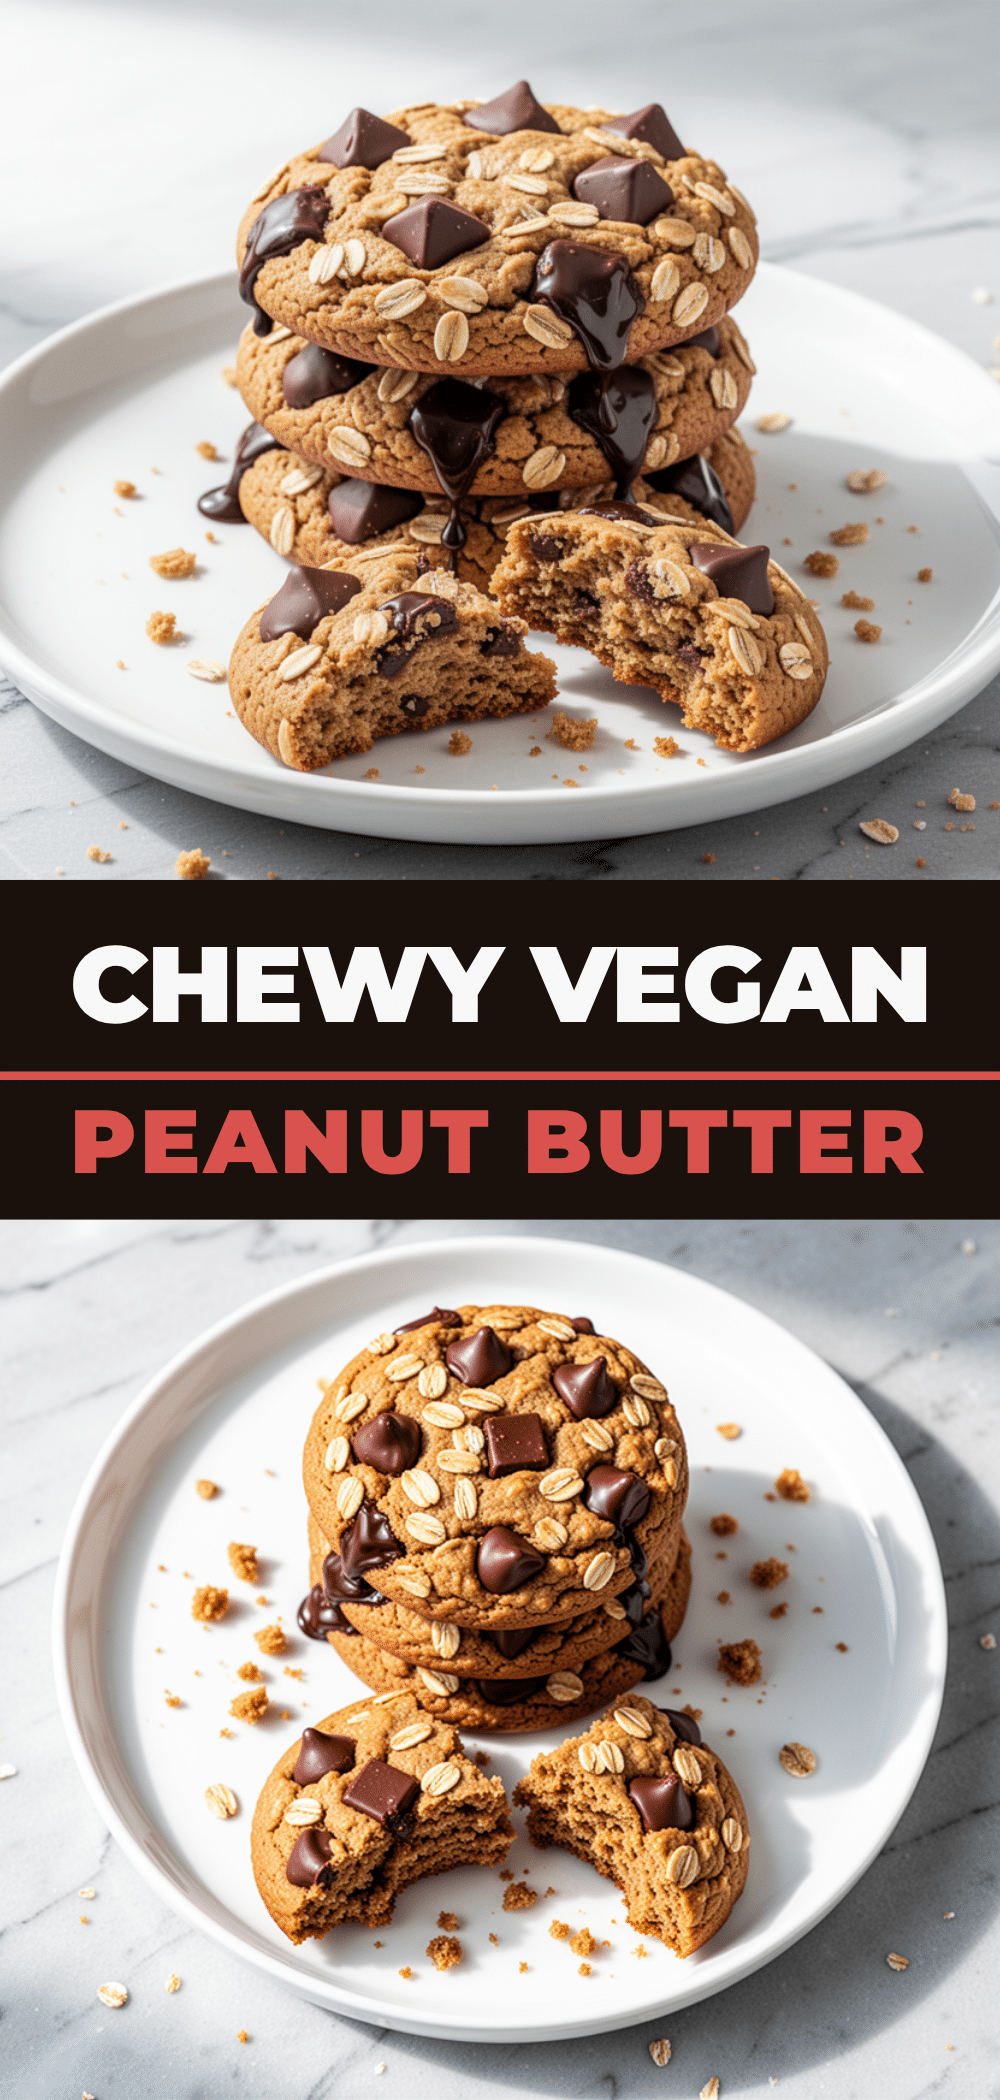
Vegan Peanut Butter Oatmeal Cookies
- Total Time: 25 minutes (plus 30 minutes chilling)
- Yield: 24 cookies 1x
Description
Chewy, thick, and rich vegan peanut butter oatmeal cookies packed with dark chocolate chunks. Naturally dairy-free and egg-free, these cookies are easy to make with just 8 core ingredients and are loved by everyone, vegan or not.
Ingredients
- 1 cup (250g) natural creamy peanut butter
- 1 ½ cups (120g) quick oats
- 1 cup (125g) all-purpose flour (or 1:1 gluten-free blend)
- ½ cup (100g) packed brown sugar
- ½ cup (100g) granulated sugar
- ¼ cup (60ml) melted refined coconut oil
- 2 teaspoons vanilla extract
- 1 tablespoon ground flaxseed mixed with 3 tablespoons water (flax egg)
- 1 teaspoon baking soda
- ½ teaspoon salt
- 1 cup (170g) dairy-free dark chocolate chunks
Instructions
- In a small bowl, whisk together 1 tablespoon of ground flaxseed with 3 tablespoons of warm water. Let sit for 5 minutes until gelatinous.
- In a large mixing bowl, combine peanut butter, melted coconut oil, brown sugar, and granulated sugar. Mix until smooth and creamy.
- Stir in the vanilla extract and the prepared flax egg until fully incorporated.
- Add quick oats, all-purpose flour, baking soda, and salt to the wet mixture. Stir gently until just combined; do not overmix.
- Gently fold in the dairy-free dark chocolate chunks, reserving a small handful for topping.
- Scoop dough balls onto parchment-lined baking sheets, spacing them 2 inches apart. Chill in the fridge for 30 minutes.
- Preheat oven to 350°F (175°C). Bake chilled dough balls for 10-12 minutes until edges are lightly golden but centers look soft.
- Remove from oven and immediately press reserved chocolate chunks on top. Sprinkle with sea salt flakes if using.
- Let cookies cool on the baking sheet for 5 minutes, then transfer to a wire rack to cool completely.
Notes
Chilling the dough is highly recommended to prevent spreading and ensure a chewy texture. Use natural peanut butter without added oils. Quick oats provide a better texture than rolled oats. Cookies continue to cook on the hot pan after removal from the oven, so do not overbake. Store in an airtight container with a slice of bread to maintain softness.
- Prep Time: 15 minutes
- Cook Time: 10-12 minutes
- Category: Dessert
- Cuisine: American
Nutrition
- Serving Size: 1 cookie
- Calories: 145
- Sugar: 10
- Sodium: 95
- Fat: 7
- Saturated Fat: 3
- Carbohydrates: 18
- Fiber: 2
- Protein: 4
Keywords: vegan cookies, peanut butter cookies, oatmeal cookies, dairy-free, egg-free, gluten-free option, dark chocolate cookies, easy baking



