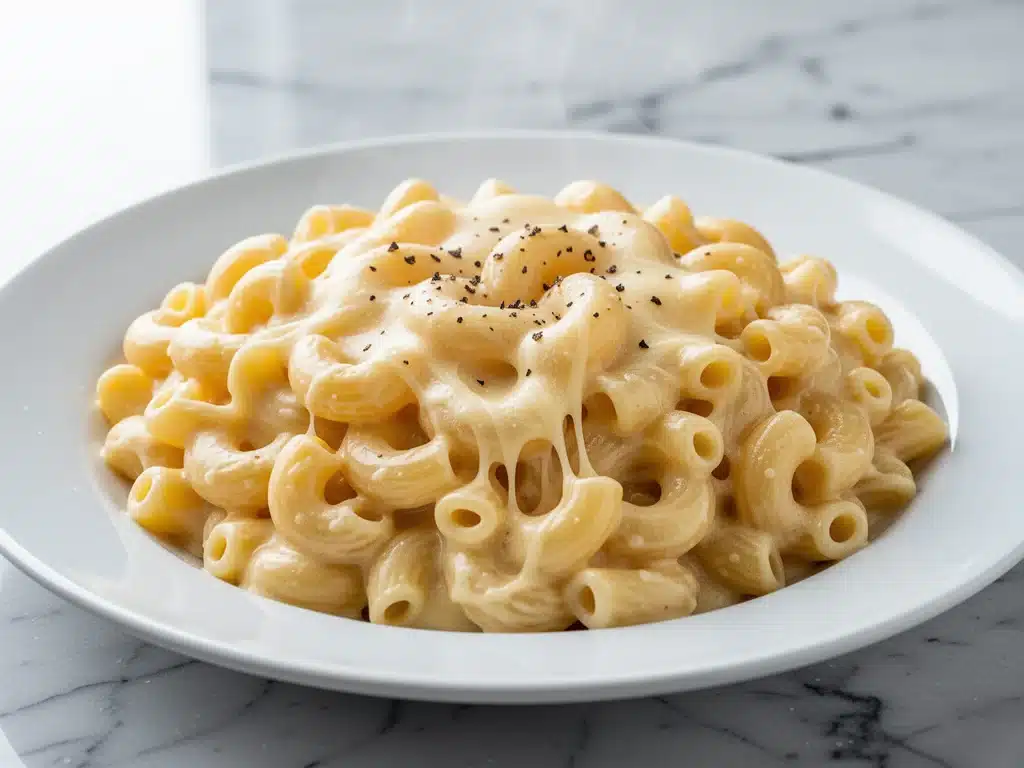
Three years ago, I stood in my kitchen at 6:45 PM, staring at a box of macaroni and cheese that cost $1.50. I was exhausted. It was one of those Tuesdays where the email inbox was exploding, the dog threw up on the rug, and I just wanted dinner to be done. I poured the powdered cheese into the boiling water, stirred it with a hollow sense of dread, and waited for the artificial orange sludge to thicken. It tasted like salt and regret.
I threw it in the trash. Yes, I threw away dinner. And then I made this ultra-creamy mac and cheese with a three-cheese sauce. It took 25 minutes. It smelled like comfort food heaven. My kids didn’t even notice the difference between that box and what I just made—they just asked for seconds. That night changed everything. I realized I didn’t need more time; I needed a better method.
This isn’t just another mac and cheese recipe. It’s the one I make on repeat. It’s the one I make when I have guests and need to look like I have my life together. It’s the one that proves you don’t need a food scientist’s degree to get a sauce that’s silky, smooth, and clinging to every noodle. After testing this version over a dozen times (and burning my tongue at least four of those times), I’ve cracked the code. It’s simple, it’s forgiving, and it tastes like it came from a high-end restaurant, but it costs less than a takeout order.
If you’ve ever been frustrated by grainy, separated, or watery cheese sauce, this is your answer. I’m sharing the exact ratios and techniques that guarantee that perfect, ultra-creamy texture every single time. No roux that turns lumpy. No weird starches you can’t pronounce. Just real cheese, real butter, and a whole lot of love.
Why You’ll Love This Ultra-Creamy Mac and Cheese Recipe
There are a lot of mac and cheese recipes out there. Some are baked with breadcrumbs and feel heavy. Some are fancy with truffle oil and cost a fortune. This one? It’s the goldilocks of comfort food. It’s the recipe I reach for when I need dinner to just work. Here’s why it’s become a staple in my kitchen:
- Actually Creamy, Not Greasy — A lot of recipes use too much butter, which results in a greasy pool on top. I’ve tested this sauce until it’s perfectly emulsified. It’s velvety and smooth, coating the pasta without leaving an oily residue. It’s the kind of sauce that makes you want to lick the spoon.
- Three Cheeses, One Goal — Using just one cheese often leads to a flat flavor or a sauce that doesn’t melt right. I use a specific trio: sharp cheddar for flavor, Gruyère for meltability, and Parmesan for that salty, umami kick. It’s a flavor combination that’s complex but familiar.
- Stays Creamy in Leftovers — This is huge. Most baked mac and cheese turns into a hard, cheesy brick after a day in the fridge. This stovetop-style sauce (which I also bake for a golden top) retains its creaminess. In fact, my husband insists the leftovers are better on day two because the flavors meld.
- Under 30 Minutes — You can have dinner on the table in less time than it takes to order Uber Eats. Boil pasta, make sauce, combine. It’s that fast. I make this on busy weeknights when I’m running on fumes.
- Kid-Approved (Even the Picky Ones) — My daughter, who usually picks out the “orange stuff,” asks for this. It’s not too sharp, not too spicy, just pure cheesy goodness. It’s a win in my book.
This recipe has saved me from takeout more times than I can count. It’s reliable, it’s delicious, and it makes your kitchen smell like a bakery. Once you try it, you’ll never go back to the box.
Ingredients You’ll Need for the Best Mac and Cheese
I’m going to keep this simple. You don’t need a grocery list that spans three aisles. I’m particular about a few items here, though, and I’ll tell you exactly why they matter. If you skimp on quality here, you’ll notice. If you stick to these basics, you’ll get restaurant-quality results.
For the Pasta
Elbow Macaroni (1 pound / 450g) — Stick with elbows. They hold the sauce perfectly. I use Barilla because they cook evenly and don’t get mushy. You can use cavatappi or shells, but elbows are the classic for a reason. They’re little cups for the cheese sauce.
For the Three-Cheese Sauce
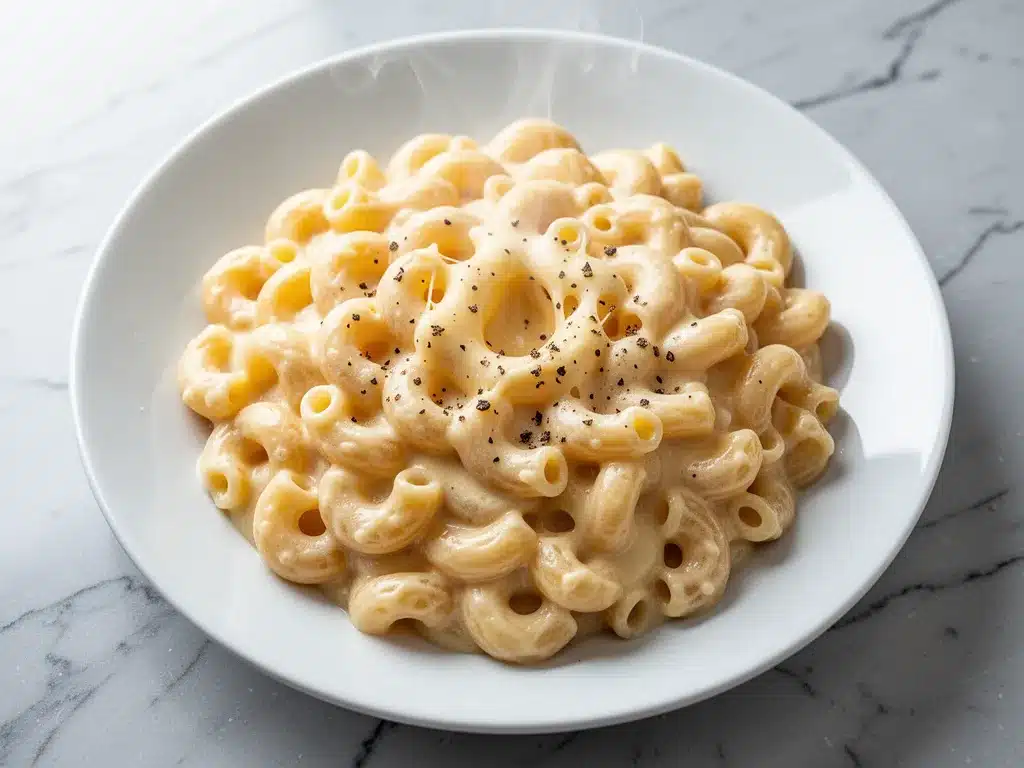
Butter (½ cup / 113g, unsalted) — This is your base. I use unsalted so I can control the sodium. Don’t skimp on the butter; it’s what gives the sauce its rich mouthfeel. If you’re feeling fancy, use cultured butter—it has a deeper, nuttier flavor.
All-Purpose Flour (½ cup / 65g) — This creates the roux, which thickens the sauce. It’s the secret to that glossy texture. Measure it carefully. Too much flour makes it pasty; too little makes it runny.
Whole Milk (2 cups / 480ml) — I use whole milk because the fat helps carry the cheese flavor. Skim milk makes a watery sauce. If you want it even richer, swap half the milk for heavy cream, but whole milk is the sweet spot for this recipe.
Sharp Cheddar Cheese (2 cups / 200g, freshly grated) — This is the star. Use a block of sharp cheddar and grate it yourself. Pre-shredded cheese has potato starch that prevents it from melting smoothly. I buy a 1-pound block of Cabot or Tillamook sharp cheddar. It’s worth the extra two minutes of grating.
Gruyère Cheese (1 cup / 100g, freshly grated) — This is the secret weapon. Gruyère melts beautifully and adds a nutty, sophisticated flavor that cheddar alone can’t provide. It’s what makes this sauce “ultra-creamy” rather than just “cheesy.” You can find it in the cheese section of most grocery stores.
Parmesan Cheese (½ cup / 50g, freshly grated) — This adds saltiness and depth. It’s the umami booster. Again, grate your own from a wedge. It melts faster and smoother than the pre-grated stuff.
For the Seasoning
Dijon Mustard (1 teaspoon) — It sounds weird in mac and cheese, but trust me. It adds a tangy brightness that cuts through the richness. You won’t taste the mustard directly; you’ll just taste a better, more complex cheese flavor.
Garlic Powder (½ teaspoon) — Fresh garlic can burn in the roux, so I use powder for a consistent, mild garlic note. If you really love garlic, add a pinch of onion powder too.
Smoked Paprika (½ teaspoon) — This adds a subtle smokiness that makes the cheese taste deeper. It’s optional, but I think it elevates the dish. If you don’t have it, skip it.
Salt and Black Pepper — To taste. Remember, your cheeses are already salty, so go easy on the salt until the end.
Cayenne Pepper (a pinch) — Just a pinch. It adds a tiny kick that wakes up the palate. It’s not spicy; it’s just interesting. I keep a jar of this specifically for cheese sauces.
Equipment Needed
You don’t need fancy gadgets for this. Here’s what I actually use, and what works:
- Large Stockpot — For boiling the pasta. I use a 6-quart pot. It needs to be big enough for the pasta to swim.
- Medium Saucepan or Dutch Oven — This is where the magic happens. I use a heavy-bottomed saucepan so the heat distributes evenly and doesn’t scorch the roux. A 3-4 quart size is perfect.
- Box Grater — For grating the cheese. A microplane works for the Parmesan, but a box grater is faster for the cheddar and Gruyère.
- Wooden Spoon — For stirring the roux and sauce. It doesn’t scratch the pan and distributes heat well.
- Colander — For draining the pasta. Or just use the lid if you’re feeling lazy.
- Measuring Cups and Spoons — Precision matters with the roux. Use real measuring tools, not just eyeballing it.
Pro Tip: If you plan to bake this later (which I sometimes do for a crispy top), make sure your saucepan can go in the oven, or have a baking dish ready to transfer the pasta and sauce to. I usually transfer it to a 9×13 baking dish if I’m adding breadcrumbs.
How to Make It: Step-by-Step
Alright, let’s make this! I’m walking you through exactly how I do it, including the little tricks I’ve picked up so you don’t make my mistakes.
Step 1: Prep the Cheese (5 minutes)
Before you turn on the stove, grate all your cheese. I know it’s tempting to use pre-shredded, but please don’t. The anti-caking agents in pre-shredded cheese will make your sauce grainy. Grate the cheddar, Gruyère, and Parmesan into separate bowls. Having them ready means you can add them quickly and evenly when the time comes.
Step 2: Boil the Pasta (10 minutes)
Bring a large pot of generously salted water to a boil. The water should taste like the ocean. Add the elbow macaroni and cook according to the package directions until al dente. It’s crucial that the pasta is slightly undercooked because it will continue to cook in the sauce. Drain the pasta and set it aside. Do not rinse it! The starch on the pasta helps the sauce cling.
Step 3: Make the Roux (3 minutes)
In your medium saucepan, melt the butter over medium heat. Once it’s foamy, add the flour. Whisk constantly. This is the roux. Cook it for about 2 minutes, stirring constantly, until it smells slightly nutty and turns a light golden color. Don’t let it burn! If it gets too dark, it’ll taste bitter. The roux is the foundation of your sauce’s texture.
Step 4: Add the Milk (5 minutes)
Gradually pour in the whole milk, whisking constantly. This is the part where people panic and add it all at once, leading to lumps. Take your time. Add it in a slow, steady stream while whisking. Once all the milk is in, keep whisking until the mixture comes to a simmer and thickens. It should coat the back of a spoon. This usually takes 3-5 minutes. If you see lumps, just keep whisking—they’ll disappear.
Step 5: Melt the Cheese (5 minutes)
Remove the saucepan from the heat. This is critical. High heat makes cheese separate and become oily. Let the sauce cool for a minute, then start adding the cheese. Add the cheddar first, stirring until melted. Then add the Gruyère, then the Parmesan. Add each cheese gradually, stirring until fully melted before adding the next. This ensures a smooth, creamy sauce.
Step 6: Season and Combine (2 minutes)
Stir in the Dijon mustard, garlic powder, smoked paprika, cayenne, salt, and pepper. Taste it. Does it need more salt? More pepper? Adjust to your liking. Now, add the drained pasta to the sauce. Stir gently but thoroughly until every noodle is coated. The sauce should be glossy and thick, not thin or runny.
Step 7: Serve or Bake
Serve immediately for the creamiest texture. Or, if you want a baked version, transfer to a baking dish, top with breadcrumbs and a little extra cheese, and bake at 350°F (175°C) for 20 minutes until bubbly and golden. I usually do the stovetop version for weeknights and the baked version for weekends.
Expert Tips & Tricks for Perfect Sauce
Here’s everything I’ve learned from making this dozens of times. These tips will save you from my mistakes.
- Low Heat for Cheese — Always remove the pan from the heat before adding cheese. High heat breaks the emulsion, and you’ll end up with a greasy, grainy mess. I learned this the hard way with a sauce that looked like oil slicks. Patience pays off.
- Grate Your Own Cheese — I cannot stress this enough. Pre-shredded cheese will not melt smoothly. It’s not worth the convenience. Spend the 5 minutes to grate your own. Your sauce will be silky and smooth.
- Don’t Overcook the Pasta — Undercook the pasta by 1-2 minutes. It will finish cooking in the hot sauce. If you cook it fully, it’ll be mushy by the time you eat it.
- Save Some Pasta Water — If your sauce is too thick, add a splash of the starchy pasta water. It helps thin the sauce and helps it cling to the noodles. It’s liquid gold.
- Warm Your Cheese — If your cheese is straight from the fridge, it can take longer to melt. Let it sit out for 15 minutes before you start, or microwave it for 10 seconds. Warm cheese melts faster and more evenly.
Variations & Substitutions
Once you’ve nailed the basic version, here’s how you can mix it up. I’ve tried all of these.
- Spicy Mac — Add 1 teaspoon of cayenne pepper and a diced jalapeño when you sauté the roux. Top with crispy bacon bits.
- BBQ Mac — Swap the smoked paprika for BBQ sauce (2 tablespoons). Add cooked, shredded chicken. It’s a southern classic.
- Veggie Loaded — Stir in steamed broccoli florets or sautéed spinach in the last minute. It adds color and nutrients without losing the creaminess.
- Gluten-Free — Use gluten-free elbow macaroni and gluten-free flour for the roux. Everything else is naturally gluten-free.
- Dairy-Free — Use dairy-free butter and milk. For the cheese, use a high-quality vegan cheddar and nutritional yeast. It’s not the same, but it’s close enough for a dairy-free version.
For more comfort food ideas, check out my creamy pumpkin alfredo pasta for a twist on classic comfort, or my butternut squash mac and cheese for a lighter, veggie-packed version.
Serving & Storage
How to Serve: I usually serve this straight from the pot with a big spoon. It’s rustic and cozy. Pair it with a simple green salad to cut the richness. Garlic bread is always a good idea.
Storage: Store leftovers in an airtight container in the fridge for up to 4 days. The sauce will thicken in the fridge—this is normal.
Reheating: To reheat, add a splash of milk to a skillet and warm gently over low heat, stirring frequently. This brings back the creaminess. Microwave it in 30-second intervals, stirring between, if you’re in a hurry. Don’t try to reheat it in the oven unless you’re baking it again.
Freezing: Mac and cheese doesn’t freeze well because the sauce can separate. It’s best eaten fresh or refrigerated for a few days.
Nutrition Information
I’m not a nutritionist, but here’s the breakdown if you’re tracking. This is a rich, indulgent dish, so keep portions in mind.
Per Serving (based on 8 servings):
- Calories: 450
- Protein: 18g
- Carbs: 45g
- Fat: 22g
- Sodium: 580mg
This is comfort food. It’s not a diet meal, but it’s made with real ingredients. When I want to make it lighter, I use less cheese and more vegetables, but usually? I just enjoy a reasonable portion and move on.
Final Thoughts
So that’s my ultra-creamy mac and cheese! I’ve probably talked your ear off at this point, but when you make a recipe this often, you have a lot to say about it. This has saved weeknight dinners more times than I can count. It’s my answer to “what’s for dinner” when I’m tired, don’t want takeout, and still want something that tastes really good. My kids are happy, my husband’s happy, and I’m happy because I’m not stressed about cooking.
Make it yours! Try different add-ins, swap in your favorite vegetables, adjust the spices. The best recipes are the ones you adapt to your family’s tastes. If you make this, drop a comment and let me know what you think! I love hearing how recipes turn out in your kitchen. And if something doesn’t work, tell me that too—I’m here to help troubleshoot.
Happy cooking! And I hope your kitchen smells half as good as mine does right now.
Frequently Asked Questions
Can I use pre-shredded cheese?
You can, but the sauce won’t be as smooth. Pre-shredded cheese has anti-caking agents that prevent it from melting evenly. For the best texture, grate your own cheese from a block. It’s worth the extra two minutes.
Why is my mac and cheese grainy?
This usually happens if the heat was too high when you added the cheese, or if you added the cheese too quickly. Always remove the pan from the heat before adding cheese, and add it gradually while stirring. If it’s already grainy, try whisking in a splash of warm milk—it can sometimes help smooth it out.
Can I make this ahead for a party?
Yes! Make the sauce and pasta separately. Store them in the fridge. When you’re ready to serve, reheat the sauce gently, add the pasta, and stir. It won’t be quite as good as fresh, but it’s close and saves you stress during the party.
What’s the best cheese to use?
I recommend a mix of sharp cheddar for flavor, Gruyère for meltability, and Parmesan for saltiness. If you can’t find Gruyère, Fontina or Monterey Jack are good substitutes for meltability.
Can I bake this mac and cheese?
Absolutely! After combining the pasta and sauce, transfer to a greased baking dish. Top with breadcrumbs and a little extra cheese. Bake at 350°F (175°C) for 20-25 minutes until bubbly and golden. This adds a nice crispy texture.
How do I reheat leftovers?
Add a splash of milk to a skillet and warm gently over low heat, stirring frequently. This restores the creaminess. Microwave it in short bursts, stirring between, if you’re in a hurry.
Pin This Recipe!
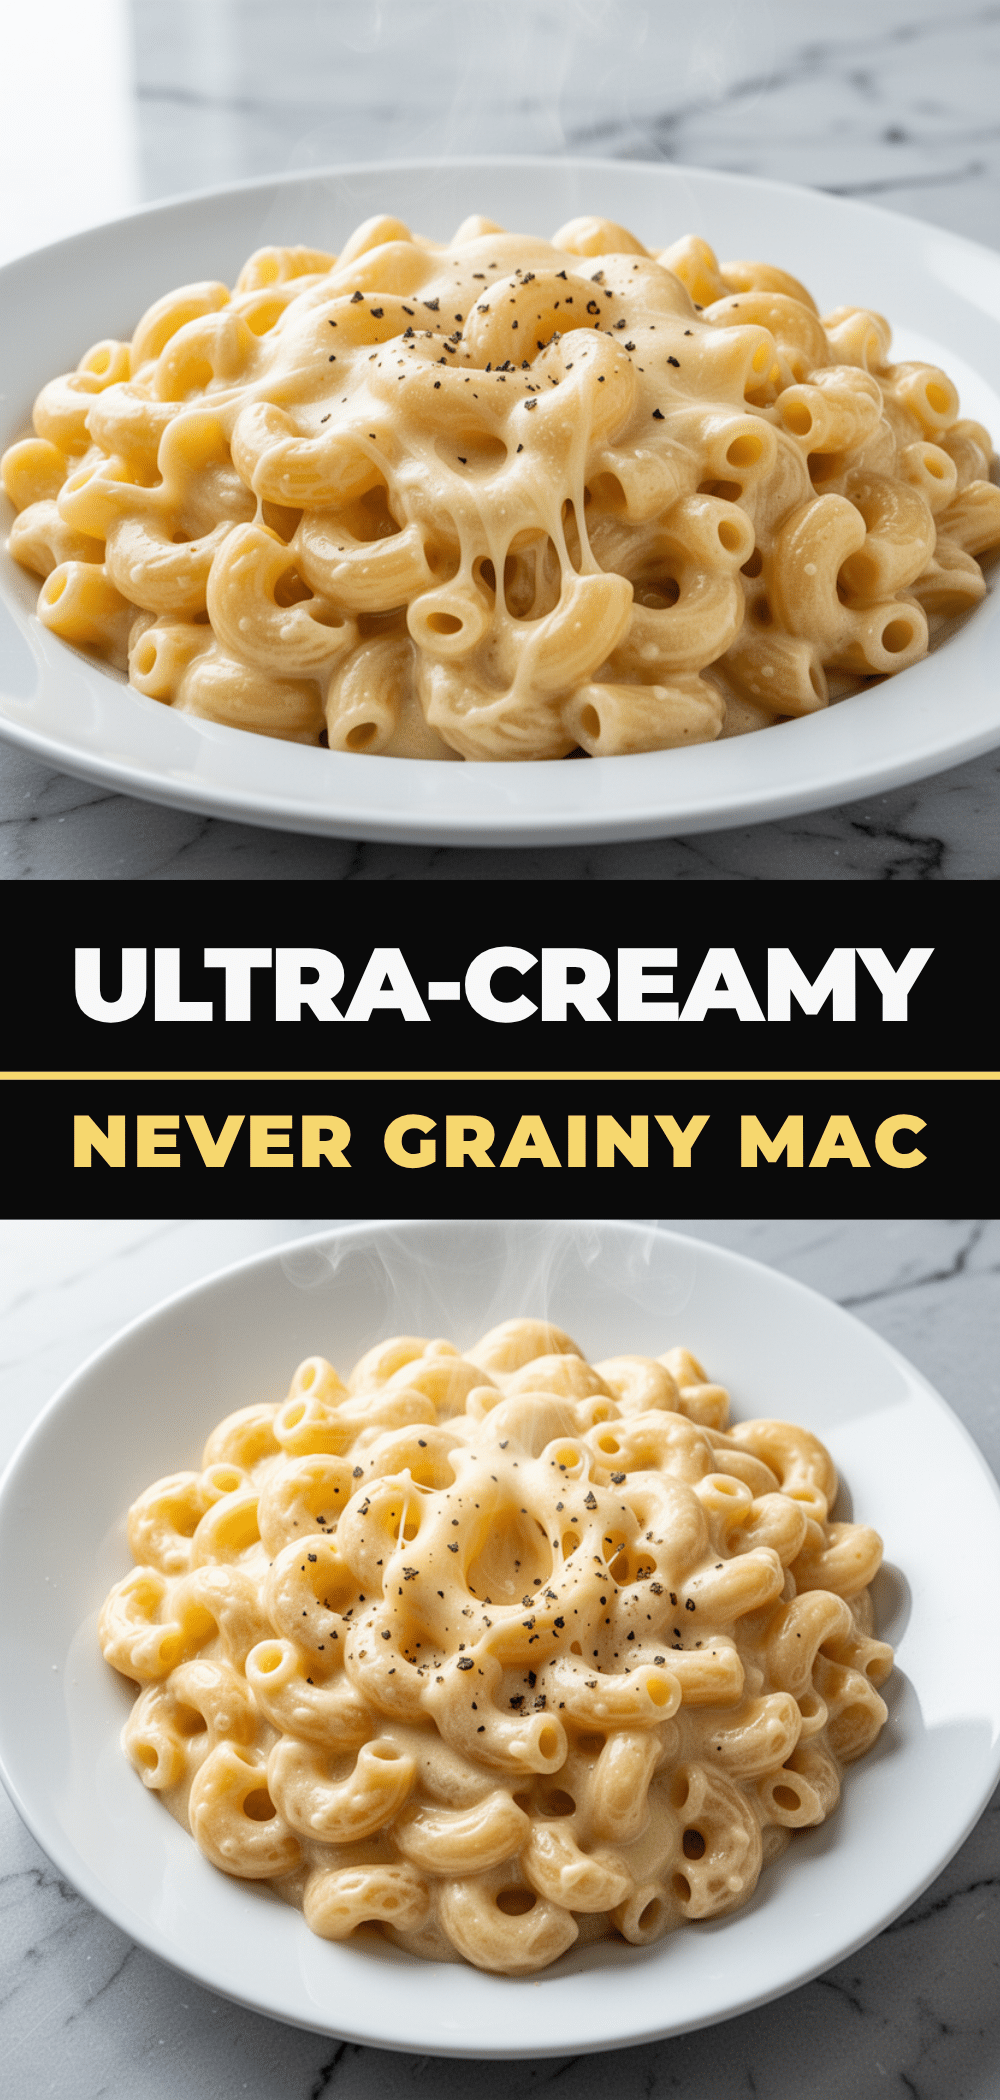

Ultra-Creamy Mac and Cheese: Best Easy Recipe
- Total Time: 25 minutes
- Yield: 8 servings 1x
Description
This ultra-creamy mac and cheese recipe uses a three-cheese sauce (sharp cheddar, Gruyère, and Parmesan) and a simple roux to create a silky, smooth texture in under 30 minutes. It is kid-approved, forgiving, and tastes like high-end restaurant quality.
Ingredients
- 1 pound elbow macaroni
- 1/2 cup unsalted butter
- 1/2 cup all-purpose flour
- 2 cups whole milk
- 2 cups sharp cheddar cheese, freshly grated
- 1 cup Gruyère cheese, freshly grated
- 1/2 cup Parmesan cheese, freshly grated
- 1 teaspoon Dijon mustard
- 1/2 teaspoon garlic powder
- 1/2 teaspoon smoked paprika
- 1 pinch cayenne pepper
- Salt and black pepper to taste
Instructions
- Grate the cheddar, Gruyère, and Parmesan cheeses into separate bowls.
- Bring a large pot of generously salted water to a boil and cook the elbow macaroni until al dente. Drain and set aside without rinsing.
- In a medium saucepan, melt the butter over medium heat. Add the flour and whisk constantly for about 2 minutes until the roux is light golden and nutty.
- Gradually pour in the whole milk while whisking constantly until the mixture simmers and thickens, coating the back of a spoon.
- Remove the saucepan from the heat. Add the cheeses one at a time (cheddar, then Gruyère, then Parmesan), stirring until fully melted before adding the next.
- Stir in the Dijon mustard, garlic powder, smoked paprika, cayenne, salt, and pepper.
- Add the drained pasta to the sauce and stir gently until every noodle is coated.
- Serve immediately for the creamiest texture, or transfer to a baking dish, top with breadcrumbs, and bake at 350°F (175°C) for 20 minutes.
Notes
Grate your own cheese to avoid anti-caking agents that prevent smooth melting. Remove the pan from heat before adding cheese to prevent separation. Undercook the pasta slightly as it will finish cooking in the sauce. Save some pasta water to thin the sauce if needed.
- Prep Time: 5 minutes
- Cook Time: 20 minutes
- Category: Main Course
- Cuisine: American
Nutrition
- Serving Size: 1 serving
- Calories: 450
- Sugar: 6
- Sodium: 580
- Fat: 22
- Saturated Fat: 12
- Carbohydrates: 45
- Fiber: 2
- Protein: 18
Keywords: mac and cheese, creamy mac and cheese, easy dinner, comfort food, three cheese sauce, stovetop mac and cheese, kid-friendly recipes



