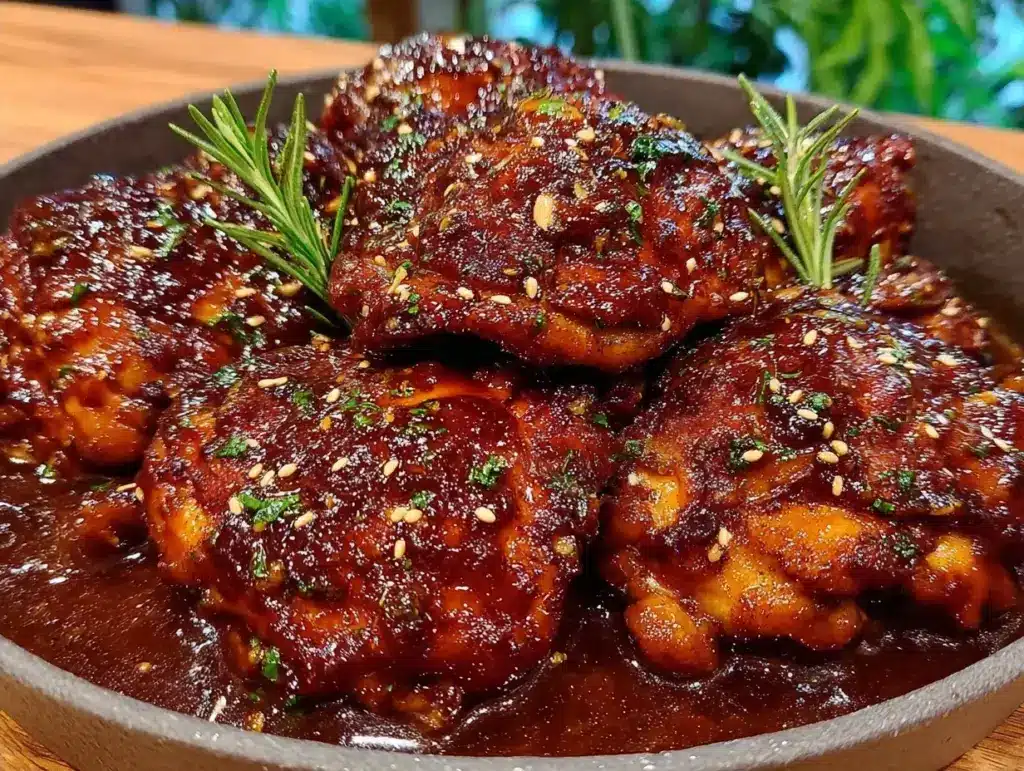
I still remember the exact moment I decided to quit ordering delivery. It was a rainy Tuesday in November, and I had just spent $28 on a “family size” of sesame chicken that arrived lukewarm in a flimsy plastic container. The rice was soggy, the sauce was a sugary sludge, and the chicken was basically breaded styrofoam. I ate three bites, felt heavy and regretful, and swore I’d never do it again.
But then came the craving. You know the one. That deep, specific itch for that sticky, sweet-salty crunch that only takeout can seem to satisfy. I tried making it at home a few times. I pan-fried the chicken until it was dry as a rock. I boiled the sauce until it was too thick to drizzle. I felt like I was fighting the ingredients, and they were winning.
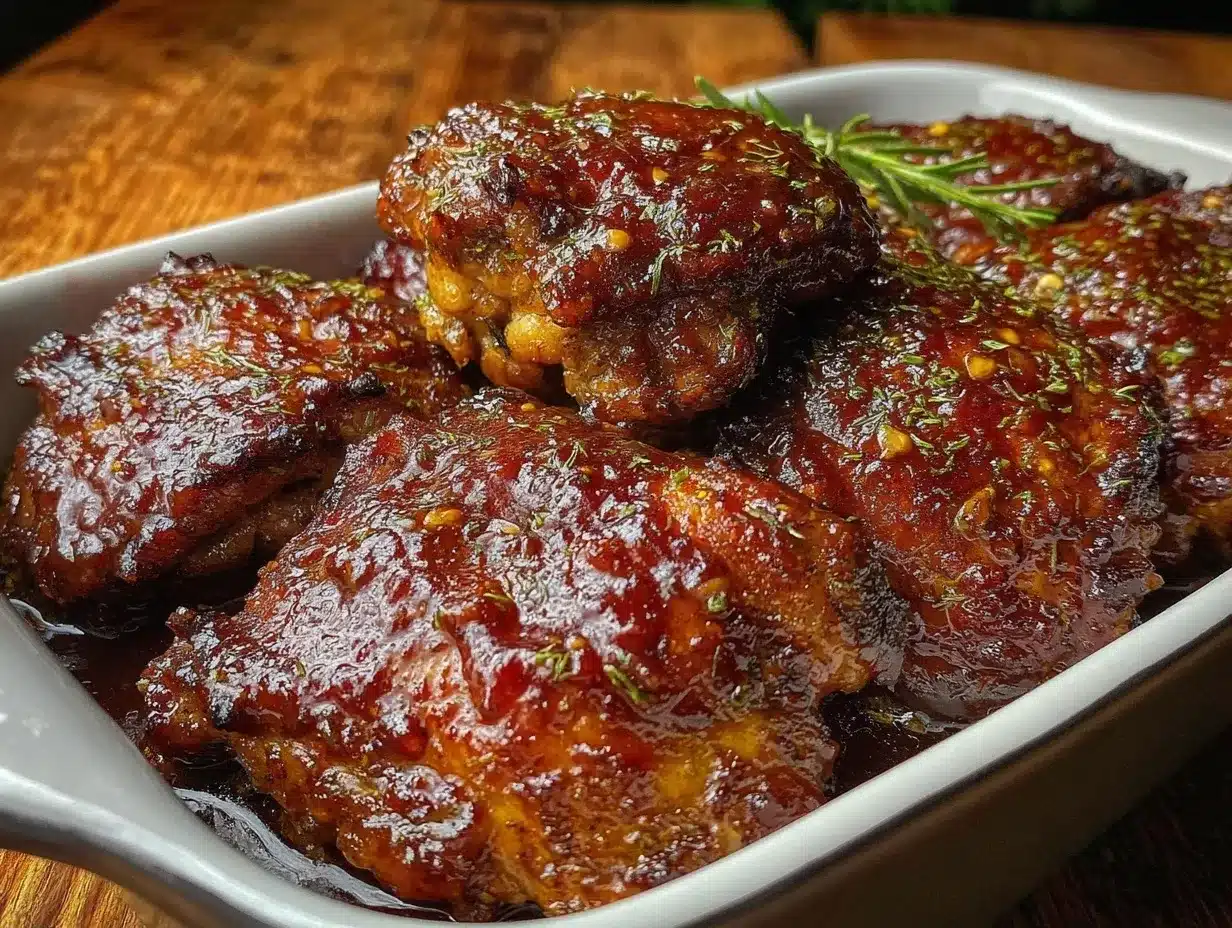
Then I tried baking the chicken thighs in the oven first, tossing them in a homemade glaze, and broiling them at the end. The result? Crispy edges, juicy meat, and a sauce that clings to every bite like it was fried in a wok. It took 45 minutes from start to finish, used ingredients I already had in my pantry, and cost about $12 total. My kids asked for seconds. My husband asked for the recipe. And honestly? It’s been on our rotation ever since.
These Sticky Baked Sesame Chicken Thighs are my answer to the takeout craving. They’re better than the restaurant version because you control the sugar, you get actual meat (not breaded filler), and you don’t have to wait for a driver. I’ve made this recipe at least a dozen times, tweaking the glaze until it was perfect. It’s sticky, it’s savory, it’s sweet, and it’s ridiculously easy. If you’ve been struggling with dry chicken or watery sauce, this is the fix.
Why You’ll Love This Recipe
There are a million chicken recipes out there. But this one? It’s special. It’s the one I make when I want something that feels indulgent but doesn’t leave me feeling sluggish. Here’s why this Sticky Baked Sesame Chicken Thighs has become my go-to:
- Actually Crispy, No Deep Frying — Baking the chicken first gives you that golden, crispy exterior without the mess of hot oil. I use a wire rack so the heat circulates evenly. No soggy bottoms.
- Sauce That Actually Sticks — Most homemade sesame chicken sauces slide right off. Mine thickens perfectly in the pan, coating every piece. It’s the “sticky” part that matters.
- Juicy Thighs, Not Dry Breasts — Chicken thighs are forgiving. They stay moist even if you overcook them slightly. Plus, they have more flavor. I’m never going back to breasts for this.
- 5-Ingredient Glaze — You don’t need a trip to the Asian market. Soy sauce, brown sugar, rice vinegar, ginger, and garlic. That’s it. Simple, pantry staples.
- Ready in Under an Hour — Prep takes 10 minutes. Bake takes 30. Toss in sauce takes 5. It’s faster than waiting for a delivery driver to find your house.
- Better Than Takeout — No MSG, no weird preservatives, just real food. And it tastes like you spent hours on it.
This is my “I need dinner to work” recipe. It’s reliable, it’s delicious, and it makes my kitchen smell amazing. Plus, the leftovers are fantastic for lunch the next day (though they rarely last that long).
Ingredients You’ll Need
Here’s the best part: you probably have most of this already. I’m not asking you to hunt for obscure ingredients. Here’s exactly what goes into these Sticky Baked Sesame Chicken Thighs:
For the Chicken:
Chicken thighs (2 lbs / 900g) — Boneless, skinless. I prefer thighs because they stay juicy. If you use breasts, reduce the baking time by 5-7 minutes to avoid dryness. Pat them dry! Moisture is the enemy of crispiness.
Cornstarch (2 tablespoons) — This is the secret weapon. Tossing the chicken in cornstarch creates a thin, crispy coating when baked. It’s lighter than flour and gives that restaurant-style texture. Don’t skip it.
Garlic powder (1 teaspoon) — Quick flavor boost. I use it because it distributes evenly. Fresh garlic goes in the sauce, so this is just for the chicken.
Salt and black pepper (to taste) — Season the chicken well before baking. It helps the cornstarch stick and adds flavor to the meat itself.
Vegetable oil (1 tablespoon) — Just enough to help the cornstarch adhere and promote browning. You can use any neutral oil.
For the Sticky Glaze:
Soy sauce (¼ cup / 60ml) — Use low-sodium if you’re watching salt. Regular works too, just taste before adding extra salt. I use Kikkoman because it’s consistent.
Brown sugar (3 tablespoons) — Dark brown sugar is best for that molasses-rich depth. It caramelizes beautifully in the oven. Light brown works in a pinch.
Rice vinegar (2 tablespoons) — Adds the necessary tang to balance the sweetness. If you’re out, apple cider vinegar works, but rice vinegar is more authentic.
Fresh ginger (1 tablespoon, grated) — Yes, fresh. Grated ginger has a brightness that powder can’t match. I grate it on a microplane for a smooth sauce.
Garlic (3 cloves, minced) — Don’t use jarred. Fresh garlic makes this sauce sing. Mince it finely so it doesn’t burn in the pan.
Water (2 tablespoons) — Thins the sauce slightly so it coats the chicken without being too thick.
sesame seeds (1 tablespoon, toasted) — For garnish. Toasting them in a dry pan for 2 minutes unlocks their nutty flavor. It’s a small step that makes a big difference.
Optional Add-ins:
Red pepper flakes — If you like a little kick, add ½ teaspoon to the sauce. It cuts through the sweetness nicely.
Green onions — Chopped thinly for garnish. Adds color and a fresh onion bite.
Sriracha — For spicy lovers, stir a spoonful into the glaze. Turns it into a sticky spicy chicken version.
Equipment Needed
You don’t need fancy gadgets for this. Here’s what I actually use:
Baking sheet — I use a standard half-sheet pan. It fits all the chicken in a single layer.
Wire rack — This is crucial. Placing the chicken on a wire rack over the baking sheet allows air to circulate underneath. It prevents steaming and ensures even crisping. I love my Wilton rack; it’s cheap and lasts forever.
Small saucepan — For simmering the glaze. A 1-quart saucepan works perfectly.
Large mixing bowl — For tossing the chicken in cornstarch. Any bowl works.
Whisk — For mixing the glaze ingredients smoothly.
Spatula — For tossing the chicken in the sauce. A silicone spatula is best.
Microplane or grater — For the fresh ginger and garlic. It makes mincing effortless.
Tongs — For flipping the chicken and tossing it in the sauce.
How to Make It: Step-by-Step
Alright, let’s make these Sticky Baked Sesame Chicken Thighs. I’m walking you through exactly how I do it, including the little tricks I’ve picked up over the years.
Step 1: Prep the Chicken (5 minutes)
Preheat your oven to 400°F (200°C). Line a baking sheet with foil (for easy cleanup) and place a wire rack on top. Pat the chicken thighs dry with paper towels. This is important—dry chicken crisps better.
In a large bowl, toss the chicken thighs with cornstarch, garlic powder, salt, and pepper. Toss until every piece is lightly coated. The cornstarch should look like a fine dust on the chicken. Drizzle with oil and toss again to help it stick.
Step 2: Bake the Chicken (30 minutes)
Arrange the chicken pieces on the wire rack in a single layer. Make sure they aren’t touching. This allows heat to circulate evenly. Bake for 30 minutes, flipping halfway through. The chicken should be golden brown and cooked through (internal temp of 165°F / 74°C). If you don’t have a wire rack, bake directly on the foil-lined sheet, but flip every 10 minutes.
Step 3: Make the Glaze (5 minutes)
While the chicken bakes, make the sauce. In a small saucepan over medium heat, combine soy sauce, brown sugar, rice vinegar, grated ginger, minced garlic, and water. Whisk until the brown sugar dissolves. Let it simmer for 3-4 minutes until it thickens slightly. It should coat the back of a spoon. Remove from heat.
Step 4: Toss and Broil (5 minutes)
Once the chicken is done, remove it from the oven. Pour the glaze into a large bowl. Add the hot chicken thighs to the bowl and toss gently to coat. The heat from the chicken will help the sauce cling.
Return the chicken to the wire rack (or a clean baking sheet if you’re broiling). Broil on high for 2-3 minutes, watching closely. The sugar in the glaze will caramelize and get sticky and bubbly. Be careful not to burn it!
Step 5: Garnish and Serve
Transfer the chicken to a serving plate. Sprinkle with toasted sesame seeds and chopped green onions. Serve immediately over steamed rice or cauliflower rice.
Total Time: About 45 minutes (10 minutes prep, 30 minutes bake, 5 minutes sauce, 5 minutes broil)
Expert Tips & Tricks
Here’s everything I’ve learned from making this dozens of times. These tips will save you from my mistakes.
Pat the Chicken Dry
This is the #1 tip. Moisture is the enemy of crispiness. If the chicken is wet, it steams instead of browning. Use paper towels and be thorough.
Don’t Skip the Wire Rack
If you bake the chicken directly on the pan, the bottoms get soggy. The wire rack elevates the chicken, allowing heat to hit all sides. It’s a game-changer for texture.
Simmer the Sauce Until It Coats
Don’t rush the sauce. If it’s too thin, it won’t cling to the chicken. If it’s too thick, it’ll be gloppy. Aim for a syrup-like consistency. It should coat the back of a spoon.
Watch the Broiler Like a Hawk
Sugar burns fast. Keep the oven door slightly open (if your oven allows) and watch closely. You want golden bubbles, not black char.
Toast Your Sesame Seeds
Raw sesame seeds are bland. Toasting them in a dry pan for 2-3 minutes brings out their nutty flavor. It’s a small step that adds big flavor.
Use Low-Sodium Soy Sauce
Soy sauce can be very salty. Using low-sodium lets you control the saltiness of the final dish. Taste the sauce before adding extra salt.
Variations & Substitutions
Once you’ve nailed the basic version, here’s how you can mix it up. I’ve tried all of these.
Spicy Version
Add 1 teaspoon sriracha or chili flakes to the glaze. It adds a nice heat that balances the sweetness. My friend who loves spice requests this version.
Honey Glaze
Substitute half the brown sugar with honey. It adds a floral sweetness and makes the sauce shinier. Delicious with ginger.
Teriyaki Style
Add 1 tablespoon mirin to the sauce. It adds a subtle sweetness and depth. Great with steamed broccoli.
Gluten-Free
Use tamari instead of soy sauce. Everything else is naturally gluten-free. I use Coconut Secret tamari because it’s soy-sauce-like but gluten-free.
Dairy-Free
This recipe is already dairy-free! No butter, no cream. Just chicken, sauce, and rice.
Vegetarian
Substitute chicken with firm tofu or seitan. Press the tofu, toss in cornstarch, and bake as directed. The sauce works perfectly with tofu.
Low-Carb
Skip the brown sugar and use a sugar substitute like erythritol. Serve over cauliflower rice instead of white rice. I make this when I’m watching carbs.
Serving & Storage
How to Serve:
I usually serve this straight from the plate, piled high over jasmine rice. But here are other ways I’ve enjoyed it:
Side Dishes:
– Steamed broccoli with garlic
– Stir-fried bok choy
– Cucumber salad with sesame dressing
– Edamame with sea salt
Wine Pairing:
A crisp Riesling or a light Pinot Noir works well. The sweetness of the chicken pairs nicely with slightly sweet wines.
Storage:
Store leftovers in an airtight container in the fridge for up to 3 days. The chicken will stay moist, but the sauce may thicken as it cools.
Reheating:
Best method: Reheat in a skillet over medium heat with a splash of water or chicken broth. This restores the sauciness. Microwave works but can make the chicken rubbery. Heat in 30-second intervals, stirring in a splash of water between.
Freezing:
Freezing baked chicken with sauce isn’t ideal—the texture can change. If you must freeze, freeze the chicken and sauce separately. Thaw in the fridge and reheat gently.
Nutrition Information
I’m not a nutritionist, but here’s the breakdown if you’re tracking.
Per Serving (based on 4 servings):
| Nutrient | Amount |
|---|---|
| Calories | 380 |
| Protein | 35g |
| Carbs | 22g |
| Fiber | 0g |
| Sugar | 18g |
| Fat | 14g |
| Saturated Fat | 3g |
| Sodium | 680mg |
What’s Good:
– High protein from chicken thighs
– Low carb (if you skip the rice)
– No dairy or gluten (if using tamari)
What to Know:
– Higher in sugar from the glaze
– Moderate sodium from soy sauce
– Higher in calories than steamed chicken
My Take:
Look, this is comfort food. It’s sweet, sticky, and satisfying. It’s not a diet recipe, but it’s better than takeout because you control the ingredients. When I want to make it lighter, I use less sugar and serve it over cauliflower rice. But usually? I just enjoy it and move on.
Final Thoughts
So that’s my Sticky Baked Sesame Chicken Thighs! I’ve talked your ear off, but when you make a recipe this often, you have a lot to say about it.
This has saved weeknight dinners more times than I can count. It’s my answer to “what’s for dinner” when I’m tired, don’t want takeout, and still want something that tastes really good. My kids are happy, my husband’s happy, and I’m happy because I’m not stressed about cooking.
Make it yours! Try different add-ins, swap in your favorite vegetables, adjust the sugar. The best recipes are the ones you adapt to your family’s tastes.
If you make this, drop a comment and let me know what you think! I love hearing how recipes turn out in your kitchen. And if something doesn’t work, tell me that too—I’m here to help troubleshoot.
Happy cooking! And I hope your kitchen smells half as good as mine does right now.
Frequently Asked Questions
Can I use chicken breasts instead of thighs?
You can, but thighs are juicier and more forgiving. If you use breasts, reduce the baking time by 5-7 minutes to avoid dryness. Breast meat can get tough if overcooked, so keep an eye on the internal temperature.
Why is my sauce too thin?
Simmer it longer. The sauce needs to reduce until it coats the back of a spoon. If it’s still thin after 5 minutes, add a teaspoon of cornstarch mixed with water to thicken it. But usually, just simmering is enough.
Can I make this ahead for a dinner party?
Sort of. You can prep the chicken and make the sauce ahead. Store them separately in the fridge. When ready to serve, bake the chicken, then toss in the sauce and broil. It won’t be quite as good as fresh, but it’s close and saves you stress during the party.
Why did my chicken not get crispy?
Most likely, the chicken wasn’t dry enough before coating, or it was crowded on the pan. Pat it dry thoroughly, and make sure the pieces aren’t touching. The wire rack helps a lot too.
Can I use honey instead of brown sugar?
Yes! Honey works beautifully. Use half honey and half brown sugar for a complex flavor, or all honey for a simpler, floral sweetness. Just watch it closely when broiling—honey burns faster than brown sugar.
How do I reheat leftovers without it getting dry?
Add a splash of water or chicken broth to a skillet, add your leftover chicken, and heat gently over low heat, stirring frequently. The extra liquid brings back the saucy texture. Microwave sort of works but tends to dry it out. If you do microwave, definitely add a splash of water first and heat in short bursts, stirring between.
Pin This Recipe!
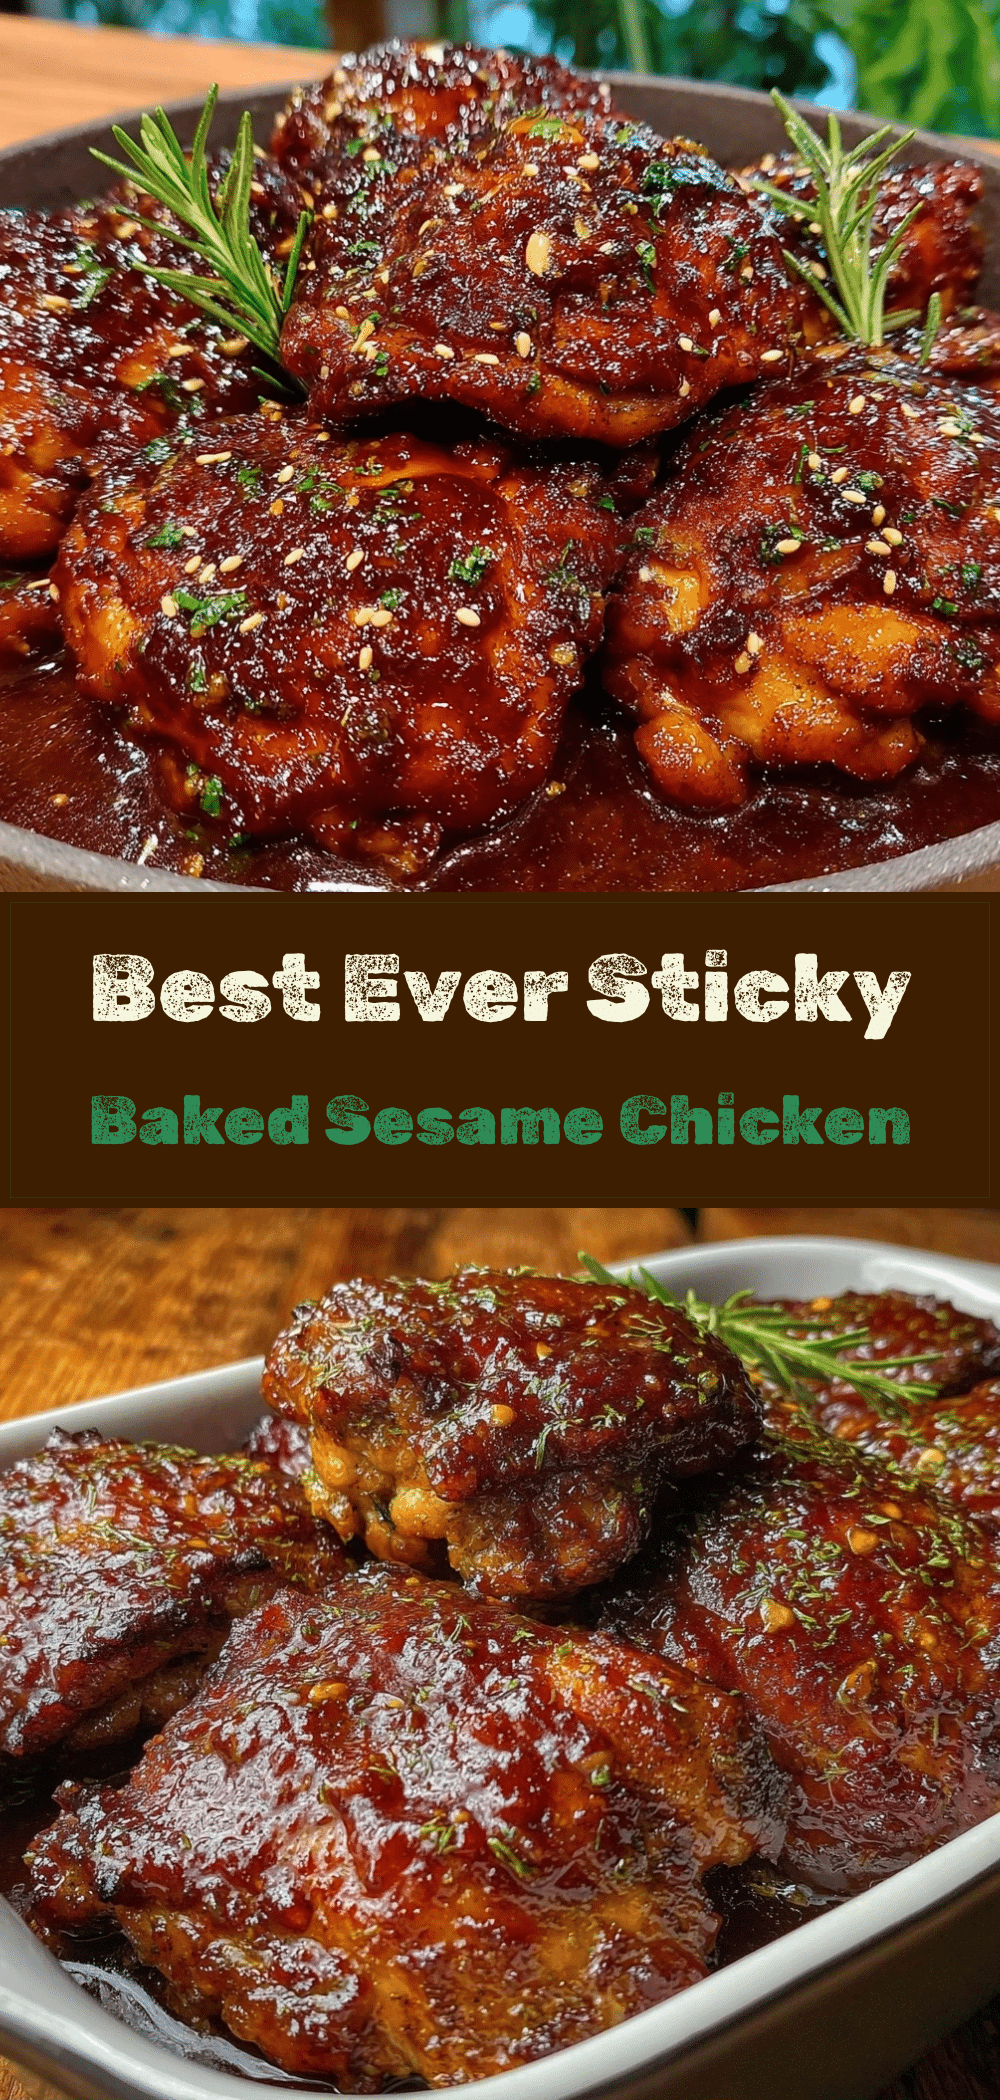

Sticky Baked Sesame Chicken Thighs: Better Than Takeout
- Total Time: 45 minutes
- Yield: 4 servings 1x
Description
Crispy baked chicken thighs tossed in a homemade sweet and savory sesame glaze. This recipe offers takeout-quality flavor with less sugar and no deep frying, ready in under an hour.
Ingredients
- 2 lbs boneless, skinless chicken thighs
- 2 tablespoons cornstarch
- 1 teaspoon garlic powder
- Salt and black pepper to taste
- 1 tablespoon vegetable oil
- 1/4 cup soy sauce (low-sodium recommended)
- 3 tablespoons brown sugar
- 2 tablespoons rice vinegar
- 1 tablespoon fresh ginger, grated
- 3 cloves garlic, minced
- 2 tablespoons water
- 1 tablespoon sesame seeds, toasted
- Optional: Red pepper flakes, green onions, Sriracha
Instructions
- Preheat oven to 400°F (200°C). Line a baking sheet with foil and place a wire rack on top.
- Pat chicken thighs dry with paper towels. In a large bowl, toss chicken with cornstarch, garlic powder, salt, and pepper until lightly coated. Drizzle with oil and toss again.
- Arrange chicken in a single layer on the wire rack. Bake for 30 minutes, flipping halfway through, until golden brown and internal temperature reaches 165°F.
- While chicken bakes, combine soy sauce, brown sugar, rice vinegar, ginger, garlic, and water in a small saucepan over medium heat. Whisk until sugar dissolves and simmer for 3-4 minutes until slightly thickened.
- Remove chicken from oven. Place hot chicken in a large bowl with the glaze and toss gently to coat.
- Return chicken to the wire rack or a clean baking sheet. Broil on high for 2-3 minutes, watching closely, until the sauce is caramelized and bubbly.
- Garnish with toasted sesame seeds and green onions. Serve immediately over steamed rice or cauliflower rice.
Notes
Patting the chicken dry is crucial for crispiness. Do not skip the wire rack to ensure even air circulation. Watch the broiler closely as sugar burns quickly. For a spicy version, add sriracha or red pepper flakes to the glaze.
- Prep Time: 10 minutes
- Cook Time: 35 minutes
- Category: Main Course
- Cuisine: Asian
Nutrition
- Serving Size: 1 serving (approx. 1
- Calories: 380
- Sugar: 18
- Sodium: 680
- Fat: 14
- Saturated Fat: 3
- Carbohydrates: 22
- Protein: 35
Keywords: sesame chicken, baked chicken, sticky chicken, healthy takeout, chicken thighs, easy dinner, gluten-free option, dairy-free



