Last Sunday, I was staring at a spreadsheet that looked more like a military operation than a meal plan, and I realized something: my sweet tooth was going to derail my entire week if I didn’t tackle it head-on. I’ve been meal prepping for three years, and I know the struggle. You get through Monday and Tuesday with your salads and grilled chicken, but by Wednesday afternoon, the stress hits, and you’re reaching for whatever is in the pantry. Usually, that’s not healthy.
So, I decided to prep dessert. Specifically, I decided to prep a Reese’s Peanut Butter Poke Cake for Meal Prep. I wanted something that tasted like a cheat day but actually fit into my weekly routine. I didn’t want individual cookies or bars that get stale in the fridge. I wanted something rich, something that held up to being sliced and stored, and something that tasted just as good on Thursday night as it did on Sunday afternoon.
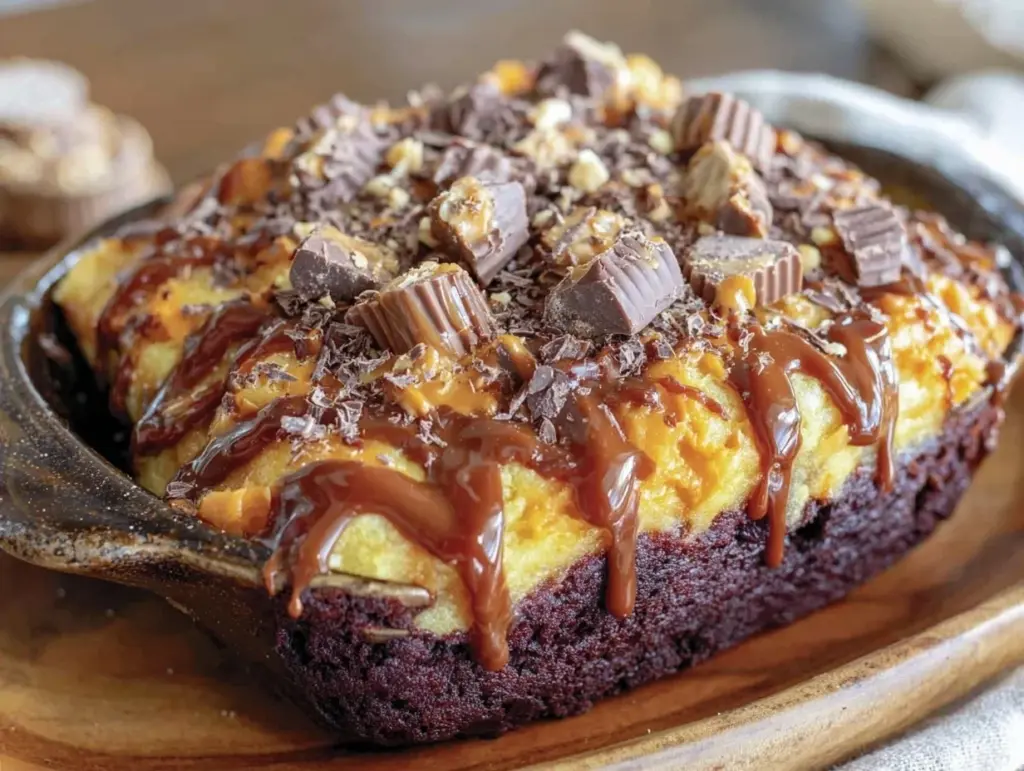
What I came up with is essentially a cross between a classic poke cake and a peanut butter cup. It’s a dense, fudgy chocolate base soaked in a warm peanut butter mixture, topped with a silky peanut butter frosting. I made one 9×13 pan, sliced it into 16 neat squares, and portioned them out into four containers. That’s four days of dessert handled. No more panic-buying ice cream or eating chocolate chips straight from the bag. This Reese’s Peanut Butter Poke Cake for Meal Prep is efficient, indulgent, and actually keeps well in the fridge.
I’ve tested this recipe at least five times, tweaking the soak ratio and the frosting consistency to ensure it doesn’t get soggy or dry out during the week. The result is a dessert that’s sturdy enough to survive in a Tupperware container but soft enough to melt in your mouth. If you’re looking for a way to satisfy your cravings without ruining your progress, this is it. It’s the dessert equivalent of a well-organized pantry: everything in its place, ready to go.
Why You’ll Love This Recipe
There are about ten reasons I keep making this, but here are the big ones that make it a staple in my Sunday prep routine.
It’s a True Make-It-Once, Eat-It-Four-Times Deal — Seriously, one pan yields four full days of dessert. I slice it into 16 squares, and I grab one each afternoon. It takes the decision-making out of my evening routine. I don’t have to think about what to eat; I just open the fridge and grab my pre-portioned square.
It Actually Freezes Well — This is huge for me. If I have a particularly crazy week coming up, I can freeze half of the cake. The texture doesn’t suffer at all. In fact, I think it tastes even better after it thaws in the fridge overnight. I’ve successfully frozen these squares for up to two weeks without any issues.
It’s Not Too Sweet — A lot of poke cakes are cloyingly sweet. I adjusted the sugar in the frosting and the peanut butter soak to balance the richness of the chocolate. It’s indulgent, but it doesn’t leave you feeling weighed down. It’s a sophisticated dessert, not a sugar bomb.
It’s Sturdy Enough for Transport — Unlike a mousse or a custard, this cake holds its shape. I’ve actually packed these squares in my lunchbox (yes, really) when I’m traveling for work. They don’t crumble, and they don’t leak. It’s the most practical dessert I’ve ever made.
It Tastes Like a Candy Bar — Let’s be honest. The flavor profile is basically a high-end peanut butter cup. The chocolate and peanut butter combo is timeless, and this method elevates it from a snack to a proper dessert experience. My kids love it, and honestly, I love it because it feels like a treat but fits my meal plan.
This is my go-to when I need dessert to just work. No complicated techniques, no weird ingredients, just reliable, delicious food that makes everyone happy.
Ingredients You’ll Need
Here’s the best part: you probably have most of this already. This isn’t a recipe that requires a special trip to a specialty store. I’m particular about a few things, but mostly, this is pantry-friendly.
For the Chocolate Cake Base
Boxed Chocolate Cake Mix (1 box, 15.25 oz / 432g) — I use a standard devil’s food or dark chocolate cake mix. Brands like Betty Crook or Duncan Hines work fine. I don’t believe in overcomplicating this step. If you want to make your own cake from scratch, you can, but the boxed mix ensures a consistent, dense texture that holds up to the soak.
Chocolate Pudding Mix (1 small box, 3.4 oz / 96g) — This is the secret weapon. Adding instant chocolate pudding mix to the cake batter makes it incredibly dense and fudgy. It’s what gives the cake its structure so it doesn’t turn into mush when you poke holes in it. Do not skip this.
Vegetable Oil (½ cup / 120ml) — Use a neutral oil. Canola or vegetable oil works best. Butter can be used, but it might make the cake a bit too heavy. Oil keeps it moist.
Water (1 cup / 240ml) — I use hot water. It helps bloom the cocoa in the cake mix and pudding mix, making the chocolate flavor more intense. If you’re feeling fancy, you can use hot coffee, but water is fine.
Eggs (2 large) — Room temperature eggs are best for even mixing. Don’t use cold eggs straight from the fridge.
For the Peanut Butter Soak
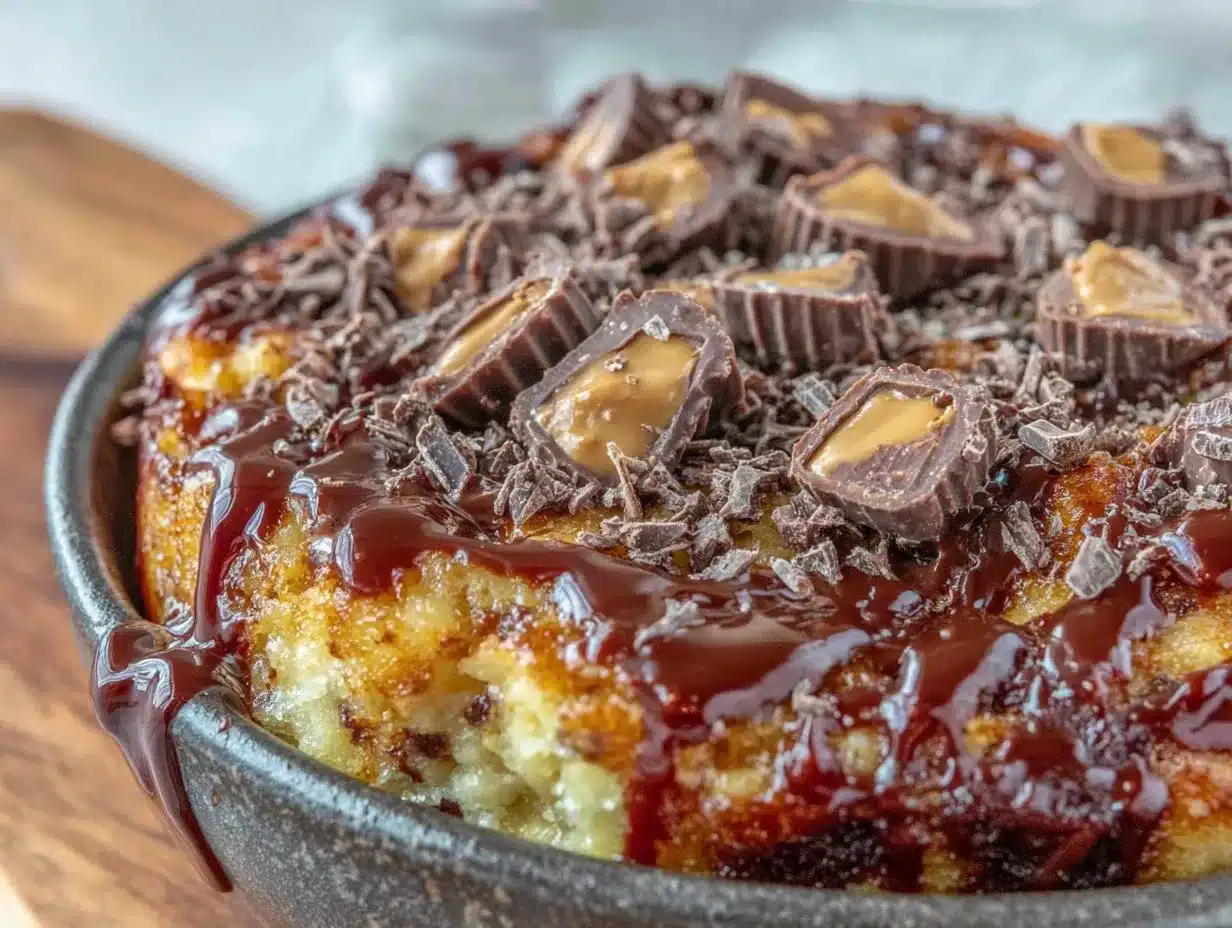
Creamy Peanut Butter (½ cup / 128g) — Use a standard brand like Jif or Skippy. Natural peanut butter can separate and might not blend as smoothly into the hot water. You want that smooth, consistent texture.
Hot Water (½ cup / 120ml) — This will be mixed with the peanut butter to create a thin, pourable sauce. Make sure the water is boiling hot so the peanut butter melts completely.
Granulated Sugar (2 tablespoons) — A little sweetness to balance the saltiness of the peanut butter. Adjust to taste if your peanut butter is very sweet.
For the Peanut Butter Frosting
Butter (½ cup / 113g, softened) — This needs to be softened to room temperature. If it’s too cold, it won’t whip up smoothly. If it’s too melted, the frosting will be greasy.
Cream Cheese (4 oz / 113g, softened) — Full-fat block cream cheese is essential. The tub stuff has too much water and won’t hold its shape. I use Philadelphia or a generic store brand; it doesn’t matter as much as the fat content.
Powdered Sugar (2 cups / 240g) — Sifted if it’s lumpy. You want a smooth, silky frosting. If you don’t sift it, you’ll get little white specks in your frosting, and that ruins the aesthetic for meal prep.
Vanilla Extract (1 teaspoon) — Pure vanilla adds depth. I use McCormick or Nielsen-Massey. Avoid imitation vanilla if you can help it.
Pinch of Salt — Enhances the peanut butter flavor. Don’t skip it.
Equipment Needed
You don’t need fancy equipment for this. Here’s what I actually use.
9×13 Inch Baking Pan — I use a glass Pyrex pan. It’s easier to see the bottom to ensure it’s baked through, and it’s easier to slice in the pan. Metal pans work too, but glass is my preference for even baking.
Hand Mixer or Stand Mixer — For whipping the frosting. A whisk will work, but it will take forever and your arm will hurt. A hand mixer is sufficient and easy to store.
Slotted Spoon or Fork — To poke holes in the cake. A wooden spoon handle works too, but a slotted spoon lets the soak drain through the holes more easily. I use a fork for precision.
Measuring Cups and Spoons — Standard stuff. Dollar store versions work fine.
Whisk — For mixing the cake batter and the peanut butter soak. A small whisk is best for the soak to ensure no lumps of peanut butter remain.
Sharp Knife — For slicing the cake. I use a chef’s knife. Clean the blade between cuts if you want neat squares.
Meal Prep Containers — I use glass containers with dividers. They stack well in the fridge and don’t stain. Plastic works too, but glass feels more premium and doesn’t retain odors.
How to Make It: Step-by-Step
Alright, let’s make this! I’m walking you through exactly how I do it, including the little tricks I’ve picked up. This is a methodical process, so follow along.
Step 1: Bake the Cake (45 minutes total)
Preheat your oven to 350°F (175°C). Grease your 9×13 inch baking pan with non-stick spray or butter. In a large bowl, combine the chocolate cake mix, the dry instant pudding mix, eggs, oil, and hot water. Beat with a hand mixer on medium speed for about 2 minutes. The batter will be thick and dense. Pour it into the prepared pan and spread it out evenly. Bake for 25-30 minutes, or until a toothpick inserted in the center comes out clean. Let the cake cool in the pan for at least 15 minutes. It should be warm, not hot, when you poke it.
Step 2: Poke the Holes
Take your fork or slotted spoon and poke holes all over the surface of the cake. Aim for about one hole per square inch. Don’t go all the way through to the bottom of the pan, just deep enough to create channels for the soak. This is the “poke” part of the poke cake. If the holes are too small, the soak won’t penetrate. If they’re too big, the cake might fall apart. Aim for the middle ground.
Step 3: Make and Pour the Soak
While the cake is cooling, mix the peanut butter soak. In a microwave-safe bowl, combine the creamy peanut butter, hot water, and sugar. Microwave for 30-45 seconds and whisk until smooth and pourable. It should look like a thin syrup. Pour this mixture evenly over the warm cake. You’ll see it sink into the holes. This step infuses the cake with the peanut butter flavor and keeps it moist. If some areas look dry, just pour a little extra over them.
Step 4: Make the Frosting
Once the cake is completely cool (and the soak has been absorbed), it’s time for the frosting. In a large bowl, beat the softened butter and cream cheese together until smooth and creamy. Add the powdered sugar, vanilla extract, and salt. Beat on low speed until the sugar is incorporated, then increase to high speed and beat for 2-3 minutes until the frosting is light and fluffy. If it’s too stiff, add a teaspoon of milk. If it’s too runny, add more powdered sugar.
Step 5: Frost and Chill
Spread the frosting evenly over the cooled cake. Use an offset spatula for a smooth finish, or just a butter knife for a rustic look. Once frosted, place the cake in the refrigerator for at least 2 hours, or preferably overnight. This allows the frosting to set and the flavors to meld. This chilling time is crucial for meal prep because it makes the cake easier to slice cleanly.
Step 6: Slice and Store
After chilling, remove the cake from the fridge. Use a sharp knife to cut the cake into 16 squares. Wipe the knife clean between cuts for neat edges. Place four squares into each of four meal prep containers. Seal the containers and store them in the fridge. They will keep for up to 5 days. If you want to freeze them, wrap each square individually in plastic wrap and place them in a freezer-safe bag. They will last for up to 2 months.
Expert Tips & Tricks
Here’s everything I’ve learned from making this dozens of times. These tips will save you from my mistakes.
Don’t Skip the Pudding Mix
I tried this recipe without the pudding mix once, and the cake was too airy. It didn’t hold the soak well and got soggy. The pudding mix adds density and fudginess, which is exactly what you want for a poke cake. It’s the structural integrity of the dessert.
The Soak Must Be Hot
If your peanut butter soak isn’t hot enough, it won’t pour into the holes. It’ll just sit on top and create a sticky mess. Make sure your water is boiling hot before mixing it with the peanut butter. If it cools down, microwave it for 10 seconds.
Cool Completely Before Frosting
I know it’s tempting to frost the cake while it’s still warm, but don’t do it. The heat will melt the cream cheese and butter in the frosting, turning it into a greasy puddle. Let the cake cool to room temperature, then chill it. Patience pays off.
Chill Before Slicing
This is the most important tip for meal prep. If you try to slice a warm or room-temperature poke cake, it will crumble. The frosting will smear, and the soak will leak. Chill it for at least 2 hours, preferably overnight. Cold cake slices cleanly. Cold frosting holds its shape.
Use a Sharp Knife
A dull knife will crush the cake. Use a sharp chef’s knife or a serrated bread knife. If you’re worried about crumbs, wipe the blade with a damp cloth after every few cuts.
Portion Control
Since this is rich and dense, one square is a perfect serving. I find that if I don’t portion it out immediately, I’m tempted to eat three squares in one sitting. Put them in containers right away. Out of sight, out of mind.
Variations & Substitutions
Once you’ve nailed the basic version, here’s how you can mix it up. I’ve tried all of these.
Chocolate Chip Version
Sprinkle ½ cup of chocolate chips over the warm cake after poking the holes, then pour the soak. The chips will melt slightly into the cake, adding bursts of chocolate. This is my personal favorite variation.
Reese’s Pieces Version
Sprinkle ½ cup of Reese’s Pieces candies over the frosting before chilling. It adds a fun crunch and more peanut butter flavor. My kids love this version because it looks like a candy bar.
Gluten-Free Option
Use a gluten-free chocolate cake mix and ensure your pudding mix and peanut butter are certified gluten-free. The texture might be slightly different, but it still works. I’ve used King Arthur Gluten-Free Flour Mix with good results.
Lower Sugar Option
Use a sugar-free chocolate cake mix and sugar-free pudding mix. For the frosting, use a sugar-free powdered sugar alternative. The soak will still have sugar, but you can reduce it to 1 tablespoon. It’s not as sweet, but it’s still delicious.
Dairy-Free Option
Use dairy-free butter and cream cheese alternatives for the frosting. Use water instead of milk in the soak if your peanut butter contains dairy (most don’t, but check). The cake mix might contain dairy, so check the label. It’s doable, but the texture might be slightly less rich.
Vegan Option
Use a vegan chocolate cake mix and vegan pudding mix. Use vegan butter and vegan cream cheese for the frosting. Use water instead of eggs in the cake batter. The soak and frosting will be vegan-friendly if you check the ingredients. It’s not my first choice, but it works.
Serving & Storage
How to Serve:
I usually serve this straight from the fridge. The cold frosting and dense cake are perfect together. But here are other ways I’ve enjoyed it:
Side Dishes:
– A cup of black coffee or espresso (cuts the sweetness)
– A glass of cold milk
– A side of fresh berries (strawberries or raspberries) to add acidity
Storage Instructions:
Refrigerator:
Store in an airtight container for up to 5 days. The cake will stay moist, and the frosting will stay firm. Make sure the containers are sealed tight to prevent the cake from drying out.
Freezer:
Wrap each square individually in plastic wrap, then place them in a freezer-safe bag or container. They will last for up to 2 months. Thaw in the fridge overnight before eating. Do not thaw at room temperature, as the frosting might sweat.
Reheating:
I don’t recommend reheating this cake. The texture changes, and the frosting might separate. Eat it cold or at room temperature. If you must reheat, microwave a square for 10-15 seconds just to take the chill off. Don’t overdo it.
Meal Prep Strategy:
Make the cake on Sunday. Chill it overnight. Slice it on Monday morning. Portion it out into four containers. Store in the fridge. Grab one each day. It’s that simple.
Nutrition Information
I’m not a nutritionist, but here’s the breakdown if you’re tracking. This is per square (1/16 of the pan).
| Nutrient | Amount |
|---|---|
| Calories | 380 |
| Protein | 6g |
| Carbs | 42g |
| Fiber | 2g |
| Sugar | 32g |
| Fat | 22g |
| Saturated Fat | 8g |
| Sodium | 280mg |
What’s Good:
– Decent protein from the peanut butter and cream cheese
– Satisfying and filling, so you’re less likely to overeat
– Easy to portion control
What to Know:
– Higher in calories and sugar due to the cake mix and frosting
– Contains dairy and gluten
– Moderate sodium
My Take:
Look, this is dessert with peanut butter and chocolate. It’s not a diet recipe. But it’s way better than takeout, costs less, and I know exactly what’s in it. When I want to make it lighter, I use the sugar-free version and stick to one square. But usually? I just eat a reasonable portion and enjoy it. It’s a treat, and treats are part of a balanced life.
Final Thoughts
So that’s my Reese’s Peanut Butter Poke Cake for Meal Prep! I’ve probably talked your ear off at this point, but when you make a recipe this often, you have a lot to say about it.
This has saved my sweet tooth more times than I can count. It’s my answer to “what’s for dessert” when I’m tired, don’t want to cook, and still want something that tastes really good. My family is happy, and I’m happy because I’m not stressed about cooking.
Make it yours! Try different add-ins, swap in your favorite candies, adjust the peanut butter amount. The best recipes are the ones you adapt to your family’s tastes.
If you make this, drop a comment and let me know what you think! I love hearing how recipes turn out in your kitchen. And if something doesn’t work, tell me that too—I’m here to help troubleshoot.
Happy cooking! And I hope your kitchen smells half as good as mine does right now.
Frequently Asked Questions
Can I use crunchy peanut butter instead of creamy?
You can, but the texture will be different. The soak might be a bit thicker, and the frosting will have chunks in it. I prefer creamy for a smooth, consistent texture, but crunchy adds a nice crunch. If you use crunchy, make sure to whisk the soak well to break up any large chunks.
Why did my cake turn out soggy?
This usually happens if you poke too many holes or if you use too much soak. Stick to one hole per square inch. Also, make sure you’re using the correct amount of soak. If you pour all of it and the cake is still wet, let it sit for an hour to absorb. If it’s still soggy, you might have used too much water in the soak.
Can I make this ahead for a dinner party?
Absolutely! This is actually better made ahead. Make it 2-3 days in advance. The flavors meld and get better over time. Just keep it covered in the fridge until you’re ready to serve. It’s a great make-ahead dessert because it doesn’t require last-minute effort.
Can I freeze the whole cake?
I don’t recommend freezing the whole cake because the frosting might crack when it thaws. It’s better to freeze individual squares. Wrap them tightly in plastic wrap and store in a freezer bag. Thaw in the fridge overnight.
Can I use homemade chocolate cake instead of boxed?
You can, but the texture will be different. Boxed cake mix is denser and holds up better to the soak. If you use homemade cake, make sure it’s a dense chocolate cake, not a light and airy one. Otherwise, it might fall apart. I stick with boxed for consistency.
How long does the soak last?
The soak is poured over the cake immediately after making it. It doesn’t store well on its own because the peanut butter will harden when it cools. Make it fresh and pour it over the warm cake. If you have leftover soak, you can microwave it and use it as a dip for fruit or crackers.
Can I double this recipe?
Yes, double everything and use a 9×13 inch pan. The cooking times stay the same. I do this when I’m meal-prepping for two weeks or feeding a crowd. Just make sure your pan is big enough for the batter—you might need to use two pans or a very large 9×13.
Pin This Recipe!
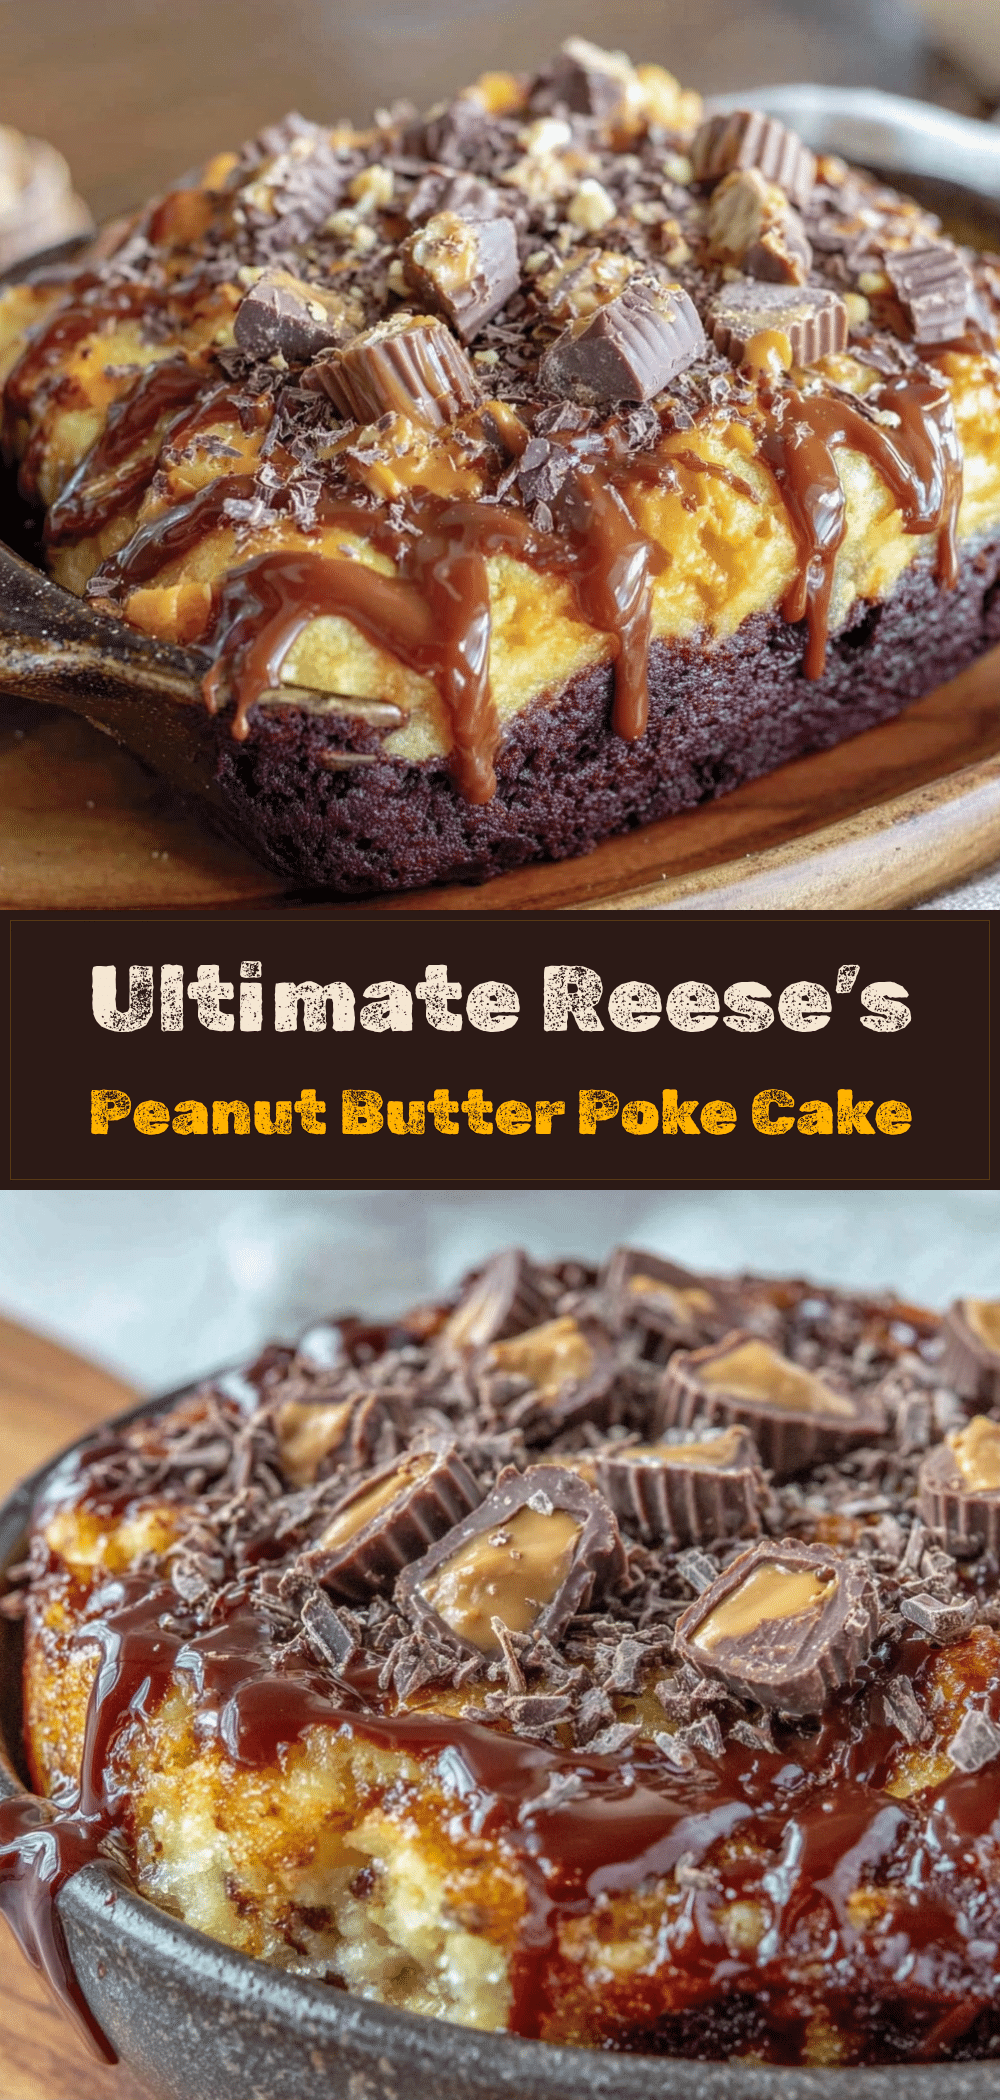

Reeses Peanut Butter Poke Cake: Meal Prep for 4
- Total Time: 45 minutes
- Yield: 16 servings 1x
Description
A dense, fudgy chocolate poke cake soaked in a warm peanut butter mixture and topped with silky peanut butter frosting. Designed for meal prep, this dessert yields 16 squares that store well in the fridge for up to 5 days or freeze for up to 2 months.
Ingredients
- 1 box (15.25 oz / 432g) chocolate cake mix (devil’s food or dark chocolate)
- 1 small box (3.4 oz / 96g) instant chocolate pudding mix
- ½ cup (120ml) vegetable oil
- 1 cup (240ml) hot water
- 2 large eggs, room temperature
- ½ cup (128g) creamy peanut butter
- ½ cup (120ml) boiling hot water
- 2 tablespoons granulated sugar
- ½ cup (113g) butter, softened
- 4 oz (113g) full-fat block cream cheese, softened
- 2 cups (240g) powdered sugar, sifted
- 1 teaspoon vanilla extract
- Pinch of salt
Instructions
- Preheat oven to 350°F (175°C). Grease a 9×13 inch baking pan.
- In a large bowl, combine cake mix, dry pudding mix, eggs, oil, and hot water. Beat on medium speed for 2 minutes until thick and dense.
- Pour batter into prepared pan and spread evenly. Bake for 25-30 minutes until a toothpick comes out clean.
- Let cake cool in the pan for 15 minutes until warm (not hot).
- Poke holes all over the cake surface using a fork or slotted spoon, aiming for one hole per square inch.
- In a microwave-safe bowl, combine peanut butter, hot water, and sugar. Microwave for 30-45 seconds and whisk until smooth and pourable.
- Pour the peanut butter soak evenly over the warm cake, allowing it to sink into the holes.
- Let the cake cool completely to room temperature.
- In a large bowl, beat softened butter and cream cheese until smooth. Add powdered sugar, vanilla, and salt. Beat on low until incorporated, then high for 2-3 minutes until light and fluffy.
- Spread frosting evenly over the cooled cake.
- Refrigerate for at least 2 hours or overnight to set the frosting.
- Slice into 16 squares and portion into meal prep containers.
Notes
Ensure the cake is completely cool before frosting to prevent the butter and cream cheese from melting. Chill the cake for at least 2 hours before slicing to ensure clean cuts. The cake freezes well individually for up to 2 months.
- Prep Time: 30 minutes
- Cook Time: 30 minutes
- Category: Dessert
- Cuisine: American
Nutrition
- Serving Size: 1 square (1/16 of th
- Calories: 380
- Sugar: 32
- Sodium: 280
- Fat: 22
- Saturated Fat: 8
- Carbohydrates: 42
- Fiber: 2
- Protein: 6
Keywords: Reese's, peanut butter, poke cake, meal prep, chocolate cake, dessert, make ahead, freezer friendly



