There is a specific kind of panic that sets in when you realize it’s 4 PM on a Tuesday, you have three hungry people in the house, and the grocery store is twenty minutes away. I’ve been there. More times than I care to admit. Last weekend, I was staring at a bunch of black, bruised bananas on my counter—ones that were starting to smell like overripe fruit and regret. I didn’t want to bake a complicated cake. I didn’t want to wash a dozen bowls. I just wanted something sweet, warm, and ready in an hour.
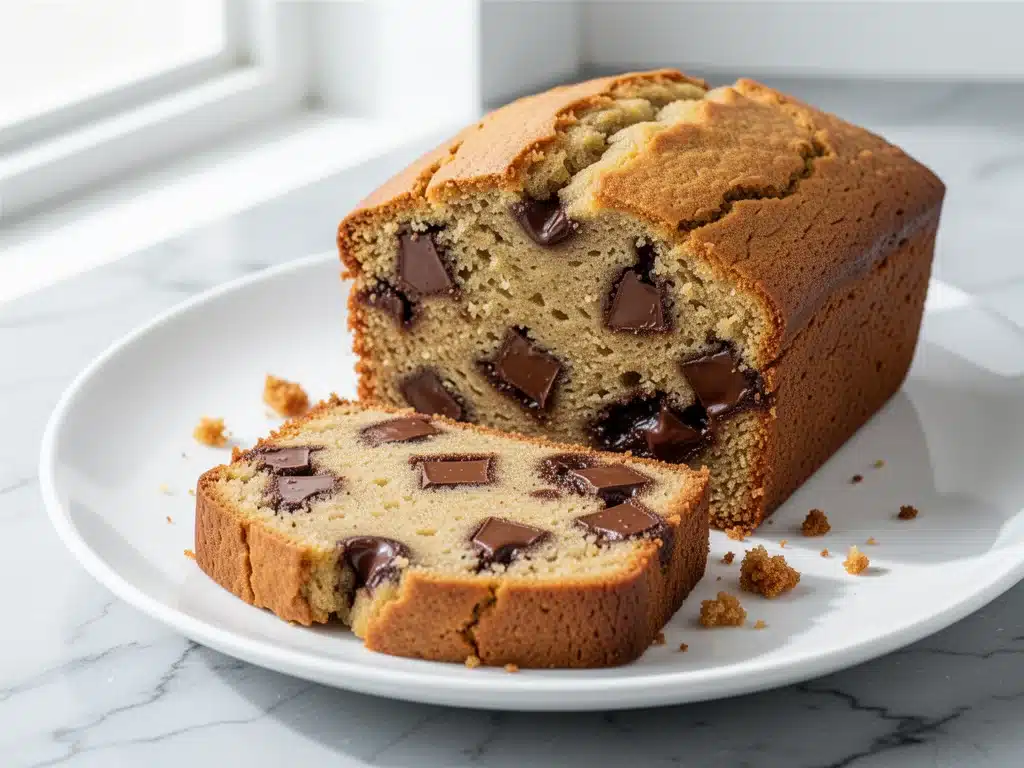
So I did what any desperate home cook does: I threw everything into a single bowl. I mixed, I poured, I baked. I expected a dense brick. Instead, I pulled out a loaf that was moist enough to melt in your mouth, studded with pockets of chocolate that had literally melted into the crumb. It was better than anything I’d ever bought at a bakery. And honestly? It’s better than takeout, too, especially when you consider the smell filling your house.
This one-bowl banana bread with melty chocolate chunks has become my secret weapon. I’ve made it for my kids’ school bake sales (they always pick the chocolate ones), for last-minute dinner guests, and just because I needed a hug in food form. It’s stupidly simple, uses ingredients you likely have right now, and delivers that perfect balance of sweet banana and rich chocolate. If you’re tired of dry, crumbly banana bread recipes that require a mixer and a degree in chemistry, this is the one you’ve been waiting for.
Why You’ll Love This One-Bowl Banana Bread Recipe
I know what you’re thinking. “Another banana bread recipe? Really?” But hear me out. This isn’t just another banana bread. This is the version that actually works, even if you’re a complete beginner in the kitchen. Here’s why this one-bowl banana bread with melty chocolate chunks keeps me coming back to the oven:
- Zero Cleanup Stress — Seriously. One bowl. One spoon. One loaf pan. I’ve made this while holding a toddler, while on a phone call, and while trying to watch a movie. If you can mix batter, you can make this. No stand mixer required. No fancy gadgets. Just a bowl and some elbow grease.
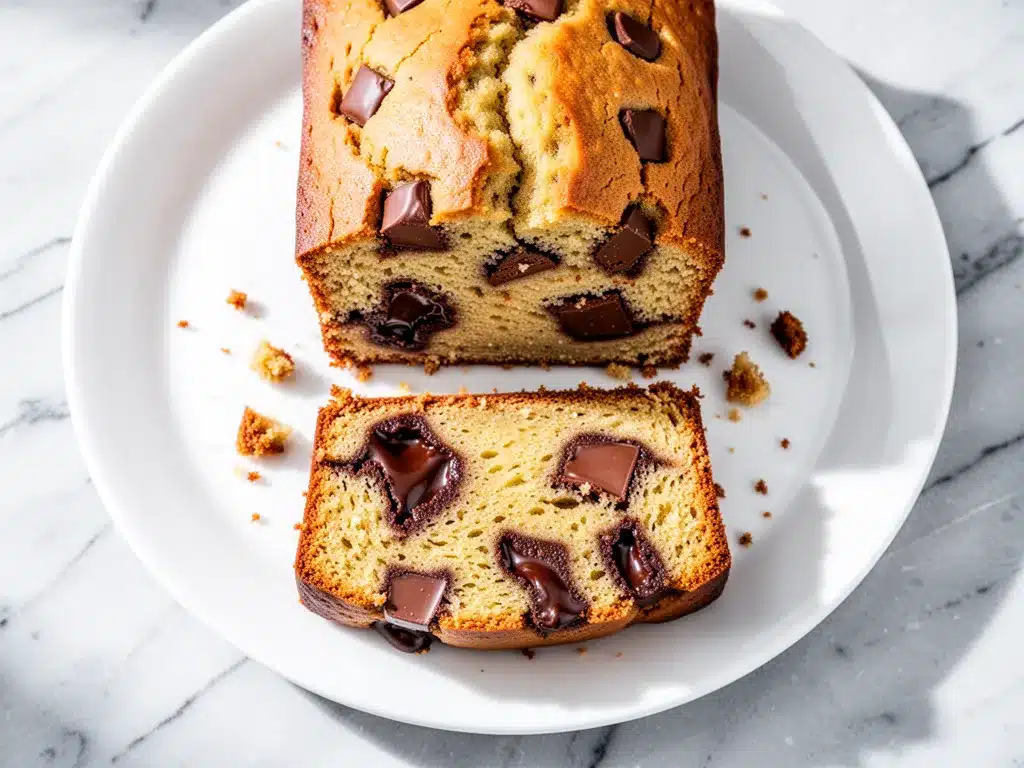
- The Melty Chocolate Factor — Most recipes tell you to sprinkle chocolate chips on top. Boring. I chop up real chocolate bars and mix them into the batter. As it bakes, those chunks don’t just sit there; they melt into the bread, creating little rivers of chocolate in every bite. It’s decadent without being overly sweet.
- Pantry Staples Only — You probably have everything you need right now. Bananas (the riper, the better), flour, sugar, butter, an egg, and some chocolate. No weird ingredients you have to drive to three different stores to find. It’s the ultimate “I need dinner/dessert NOW” recipe.
- Moisture Guaranteed — I’ve tested dozens of banana bread recipes, and the common complaint is always dryness. This one stays moist for days. In fact, it gets better on day two. The banana flavor intensifies, and the texture becomes almost cake-like. I deliberately make extra for breakfasts all week.
- Kid-Approved (and Adult-Approved) — My kids think it’s a special treat, not “healthy” bread. I think it’s a perfect snack with coffee. It’s versatile enough for breakfast, dessert, or a mid-afternoon snack. It’s the Swiss Army knife of baked goods.
This recipe has completely changed my weeknight routine. When I’m tired and don’t want to cook a big meal, I make this. It’s comforting, it’s reliable, and it always makes everyone happy. No complicated techniques, no weird ingredients, just reliable, delicious food.
Ingredients You’ll Need for One-Bowl Banana Bread
Here’s the best part: you probably have most of this already in your kitchen. I’m particular about three ingredients here, and I’ll tell you exactly why, but the rest is pretty straightforward.
For the Base
Ripe bananas (3 large / about 1 ½ cups mashed) — This is non-negotiable. Use bananas that are covered in brown spots, almost black. They’re sweeter and have more flavor. If they’re green, the bread will be bland. Mash them with a fork until they’re smooth.
Butter (½ cup / 115g, melted) — I use unsalted butter so I can control the salt. Melt it in the microwave or a small saucepan. Let it cool for a minute so it doesn’t cook the eggs when you mix. Don’t use oil; you want that rich, buttery flavor.
Sugar (¾ cup / 150g) — I use a mix of white and brown sugar. The white sugar gives structure, but the brown sugar adds moisture and a hint of caramel flavor. If you only have white sugar, that’s fine, but brown is better.
Egg (1 large) — Just a standard large egg. It binds everything together. Room temperature is best, but cold works if you’re in a hurry.
For the Dry Mix
All-purpose flour (1 ½ cups / 190g) — Don’t go crazy sifting. Just spoon it into the cup and level it off. If you scoop directly from the bag, you’ll pack too much flour and get a dense loaf. Spoon, don’t scoop.
Baking soda (1 teaspoon) — This is what makes it rise. Make sure it’s not expired! I keep a fresh box on my counter. If your baking soda is old, your bread will be flat and dense.
Salt (½ teaspoon) — Essential for balancing the sweetness. Don’t skip it. It makes the banana flavor pop.
For the Flavor and Finish
Vanilla extract (1 teaspoon) — Pure vanilla, not imitation. It adds that warm, bakery smell.
Chocolate chunks (1 cup / 170g) — Here’s the secret. I don’t use mini chips. I take a bar of semi-sweet chocolate (like Ghirardelli or Lindt) and chop it into chunks with a knife. The irregular shapes melt differently and create those gorgeous pockets of chocolate. You can use chips if you have to, but chunks are superior.
Optional: Walnuts or Pecans (½ cup) — I usually skip nuts because my kids hate them, but if you like crunch, toast them lightly and fold them in. They add a nice earthy contrast to the sweet bread.
Extra Chocolate — I always chop a few extra chunks and press them on top of the loaf before baking. It looks fancy and ensures every slice has a chocolatey edge.
Equipment Needed
You don’t need fancy equipment for this. Here’s what I actually use:
Large Mixing Bowl — I use a 4-quart bowl. It needs to be big enough to hold all the ingredients without splattering. Glass or ceramic works great, but plastic is fine too.
Fork or Whisk — For mashing bananas and mixing the batter. You don’t need an electric mixer. In fact, overmixing is the enemy here. A fork gives you better control.
Loaf Pan — A standard 9×5 inch loaf pan. I use a metal pan because it conducts heat evenly. Dark non-stick pans can cause the edges to burn faster, so if you use one, lower the oven temperature by 25 degrees.
Parchment Paper — I line the pan with parchment paper, leaving an overhang on the sides. This is a game-changer. It means the bread slides out effortlessly, and cleanup is literally zero. No greasing, no scrubbing.
Cooling Rack — To let the bread cool. Don’t skip this step; slicing it hot makes it gummy.
Knife — For chopping the chocolate. A serrated knife works best for chocolate bars.
How to Make It: Step-by-Step
Alright, let’s make this! I’m walking you through exactly how I do it, including the little tricks I’ve picked up. It really is this simple.
Step 1: Prep Your Oven and Pan (2 minutes)
Preheat your oven to 350°F (175°C). Line your 9×5 inch loaf pan with parchment paper. If you don’t have parchment, grease the pan well with butter or non-stick spray, but the paper is so much easier. While the oven heats up, find your bananas.
Step 2: Mash the Bananas (2 minutes)
Peel your ripe bananas and put them in your large mixing bowl. Use a fork to mash them until there are no big lumps left. You want about 1 ½ cups of mash. If your bananas are very watery, you might need to add a few more. The more mashed, the smoother your batter will be.
Step 3: Mix the Wet Ingredients (2 minutes)
To the mashed bananas, add the melted butter, sugar, egg, and vanilla extract. Stir vigorously with your fork or a whisk. You want the sugar to dissolve a bit into the butter and banana. The mixture should look glossy and combined. Don’t worry if it looks a bit separated; it’ll come together.
Step 4: Add the Dry Ingredients (2 minutes)
Sprinkle the flour, baking soda, and salt over the wet mixture. Gently fold them in with your fork. Use a folding motion—go from the bottom up and over the top. Stop as soon as you no longer see streaks of flour. Overmixing develops gluten, which makes banana bread tough. We want tender, soft crumbs. It’s okay if the batter looks a little thick.
Step 5: Fold in the Chocolate (1 minute)
Now for the fun part. Add your chopped chocolate chunks. Fold them in gently. Reserve a few chunks to press on top later. The batter will be thick and heavy now. That’s perfect.
Step 6: Bake (50-60 minutes)
Pour the batter into your prepared loaf pan. Smooth the top with a spatula or the back of a spoon. Press the reserved chocolate chunks into the top—they’ll sink a bit, which is fine. Bake for 50-60 minutes. Do not open the oven door before 45 minutes, or you risk deflating the loaf.
How do you know it’s done? Insert a toothpick into the center. It should come out with a few moist crumbs attached, but not wet batter. If it’s clean, it might be overbaked. If there’s wet batter, give it 5 more minutes.
Step 7: Cool and Slice (30 minutes)
Let the bread cool in the pan for 10 minutes. Then, use the parchment paper overhang to lift it out onto a cooling rack. Let it cool completely before slicing. I know this is hard, but slicing it hot makes it messy and gummy. Wait at least 30 minutes. The chocolate will be molten if you cut it early, but it’ll set as it cools.
Expert Tips & Tricks for Perfect Banana Bread
Here’s everything I’ve learned from making this dozens of times. These tips will save you from my mistakes.
The Riper, The Better — I cannot stress this enough. Green bananas = bland bread. Black bananas = sweet, intense banana flavor. If you don’t have ripe bananas, put them in a 300°F oven for 15 minutes until they turn black. It’s a great trick for when you’re in a pinch.
Don’t Overmix — This is the #1 mistake people make. Once you add the flour, stop stirring as soon as it’s combined. Lumpy batter is better than smooth, overmixed batter. We want a tender crumb, not a bagel.
Use Real Chocolate — I know chips are convenient, but chopped bars create those melty pockets I mentioned. Mini chips stay too uniform. Chopped chunks create texture and surprise.
Check Early — Ovens vary wildly. Start checking at 45 minutes. If the top is browning too fast but the center is still wet, tent the loaf with aluminum foil for the last 10 minutes of baking.
Store Properly — Banana bread stays fresh at room temperature for 2-3 days if wrapped tightly in plastic wrap. It lasts up to a week in the fridge, but it might dry out a bit. I usually keep it on the counter for the first few days and then freeze the rest.
Variations & Substitutions
Once you’ve nailed the basic version, here’s how you can mix it up. I’ve tried all of these.
Chocolate Chip Version — If you don’t have a chocolate bar, use 1 cup of semi-sweet chocolate chips. They’ll still melt, just not as dramatically. You can also mix in white chocolate chips for a fun twist.
Nutty Banana Bread — Add ½ cup of chopped walnuts or pecans when you add the chocolate. Toasting the nuts first brings out their flavor. This adds a nice crunch that contrasts with the soft bread.
Gluten-Free Option — You can substitute the all-purpose flour with a 1:1 gluten-free flour blend. It works surprisingly well. I’ve used Bob’s Red Mill and King Arthur, and both gave great results. Just make sure your baking soda is certified GF.
Vegan Banana Bread — Swap the butter for coconut oil or melted vegan butter. Use a flax egg (1 tablespoon ground flaxseed mixed with 3 tablespoons water, let sit for 5 minutes) instead of the regular egg. Use dairy-free chocolate chunks. It’s moist and delicious, though the texture is slightly denser.
Banana Nutella Bread — Swirl ½ cup of Nutella into the batter before baking. It creates marbled ribbons of hazelnut chocolate. It’s richer and sweeter, so you can reduce the sugar by 2 tablespoons.
Spiced Banana Bread — Add 1 teaspoon of cinnamon and a pinch of nutmeg to the dry ingredients. It adds warmth and complexity, perfect for fall.
Serving & Storage
How to Serve: I usually serve this warm, sliced thick. It’s perfect with a cup of coffee or tea. For a fancy treat, warm a slice in the microwave for 10 seconds and top with a scoop of vanilla ice cream. The hot bread and cold ice cream combo is heaven.
Side Dishes: This bread stands alone as a snack, but it pairs well with a simple fruit salad or a glass of cold milk. If you’re serving it for brunch, it goes great with crispy Belgian waffles or loaded veggie breakfast quiche for a full spread.
Storage Instructions: Store in an airtight container or wrapped tightly in plastic wrap at room temperature for up to 3 days. In the fridge, it lasts up to a week. For longer storage, slice it and freeze it in a freezer bag for up to 3 months. Thaw at room temperature or warm in the oven.
Reheating: To bring it back to life, warm slices in a 350°F oven for 10 minutes or microwave for 20 seconds. This reactivates the chocolate and softens the crumb.
Nutrition Information
I’m not a nutritionist, but here’s the breakdown if you’re tracking. Please note that these are estimates based on standard ingredients.
Per Slice (based on 10 slices):
- Calories: 280
- Protein: 4g
- Carbs: 38g
- Fiber: 2g
- Sugar: 22g
- Fat: 12g
- Saturated Fat: 7g
What’s Good: It has some potassium from the bananas and provides quick energy from the carbs. It’s a satisfying treat that’s better than buying processed snacks.
What to Know: It’s definitely a sweet treat. The sugar content is moderate, but the fat from the butter and chocolate adds up. If you want to lighten it, use less chocolate or swap half the butter for applesauce (though the texture will change).
My Take: Look, this is banana bread with chocolate. It’s not a diet food. It’s comfort food. Enjoy a slice, share it with friends, and don’t stress about the numbers. It’s homemade, so you know exactly what’s in it.
Final Thoughts
So that’s my go-to one-bowl banana bread with melty chocolate chunks! I’ve probably talked your ear off at this point, but when you make a recipe this often, you have a lot to say about it. This has saved me from takeout more times than I can count. It’s my answer to “what’s for dessert” when I’m tired, don’t want to clean up, and still want something that tastes really good.
Make it yours! Try different add-ins, swap in your favorite chocolate, or adjust the sugar to your taste. The best recipes are the ones you adapt to your family’s tastes. If you make this, drop a comment and let me know what you think! I love hearing how recipes turn out in your kitchen. And if something doesn’t work, tell me that too—I’m here to help troubleshoot.
Happy baking! And I hope your kitchen smells half as good as mine does right now.
Frequently Asked Questions
Can I use frozen bananas?
Absolutely. Frozen bananas are actually perfect for this. Just thaw them in a bowl (they’ll get very watery) and drain off any excess liquid before mashing. The water content can vary, so keep an eye on the batter consistency. If it looks too runny, add a tablespoon more flour.
Why did my banana bread turn out dense?
This usually happens for two reasons: overmixing the batter or using old baking soda. If you stir the flour in too much, you develop gluten, which makes the bread tough. Also, check your baking soda. If it’s old, it won’t leaven the bread properly. Test it by dropping a little into vinegar—it should fizz vigorously.
Can I make this ahead for a party?
Yes! This bread actually tastes better the next day. You can bake it up to 2 days ahead. Store it wrapped tightly at room temperature. Just let it come to room temperature before serving. If you’re making it for a crowd, you can also freeze the baked loaf (unwrapped) for up to 3 months, then thaw and serve.
Why did my chocolate melt out of the bread?
If you used very small chips, they might have melted completely and pooled at the bottom. Using larger chunks helps them stay suspended in the batter. Also, make sure you’re not overfilling the pan. Leave some room at the top for the bread to rise without spilling over.
Can I substitute oil for butter?
You can, but the flavor won’t be as rich. If you use oil, use a neutral oil like vegetable or canola. Use the same amount (½ cup). The texture will be slightly moister but less tender. I prefer butter for the flavor, but oil works in a pinch.
How do I know when the banana bread is done?
The toothpick test is the best way. Insert it into the center. If it comes out clean or with a few moist crumbs, it’s done. If there’s wet batter, bake for 5 more minutes. Also, the top should be golden brown and spring back when you lightly press it.
Can I add other mix-ins?
Of course! Dried cranberries, blueberries, or white chocolate chips all work well. Just keep the total add-ins to about 1 cup so you don’t throw off the batter ratio. If you add fruit, make sure it’s not too wet, or the bread might be soggy.
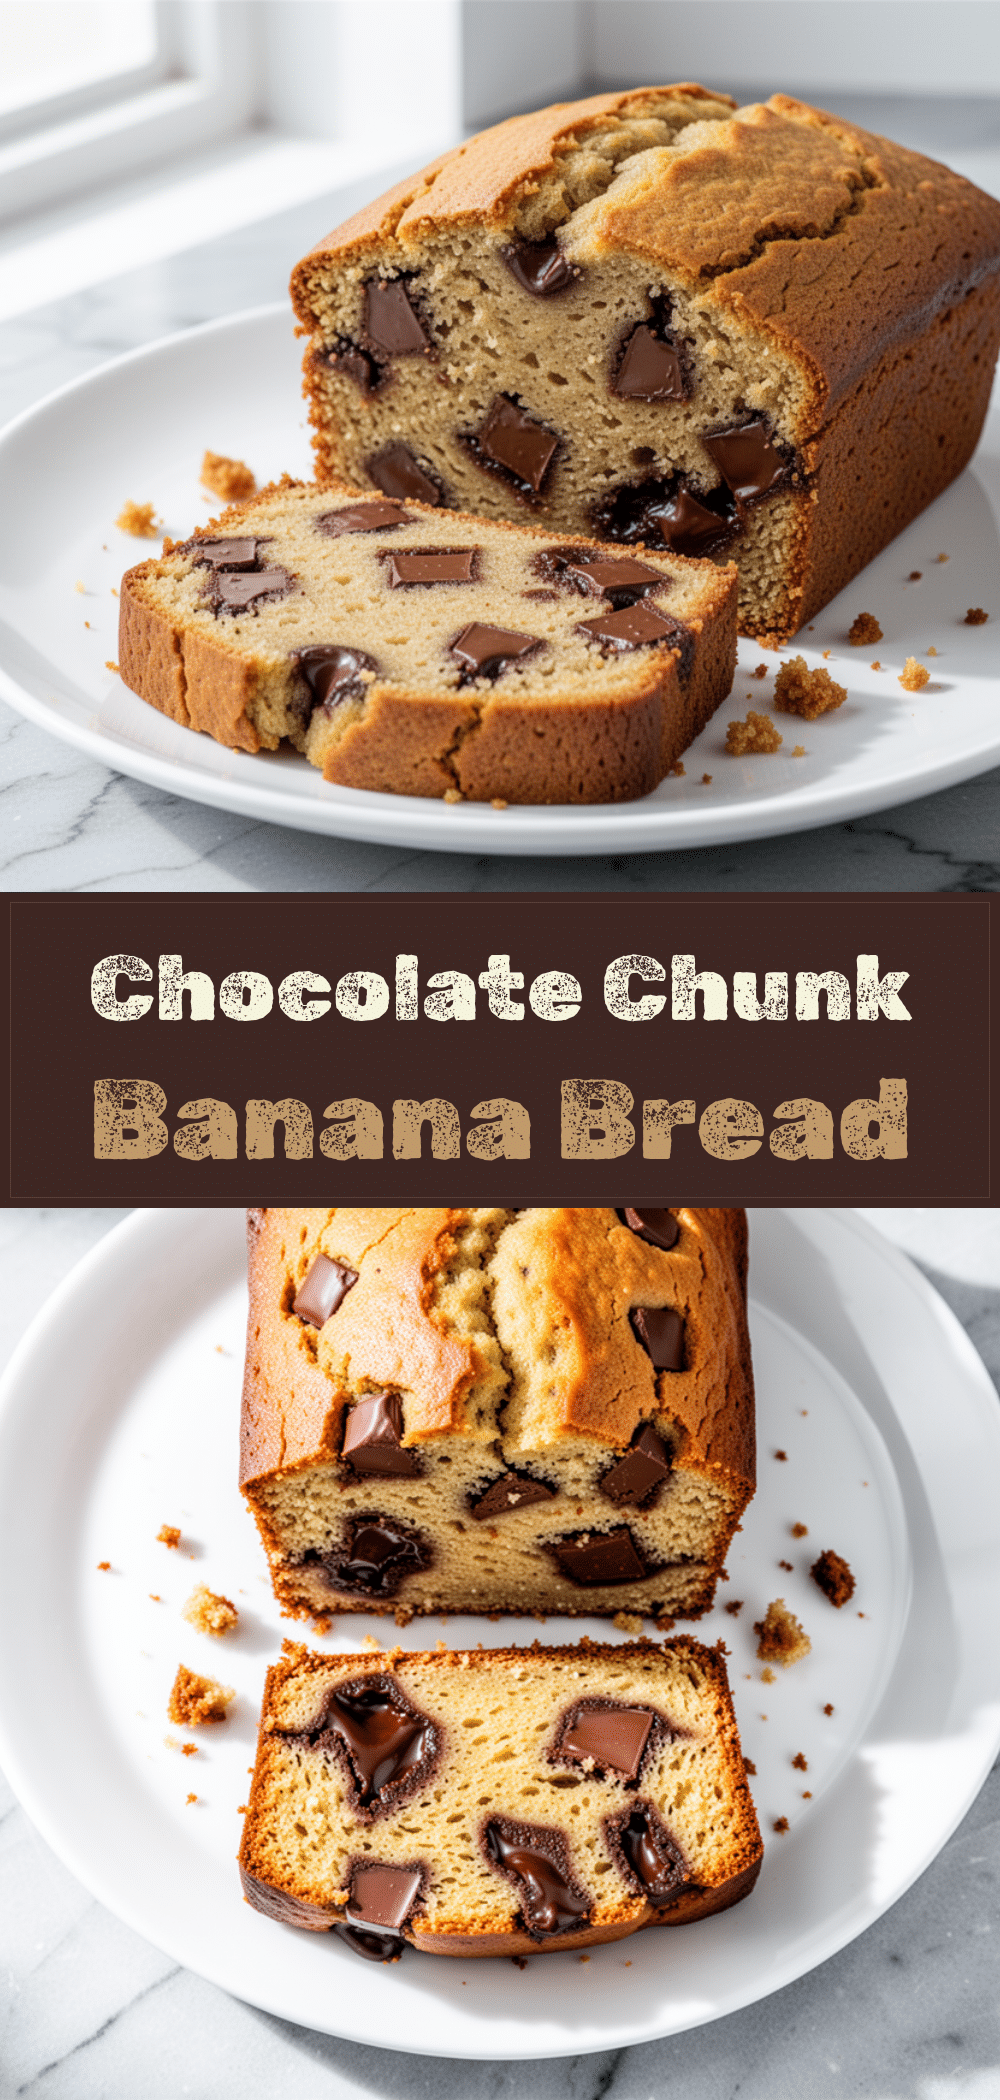
Pin This Recipe!
One-Bowl Banana Bread: 5-Step Easy Recipe
- Total Time: 1 hour 10 minutes
- Yield: 10 servings 1x
Description
A simple, moist banana bread made in a single bowl with melty chocolate chunks. This easy recipe requires no mixer and uses pantry staples for a perfect sweet treat.
Ingredients
- 3 large ripe bananas (about 1 ½ cups mashed)
- ½ cup (115g) unsalted butter, melted
- ¾ cup (150g) sugar (mix of white and brown)
- 1 large egg
- 1 ½ cups (190g) all-purpose flour
- 1 teaspoon baking soda
- ½ teaspoon salt
- 1 teaspoon vanilla extract
- 1 cup (170g) semi-sweet chocolate, chopped into chunks
- Optional: ½ cup walnuts or pecans
Instructions
- Preheat oven to 350°F (175°C). Line a 9×5 inch loaf pan with parchment paper.
- Mash the ripe bananas in a large mixing bowl until smooth.
- Add melted butter, sugar, egg, and vanilla extract to the bananas. Stir vigorously until combined and glossy.
- Sprinkle flour, baking soda, and salt over the wet mixture. Gently fold in until just combined; do not overmix.
- Fold in the chopped chocolate chunks, reserving a few for the top.
- Pour batter into the prepared pan, smooth the top, and press reserved chocolate chunks into the surface.
- Bake for 50-60 minutes, or until a toothpick inserted into the center comes out with moist crumbs.
- Cool in the pan for 10 minutes, then lift out using parchment paper and cool completely on a rack before slicing.
Notes
Use very ripe, black-spotted bananas for maximum sweetness and flavor. Do not overmix the batter once flour is added to ensure a tender crumb. For best results, let the bread cool completely before slicing to prevent gumminess. Store at room temperature for 2-3 days or freeze for up to 3 months.
- Prep Time: 10 minutes
- Cook Time: 50-60 minutes
- Category: Dessert
- Cuisine: American
Nutrition
- Serving Size: 1 slice
- Calories: 280
- Sugar: 22
- Fat: 12
- Saturated Fat: 7
- Carbohydrates: 38
- Fiber: 2
- Protein: 4
Keywords: banana bread, chocolate banana bread, one bowl recipe, easy baking, moist banana bread, chocolate chunks, quick bread



