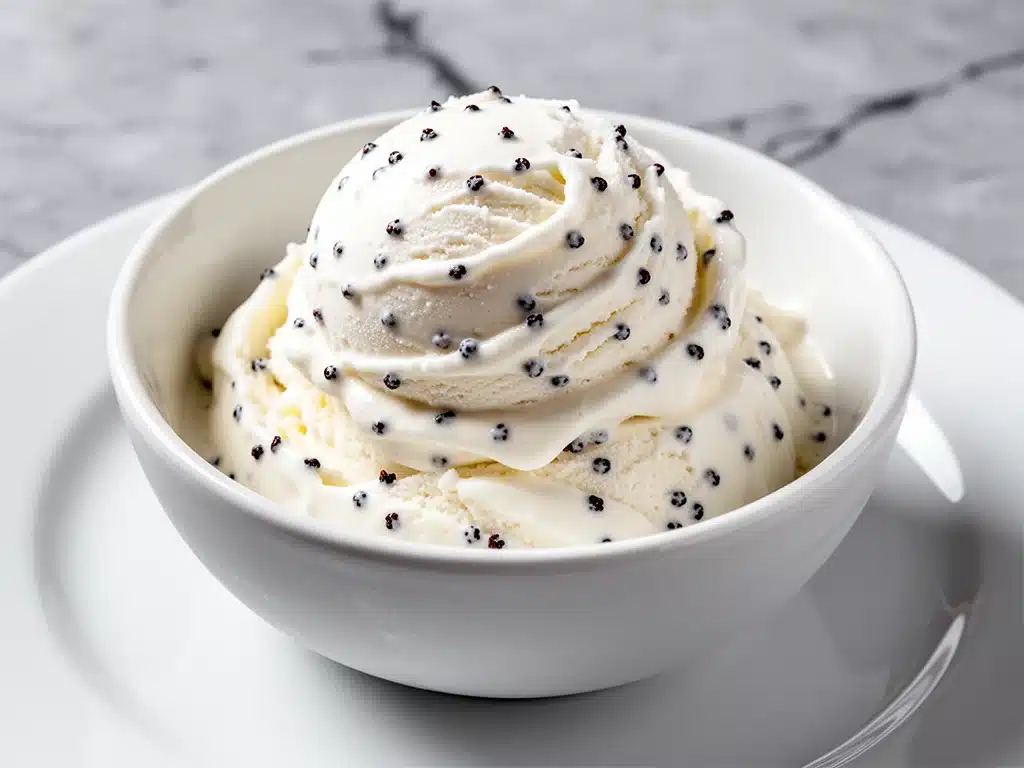
I have a confession to make: I used to be terrified of ice cream makers.
Not because they were expensive (though they are), and not because I thought I was too clumsy for the machinery. It was because of the process itself. Churning. Waiting. Watching the clock. If you’re like me, you want dessert to feel like a reward, not a second job. I spent years buying those tubs of store-bought vanilla ice cream, watching the price go up every time I went to the grocery store, and wondering why it never tasted quite like the stuff my dad used to make on our old porch swings in July.
Then, about three years ago, I stumbled onto a no-churn method that changed everything. I was feeling lazy on a hot Saturday afternoon, staring at a can of sweetened condensed milk and a carton of heavy cream, and I thought, “Why not just mix this and freeze it?” I didn’t expect much. I expected a slushy, icy mess that would crack my teeth.
Instead, I got something silky, rich, and absolutely divine. It was creamy in a way I didn’t think was possible without an electric machine. And the best part? It only takes three main ingredients. Well, technically four if you count the vanilla bean, but you get the idea.
This ultra-creamy homemade vanilla bean ice cream no-churn recipe has become my summer obsession. I’ve made it for block parties, for quiet Tuesday nights when the kids just want a scoop, and even for fancy dinner parties where I pretended I bought it from a fancy artisanal shop (spoiler: I didn’t). I’ve tested this method dozens of times, tweaking the ratios and the whipping techniques until I landed on the perfect texture. It’s not just easy; it’s the kind of dessert that makes people ask for your secret. And now, I’m sharing it with you.
Why You’ll Love This Recipe
There are a hundred reasons to try this homemade vanilla bean ice cream, but let’s be real—you’re probably here because you want something delicious without the hassle. Here’s why this recipe has taken over my kitchen:
Zero Special Equipment Needed — Seriously. If you have a bowl and a whisk (or a hand mixer), you’re good to go. No ice cream maker, no churning paddle, no weird attachments to clean. Just basic kitchen tools you probably already own. I’ve made this in a plastic bowl, a metal bowl, and even a large mixing bowl from my college days. It works every time.
Stupid Simple Ingredients — You likely have most of these in your pantry right now. Sweetened condensed milk, heavy cream, and vanilla. That’s it. No eggs to temper, no custard base to cook on the stove. It’s essentially a whipped cream dessert that happens to be frozen. I’ve made this for friends who claim they “can’t cook,” and they ended up making it for their own families the next week.
Texture That Actually Works — I know what you’re thinking. “No-churn ice cream is usually icy.” I was there too. But the secret is in the science of the sweetened condensed milk. It’s so dense and sugary that it prevents ice crystals from forming. The result is a texture that’s shockingly close to commercial premium ice cream. It’s smooth, creamy, and melts beautifully on your tongue. No ice shards. No freezer burn flavor (if stored right).
Customizable to the Moon — Once you master the base, you can make anything. Strawberry? Fold in pureed berries. Chocolate? Stir in cocoa powder. Coffee? Add espresso. But honestly? The classic vanilla bean version is the king. The speckles of real vanilla bean look gorgeous against the white cream, and the flavor is deep, floral, and comforting. It’s the culinary equivalent of a warm hug.
Budget-Friendly — Making this at home costs a fraction of what you’d pay at a high-end ice cream shop. A pint of premium vanilla ice cream can run you $6 to $8. This recipe makes about a quart, and it costs me about $5 total. Plus, you know exactly what’s in it. No weird stabilizers, no gums, no mystery ingredients. Just cream and sugar.
This is my go-to when I need a dessert that feels special but requires zero effort. It’s reliable, it’s delicious, and it always gets a second scoop.
Ingredients You’ll Need
Here’s the beauty of this recipe: the ingredient list is shorter than most sandwich recipes. But because there are only a few components, the quality of each one matters. I’m particular about these, so pay attention.
Heavy Cream (2 cups / 480ml) — This is the star. You need heavy whipping cream with at least 35% fat content. Low-fat cream won’t whip up properly, and your ice cream will be icy. I prefer organic, grass-fed cream if I can find it, because the flavor is richer and yellower. Make sure it’s cold! Straight out of the fridge. If it’s warm, it won’t whip.
Sweetened Condensed Milk (1 can / 14 ounces / 397g) — Do not confuse this with evaporated milk. They look similar but are totally different. Sweetened condensed milk is thick, syrupy, and very sweet. It’s what gives the ice cream its creamy texture and sweetness. I always buy the canned version. You can find it in the baking aisle next to the evaporated milk. Don’t try to substitute this with sugar and milk; the texture won’t be the same.
Vanilla Bean (1 whole bean, or 1 tablespoon pure vanilla extract) — This is where you decide how fancy you want to get. For the best flavor, use a real vanilla bean. Split it lengthwise, scrape out the tiny black seeds, and whip those seeds into the cream along with the pod. The pod adds incredible aroma. You’ll see those beautiful black speckles in your finished ice cream—it’s what makes it look “artisanal.” If you’re in a pinch or don’t have vanilla beans, use high-quality pure vanilla extract. Avoid the cheap imitation stuff; it tastes chemical and bitter. I keep a jar of Nielsen-Massey vanilla beans in my pantry just for this recipe.
Salt (a tiny pinch) — It sounds counterintuitive to add salt to sweet ice cream, but it’s crucial. Salt enhances the vanilla flavor and cuts through the richness of the cream. Just a pinch of sea salt or kosher salt is all you need.
Optional: Vanilla Pod — After you scrape the seeds, don’t throw away the pod! Toss it into the sweetened condensed milk and let it sit for a few hours (or overnight) in the fridge. The pod infuses the milk with even more vanilla flavor. It’s a great way to get two bangs for your buck.
Substitutions:
- Heavy Cream: Can I use half-and-half? No. It doesn’t have enough fat to hold air. You need heavy cream.
- Vanilla Bean: Can I use vanilla paste? Yes! Vanilla paste is a great middle ground. It has the seeds and the flavor in a bottle. Use 1 tablespoon.
- Sweetened Condensed Milk: Can I make my own? You can, but it takes hours of simmering. For this recipe, the canned stuff is pre-made and perfectly consistent. Stick with the can.
Equipment Needed
You don’t need fancy gadgets for this. Here’s what I actually use, and what you can get away with.
Large Mixing Bowl — I use a large stainless steel bowl because it stays cold, which helps the cream whip faster. Glass works too. Just make sure it’s big enough to hold 2 cups of cream plus the other ingredients without splattering.
Electric Hand Mixer or Stand Mixer — You can whip cream by hand, but it takes about 10-15 minutes of arm work, and your arms will get tired. A hand mixer makes it a breeze (5 minutes). A stand mixer with the whisk attachment is even easier, but you have to be careful not to over-whip. I use a KitchenAid, but any standard hand mixer works.
Spatula — A flexible silicone spatula is essential for folding. You need to gently combine the whipped cream and the condensed milk without deflating the air you just whipped in. If you use a spoon, you’ll likely knock out the air and end up with dense ice cream.
Loaf Pan or Freezer-Safe Container — A standard 9×5 inch loaf pan is perfect for this recipe. It creates a nice shape for scooping. You can also use a square container or a round cake pan. Just make sure it has a lid or is freezer-safe plastic wrap.
Knife — To split the vanilla bean. A paring knife works best.
Optional: Microplane or Zester — If you want to add zest (like lemon or orange) to your vanilla base, a microplane makes it easy. But for classic vanilla, you don’t need it.
How to Make It: Step-by-Step
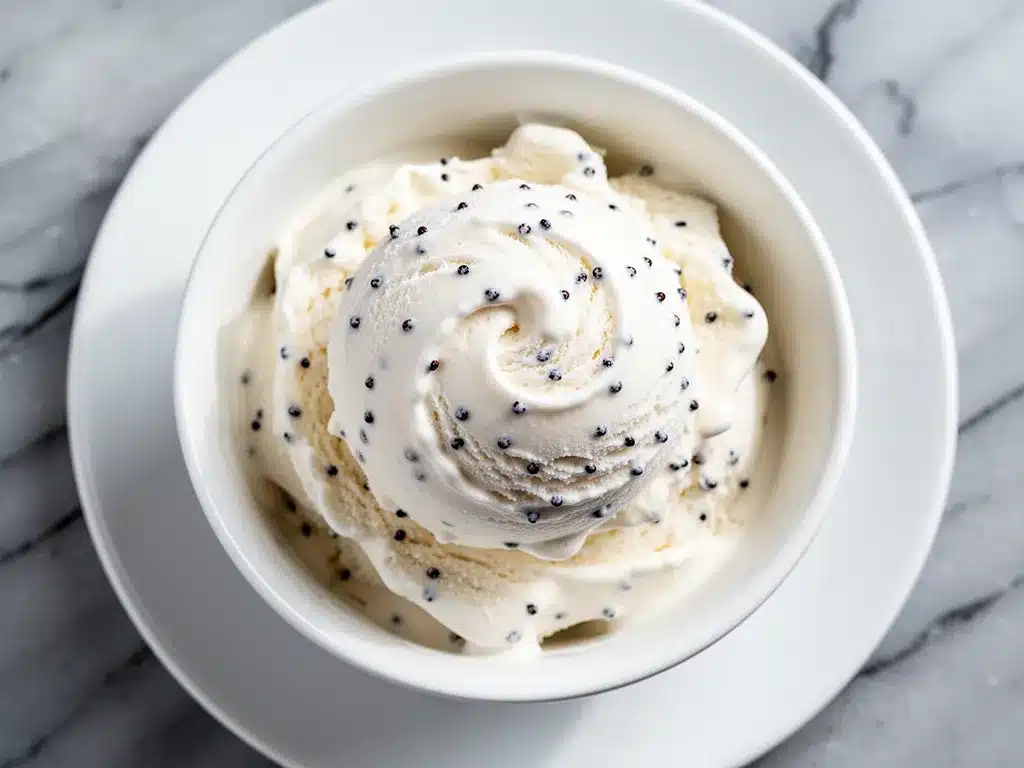
Alright, let’s make this! I’m walking you through exactly how I do it, including the little tricks I’ve picked up over the years. It’s straightforward, but there are a few key moments where you need to pay attention.
Step 1: Prep Your Vanilla
If you’re using a vanilla bean, take your knife and split the bean lengthwise down the center. You’ll see the tiny black seeds inside. Use the back of your knife to scrape those seeds out. You’ll have a little pile of black specks and the empty pod. If you’re using extract, just measure out 1 tablespoon now. Set aside.
Step 2: Whip the Cream
Pour your cold heavy cream into your large mixing bowl. If you’re using a vanilla bean, add the scraped seeds and the pod (if you’re infusing the condensed milk later, save the pod for that) into the cream. Start mixing on medium-low speed to get the cream moving, then increase to high speed. Watch it closely. You want to whip it until you have stiff peaks. This means when you lift the beaters, the cream stands up straight and doesn’t droop. It should look like thick whipped topping. This usually takes 3-5 minutes with a hand mixer. Don’t over-whip it into butter! Stop as soon as you see stiff peaks.
Step 3: Prepare the Sweetened Condensed Milk
While the cream is whipping, take your can of sweetened condensed milk. If you infused the vanilla pod in it earlier, remove the pod now. If not, just stir in your vanilla extract or the vanilla bean seeds (if you skipped adding them to the cream). Whisk it gently to combine. It should be smooth and syrupy.
Step 4: The Fold
This is the most important step. Take about one-third of your whipped cream and stir it into the sweetened condensed milk. This lightens the dense milk, making it easier to combine later. Then, pour the milk mixture into the bowl with the remaining whipped cream. Using your spatula, gently fold the two mixtures together. Cut down through the center, scrape the bottom, and fold over the top. Rotate the bowl and repeat. You’re looking for a uniform, pale yellow mixture. Stop as soon as it’s combined. Over-mixing here will deflate the cream and make your ice cream dense.
Step 5: Freeze
Pour the mixture into your prepared loaf pan or container. Cover it tightly with plastic wrap or a lid. Make sure the plastic wrap is touching the surface of the ice cream to prevent ice crystals from forming on top. Place it in the freezer for at least 6 hours, but overnight is best. I usually make it in the morning or early afternoon, and it’s ready by dinner time.
Step 6: Scoop and Enjoy
When you’re ready to eat, take the ice cream out of the freezer. Let it sit on the counter for 5-10 minutes to soften just a tiny bit. This makes scooping much easier. Scoop it into bowls and enjoy immediately. It’s best eaten within the first two weeks for peak texture.
Expert Tips & Tricks
Here’s everything I’ve learned from making this dozens of times. These tips will save you from my mistakes.
Keep Everything Cold
I can’t stress this enough. Your cream, your bowl, your beaters—they should all be cold. If you’re in a hurry, put your bowl in the freezer for 10 minutes before whipping. Cold cream whips faster and holds its shape better. Warm cream turns to soup.
Don’t Skip the Salt
I know I mentioned this in the ingredients, but it bears repeating. That pinch of salt is what makes the vanilla taste like vanilla and not just sugar. It balances the sweetness and adds depth. Don’t skip it.
Softening Before Scooping
No-churn ice cream gets rock hard in the freezer. If you try to scoop it straight out, you’ll break your spoon (and maybe your arm). Always let it sit at room temperature for 5-10 minutes before serving. It’s not optional if you want a pleasant eating experience.
Storage is Key
To prevent freezer burn, press plastic wrap directly onto the surface of the ice cream before putting the lid on. This eliminates air exposure. If you don’t do this, you’ll get a layer of ice crystals on top. It’s safe to eat, but the texture is ruined.
Flavor Variations
Once you have the base down, you can add anything. Chocolate chips, crushed cookies, swirled caramel, fruit purees. But add them gently. If you’re adding chunky mix-ins, fold them in after the cream and milk are combined, right before freezing.
Variations & Substitutions
Once you’ve nailed the basic version, here’s how you can mix it up. I’ve tried all of these, and they’re all winners.
Chocolate No-Churn Ice Cream
Add ½ cup of high-quality cocoa powder to the sweetened condensed milk before folding. It turns the base into a rich chocolate ice cream. You can also fold in chocolate chips at the end for texture.
Strawberry Vanilla Swirl
Puree 1 cup of fresh strawberries with 1 tablespoon of sugar. Let it cool completely, then swirl it into the vanilla base before freezing. The red ribbons look beautiful against the white cream.
Coffee Ice Cream
Stir 2 tablespoons of instant espresso powder into the sweetened condensed milk. It gives a subtle coffee flavor that pairs perfectly with the vanilla. Great for coffee lovers.
Lemon Vanilla
Add the zest of one lemon to the whipped cream. The citrus brightens up the richness and makes it feel lighter. Perfect for spring and summer.
Dairy-Free Option
This is tricky because sweetened condensed milk is dairy-based. You can use coconut cream (the thick part from a can of full-fat coconut milk) and dairy-free sweetened condensed milk (made from coconut milk). It’s rich and creamy, though the flavor will be slightly coconutty. It’s a good option for those with dairy allergies.
Serving & Storage
How to Serve:
I usually serve this straight from the container, but here are some ways I’ve enjoyed it:
- Classic: Just a scoop in a bowl with a cherry on top. Simple is best.
- With Pie: It’s the perfect partner for fall caramel apple crisp or pumpkin pie.
- With Cake: Pairs wonderfully with tres leches cake or apple cider doughnut cake.
- With Pie: It’s the perfect partner for fall caramel apple crisp or pumpkin pie.
- With Cake: Pairs wonderfully with tres leches cake or apple cider doughnut cake.
Storage Instructions:
Refrigerator: Don’t store this in the fridge. It needs to stay frozen.
Freezer: Store in an airtight container for up to 2 weeks. After that, it might start to get icy or absorb freezer smells. Wrap it well to keep it fresh.
Reheating: You don’t reheat ice cream, but you do need to soften it. Let it sit on the counter for 5-10 minutes before scooping. If it’s been in the freezer for a while, it might take a bit longer.
Nutrition Information
I’m not a nutritionist, but here’s the breakdown if you’re tracking. Keep in mind that this is a rich, creamy dessert, so portions should be moderate.
Per Serving (based on 8 servings of ½ cup each):
- Calories: 280
- Protein: 4g
- Carbs: 28g
- Fiber: 0g
- Sugar: 26g
- Fat: 18g
- Saturated Fat: 11g
- Cholesterol: 60mg
- Sodium: 45mg
What’s Good: It’s made with real ingredients, no artificial flavors. The vanilla bean adds antioxidants.
What to Know: It’s high in sugar and saturated fat because of the sweetened condensed milk and heavy cream. It’s a treat, not a health food. Enjoy it guilt-free, but in reasonable portions.
Final Thoughts
So that’s my go-to ultra-creamy homemade vanilla bean ice cream no-churn recipe! I’ve probably talked your ear off at this point, but when you make a recipe this often, you have a lot to say about it.
This has saved summer evenings more times than I can count. It’s my answer to “what’s for dessert” when I’m tired, don’t want to bake, and still want something that tastes really good. My kids are happy, my husband’s happy, and I’m happy because I’m not stressed about cooking.
Make it yours! Try different add-ins, swap in your favorite fruits, adjust the vanilla. The best recipes are the ones you adapt to your family’s tastes.
If you make this, drop a comment and let me know what you think! I love hearing how recipes turn out in your kitchen. And if something doesn’t work, tell me that too—I’m here to help troubleshoot.
Happy cooking! And I hope your kitchen smells half as good as mine does right now.
Frequently Asked Questions
Can I use vanilla extract instead of vanilla beans?
Absolutely. Use 1 tablespoon of pure vanilla extract. Avoid imitation vanilla, as it tastes chemical. If you use extract, you won’t get those pretty black speckles, but the flavor will still be excellent. For the best visual appeal, stick with real beans.
Why is my ice cream icy?
This usually happens if the cream wasn’t whipped to stiff peaks, or if the mixture wasn’t stored properly. Make sure you whip the cream until it holds its shape, and press plastic wrap directly onto the surface of the ice cream to prevent air exposure. Also, don’t leave it in the freezer for more than 2 weeks.
Can I make this ahead for a party?
Yes! This is actually better when made ahead. Make it 1-2 days before your party. It needs time to freeze solid. Just remember to take it out 10 minutes before serving so it’s scoopable.
Can I freeze this for longer than 2 weeks?
You can, but the quality will decline. After 2 weeks, it may develop ice crystals or absorb freezer odors. For best results, make it fresh and eat it within 2 weeks. If you need to store it longer, consider making smaller batches.
Can I use a stand mixer?
Yes, but be careful. Stand mixers are powerful. Whip the cream on medium speed, not high, and watch it closely. You don’t want to over-whip it into butter. Stop as soon as you see stiff peaks.
Can I add mix-ins like chocolate chips?
Definitely. Fold them in gently after you’ve combined the cream and condensed milk. Add about ½ to 1 cup of mix-ins. If you’re adding fruit, make sure it’s pureed or chopped small so it freezes evenly.
Does this work with low-fat cream?
No. Low-fat cream doesn’t have enough fat to whip up and hold air. The result will be icy and dense. You need heavy whipping cream (at least 35% fat) for this recipe to work.
Pin This Recipe!
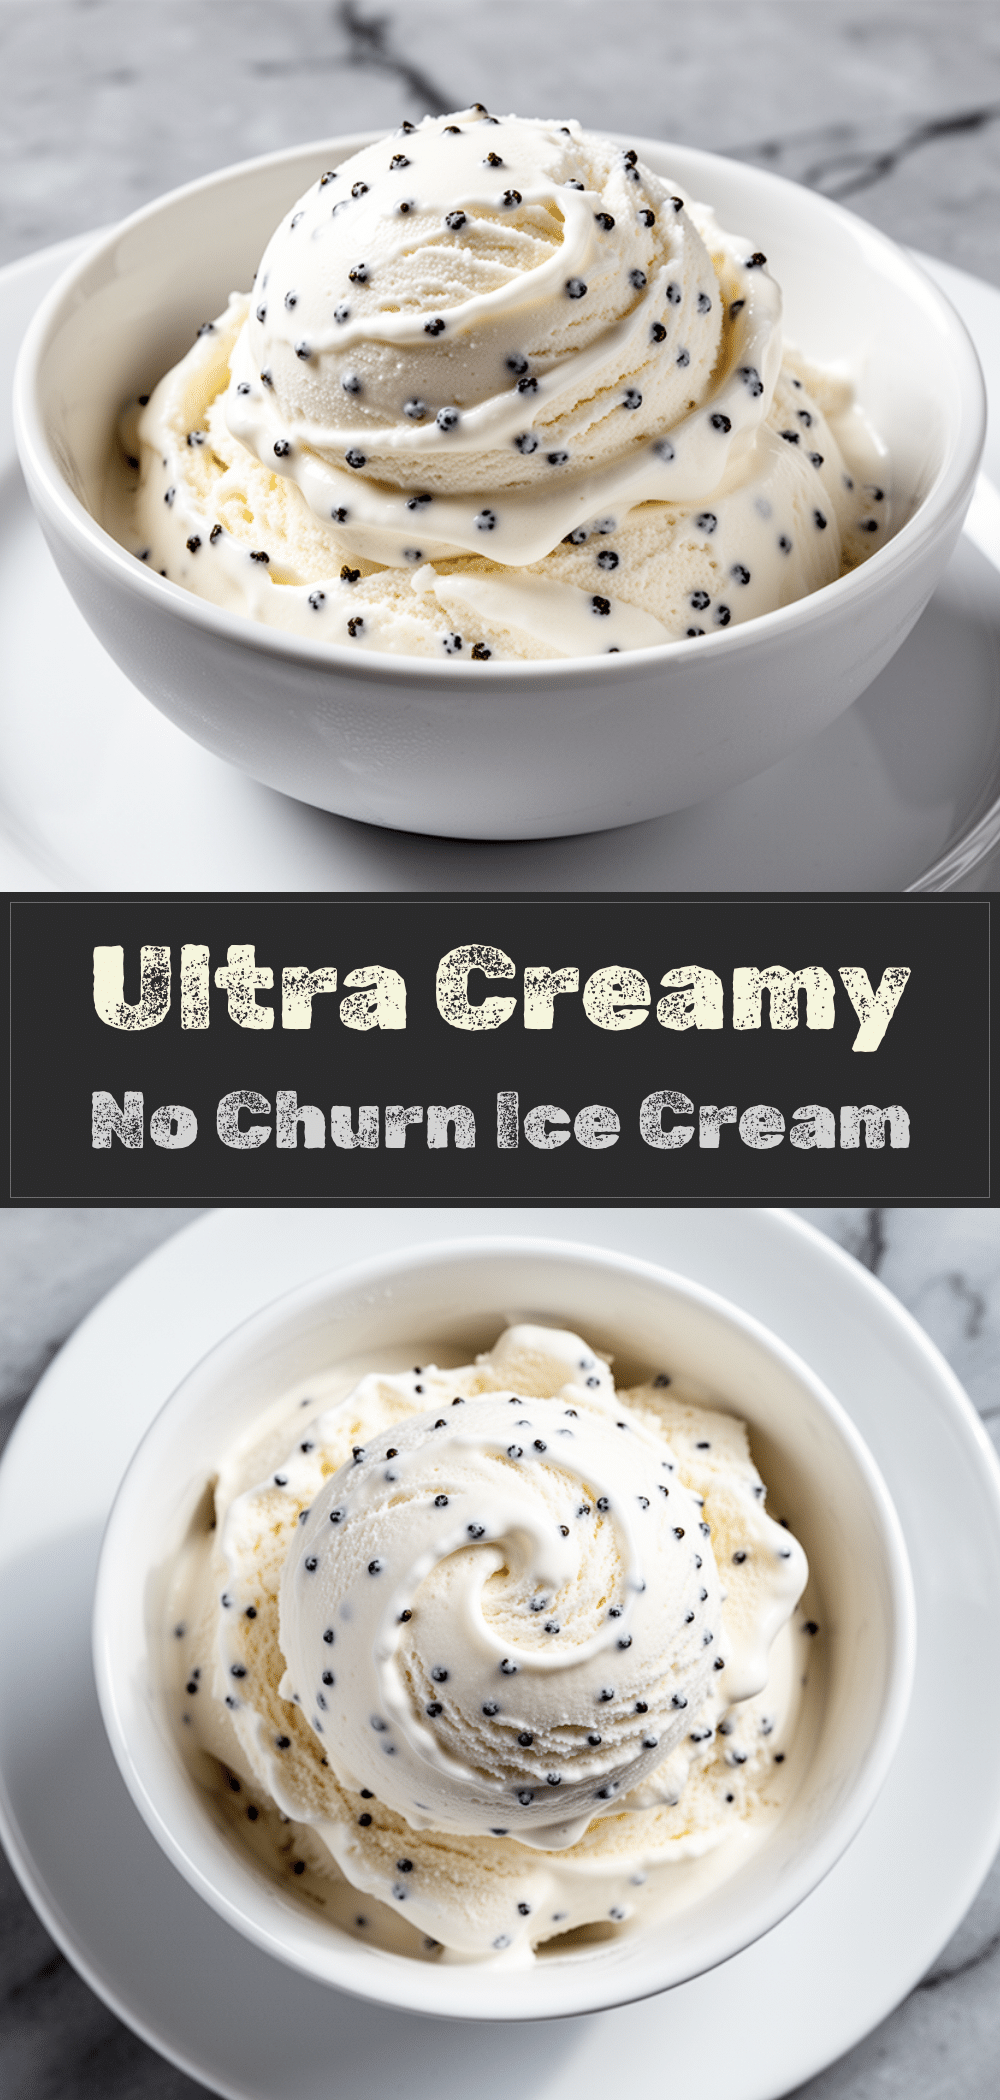
Homemade Vanilla Bean Ice Cream: 3-Ingredient No-Churn Recipe
- Total Time: 6 hours 15 minutes
- Yield: 8 servings 1x
Description
An ultra-creamy, no-churn vanilla bean ice cream made with just heavy cream, sweetened condensed milk, and vanilla. This easy dessert requires no ice cream machine and delivers a silky, rich texture perfect for summer.
Ingredients
- 2 cups heavy whipping cream (cold, at least 35% fat)
- 1 can (14 oz / 397g) sweetened condensed milk
- 1 whole vanilla bean (scraped) OR 1 tablespoon pure vanilla extract
- A tiny pinch of salt
Instructions
- Prep the vanilla: Split the vanilla bean lengthwise and scrape out the seeds. Set aside the seeds and pod (or use extract).
- Whip the cream: Pour cold heavy cream into a large mixing bowl. Add vanilla bean seeds (and pod if infusing later). Whip on high speed until stiff peaks form (about 3-5 minutes with a hand mixer). Do not over-whip.
- Prepare the milk: In a separate bowl, whisk the sweetened condensed milk with vanilla extract or the scraped vanilla seeds until smooth.
- Fold the mixture: Stir about one-third of the whipped cream into the condensed milk to lighten it. Then, gently fold the milk mixture into the remaining whipped cream using a spatula until just combined and uniform.
- Freeze: Pour the mixture into a loaf pan or freezer-safe container. Press plastic wrap directly onto the surface to prevent ice crystals. Cover tightly and freeze for at least 6 hours, preferably overnight.
- Serve: Let the ice cream sit at room temperature for 5-10 minutes to soften before scooping. Enjoy within two weeks for best texture.
Notes
Ensure all equipment and cream are very cold for best whipping results. Do not substitute heavy cream with low-fat alternatives as they will not whip properly. Press plastic wrap directly onto the ice cream surface to prevent freezer burn. For vanilla bean, save the pod to infuse the condensed milk for extra flavor.
- Prep Time: 15 minutes
- Cook Time: 0 minutes
- Category: Dessert
- Cuisine: American
Nutrition
- Serving Size: 1/2 cup
- Calories: 280
- Sugar: 26
- Sodium: 45
- Fat: 18
- Saturated Fat: 11
- Carbohydrates: 28
- Protein: 4
Keywords: no-churn ice cream, vanilla bean ice cream, homemade ice cream, easy dessert, summer recipes, dairy dessert, frozen treats



