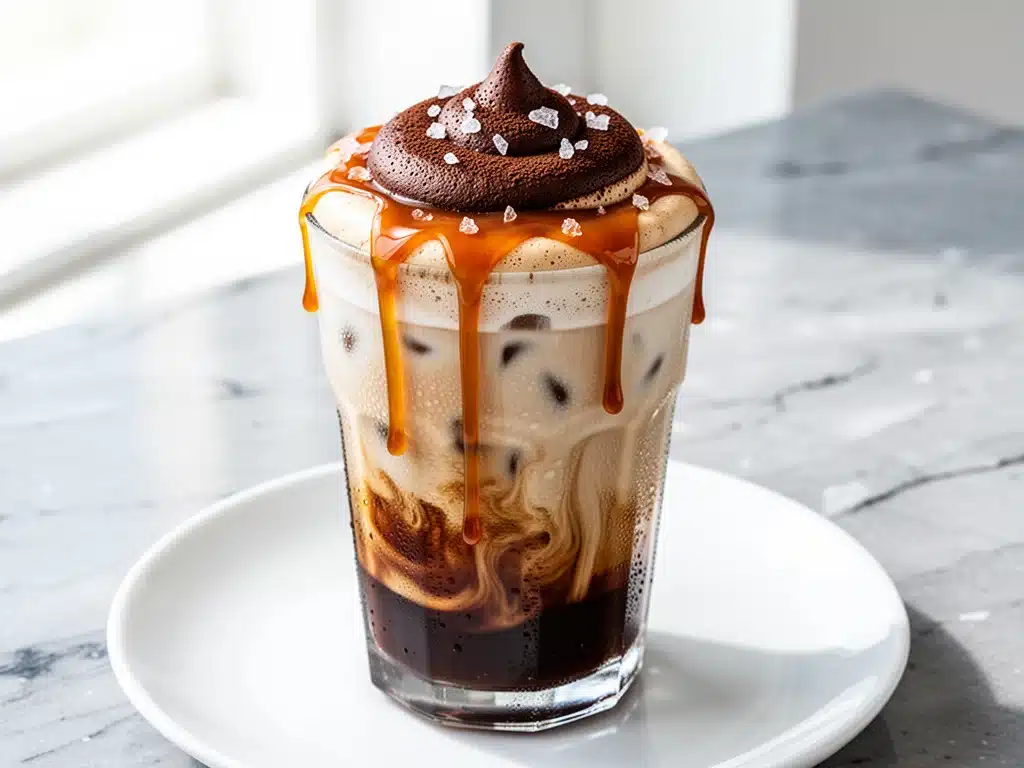
It was 7:45 AM on a Tuesday, and I was standing in line at the local coffee shop, shivering in the early autumn chill. The line was moving at a glacial pace, and I had already spent $8.50 on a drink that, when it finally arrived, was lukewarm, overly sweet, and tasted like artificial syrup. I took one sip, sighed, and walked out. That was the moment I decided I was done paying premium prices for mediocre coffee.
I went home and spent the next three weekends testing, tweaking, and perfecting what I now consider my morning religion: the Homemade Salted Caramel Iced Latte with Espresso Whip. I’ve made this drink dozens of times—sometimes when I’m rushing to get the kids to school, sometimes when I’m trying to recreate that specific coffee shop magic on a lazy Sunday. And every single time, it’s better than the big chains. It’s richer, it’s fresher, and that salted caramel? It’s made from scratch, not pumped from a plastic bag.
This isn’t just a coffee; it’s a ritual. The smell of the caramel bubbling on the stove mixes with the sharp, roasted scent of fresh espresso. The ice clinks against the glass. And that espresso whip? It’s the crown jewel. It’s like a light, airy cloud of coffee-flavored mousse floating on top of cold, sweet milk. I’ve tried every method out there, from store-bought syrups to complicated espresso machines, and this one just works better. Way better.
If you’re tired of spending a fortune on drinks that don’t taste like anything, you need to try this. I’ve tested this recipe at least fifteen times to get the ratio of sweet to salty to coffee exactly right. It’s become my go-to when I want to feel fancy without leaving my kitchen. Trust me, once you taste the difference between real homemade caramel and that chemical stuff, you’ll never go back.
Why You’ll Love This Salted Caramel Iced Latte
There are about ten reasons I keep making this drink, but here are the big ones that have converted me (and my skeptical husband) into loyal fans.
It’s Actually Homemade — Seriously, if you can melt sugar and stir butter, you can make this. I’ve walked my teenage daughter through the caramel process over FaceTime while she was at college. It sounds intimidating, but it’s just sugar, water, cream, and butter. No weird ingredients you can’t pronounce.
Lightning Fast (Once You Have the Caramel) — Making the caramel from scratch takes about 15 minutes, but you can make a batch and keep it in the fridge for weeks. After that, assembling this latte takes less than 5 minutes. I make this on weeknights when I get home from work and need a pick-me-up before dinner prep.
The Espresso Whip is a Game-Changer — Most people just put whipped cream on their coffee. But whipping the espresso *into* the cream creates this incredible, stable, coffee-flavored mousse that doesn’t melt away in seconds. It’s textured, it’s intense, and it makes you feel like a barista. It’s hands-down the best topping for iced coffee.
Customizable Sweetness — Store-bought drinks are usually cloyingly sweet. With this recipe, you control the sugar. I like mine balanced—sweet enough to taste the caramel, but salty enough to keep it from being a dessert. You can adjust it to your exact taste.
Cost-Effective — This costs about $1.50 to make at home. That’s less than a single pastry at a bakery. Over a month, you’re saving enough to buy a really nice bag of beans.
This is my go-to when I need a treat that feels special but is actually simple. No complicated techniques, no fancy equipment (just a good blender or whisk), just reliable, delicious coffee that makes everyone happy.
Ingredients You’ll Need
Here’s the best part: you probably have most of this already. I’m particular about three ingredients here—the caramel, the espresso, and the cream—and I’ll tell you exactly why.
For the Salted Caramel Sauce:
Granulated Sugar (1 cup / 200g) — This is the base. Don’t use brown sugar here; you want that clean, golden amber color. I use Domino, but any standard white sugar works. The key is letting it melt completely before adding anything else.
Heavy Cream (½ cup / 120ml) — This is non-negotiable. Do not use milk or half-and-half for the caramel. It needs the high fat content to stay smooth and not seize up when you add it to the hot sugar. Warm it up slightly in the microwave first to prevent splattering.
Unsalted Butter (2 tablespoons / 30g) — This adds that rich, velvety mouthfeel. I use high-quality butter like Kerrygold or Plugrá. Salted butter will throw off the balance, so stick to unsalted.
Kosher Salt (1 teaspoon) — This is what makes it “salted” caramel. I use Maldon or standard kosher salt. Table salt is too sharp and metallic. You want that subtle crunch and savory balance.
Vanilla Extract (1 teaspoon) — Pure vanilla only. I avoid imitation vanilla because it tastes harsh in simple sauces like this. It rounds out the flavor beautifully.
For the Latte Base:
Espresso (2 shots / about 60ml) — Freshly brewed is best. I use a Moka pot because it gives a strong, concentrated brew that stands up to the ice and milk. If you don’t have an espresso machine, strong brewed coffee in a French press works, but it won’t be as intense. Cold brew concentrate is also a great substitute if you’re meal-prepping.
Milk (1 cup / 240ml) — I use whole milk for the creamiest texture, but oat milk or almond milk works great too. Oat milk is particularly good because it’s naturally sweet and froths well.
Ice — Lots of it. Large cubes are better because they melt slower, keeping your drink cold without watering it down too quickly.
For the Espresso Whip:
Heavy Whipping Cream (½ cup / 120ml) — Must be cold. Straight from the fridge. If it’s warm, it won’t whip.
Espresso (2 tablespoons / 30ml) — A shot of espresso, cooled down. This infuses the cream with that coffee flavor.
Powdered Sugar (1 tablespoon) — Just a little bit for sweetness and stability. You don’t want it too sweet because the caramel is already sweet.
Vanilla Extract (½ teaspoon) — To tie it all together.
Optional Garnish:
Sea Salt Flakes — A pinch on top for that professional look and extra salt kick.
Extra Caramel Drizzle — For the caramel lovers in your life.
Equipment Needed
You don’t need fancy equipment for this. Here’s what I actually use.
Small Saucepan — I use a 1-quart saucepan with a heavy bottom. This helps the sugar melt evenly without burning. My ancient stainless steel pan from college still works fine for this.
Whisk — A small silicone or metal whisk is essential for stirring the caramel. You need to be able to get into the corners of the pan.
Blender or Hand Mixer — For the espresso whip, a blender gives the smoothest, airiest texture. I’ve tried a hand mixer, and it works, but it takes longer and the texture is slightly grainier. A simple balloon whisk works if you have the arm strength!
Moka Pot or Espresso Machine — To get that strong coffee base. If you don’t have these, a strong French press or AeroPress works.
Glasses — I prefer tall glasses (16oz) to show off the layers. Clear glass is best so you can see the beautiful separation of the caramel, milk, and ice.
Measuring Spoons — For the salt and sugar. Precision matters here.
How to Make It: Step-by-Step
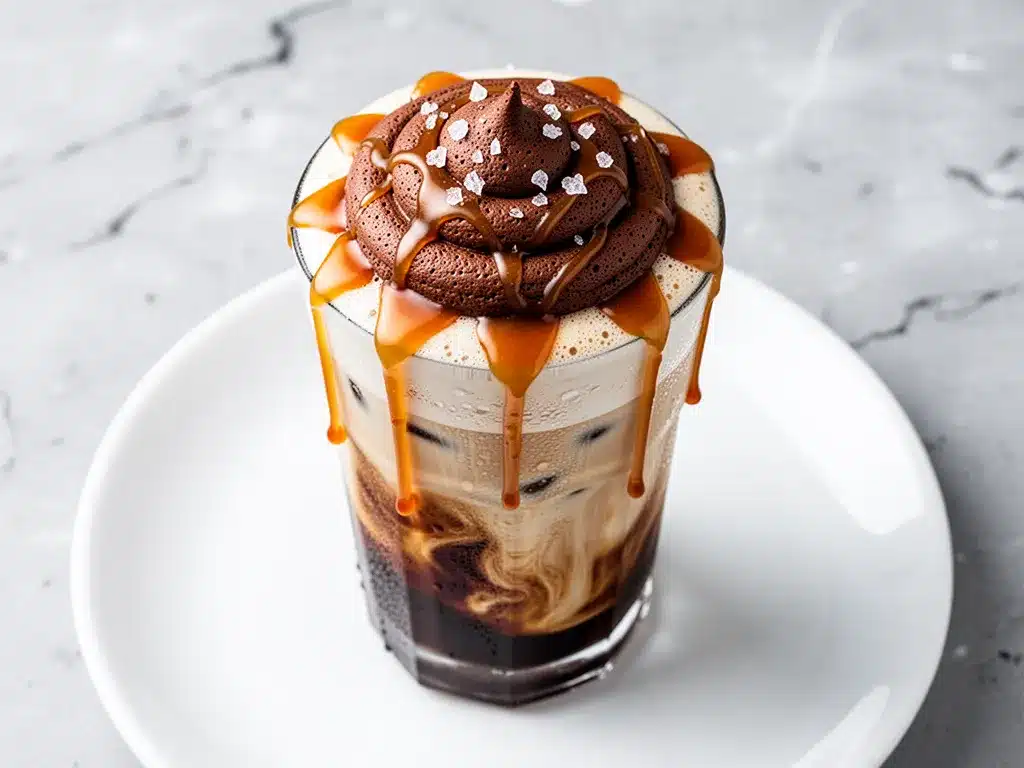
Alright, let’s make this! I’m walking you through exactly how I do it, including the little tricks I’ve picked up so you don’t burn your kitchen down.
Step 1: Make the Salted Caramel Sauce (15 minutes)
This is the heart of the recipe. Grab your small saucepan and pour in the sugar. Turn the heat to medium. Do not stir yet! Let the sugar melt. You’ll see it start to clump and then turn into a liquid amber color. This takes about 5-7 minutes. If you see any burning bits, scrape them out immediately.
Once the sugar is fully melted and golden (like honey), carefully add the warm heavy cream. It will bubble up violently, so stand back. Whisk constantly until the cream is fully incorporated and the sauce is smooth. This might take another 2 minutes.
Remove from heat and whisk in the butter, salt, and vanilla. The sauce will thicken as it cools. Set it aside to cool slightly while you make the coffee. It should be pourable but thick, like warm honey.
Step 2: Brew Your Espresso (5 minutes)
Brew two shots of espresso. If using a Moka pot, this takes about 5 minutes. If using an espresso machine, obviously faster. Let the espresso cool for a few minutes. You don’t want hot coffee over ice, and you definitely don’t want hot coffee in your whip.
Step 3: Assemble the Latte (3 minutes)
Take your tall glass. Fill it with ice cubes, leaving about an inch of space at the top. Pour in your milk over the ice. Then, add your salted caramel sauce. I usually do about 2-3 tablespoons, depending on how sweet you like it.
Slowly pour the cooled espresso over the back of a spoon to layer it on top, or just stir it in if you prefer a uniform color. I like the layering effect because it looks pretty and lets you taste the coffee strength as you drink.
Step 4: Make the Espresso Whip (5 minutes)
In your blender or mixing bowl, combine the cold heavy cream, cooled espresso, powdered sugar, and vanilla. Blend or whip on high speed until stiff peaks form. This should take about 1-2 minutes in a blender. If using a hand mixer, it might take 3-4 minutes. Be careful not to over-whip, or you’ll get butter. You want it fluffy and airy.
Step 5: Top and Serve
Spoon the espresso whip generously over the top of your iced latte. It should mound up like a cloud. Garnish with a pinch of sea salt flakes and a drizzle of extra caramel sauce. Serve immediately with a long spoon or straw so you can get all the layers.
Expert Tips & Tricks
Here’s everything I’ve learned from making this dozens of times. These tips will save you from my mistakes.
Don’t Burn the Sugar
The biggest mistake people make with caramel is letting it get too dark. For a latte, you want a light amber color. If it gets too dark, it will taste bitter. If you see smoke, turn off the heat immediately and add the cream right away to stop the cooking.
Warm the Cream
When adding cream to hot sugar, if the cream is cold, it can cause the sugar to seize up into hard lumps. Warm your cream in the microwave for 30 seconds before adding. This keeps the sauce smooth and glossy.
Cool the Espresso for the Whip
If you add hot espresso to the cream, it will melt it and you’ll never get peaks. Make sure your espresso shot is room temperature or cooler before whipping.
Use Cold Cream
For the whip, cold cream is crucial. If your cream is warm, it won’t whip. Put your bowl in the freezer for 10 minutes before whipping if you’re in a hurry.
Make Ahead Caramel
You can make the caramel sauce up to 2 weeks in advance. Store it in an airtight jar in the fridge. It will thicken in the fridge, so just microwave it for 15 seconds to loosen it up before using.
Variations & Substitutions
Once you’ve nailed the basic version, here’s how you can mix it up. I’ve tried all of these.
Coconut Version
Swap the dairy milk for full-fat coconut milk and use coconut cream for the whip. It’s dairy-free and adds a tropical twist that pairs amazingly with the salted caramel. I make this when I’m feeling fancy.
Chocolate Salted Caramel
Add 1 tablespoon of cocoa powder to the caramel sauce while it’s simmering. It creates a mocha-like depth that is incredible. This is my husband’s favorite variation.
Decaf Option
Use decaf espresso beans. The process is exactly the same, and you get the flavor without the jitters. Perfect for evening treats.
Lighter Whip
Use Greek yogurt mixed with a little honey and vanilla instead of whipped cream. It’s not as fluffy, but it’s lighter. I won’t lie, it’s not the same, but it works if you’re watching calories.
Gluten-Free
This recipe is naturally gluten-free, as long as your espresso machine and ingredients are clean. No flour or grains involved.
Serving & Storage
How to Serve:
I usually serve this straight away because the ice melts and the layers disappear. But here are other ways I’ve enjoyed it:
Pairings:
This latte is rich, so it pairs well with lighter pastries. I love it with Pumpkin Streusel Coffee Cake Muffins because the cinnamon complements the caramel. It’s also great with Fall Caramel Apple Crisp for a full autumn dessert experience.
Storage Instructions:
Refrigerator:
The assembled latte is best fresh. If you must store it, keep it in the fridge for up to 24 hours. The ice will melt, so you’ll need to add fresh ice and maybe a splash of milk when you serve it.
Caramel Sauce:
Store in an airtight container in the fridge for up to 2 weeks. Reheat gently in the microwave.
Espresso Whip:
Make it fresh. It deflates within an hour. Don’t make it ahead.
Nutrition Information
I’m not a nutritionist, but here’s the breakdown if you’re tracking. This is a treat, so enjoy it guilt-free!
Per Serving (based on 1 large latte):
- Calories: 380
- Protein: 6g
- Carbs: 42g
- Fiber: 0g
- Sugar: 38g
- Fat: 20g
- Saturated Fat: 12g
- Cholesterol: 65mg
- Sodium: 250mg
What’s Good:
It’s a source of calcium from the milk and cream. The espresso has antioxidants. And it’s a much better alternative to sugary sodas.
What to Know:
It’s higher in calories and sugar due to the caramel and cream. If you’re watching your sugar, reduce the caramel to 1 tablespoon and skip the powdered sugar in the whip.
My Take:
Look, this is a dessert in a glass. It’s not a diet recipe. But it’s way better than the $8 drink from the shop, and you know exactly what’s in it. When I want to make it lighter, I use oat milk and reduce the caramel. But usually? I just enjoy it as a special morning treat.
Final Thoughts
So that’s my Homemade Salted Caramel Iced Latte with Espresso Whip! I’ve probably talked your ear off at this point, but when you make a recipe this often, you have a lot to say about it.
This has saved my mornings more times than I can count. It’s my answer to “what’s for breakfast?” when I’m tired, don’t want heavy food, and still want something that tastes really good. My kids are happy, my husband’s happy, and I’m happy because I’m not stressed about coffee.
Make it yours! Try different milks, adjust the salt, or add a dash of cinnamon. The best recipes are the ones you adapt to your family’s tastes.
If you make this, drop a comment and let me know what you think! I love hearing how recipes turn out in your kitchen. And if something doesn’t work, tell me that too—I’m here to help troubleshoot.
Happy brewing! And I hope your kitchen smells half as good as mine does right now.
Frequently Asked Questions
Can I use cold brew instead of espresso?
Yes, absolutely! Cold brew is actually great for iced lattes because it’s less acidic. Use about ½ cup of cold brew concentrate for every 1 cup of milk. It will be smoother and less intense than espresso, but still delicious.
Why did my caramel seize up?
This usually happens if the cream was too cold when you added it, or if water got into the sugar before it melted. Always warm your cream slightly, and make sure your pan is completely dry before starting. If it seizes, add a little more warm cream and whisk vigorously to bring it back together.
Can I make this ahead for a party?
You can make the caramel sauce and brew the espresso ahead of time. Store them separately in the fridge. Assemble the drinks right before serving so the ice doesn’t melt. I pre-portion the caramel into small jars for parties, so guests can just add it to their milk and ice.
Why did my espresso whip turn out runny?
The cream was probably too warm, or you under-whipped it. Make sure your cream is straight from the fridge. If you’re using a hand mixer, whip for at least 3-4 minutes. If you’re using a blender, blend on high for 1-2 minutes. It should hold stiff peaks.
Can I use salted butter instead of unsalted?
You can, but you’ll need to reduce the added salt in the recipe. Since butter varies in salt content, taste the caramel after adding the butter and adjust accordingly. I prefer unsalted because it gives me more control over the final flavor.
How long does the homemade caramel last?
In an airtight container in the fridge, it lasts up to 2 weeks. It will thicken as it cools, so just microwave it for 15-20 seconds to loosen it up. It freezes well too, for up to 3 months.
Is this recipe gluten-free?
Yes, this recipe is naturally gluten-free. Just ensure your espresso machine and any added toppings (like cookie crumbs, if you choose to add them) are gluten-free.
Pin This Recipe!
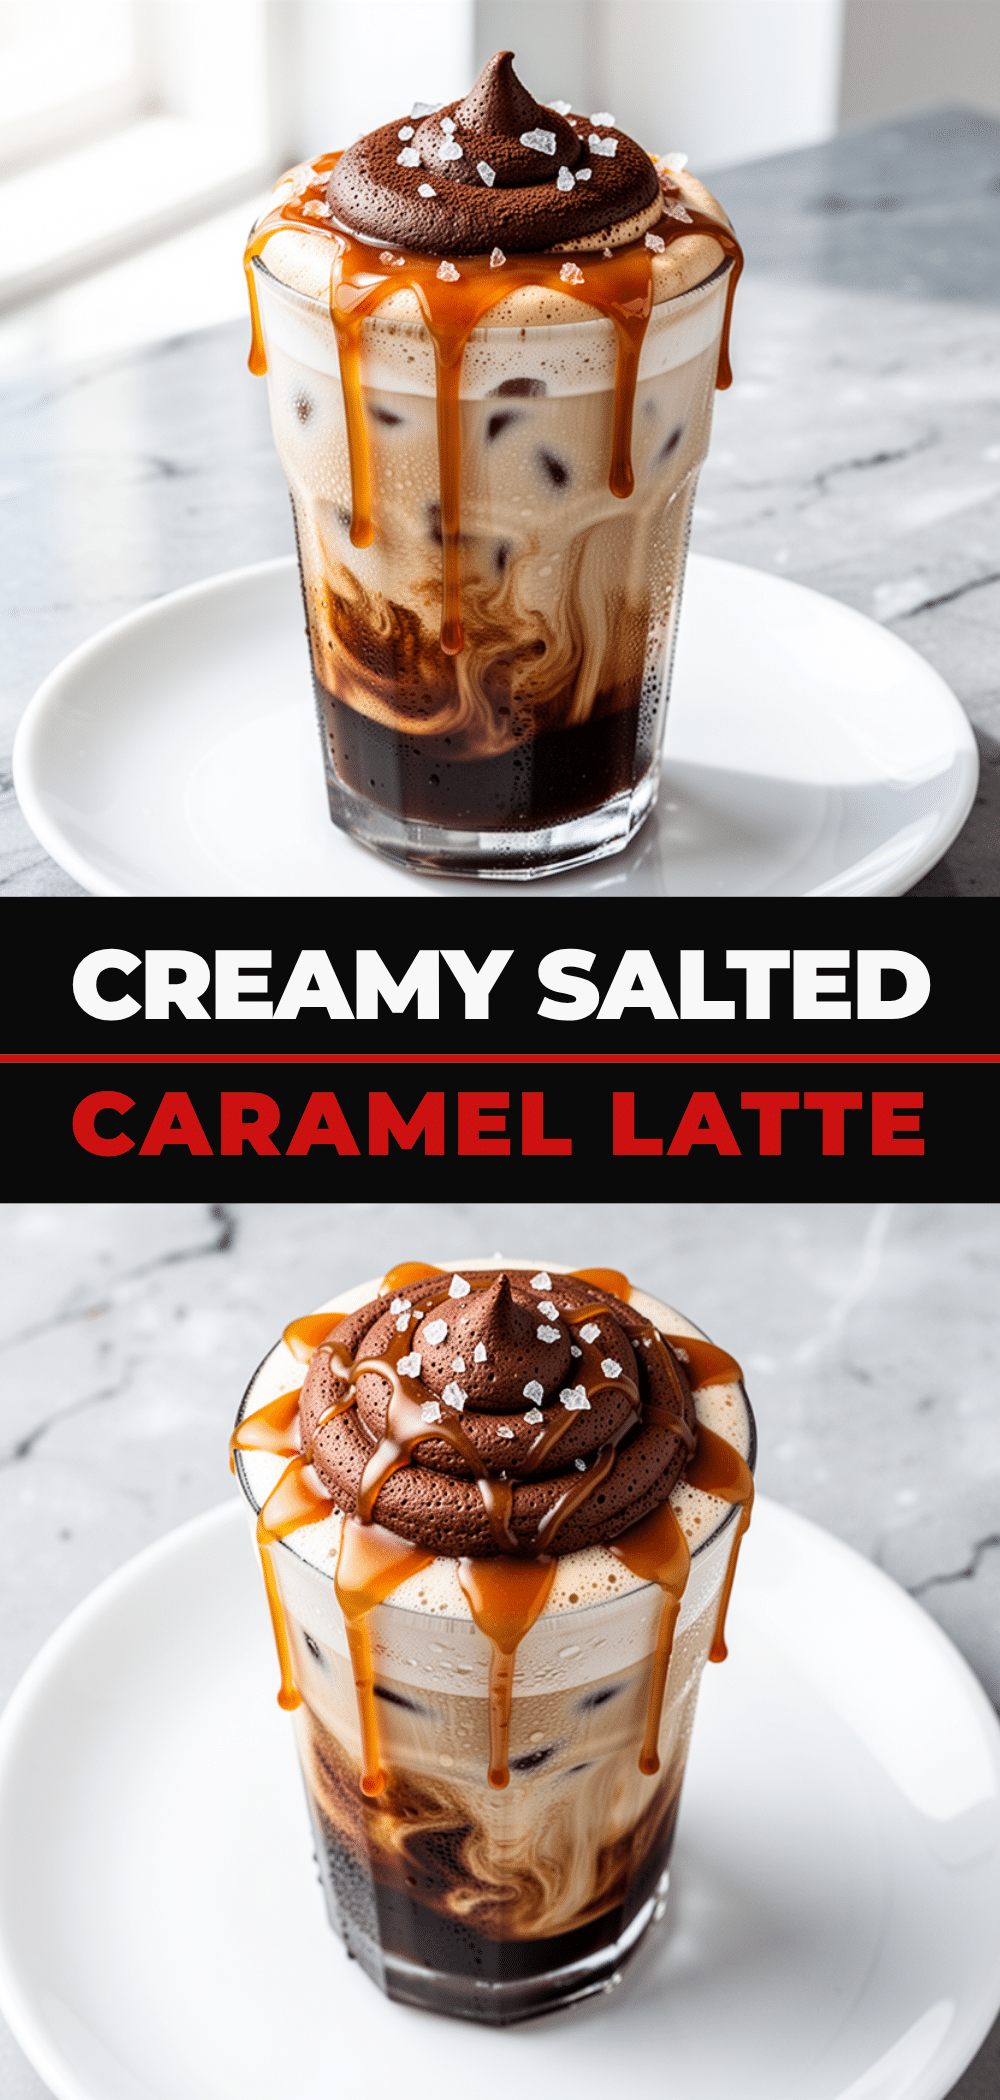

Homemade Salted Caramel Iced Latte with Espresso Whip
- Total Time: 25 minutes
- Yield: 1 serving 1x
Description
A rich, homemade iced latte featuring scratch-made salted caramel sauce and a light, airy espresso-infused whipped cream topping, offering a superior alternative to coffee shop drinks.
Ingredients
- 1 cup granulated sugar
- 1/2 cup heavy cream (warmed)
- 2 tablespoons unsalted butter
- 1 teaspoon kosher salt
- 1 teaspoon pure vanilla extract
- 2 shots espresso (about 60ml, cooled)
- 1 cup milk (whole, oat, or almond)
- Ice cubes
- 1/2 cup heavy whipping cream (cold)
- 2 tablespoons cooled espresso
- 1 tablespoon powdered sugar
- 1/2 teaspoon vanilla extract
- Sea salt flakes (optional garnish)
- Extra caramel drizzle (optional garnish)
Instructions
- Pour granulated sugar into a small saucepan over medium heat. Let it melt without stirring until it turns into a liquid amber color (5-7 minutes).
- Carefully add the warm heavy cream to the melted sugar; it will bubble violently. Whisk constantly until smooth and incorporated (about 2 minutes).
- Remove from heat and whisk in the butter, kosher salt, and vanilla extract. Set aside to cool slightly.
- Brew two shots of espresso and let them cool to room temperature.
- Fill a tall glass with ice cubes. Pour in the milk over the ice.
- Add 2-3 tablespoons of the salted caramel sauce to the glass.
- Slowly pour the cooled espresso over the back of a spoon to layer it, or stir to combine.
- In a blender or mixing bowl, combine the cold heavy whipping cream, cooled espresso, powdered sugar, and vanilla extract.
- Blend or whip on high speed until stiff peaks form (1-2 minutes in blender, 3-4 minutes with hand mixer).
- Spoon the espresso whip generously over the top of the latte.
- Garnish with sea salt flakes and a drizzle of extra caramel sauce. Serve immediately.
Notes
Warm the cream before adding to hot sugar to prevent seizing. Ensure the espresso is cooled before whipping into the cream to maintain texture. The caramel sauce can be made up to 2 weeks in advance and stored in the fridge. For a lighter version, use oat milk and reduce the caramel amount.
- Prep Time: 15 minutes
- Cook Time: 10 minutes
- Category: Beverage
- Cuisine: American
Nutrition
- Serving Size: 1 large latte
- Calories: 380
- Sugar: 38
- Sodium: 250
- Fat: 20
- Saturated Fat: 12
- Carbohydrates: 42
- Protein: 6
Keywords: salted caramel latte, iced coffee, espresso whip, homemade caramel, coffee shop drink, iced latte recipe, espresso cream



