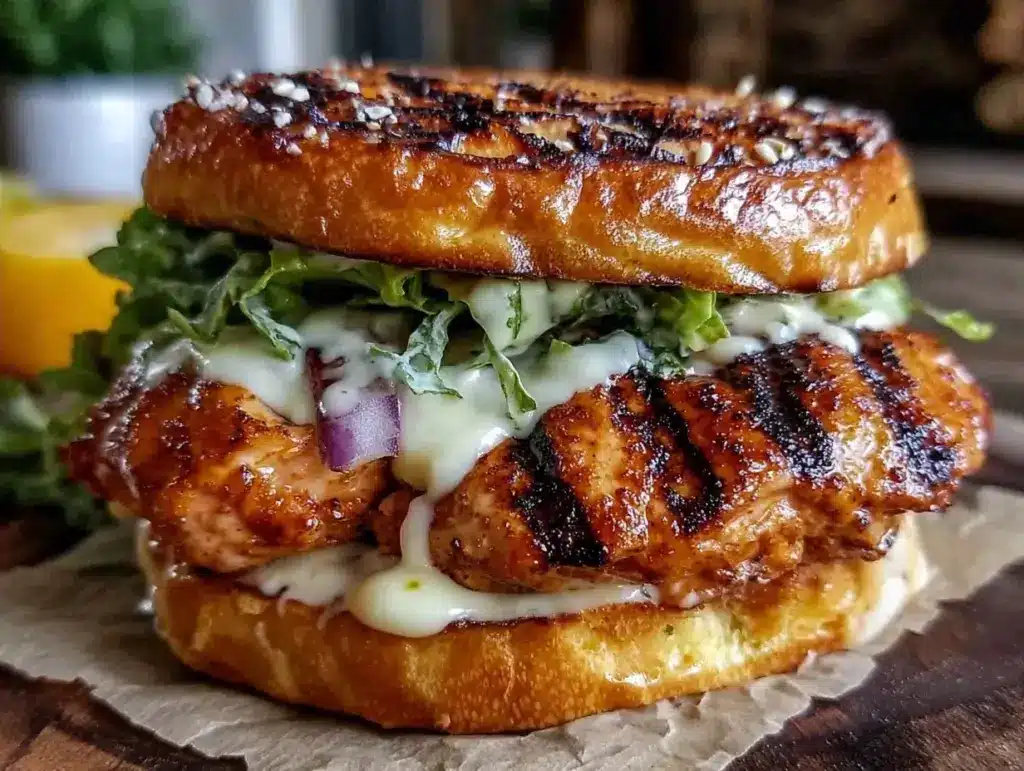
I have a confession to make. For years, I was the person who bought the sad, gray, pre-cooked chicken strips from the gas station. You know the ones. The ones that taste like cardboard and regret. I told myself it was “convenient.” It wasn’t. It was just lazy, and it tasted terrible.
Then, about three years ago, I decided I was done eating sad chicken. I wanted something that actually tasted like summer. Something that made me want to stand in front of the grill even if it was 85 degrees outside. I wanted the juiciness of a proper grilled chicken breast with a sauce so good it made me close my eyes.
That’s when I started making this grilled chicken sandwich with garlic aioli. And I don’t just mean “made it once.” I mean I’ve made it so many times that my neighbors probably think I’m trying to start a food truck out of my garage.
This isn’t a complicated, five-step gourmet dish that requires a culinary degree. It’s simple. It’s forgiving. It’s the kind of recipe where if you can boil water and squeeze a lemon, you can nail it every single time. No more dry chicken. No more bland sandwiches. Just pure, juicy, garlicky goodness on toasted bread.
If you’re looking for a way to upgrade your lunch game without spending hours in the kitchen, this is it. It’s the one dish I keep coming back to because it just works. Let’s get into why this sandwich is about to become your new best friend.
Why You’ll Love This Grilled Chicken Sandwich
There are a lot of chicken sandwich recipes out there. Some are fried (delicious, but heavy). Some are baked (healthy, but boring). This grilled version hits that sweet spot of flavor and ease that keeps me coming back. Here’s why this specific combination of grilled chicken and garlic aioli is worth your time.
Stupid Simple Ingredients
I’m a huge fan of recipes that don’t require a trip to a specialty store. For this sandwich, you need chicken breasts, some bread, mayo, garlic, lemon, and a few herbs. That’s it. No obscure spices. No weird sauces you can’t pronounce. If you can make a grilled cheese, you can make this. I’ve taught my teenage nephew how to make this over video call, and he didn’t burn a single thing.
The Garlic Aioli Changes Everything
Real talk: the chicken is good. But the aioli? The aioli is the star. Most people think aioli is complicated, but it’s just mayo, garlic, lemon juice, and a little olive oil. It takes 30 seconds to whip up. That creamy, garlicky, tangy spread turns a basic sandwich into something restaurant-quality. It adds moisture, flavor, and that “wow” factor that makes people ask for the recipe.
Forgiving Cooking Method
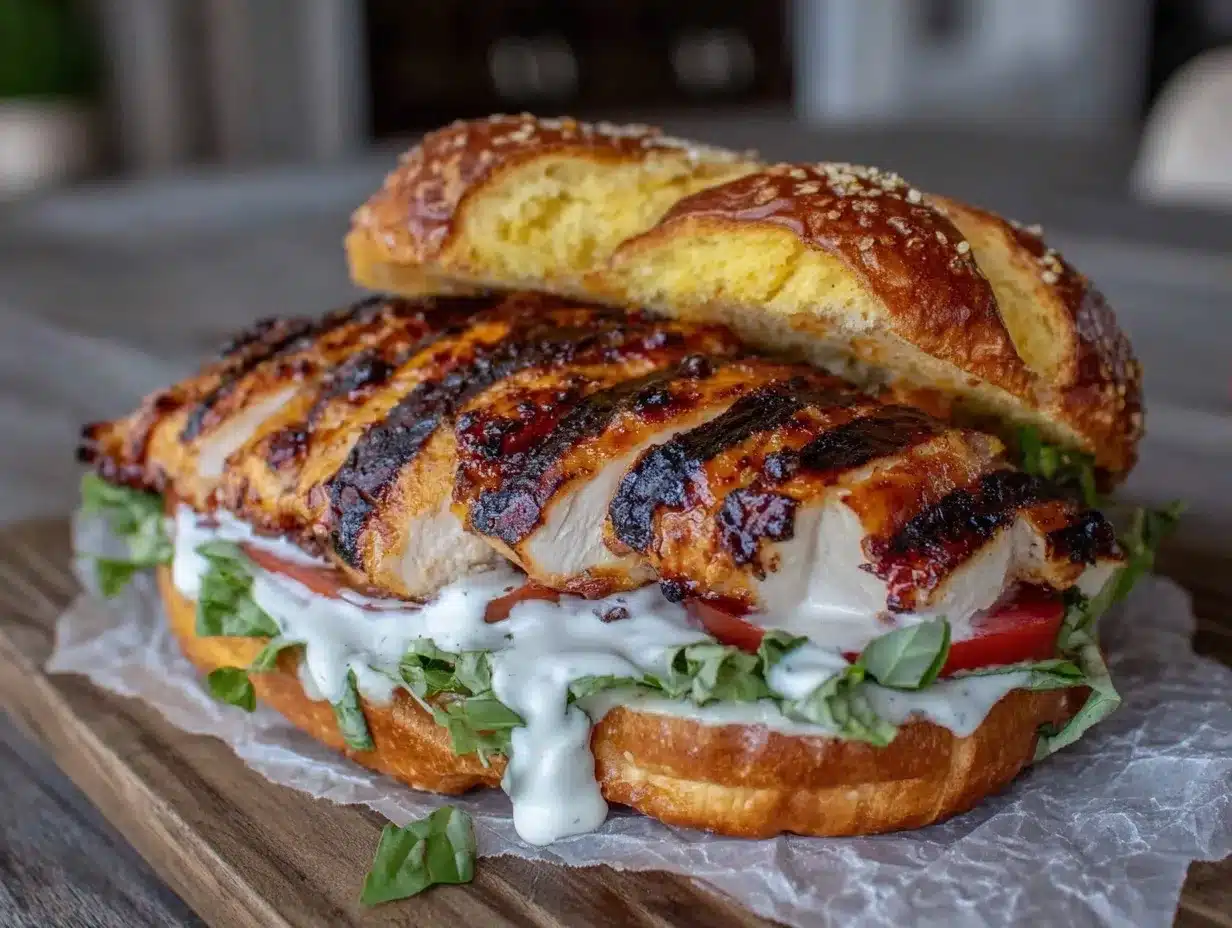
Grilling chicken can be intimidating. People worry about drying it out. But here’s the thing: if you pound the chicken breast flat and cook it over medium heat, it stays juicy. I’ve had beginners make this sandwich with zero prior grilling experience, and they’ve had perfect results. The aioli actually helps mask any minor overcooking, but honestly, if you follow the steps, it’s hard to mess up.
Perfect for Any Meal
This isn’t just a lunch thing. I’ve served this for dinner. I’ve packed it for picnics. I’ve even made it for brunch (why not?). It’s versatile enough to pair with a simple side salad, or you can go all out with some of my creamy roasted tomato soup on the side. It’s the kind of dish that fits into your life, not the other way around.
Makes Amazing Leftovers
Unlike some grilled meats that turn into leather by noon, this chicken actually tastes great cold or room temperature the next day. I often grill extra breasts on Sunday and slice them up for quick sandwiches all week long. The aioli keeps the bread from getting soggy if you assemble it right. It’s meal prep made easy.
This is my go-to when I want something that tastes like effort but takes zero effort to make. No stress, no mess, just delicious food.
Ingredients You’ll Need
Here’s the best part: you probably have most of this already in your fridge and pantry. I’m being real with you—this recipe relies on the quality of three things: the chicken, the mayo, and the garlic. Don’t cut corners on those.
For the Chicken
Chicken breasts (2 large, about 1.5 lbs / 680g) — Boneless, skinless is standard here. I prefer buying the larger breasts because they’re easier to pound flat. If you buy them frozen, make sure they’re completely thawed before you start.
Olive oil (2 tablespoons / 30ml) — Use extra virgin if you have it. It adds a nice fruity note that pairs well with the garlic. You can use vegetable oil if you’re on a budget, but olive oil tastes better.
Italian seasoning (1 teaspoon) — Or a mix of dried oregano and basil. This gives the chicken that classic “grilled” flavor. If you don’t have Italian seasoning, just use salt, pepper, and a pinch of dried oregano.
Salt and black pepper — Kosher salt is best because it’s easier to control. Freshly cracked black pepper adds a nice bite.
For the Garlic Aioli
Mayonnaise (½ cup / 120g) — I use Hellmann’s or Duke’s. Avoid the “light” mayo if you can help it; the fat carries the flavor. If you want to get fancy, try lemon-infused mayo if you have it, but regular works fine.
Garlic (3-4 cloves, minced / about 1 tablespoon) — Fresh garlic is non-negotiable here. Jarred garlic has a weird chemical taste that ruins the aioli. Mince it yourself. If you’re really lazy, you can use a garlic press, but mincing gives better texture.
Lemon juice (1 tablespoon / 15ml) — Freshly squeezed is best. Bottled lemon juice tastes flat and artificial. It cuts through the richness of the mayo and brightens everything up.
Dijon mustard (1 teaspoon) — This adds a little tang and helps emulsify the sauce. It’s subtle but important for balance.
Hot sauce (½ teaspoon, optional) — I like a dash of Sriracha or Cholula. It doesn’t make it spicy, just adds a little background warmth. Skip it if you’re sensitive to heat.
Fresh parsley (1 tablespoon, chopped) — Optional, but it adds a nice pop of color and freshness. If you don’t have parsley, basil works too.
For the Assembly
Bread (4 slices) — I recommend sourdough or brioche. Sourdough has a nice chew and holds up well. Brioche is softer and sweeter. Avoid thin white sandwich bread; it gets soggy too fast. You can also use ciabatta rolls if you want a more rustic feel.
Cheese (4 slices) — Provolone or Swiss are classic choices. Provolone melts nicely and has a mild flavor. Pepper Jack if you want a kick. Cheddar works too, but it’s stronger.
Vegetables — Lettuce (romaine or iceberg for crunch), tomato slices, and red onion rings. Keep it simple. You don’t want too many veggies overpowering the chicken.
Shopping Tips
I buy my chicken breasts from the local butcher when I can, but the grocery store works fine. Look for breasts that are uniform in size so they cook evenly. For the aioli, if you’re worried about raw garlic, rest assured that the acid in the lemon juice and the mayo makes it safe and delicious. No one gets sick from this aioli.
Equipment Needed
You don’t need fancy equipment for this. Here’s what I actually use. If you don’t have these exact items, don’t worry—there are easy substitutes.
Grill or Grill Pan — I use a charcoal grill for the smoky flavor, but a cast-iron grill pan on the stovetop works perfectly. If you don’t have a grill pan, a regular skillet works too; you’ll just lose the grill marks, but the taste is still great.
Meat Mallet or Rolling Pin — This is crucial. Chicken breasts are thick and uneven. Pounding them flat ensures they cook evenly and don’t dry out. I use a simple metal mallet, but a heavy rolling pin works just as well.
Small Mixing Bowl — For whisking the aioli. Any small bowl will do.
Spatula — For flipping the chicken and assembling the sandwich. A wide spatula is best so you don’t break the bread.
Sharp Knife — For slicing the tomato and onion. A dull knife will crush the tomato. Learned this the hard way.
Measuring Spoons — For the aioli ingredients. It’s nice to have precision here, but eyeballing it works too.
Tongs — For handling the chicken on the grill. Much safer than a fork, which pierces the meat and lets the juices escape.
Toast Oven or Skillet — For toasting the bread. I usually toast the bread in a dry skillet while the chicken rests. It adds a nice crunch.
How to Make It: Step-by-Step
Alright, let’s make this! I’m walking you through exactly how I do it. It’s straightforward, but there are a few tricks to keep the chicken juicy and the aioli creamy.
Step 1: Prep the Chicken (5 minutes)
Start by taking your chicken breasts out of the fridge. Let them sit for 10-15 minutes while you prep the rest. This takes the chill off, helping them cook more evenly. Place each breast between two sheets of plastic wrap or in a large zip-top bag. Use your meat mallet or rolling pin to pound the thickest part until the breast is about ½ inch thick all over. This is the secret to juicy chicken. If you skip this, the thin ends will dry out before the thick middle is cooked.
Step 2: Season the Chicken (2 minutes)
Drizzle the chicken with olive oil and rub it in. Sprinkle with salt, pepper, and Italian seasoning. Rub the seasoning into the meat so it sticks. You want to coat both sides evenly. Don’t be shy with the salt; it enhances the flavor.
Step 3: Make the Garlic Aioli (3 minutes)
While the chicken preps, make the aioli. In a small bowl, combine the mayo, minced garlic, lemon juice, Dijon mustard, hot sauce (if using), and chopped parsley. Whisk it all together until smooth. Taste it. Does it need more lemon? Add a squeeze. More garlic? Add a clove. This is your sauce, so make it how you like it. Set it aside. It tastes even better after sitting for 10 minutes as the flavors meld.
Step 4: Grill the Chicken (8-10 minutes)
Preheat your grill or grill pan to medium-high heat. You want it hot, but not screaming hot. Oil the grates lightly to prevent sticking. Place the chicken on the grill. Cook for 4-5 minutes on the first side without moving it. This creates those nice grill marks. Flip the chicken and cook for another 4-5 minutes. The chicken is done when it reaches an internal temperature of 165°F (74°C) or when the juices run clear. If you don’t have a thermometer, cut into the thickest part to check. It should be white all the way through, not pink.
Step 5: Rest the Chicken (5 minutes)
This is the most important step. Remove the chicken from the grill and let it rest on a plate or cutting board for at least 5 minutes. If you cut it immediately, all the juices will run out, and your sandwich will be dry. Resting lets the juices redistribute. Trust me on this. I’ve ruined sandwiches by skipping this step. Don’t be me.
Step 6: Toast the Bread (2 minutes)
While the chicken rests, toast your bread. You can do this in a toaster, but I prefer toasting it in a dry skillet or on the grill for the last minute of cooking. Butter the outside of the bread if you want extra richness, but plain toasted bread is also great. You want it golden brown and crisp.
Step 7: Assemble the Sandwich
Take your toasted bread. Spread a generous layer of garlic aioli on both slices. Place the cheese on the bottom slice. Slice the rested chicken and lay the slices over the cheese. Add your tomato slices, red onion, and lettuce. Top with the other slice of bread, aioli-side down. Press down gently. Slice in half diagonally (triangles are always better than squares) and serve immediately.
Total Time: About 20 minutes (mostly hands-off).
Expert Tips & Tricks
Here’s everything I’ve learned from making this dozens of times. These tips will save you from my mistakes and ensure your sandwich is perfect.
Pound It Flat
I can’t stress this enough. Uneven chicken breasts are the enemy of a good sandwich. Pounding them to an even thickness ensures they cook at the same rate. If you have really thick breasts, you can butterfly them horizontally instead, but pounding is faster and more reliable.
Don’t Overcrowd the Grill
If you’re grilling multiple breasts, make sure there’s space between them. Crowding the grill lowers the temperature and steams the chicken instead of grilling it. You’ll lose those nice char marks. If you don’t have enough space, cook in batches. It’s worth the extra time.
Let the Garlic Mellow
Raw garlic can be sharp and pungent. Letting the aioli sit for 10-15 minutes before using it allows the raw garlic flavor to mellow out and blend with the mayo. It makes the sauce smoother and more palatable. If you’re in a huge rush, it’s still good, but patience pays off.
Toast the Bread
A soft bun on a soft sandwich is nice, but a little crunch goes a long way. Toasting the bread prevents it from getting soggy from the aioli and tomato juices. It adds a structural integrity that makes the sandwich easier to eat. I toast mine until they’re golden brown and slightly crisp to the touch.
Use a Meat Thermometer
Chicken is tricky. Overcooked chicken is dry and chewy. A cheap instant-read thermometer takes the guesswork out. Pull the chicken at 160°F (71°C); the residual heat will carry it to 165°F while it rests. This keeps the meat incredibly juicy.
Common Mistakes (and how to avoid them)
Mistake: Chicken is dry.
Fix: You probably overcooked it or didn’t pound it flat. Next time, use a thermometer and pound the chicken evenly. Also, don’t skip the resting step.
Mistake: Aioli is too thick.
Fix: Add a teaspoon of water or more lemon juice to thin it out. It should be spreadable, not like glue.
Mistake: Sandwich falls apart.
Fix: You used too much filling or didn’t toast the bread. Use a sturdy bread like sourdough, and don’t overload it. Also, press down gently after assembling.
Mistake: Garlic tastes raw and harsh.
Fix: Let the aioli sit for at least 10 minutes. Or, try roasting the garlic first for a sweeter, milder flavor.
Variations & Substitutions
Once you’ve nailed the basic version, here’s how you can mix it up. I’ve tried all of these, and they’re all winners.
Spicy Garlic Aioli
Add 1 teaspoon of chipotle powder or 1 tablespoon of sriracha to the aioli. It adds a smoky heat that pairs beautifully with the chicken. This is my favorite version when I want a little kick.
Avocado Chicken Sandwich
Swap the tomato and lettuce for sliced avocado. Add a squeeze of lime to the aioli. It’s creamy, rich, and delicious. Great for a lighter, fresher taste.
Bacon and Avocado Chicken
Add crispy bacon strips. The saltiness of the bacon complements the garlic aioli perfectly. It’s like a chicken BLT, but better. I usually cook the bacon in the skillet while the chicken rests.
Grilled Vegetable Version
Add grilled zucchini, eggplant, or bell peppers. They add sweetness and texture. I grill them alongside the chicken. It’s a great way to use up summer vegetables.
Dietary Modifications
Gluten-Free
Use gluten-free bread. Many brands work well, especially sourdough-style gluten-free bread. Just watch the toasting time as GF bread can dry out faster.
Dairy-Free
Skip the cheese or use a dairy-free cheese alternative. The aioli is naturally dairy-free (just check your mayo), so this is easy to modify.
Lower-Fat
Use light mayo in the aioli, or swap half the mayo for Greek yogurt. It adds protein and reduces fat while keeping the tanginess. The chicken itself is already lean, so this helps a lot.
Serving & Storage
How to Serve
I usually serve this straight from the grill, with a simple side of creamy roasted tomato soup or a crisp green salad. For a more substantial meal, try some potato chips or roasted sweet potato fries. It’s also great with a side of coleslaw.
Storage Instructions
Refrigerator:
Store the grilled chicken in an airtight container for up to 3 days. The aioli can be stored separately for up to 5 days. Do not assemble the sandwich ahead of time; the bread will get soggy. Assemble right before eating.
Reheating:
To reheat the chicken, use a skillet over medium heat with a splash of water to create steam, or microwave it in 30-second intervals. Avoid the oven, as it can dry out the chicken. The aioli should be made fresh.
Freezing:
I don’t recommend freezing the assembled sandwich. The bread and aioli don’t freeze well. You can freeze the cooked chicken for up to 2 months, but the texture may be slightly drier upon thawing. Thaw in the fridge overnight and reheat gently.
Pro Tip
If you’re meal prepping, cook the chicken and make the aioli on Sunday. Store them separately. Assemble your sandwich each morning. It takes 2 minutes and tastes fresh every time.
Nutrition Information
I’m not a nutritionist, but here’s the breakdown if you’re tracking. This is per sandwich (based on 4 servings).
| Nutrient | Amount |
|---|---|
| Calories | 450 |
| Protein | 35g |
| Carbs | 30g |
| Fat | 20g |
| Fiber | 2g |
| Sugar | 3g |
What’s Good:
High in protein from the chicken. Good source of healthy fats from the mayo and olive oil. Can add more vegetables to boost fiber.
What to Know:
Higher in calories due to the aioli and cheese. Contains gluten and dairy. Use low-sodium mayo and bread to reduce sodium.
My Take:
Look, this is a sandwich with mayo and cheese. It’s not a diet food. But it’s way better than fast food, and you control the ingredients. When I want to make it lighter, I skip the cheese and use light mayo. But usually? I just enjoy it. Life’s too short for sad sandwiches.
Final Thoughts
So that’s my grilled chicken sandwich with garlic aioli! I’ve probably talked your ear off at this point, but when you find a recipe that works this well, you want to share it.
This sandwich has saved my lunches more times than I can count. It’s my answer to “what’s for lunch?” when I’m tired, don’t want to order takeout, and still want something that tastes really good. My family loves it, my friends ask for the recipe, and I’m happy because it’s so easy to make.
Make it yours! Try different cheeses, add spicy aioli, or swap the bread. The best recipes are the ones you adapt to your tastes. The foundation is solid, but the toppings are up to you.
If you make this, drop a comment and let me know what you think! I love hearing how recipes turn out in your kitchen. And if something doesn’t work, tell me that too—I’m here to help troubleshoot.
Happy cooking! And I hope your kitchen smells half as good as mine does right now.
Frequently Asked Questions
Can I use chicken thighs instead of breasts?
Absolutely! Chicken thighs are actually juicier and more forgiving if you’re new to grilling. They have more flavor too. Just adjust the cooking time slightly; thighs may take a minute or two longer to cook through. They’re great for this sandwich.
Why did my chicken turn out dry?
This usually happens for two reasons: you didn’t pound it flat, or you overcooked it. If the breast is uneven, the thin parts dry out before the thick part is done. Also, pulling it off the grill at 165°F instead of resting it can cause dryness. Use a thermometer and let it rest!
Can I make the aioli ahead of time?
Yes! In fact, it tastes better if you make it a few hours ahead. The garlic flavor mellows out, and the flavors blend together. Store it in an airtight container in the fridge for up to 5 days. It will thicken slightly in the fridge, so just stir in a little water or lemon juice before using.
What’s the best bread for this sandwich?
Sourdough is my top choice because it’s sturdy and tangy. Brioche is softer and sweeter, which is nice if you like that contrast. Ciabatta is great for a rustic, open-faced feel. Avoid thin white bread; it gets soggy too fast. Toast your bread regardless of what you choose!
Can I grill this without a grill?
Yes! A cast-iron skillet on the stovetop works perfectly. Heat it over medium-high heat with a little oil. You won’t get grill marks, but the flavor will be just as good. You can also use a George Foreman grill or an air fryer (cook at 375°F for 10-12 minutes, flipping halfway).
How do I stop the sandwich from falling apart?
Don’t overload it. Use a sturdy bread, toast it well, and don’t pile on too many wet ingredients. If you’re using tomato, pat the slices dry with a paper towel first. Also, pressing down gently after assembling helps everything stick together.
Is raw garlic in the aioli safe?
Yes. The acid from the lemon juice and the fat from the mayo preserve the garlic and make it safe to eat raw. Plus, the flavor mellows out quickly. If you’re worried, you can roast the garlic first, but fresh is traditional and delicious.
Pin This Recipe!
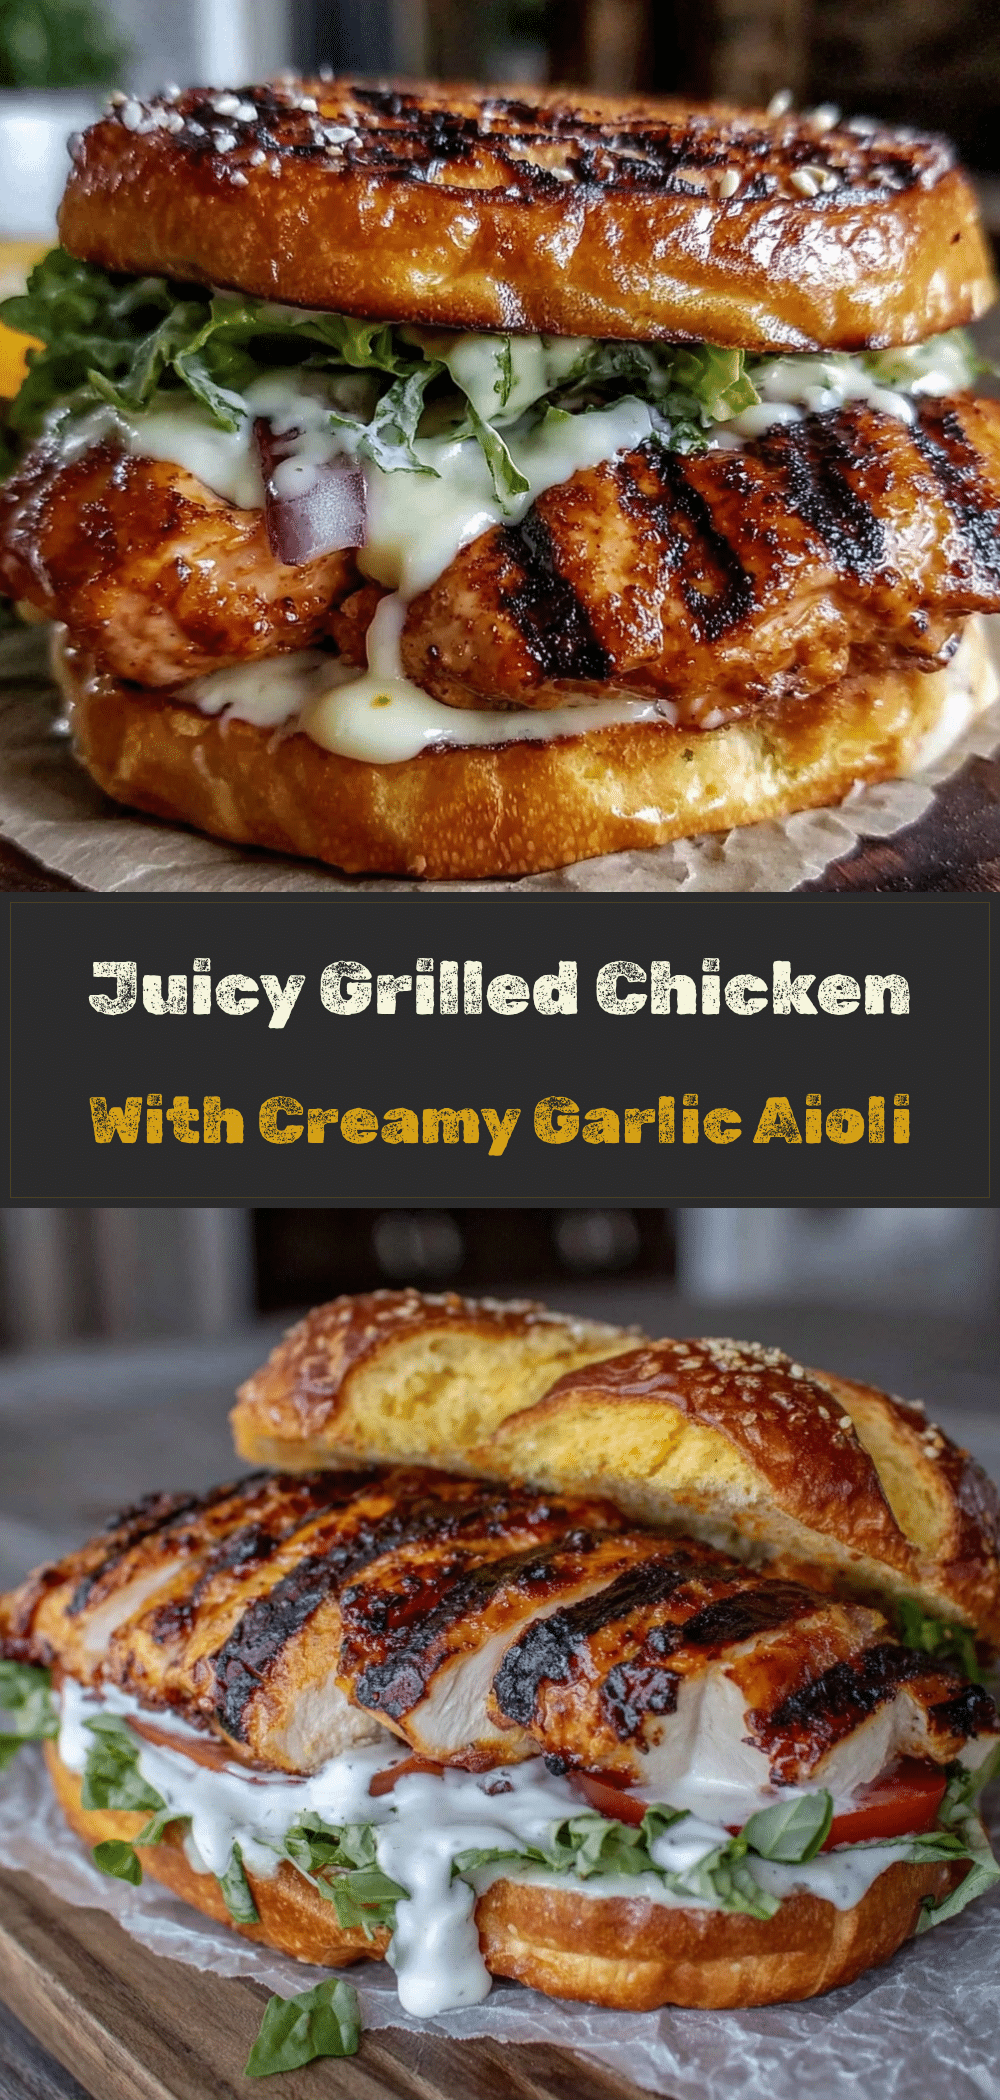

Grilled Chicken Sandwich: Easy, Foolproof Garlic Aioli
- Total Time: 20 minutes
- Yield: 4 servings 1x
Description
A simple, forgiving grilled chicken sandwich recipe featuring juicy pounded chicken breasts, toasted bread, and a creamy, tangy homemade garlic aioli that elevates the flavor to restaurant quality.
Ingredients
- 2 large boneless, skinless chicken breasts (about 1.5 lbs / 680g)
- 2 tablespoons extra virgin olive oil
- 1 teaspoon Italian seasoning (or dried oregano and basil)
- Kosher salt and freshly cracked black pepper
- ½ cup mayonnaise (Hellmann’s or Duke’s)
- 3–4 cloves garlic, minced
- 1 tablespoon fresh lemon juice
- 1 teaspoon Dijon mustard
- ½ teaspoon hot sauce (optional, e.g., Sriracha or Cholula)
- 1 tablespoon fresh parsley, chopped
- 4 slices sourdough or brioche bread
- 4 slices provolone or Swiss cheese
- Lettuce (romaine or iceberg)
- Tomato slices
- Red onion rings
Instructions
- Prep the chicken: Let chicken breasts sit at room temperature for 10-15 minutes. Place between plastic wrap and pound to an even ½-inch thickness using a meat mallet or rolling pin.
- Season the chicken: Drizzle with olive oil and rub in. Sprinkle generously with salt, pepper, and Italian seasoning, coating both sides evenly.
- Make the garlic aioli: In a small bowl, whisk together mayonnaise, minced garlic, lemon juice, Dijon mustard, hot sauce (if using), and parsley. Taste and adjust seasoning. Let sit for 10 minutes to allow flavors to meld.
- Grill the chicken: Preheat grill or grill pan to medium-high heat. Lightly oil grates. Cook chicken for 4-5 minutes per side without moving it to create grill marks, until internal temperature reaches 165°F (74°C).
- Rest the chicken: Remove chicken from heat and let rest on a plate or cutting board for at least 5 minutes to redistribute juices.
- Toast the bread: While chicken rests, toast bread slices in a dry skillet or toaster until golden brown and crisp.
- Assemble the sandwich: Spread garlic aioli on both slices of toasted bread. Place cheese on the bottom slice, top with sliced chicken, tomato, red onion, and lettuce. Cover with top slice of bread, press gently, and slice diagonally.
- Serve immediately.
Notes
Pounding the chicken flat ensures even cooking and juiciness. Letting the aioli sit for 10-15 minutes mellows the raw garlic flavor. Do not assemble the sandwich ahead of time as the bread will get soggy. Store chicken and aioli separately in the refrigerator for up to 3-5 days respectively.
- Prep Time: 10 minutes
- Cook Time: 10 minutes
- Category: Main Course
- Cuisine: American
Nutrition
- Serving Size: 1 sandwich
- Calories: 450
- Sugar: 3
- Fat: 20
- Carbohydrates: 30
- Fiber: 2
- Protein: 35
Keywords: grilled chicken sandwich, garlic aioli, easy lunch, summer recipes, meal prep, chicken breast recipes, homemade aioli



