There is a specific sound that only happens in my grandmother’s kitchen on Sunday mornings. It’s not the radio humming in the background or the clatter of dishes from the sink. It’s the soft, wet slap of dough hitting the flour-dusted counter, followed by the rhythmic thump of the rolling pin. She never used a biscuit cutter. She didn’t need one. She just knew when the dough had enough butter and enough cold to become something magical.
I remember standing on a stool, watching her hands work. They were rough from decades of scrubbing floors and raising six children, but when it came to dough, they were impossibly gentle. She’d fold the dough over itself, turn it, fold it again. “Lamination,” she called it, though I think she just called it “being patient.” She didn’t explain the science. She just said, “The butter needs to stay cold so it makes steam, and the steam makes the air. Air makes light.” She was a physicist in a flour-covered apron, and I was her captive audience.
For years, I tried to replicate that magic with shortcuts. I bought the tubes of refrigerated dough. I tried baking powder bombs. I even attempted those “one-bowl” no-knead methods that promise everything will be fine if you just trust the process. And they were fine. They were edible. But they weren’t these biscuits. They lacked that shattering, golden crust that gives way to a cloud of steam-filled layers. They didn’t pull apart with that satisfying, sticky resistance that makes you want to save the best piece for last.
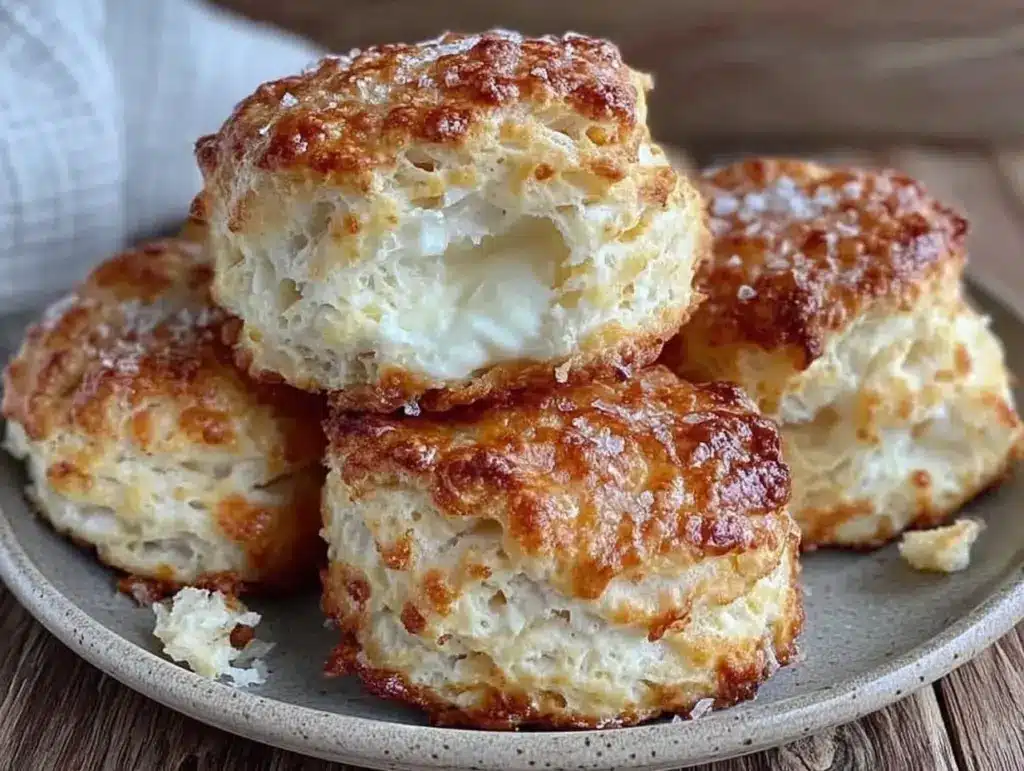
It took me three years and about forty failed batches to finally nail the Golden Buttermilk Biscuits with Flaky Pull Apart Layers. I learned that the secret isn’t in the flour or the fancy buttermilk (though good buttermilk helps). It’s in the temperature. It’s in the touch. It’s in respecting the butter enough to keep it from melting before it ever hits the oven.
These biscuits are my love letter to those Sunday mornings. They are sturdy enough to hold a slab of salted butter, flaky enough to make you close your eyes on the first bite, and tender enough to melt in your mouth. I make them for holiday breakfasts, for rainy afternoon snacks, and sometimes just because I need to feel that connection to my grandmother’s kitchen. Once you learn the fold, you’ll never go back to store-bought. You’ll make these on repeat, and your family will wonder where you learned such a precious skill.
Why You’ll Love This Recipe
There’s a reason biscuits are the king of comfort food. They’re simple, humble, and deeply satisfying. But most people struggle with them because they overwork the dough or let the butter soften. This recipe is different. It’s built on patience and technique, not luck. Here’s why these golden buttermilk biscuits have taken over my weekend routine:
- Actually Flaky Layers — I’m not talking about a single dense disk. These biscuits have distinct, paper-thin layers that separate when you pull them apart. It’s the result of the lamination technique, which creates steam pockets during baking. My kids call them “cloud pillows.”
- Golden, Shattering Crust — Brushing the tops with melted butter before baking gives them that deep golden color and a slight crispness that contrasts with the soft interior. It’s the difference between a biscuit and a pastry.
- Tangy Buttermilk Kick — The acid in the buttermilk tenderizes the gluten and adds a subtle tang that balances the richness of the butter. It’s the flavor profile that makes you reach for more.
- Perfect for Dipping — These biscuits are sturdy enough to hold up to a hot bowl of cozy fall chicken and dumplings or a rich roasted red pepper and smoked gouda soup. They don’t disintegrate; they soak up the flavor beautifully.
- Freezer Friendly — I often double the batch. I freeze the raw dough on a baking sheet, then transfer to a bag. When I want fresh biscuits on a Tuesday night, I pull them out, let them thaw slightly, and bake. They taste just as good as fresh.
This recipe isn’t just about feeding people. It’s about slowing down. It’s about taking thirty minutes to do something simple, but doing it with care. The smell of baking butter and flour fills the house and makes everyone feel like they’re coming home.
Ingredients You’ll Need
Before we start, let’s talk about what goes into these biscuits. The list is short, which is part of the beauty. But because there are so few ingredients, the quality of each one matters immensely. I’m particular about three things here: the flour, the butter, and the buttermilk.
For the Dough
All-Purpose Flour (3 cups / 375g) — I use King Arthur All-Purpose flour because it has a higher protein content, which gives the biscuits structure without making them tough. Cake flour is too soft; bread flour is too chewy. All-purpose is the sweet spot. If you don’t have it, you can use a blend, but stick to AP if you can.
Baking Powder (1 tablespoon) — This is your leavening agent. Make sure it’s fresh! If your baking powder is older than six months, it might not rise properly. I keep a new can open every time I start a new baking season. Old baking powder is the silent killer of fluffy biscuits.
Baking Soda (½ teaspoon) — This reacts with the acid in the buttermilk to create carbon dioxide bubbles. It works in tandem with the baking powder to give that extra lift.
Salt (1 teaspoon) — Don’t skip this. Salt enhances the flavor of the butter and the wheat. Use fine sea salt or table salt. If you use kosher salt, you might need a bit more, so taste your flour mixture if you’re unsure.
Cold Unsalted Butter (1 cup / 225g) — This is the most critical ingredient. I use high-quality European-style butter if I can find it (like Kerrygold or Plugra) because of the higher fat content, but regular unsalted butter works perfectly fine. Crucial: It must be cold. I keep it in the fridge until the second I use it. If it’s soft, your biscuits will be dense.
Buttermilk (1 ¼ cups / 300ml) — Real, cultured buttermilk is best. It’s tangier and thicker than regular milk, which helps with tenderness. If you’re out, you can make a substitute by adding 1 tablespoon of lemon juice or white vinegar to 1 cup of whole milk and letting it sit for 10 minutes. But honestly? Real buttermilk tastes better.
For the Topping
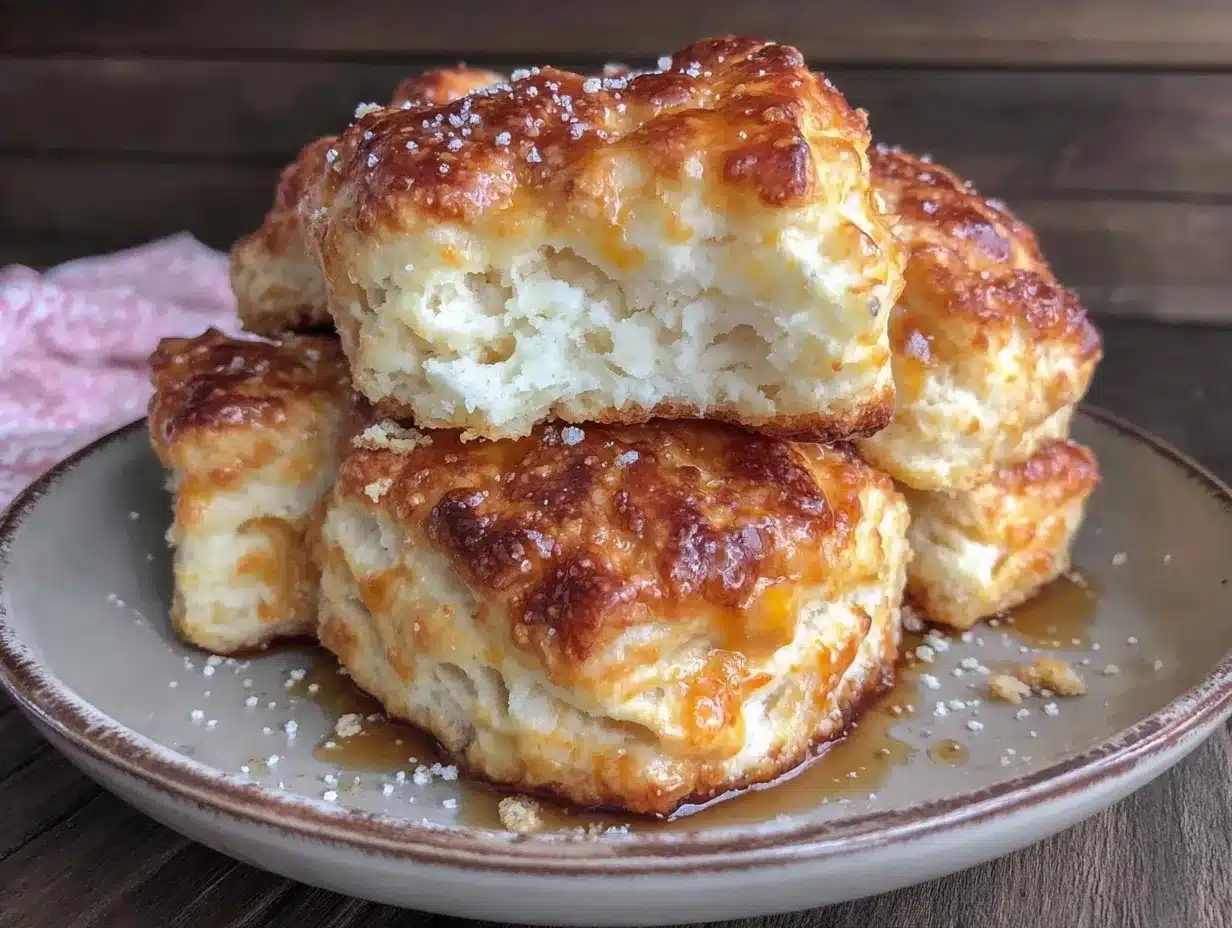
Melted Butter (¼ cup / 60g) — For brushing the tops before baking. This gives them that golden, glossy finish.
Flaky Sea Salt (optional) — A sprinkle on top after baking adds a nice crunch and visual appeal.
Warm Honey or Maple Syrup (optional) — For drizzling after baking. I love a little sweetness on my savory biscuits.
Equipment Needed
You don’t need fancy gadgets to make these biscuits. In fact, too much equipment can sometimes get in the way. Here’s what I actually use:
A Large Mixing Bowl — I use a wide, shallow bowl so I can easily reach the flour and butter with my fingers. A deep bowl makes mixing harder.
A Pastry Blender or Two Forks — To cut the butter into the flour. A pastry blender is faster, but two sturdy forks work just as well. I prefer forks because I can feel the texture better.
A Sharp Bench Scraper — This is my secret weapon. It helps me lift the dough off the counter without sticking, and it’s great for dividing the dough into portions. It’s inexpensive and changes everything.
A Rolling Pin — I use a wooden French rolling pin (no handle) because it’s lightweight and gives me better control. But a standard rolling pin works fine.
A Round Biscuit Cutter — I use a 2.5-inch cutter. I’ve tried cutting them with a knife, but the edges get sealed, and they don’t rise as well. A sharp cutter leaves clean edges for even rising.
A Baking Sheet — I line it with parchment paper for easy cleanup. I also like to use a dark metal sheet because it promotes browning, but light aluminum sheets work too.
How to Make It: Step-by-Step
Alright, let’s make these biscuits. I’m walking you through exactly how I do it, including the little tricks I’ve picked up over the years. This process takes about 30 minutes from start to finish, but most of that time is hands-off chilling.
Step 1: Prep Your Dry Ingredients (5 minutes)
Preheat your oven to 425°F (220°C). Line a large baking sheet with parchment paper. In your large mixing bowl, whisk together the flour, baking powder, baking soda, and salt. I do this first because once the butter is in, we need to work quickly. Whisking aerates the flour and ensures the leavening agents are evenly distributed. Set the bowl aside.
Step 2: Cut in the Butter (5-8 minutes)
This is the most important step. Take your cold butter and cut it into small cubes, about the size of peas. If the butter starts to soften, pop it back in the fridge for 5 minutes. Add the butter cubes to the flour mixture. Using a pastry blender or two forks, cut the butter into the flour. You’re looking for a coarse, crumbly texture with some larger, pea-sized pieces of butter remaining. These larger chunks are what create the flaky layers. Don’t overmix! If you turn the butter into tiny crumbs, you’ll get dense biscuits. It should look like coarse meal with some lumps.
Step 3: Add the Buttermilk (2 minutes)
Make a well in the center of the flour mixture. Pour in the cold buttermilk. Use a fork or a spatula to gently fold the liquid into the flour. Stop mixing as soon as the dough starts to come together. It will look shaggy and uneven. Do not overmix. If you mix until it’s smooth, the gluten will develop, and your biscuits will be tough. It’s okay if there are dry patches; they’ll come together when you knead.
Step 4: Turn and Fold (The Lamination Step) (5 minutes)
Turn the dough out onto a lightly floured surface. I use just a dusting of flour—too much flour makes the biscuits dry. Gently pat the dough into a rectangle about ¾-inch thick. Then, fold the dough in thirds, like a letter. Turn the dough 90 degrees, pat it out again, and fold it in thirds again. Do this two more times. You should do a total of four folds. This is the “lamination” process. It creates layers of dough and butter. Be gentle. You want to keep the butter cold and the layers distinct. If the dough feels warm, put it in the fridge for 10 minutes before folding again.
Step 5: Cut the Biscuits (5 minutes)
Pat the final folded dough out to about ¾-inch to 1-inch thick. Use your round biscuit cutter to cut out biscuits. Dip the cutter in flour between cuts to prevent sticking. Press straight down—do not twist the cutter! Twisting seals the edges and prevents the biscuits from rising properly. Place the biscuits close together on the prepared baking sheet. For extra tall biscuits, I place them touching each other. For individual biscuits, I leave a little space. They should be about 2 inches apart.
Step 6: Bake (15-18 minutes)
Brush the tops of the biscuits generously with melted butter. This helps them brown and adds flavor. Bake for 15-18 minutes, or until the tops are deep golden brown and the biscuits have risen significantly. If you’re baking them touching, they’ll rise up into a pull-apart stack. If you’re baking them separate, they’ll be individual rounds. The bottoms should be golden too. If they’re pale, give them a few more minutes.
Step 7: Cool and Serve (5 minutes)
Let the biscuits cool on the pan for 5 minutes. They are extremely delicate when hot. Transfer them to a wire rack if you’re serving them later, or eat them straight off the pan (I won’t judge). Serve warm with butter, honey, or your favorite jam.
Expert Tips & Tricks
Here’s everything I’ve learned from making these biscuits dozens of times. These tips will save you from my mistakes.
Keep Everything Cold
This cannot be stressed enough. Cold butter, cold buttermilk, cold bowl, cold hands. If your kitchen is hot, turn on the AC or work in a cool room. Warm butter melts into the flour, and you lose your flaky layers. I keep my butter in the freezer for 10 minutes before starting if it’s a warm day.
Don’t Overwork the Dough
The number one reason biscuits are tough is overmixing. Mix until *just* combined. The dough should look shaggy and messy. It will come together when you fold it. If you’re tempted to knead it like bread, stop. Biscuits need minimal handling.
Use a Sharp Cutter
A dull cutter will pinch the edges of the dough, sealing them shut. This prevents the biscuits from rising evenly. A sharp, clean cut allows the dough to expand freely. I keep my cutter in the freezer too, just in case.
Brush with Butter Before Baking
Many recipes call for brushing with milk or cream. I prefer melted butter. It browns faster and adds a richer flavor. It also helps the salt stick to the top if you’re using flaky sea salt.
Don’t Twist the Cutter
I mentioned this before, but it bears repeating. Press straight down. If you twist, you’re cutting the gluten strands at the edges, which stops the rise. You want the edges to remain open so the steam can push them up.
Trust the Visuals, Not the Timer
Ovens vary. My oven runs hot, so my biscuits take 15 minutes. Others might take 20. Look for deep golden brown tops. If they’re pale, they’re undercooked. If they’re dark brown, they’re done. The internal temperature should be around 210°F (99°C).
Variations & Substitutions
Once you’ve nailed the basic version, here’s how you can mix it up. I’ve tried all of these, and they all work.
Cheesy Biscuits
Fold in 1 cup of shredded sharp cheddar cheese during the final fold. The cheese adds a savory punch that pairs well with the buttermilk tang. This is my go-to for dinner parties.
Herb Biscuits
Add 2 tablespoons of fresh chopped chives or 1 tablespoon of dried rosemary to the flour mixture. Herb biscuits are perfect with soups or stews. I love them with a little garlic butter.
Sweet Biscuits
Reduce the salt to ½ teaspoon and add 2 tablespoons of sugar to the flour. Brush with honey butter after baking. These are great for breakfast with fruit or jam.
Gluten-Free Option
You can use a 1-to-1 gluten-free flour blend (like Bob’s Red Mill or King Arthur). Note that GF flour absorbs liquid differently, so you might need a splash more buttermilk. The texture will be slightly more crumbly, but still delicious.
Dairy-Free Option
Use cold vegan butter (like Miyoko’s or Earth Balance) and coconut milk yogurt or buttermilk alternative. The results are good, but they won’t be quite as flaky. Vegan butter has a higher water content, so it doesn’t create the same steam pockets.
Side Dish Pairings
These biscuits are versatile. They pair beautifully with spiced apple cider for a cozy afternoon snack. For a hearty meal, serve them alongside stuffed shells or a simple honey cornbread if you want a different grain flavor.
Serving & Storage
How to Serve:
I usually serve these warm, right out of the oven. They are best enjoyed with a thick slab of salted butter. I also love them with a drizzle of warm maple syrup or honey. For a savory twist, top with a fried egg and some hot sauce.
Storage:
Store leftover biscuits in an airtight container at room temperature for up to 2 days. They will lose some of their flakiness, but they’re still delicious. For best texture, reheat them in the oven at 350°F for 5-10 minutes. This restores the crispness. Avoid the microwave, which makes them chewy and tough.
Freezing:
You can freeze baked biscuits for up to 3 months. Wrap them individually in plastic wrap, then place in a freezer bag. To reheat, thaw at room temperature and warm in the oven. Or, freeze the raw dough balls on a baking sheet, then transfer to a bag. Bake from frozen, adding 2-3 minutes to the baking time.
Make-Ahead:
You can cut the biscuits and place them on the baking sheet, then cover and refrigerate for up to 24 hours. Bake them straight from the fridge, adding a minute or two to the baking time. This is great for holiday mornings when you need to prep early.
Nutrition Information
I’m not a nutritionist, but here’s the breakdown if you’re tracking. Please note that these are estimates and can vary based on the specific butter and flour used.
Per Biscuit (based on 12 biscuits):
- Calories: 280
- Protein: 5g
- Carbs: 32g
- Fiber: 1g
- Sugar: 1g
- Fat: 14g
- Saturated Fat: 9g
- Cholesterol: 35mg
- Sodium: 350mg
These biscuits are rich in calories due to the butter and flour, but they provide a good amount of energy. The buttermilk adds some protein and calcium. If you’re watching your sodium, use low-sodium butter and reduce the salt in the recipe.
Final Thoughts
So that’s my golden buttermilk biscuit recipe. It’s not the fastest recipe in the world, and it requires a bit of patience. But that’s the point. In a world of instant gratification, taking the time to fold butter into dough is a act of love. It’s a way to slow down and connect with the ingredients.
I hope these biscuits bring you as much joy as they’ve brought my family. They are a testament to the idea that simple things, done with care, are the most delicious. Make them on a quiet morning, let the smell fill your house, and enjoy the process. And if you make them, I’d love to hear how they turn out. Did they rise? Were they flaky? Did you eat them all before they cooled? (I hope so.)
Happy baking! And I hope your kitchen smells half as good as mine does right now.
Frequently Asked Questions
Can I use self-rising flour instead of all-purpose flour?
You can, but you’ll need to adjust the recipe. Self-rising flour already contains baking powder and salt. If you use it, omit the baking powder and salt in the recipe. However, the texture might be slightly different because self-rising flour often has a lower protein content. I prefer using all-purpose flour so I can control the leavening and salt levels.
Why are my biscuits dense and flat?
This usually happens for one of three reasons: 1) The butter was too warm and melted into the flour. 2) You overmixed the dough, developing too much gluten. 3) Your baking powder was old or inactive. Make sure your butter is cold, mix gently, and check the expiration date on your baking powder.
Can I freeze the raw dough?
Yes! This is actually my preferred method. Cut the biscuits and place them on a baking sheet. Freeze them until solid (about 1-2 hours), then transfer to a freezer bag. When you’re ready to bake, place the frozen biscuits on the baking sheet and bake at 425°F, adding 2-3 minutes to the baking time. They rise beautifully from frozen.
How do I get the biscuits to pull apart easily?
Place the biscuits close together on the baking sheet, touching each other. As they rise, they will support each other and form a single, pull-apart loaf. This also helps them rise taller because they have less surface area exposed to the air, which can dry them out.
Can I use salted butter?
Yes, but you’ll need to reduce the salt in the recipe by half. Salted butter varies in salt content, so it’s hard to gauge. If you use salted butter, taste the dough (just a tiny bit of the flour mixture) to see if it needs more salt. I prefer unsalted butter so I have full control.
What’s the best way to reheat leftover biscuits?
The oven is best. Preheat to 350°F and warm the biscuits for 5-10 minutes. This restores the crisp exterior. If you’re in a hurry, you can use the microwave, but wrap the biscuit in a damp paper towel to keep it moist. However, the texture will be softer and less flaky.
Can I make these biscuits savory?
Absolutely. I recommend adding 1 cup of shredded cheddar cheese, 2 tablespoons of chopped chives, or 1 teaspoon of garlic powder to the flour mixture. These variations are delicious and perfect for pairing with soups or stews.
Pin This Recipe!
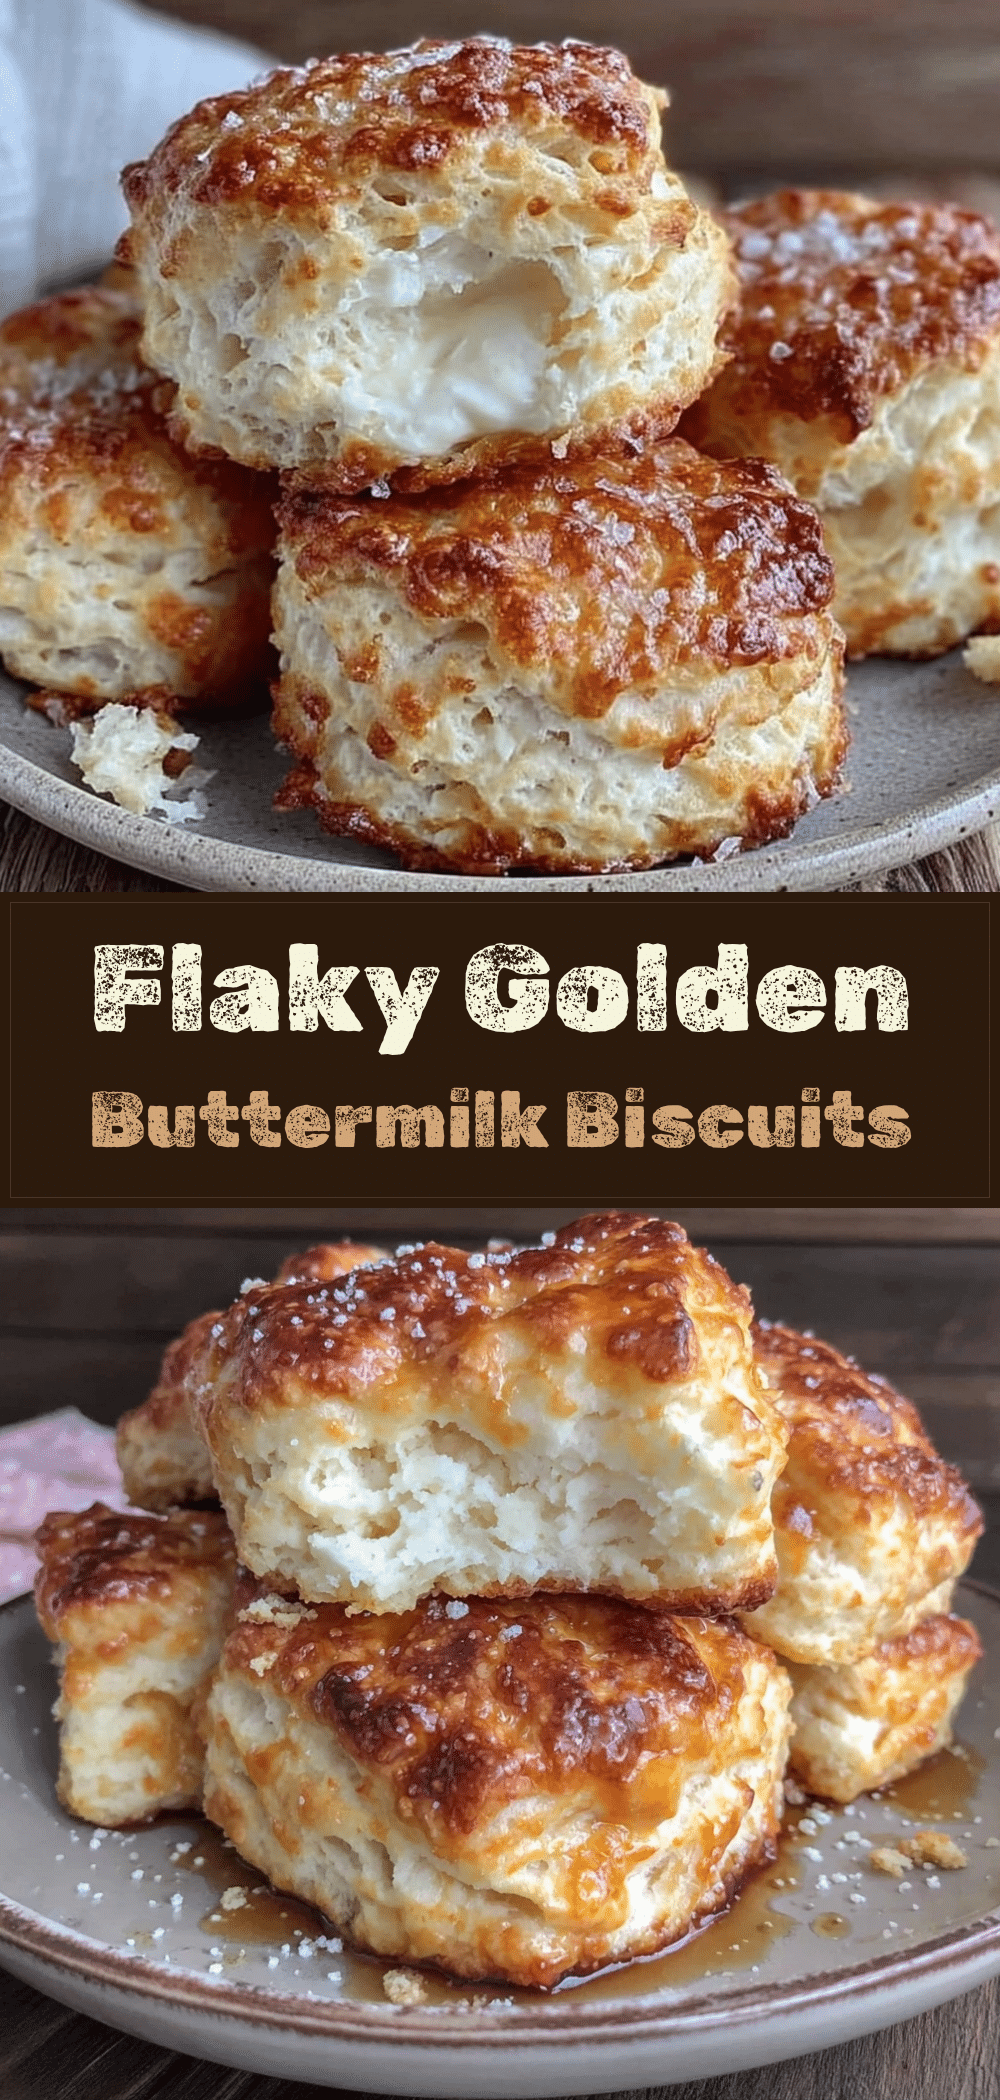

Golden Buttermilk Biscuits: Grandmas Flaky Pull Apart Layers
- Total Time: 35-38 minutes
- Yield: 12 biscuits 1x
Description
These golden buttermilk biscuits feature flaky, pull-apart layers created through a lamination technique. They have a shattering crust and tender interior, perfect for breakfast or dipping in soup.
Ingredients
- 3 cups (375g) All-Purpose Flour
- 1 tablespoon Baking Powder
- ½ teaspoon Baking Soda
- 1 teaspoon Salt
- 1 cup (225g) Cold Unsalted Butter, cubed
- 1 ¼ cups (300ml) Cold Buttermilk
- ¼ cup (60g) Melted Butter (for brushing)
- Flaky Sea Salt (optional, for topping)
- Warm Honey or Maple Syrup (optional, for drizzling)
Instructions
- Preheat oven to 425°F (220°C). Line a large baking sheet with parchment paper.
- In a large mixing bowl, whisk together the flour, baking powder, baking soda, and salt.
- Cut the cold butter into pea-sized cubes. Add to the flour mixture and cut in using a pastry blender or forks until the texture resembles coarse meal with some larger butter chunks remaining.
- Make a well in the center and pour in the cold buttermilk. Gently fold the liquid into the flour until the dough just comes together; it should look shaggy. Do not overmix.
- Turn dough onto a lightly floured surface. Pat into a ¾-inch thick rectangle. Fold in thirds like a letter. Turn 90 degrees, pat out, and fold in thirds again. Repeat this process for a total of four folds. Keep dough cold throughout.
- Pat the final dough to ¾-inch to 1-inch thickness. Cut out biscuits with a 2.5-inch round cutter, pressing straight down without twisting. Place biscuits close together on the baking sheet for pull-apart style.
- Brush tops generously with melted butter.
- Bake for 15-18 minutes until deep golden brown and risen significantly.
- Cool on the pan for 5 minutes before serving warm.
Notes
Keep all ingredients cold to ensure flaky layers. Do not twist the biscuit cutter when cutting, as this seals the edges and prevents rising. For pull-apart biscuits, place them touching each other on the baking sheet. Biscuits can be frozen raw or baked and reheated in the oven.
- Prep Time: 20 minutes
- Cook Time: 15-18 minutes
- Category: Breakfast
- Cuisine: American
Nutrition
- Serving Size: 1 biscuit
- Calories: 280
- Sugar: 1
- Sodium: 350
- Fat: 14
- Saturated Fat: 9
- Carbohydrates: 32
- Fiber: 1
- Protein: 5
Keywords: buttermilk biscuits, flaky biscuits, pull apart biscuits, homemade biscuits, southern biscuits, breakfast recipe, comfort food



