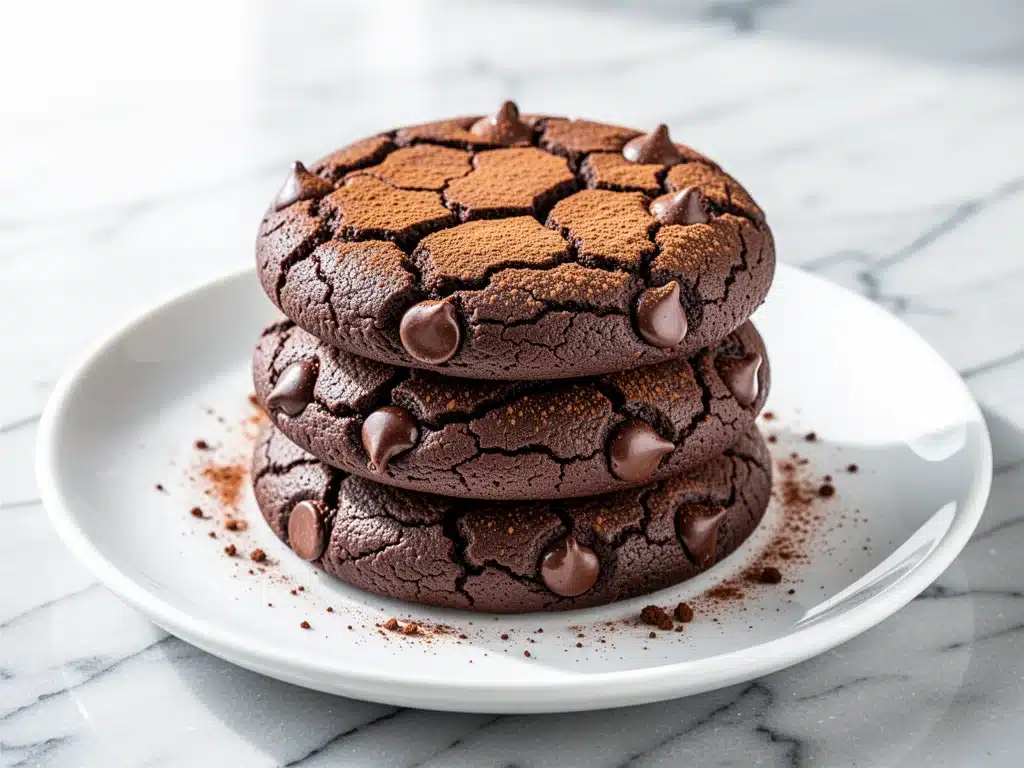
Last Tuesday, I was staring at the last bag of semi-sweet chocolate chips in my pantry, feeling that familiar mix of desperation and determination. I had a craving so specific it was almost painful: I wanted something fudgy, rich, and deeply chocolatey, but I also needed a kick of coffee to wake up my taste buds. I didn’t want a cake. I didn’t want a light, airy cookie. I wanted the dense, gooey center of a brownie wrapped in the crispy edges of a cookie, with a hint of espresso that makes the chocolate taste even more intense.
I threw together a batch of what I thought would be mediocre “brownie cookies.” You know the type—half-baked brownies dropped onto a baking sheet. They were okay. But then I tweaked the recipe. I added instant espresso powder (don’t skip it, trust me), swapped some of the sugar for brown sugar, and baked them just until the edges set but the centers still looked slightly underdone. When I pulled them out of the oven, the kitchen smelled like a high-end French patisserie. I took one bite while they were still warm, and I literally closed my eyes. It was perfect. Dense, fudgy, coffee-forward chocolate heaven.
That was three weeks ago. I have made these fudgy espresso brownie cookies at least six times since then. My husband thinks I’m obsessed. My kids think I’m a wizard. And honestly? So do I. These aren’t just cookies; they’re an experience. They’re the kind of treat that makes you stop talking mid-sentence because you’re too busy chewing. If you love fall molasses ginger cookies for their deep, warming flavors, you will absolutely lose your mind over these chocolatey, coffee-infused beauties.
I’ve tested this recipe dozens of times, tweaking the flour ratios, the chocolate types, and the baking times, until I landed on the absolute best version. This is the one. It’s easy, it’s forgiving, and it tastes like you spent hours in a bakery. Let me show you how to make the best fudgy espresso brownie cookies you’ll ever eat.
Why You’ll Love This Recipe
There are about ten reasons I keep coming back to this recipe, but let’s be real—most of them come down to flavor and texture. Here’s why these fudgy espresso brownie cookies have permanently dethroned my other favorite dessert recipes:
- The Fudgy Factor is Real — Seriously. I’ve made brownies before that were cakey or dry. These cookies are dense, moist, and gooey in the center. I use a higher ratio of chocolate to flour, which guarantees that brownie-like texture. If you bite into one and it crumbles like a dry cookie, you baked it too long. These should be soft.
- Coffee Enhances, Doesn’t Overpower — If you’re not a coffee drinker, don’t worry. The instant espresso powder doesn’t make these taste like a latte. It amplifies the chocolate flavor. It’s like turning the volume knob on chocolate up to 11. You won’t taste “coffee” as a distinct flavor, but you’ll taste *more chocolate*. It’s magic.
- Ready in 25 Minutes — From mixing to eating, these are done fast. The dough comes together in one bowl. No creaming butter and sugar for ten minutes. Just melt, mix, scoop, bake. I make these on weeknights when I need a dessert fix but don’t have the energy for a complex project.
- Perfectly Crispy Edges, Soft Centers — The secret is in the bake. We want the edges to set and crisp up slightly, creating a contrast with the molten center. It’s the best of both worlds. I usually let them cool for just 5 minutes on the pan, which lets them finish setting without drying out.
- Great for Meal Prep or Gifting — These freeze beautifully. I often make a double batch, freeze half, and bake fresh ones when guests drop by. They also travel well in a tin, making them perfect for office gifts or potlucks. Unlike my fall caramel apple crisp, which is best served warm and messy, these are portable, non-messy perfection.
This recipe has saved me from countless impulse takeout dessert orders. It’s reliable, delicious, and always makes everyone happy. Whether you’re a coffee snob or a chocolate fiend, these cookies bridge the gap perfectly.
Ingredients You’ll Need
Here’s the best part: you probably have most of this already. The ingredient list is short, simple, and focuses on quality over quantity. Because there are so few ingredients, each one matters.
For the Chocolate Base
Dark chocolate chips or chunks (1 cup / 170g) — I use high-quality semi-sweet chocolate chips (like Ghirardelli or Guittard). They melt beautifully and have a richer flavor than standard grocery store brands. For extra fudginess, chop up a chocolate bar into chunks instead of using uniform chips. The irregular shapes create those gooey pockets.
Unsalted butter (½ cup / 113g) — Room temperature is key here. If your butter is too cold, it won’t cream properly with the sugars. If it’s melted, you’ll end up with a cakey texture. We want it soft and pliable, like playdough.
Granulated sugar (½ cup / 100g) — This provides structure and helps create those crispy edges. Don’t skip it for all brown sugar; you need the contrast.
Brown sugar (½ cup / 100g, packed) — This is where the moisture and chewiness come from. Dark brown sugar is better here because of its higher molasses content, which adds depth. If you only have light brown sugar, it works, but the flavor won’t be as rich.
One large egg — Just one egg. This keeps the cookies dense rather than cakey. We’re aiming for brownie texture, so less egg means less rise and more fudginess.
Egg yolk (1 large) — Yes, an extra yolk. This adds richness and fat, which contributes to that melt-in-your-mouth texture. It’s the little secret ingredient that elevates these from “okay” to “wow.”
Vanilla extract (1 teaspoon) — Pure vanilla, not imitation. It rounds out the chocolate and coffee flavors.
For the Dry Mix & Flavor
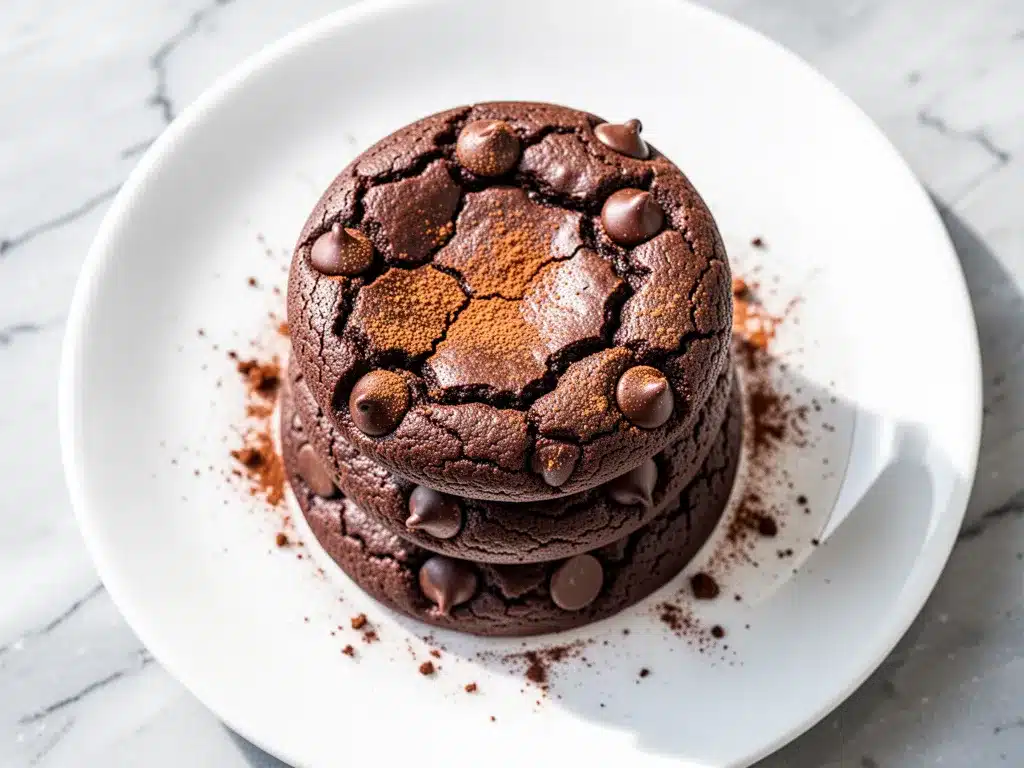
All-purpose flour (¾ cup / 95g) — We use less flour than in a standard cookie recipe to keep them fudgy. Spoon and level your flour; don’t pack it down, or your cookies will be dry.
Cocoa powder (2 tablespoons / 10g) — Use unsweetened cocoa powder. Natural cocoa powder is fine, but Dutch-processed gives a deeper, darker chocolate flavor. I prefer Dutch-processed for these.
Instant espresso powder (1 teaspoon) — This is non-negotiable for the “espresso” part of the name. Instant coffee crystals or espresso powder work best because they dissolve completely. Do not use brewed coffee; it will throw off the liquid balance. If you don’t have espresso powder, you can use instant coffee granules, but espresso powder is more concentrated and dissolves easier.
Baking powder (½ teaspoon) — A small amount helps them spread slightly without rising too much.
Salt (½ teaspoon) — Essential for balancing the sweetness. Never skip salt in baking.
Flaky sea salt (for topping, optional) — Sprinkle a few flakes on top right after baking. The salt crystals on the chocolate surface are addictive.
Optional Add-ins
Peanut butter chips or chopped peanuts — If you like chocolate and peanut butter, add ½ cup of peanut butter chips. It’s a classic combo. Or stir in chopped roasted peanuts for crunch.
White chocolate chips — For a marbled effect, add ½ cup of white chocolate chips. The contrast is beautiful and tasty.
Equipment Needed
You don’t need fancy gadgets for this. Here’s what I actually use:
Large mixing bowl — I use a 4-quart bowl. It needs to be big enough to mix the butter and sugars thoroughly before adding the dry ingredients.
Microwave-safe bowl or double boiler — For melting the chocolate. I prefer the microwave because it’s faster. I heat it in 30-second intervals, stirring in between, to prevent burning.
Electric hand mixer or stand mixer — Optional, but helpful for creaming the butter and sugars. I use my hand mixer because it’s quicker to clean than a stand mixer for a one-bowl recipe. You can also do this by hand with a wooden spoon, but it takes more elbow grease.
Baking sheets — Two standard 13×18 inch sheets. If you only have one, you’ll need to bake in batches.
Parchment paper — Line your baking sheets. This prevents sticking and makes cleanup a breeze. I never bake these directly on the metal; they stick and burn.
Cooling rack — To cool the cookies after baking. I usually let them sit on the hot pan for 5 minutes first, then move them to the rack.
Ice cream scoop or tablespoon — For uniform cookie sizes. I use a small cookie scoop (about 1.5 tablespoons) to ensure they all bake evenly. Uniformity is key for consistent results.
How to Make It: Step-by-Step
Alright, let’s make these fudgy espresso brownie cookies! I’m walking you through exactly how I do it, including the little tricks I’ve picked up over the years.
Step 1: Prep Your Oven and Pans (2 minutes)
Preheat your oven to 350°F (175°C). Line two large baking sheets with parchment paper. This is crucial. If you skip the parchment, you’ll be scraping burnt chocolate off your pans later. Trust me, do it right the first time.
Step 2: Melt the Chocolate (3 minutes)
Place the dark chocolate chips in a microwave-safe bowl. Microwave on medium power in 30-second intervals, stirring well after each interval, until completely smooth. This should take about 1-2 minutes total. Be careful not to overheat it, or it will seize up. Set it aside to cool slightly for about 5 minutes. You want it warm, not hot, so it doesn’t cook the egg when we add it.
Step 3: Cream the Butter and Sugars (2 minutes)
In your large mixing bowl, combine the softened unsalted butter, granulated sugar, and brown sugar. Beat with an electric mixer on medium-high speed for about 2 minutes, until the mixture is light, fluffy, and pale. This step incorporates air, which helps with texture. If you’re doing this by hand, it’ll take about 3-4 minutes of vigorous stirring.
Step 4: Add Wet Ingredients (1 minute)
Add the melted chocolate, egg, egg yolk, and vanilla extract to the butter-sugar mixture. Beat on low speed just until combined. Do not overmix here. You want everything to be evenly distributed, but adding too much air at this stage can make the cookies cakey. Scrape down the sides of the bowl with a spatula to ensure everything is incorporated.
Step 5: Mix in Dry Ingredients (1 minute)
In a separate small bowl, whisk together the flour, cocoa powder, espresso powder, baking powder, and salt. Then, gently fold this dry mixture into the wet mixture using a spatula or wooden spoon. Mix just until no streaks of flour remain. Overmixing develops gluten, which leads to tough cookies. Stop as soon as it looks uniform.
Step 6: Fold in Extra Chocolate (1 minute)
If you’re adding peanut butter chips, white chocolate, or nuts, fold them in now. I also like to reserve a small handful of the original chocolate chips to press onto the tops of the cookies before baking for that bakery look.
Step 7: Scoop and Bake (12-14 minutes)
Scoop tablespoon-sized balls of dough onto the prepared baking sheets, spacing them about 2 inches apart. They will spread. Bake for 12-14 minutes. Here’s the most important part: pull them out when the edges are set and slightly crisp, but the centers still look soft and slightly underdone. They will continue to cook on the hot pan after you remove them from the oven. If you bake them until they look firm in the oven, they will be dry when cooled.
Step 8: Cool and Top (5 minutes)
Let the cookies cool on the baking sheet for 5 minutes. This allows them to set. Then, transfer them to a wire rack to cool completely. If you’re using flaky sea salt, sprinkle it on top while they are still warm so it sticks.
Total Time: About 25 minutes (5 minutes prep, 14 minutes bake, 5 minutes cool).
Expert Tips & Tricks
Here’s everything I’ve learned from making these fudgy espresso brownie cookies dozens of times. These tips will save you from my mistakes.
Don’t Overbake!
This is the #1 mistake people make. These cookies are meant to be fudgy. If you wait until they look done in the oven, they will be cakey and dry once cooled. Pull them out when the edges are firm but the center still jiggles slightly. They will set as they cool.
Chill the Dough (Optional but Recommended)
If you have time, chill the dough in the fridge for 30 minutes before baking. This prevents the cookies from spreading too thin and helps concentrate the flavors. Cold dough also ensures you get those nice, thick, brownie-like centers. If you’re in a hurry, you can skip this, but the cookies will be thinner.
Use Quality Chocolate
Since chocolate is the main ingredient, use good chocolate. Cheap chips often contain stabilizers that prevent proper melting. Look for bars labeled “baking chocolate” or high-quality semi-sweet chips. The difference in flavor is night and day.
Espresso Powder Dissolves Completely
Make sure your espresso powder is fully dissolved into the wet mixture before adding the dry ingredients. If you see gritty bits, you haven’t mixed it enough. Instant espresso powder dissolves easily in the warm chocolate/butter mixture.
Room Temperature Ingredients Matter
Ensure your butter is at room temperature. Cold butter won’t cream properly with the sugar, leading to a dense, uneven texture. If you forgot to take it out, cube it and microwave it for 10-second bursts until soft.
Storage is Key
Store cookies in an airtight container at room temperature for up to 5 days. If you live in a humid climate, add a piece of bread to the container to keep them moist. The bread absorbs excess humidity, keeping the cookies fudgy.
Variations & Substitutions
Once you’ve nailed the basic version, here’s how you can mix it up. I’ve tried all of these variations:
Chocolate Peanut Butter
Add ½ cup of peanut butter chips to the dough. Or, swirl a teaspoon of peanut butter into the top of each cookie before baking. This is my husband’s favorite version. It pairs perfectly with the espresso notes.
White Chocolate Macadamia
Replace the dark chocolate chips with white chocolate chips and add ½ cup of chopped macadamia nuts. This is sweeter and nuttier, but still has that fudgy base. Great if you want to tone down the coffee flavor slightly.
Double Chocolate
Add an extra ¼ cup of cocoa powder to the dry ingredients and use both dark and white chocolate chips. This is for serious chocolate lovers. It’s very rich, so pair with a strong coffee or milk.
Gluten-Free
Substitute the all-purpose flour with a 1:1 gluten-free flour blend (like Bob’s Red Mill or King Arthur). Most blends work perfectly in this recipe. Ensure your chocolate chips are certified gluten-free if you have a severe allergy.
Dairy-Free
Use dairy-free butter (like Earth Balance) and dairy-free chocolate chips. There are many excellent dairy-free chocolate chips available now that melt well. The espresso powder and other ingredients are naturally dairy-free.
Vegan
Replace the egg and egg yolk with a “flax egg” (1 tablespoon ground flaxseed mixed with 3 tablespoons water, let sit for 5 minutes). Use dairy-free butter and chocolate chips. The texture will be slightly less fudgy but still delicious.
Espresso Boost
If you want a stronger coffee flavor, increase the espresso powder to 2 teaspoons. Or, dissolve 1 tablespoon of espresso powder in 1 teaspoon of hot water and add it with the vanilla extract.
Serving & Storage
How to Serve:
I usually serve these warm, straight from the oven, with a cold glass of milk. But they’re also great at room temperature for lunchboxes or office snacks. They pair wonderfully with a cup of hot coffee or tea. If you want to get fancy, serve them with a dollop of whipped cream or a scoop of vanilla ice cream. It’s like a deconstructed brownie sundae.
Side Dishes:
These cookies are a dessert, so they don’t need sides. But if you’re serving them at a party, they go well with fruit platters or cheese boards. They also pair nicely with my fall apple cider doughnut cake if you’re hosting a dessert table with multiple sweet treats.
Refrigerator:
Store in an airtight container at room temperature for up to 5 days. Do not refrigerate, as it can dry them out. If your kitchen is very hot, you can refrigerate them, but let them come to room temperature before eating for the best texture.
Freezing:
These freeze beautifully! Bake the cookies, let them cool completely, then place them in a freezer-safe bag or container. They will last for up to 3 months. To serve, let them thaw at room temperature for 30 minutes, or microwave for 15 seconds for a warm, fresh-baked taste.
Meal Prep Strategy:
I often bake a double batch on Sunday. Freeze half, and keep half in an airtight container. This way, I always have dessert ready to go. It saves me from panic-baking on busy weeknights.
Nutrition Information
I’m not a nutritionist, but here’s the breakdown if you’re tracking. Keep in mind that these are rich, indulgent cookies, so portion control is key.
Per Cookie (based on 24 cookies):
– Calories: 180
– Protein: 2g
– Carbs: 22g
– Fiber: 1g
– Sugar: 14g
– Fat: 10g
– Saturated Fat: 6g
– Cholesterol: 25mg
– Sodium: 90mg
What’s Good:
– Small portion size helps control calorie intake.
– Provides a quick energy boost from sugar and caffeine.
What to Know:
– High in sugar and saturated fat due to chocolate and butter.
– Contains dairy and gluten (unless modified).
My Take:
Look, these are treats. They’re not health food. But they’re better than most store-bought cookies because you know exactly what’s in them. I enjoy one or two with my morning coffee, and I’m happy. Moderation is everything.
Final Thoughts
So that’s my go-to fudgy espresso brownie cookies! I’ve probably talked your ear off at this point, but when you make a recipe this often, you have a lot to say about it. These cookies have saved me from countless dessert disasters. They’re my answer to “I need something sweet now” when I don’t have the energy for a complex bake.
My kids are happy, my husband’s happy, and I’m happy because I’m not stressed about cooking. They’re easy, forgiving, and always turn out delicious. Make them yours! Try different chocolate chips, add nuts, or adjust the espresso strength. The best recipes are the ones you adapt to your family’s tastes.
If you make this, drop a comment and let me know what you think! I love hearing how recipes turn out in your kitchen. And if something doesn’t work, tell me that too—I’m here to help troubleshoot. Happy cooking! And I hope your kitchen smells half as good as mine does right now.
Frequently Asked Questions
Can I use brewed coffee instead of espresso powder?
You can, but it’s not recommended. Adding liquid coffee will throw off the batter’s consistency, making it too wet and potentially cakey. Instant espresso powder dissolves completely and adds flavor without adding moisture. If you must use brewed coffee, reduce the butter slightly and add no more than 1 tablespoon, but the texture may vary.
Why did my cookies spread too much?
This usually happens if the butter was too warm or if the dough wasn’t chilled. If your butter was melted or very soft, it spreads faster in the oven. Next time, make sure your butter is just room temperature (soft but not oily). Chilling the dough for 30 minutes also helps prevent excessive spreading.
Can I make the dough ahead of time?
Yes! You can make the dough and store it in the fridge for up to 3 days, or freeze it for up to 3 months. If refrigerating, let it come to room temperature for 15 minutes before scooping and baking. If freezing, bake directly from frozen, adding 1-2 minutes to the bake time.
Why are my cookies cakey instead of fudgy?
This is usually due to overmixing the dough or overbaking. Overmixing develops gluten, which leads to a cakey texture. Also, if you baked them until they looked firm in the oven, they will be dry when cooled. Remember: pull them out when the edges are set but the centers look soft. They will finish cooking on the pan.
Can I use milk chocolate instead of dark chocolate?
You can, but the cookies will be sweeter and less intense. Dark chocolate (60% cocoa or higher) pairs better with the espresso powder. If you use milk chocolate, you might want to reduce the granulated sugar by 2 tablespoons to balance the sweetness.
How do I store leftover cookies?
Store them in an airtight container at room temperature for up to 5 days. If you live in a humid area, add a piece of bread to the container to keep them moist. For longer storage, freeze them in a freezer-safe bag for up to 3 months.
Can I double this recipe?
Absolutely! Double all the ingredients and use two mixing bowls if needed. You’ll need to bake in batches, so make sure you have enough parchment-lined baking sheets. The baking time remains the same.
Pin This Recipe!
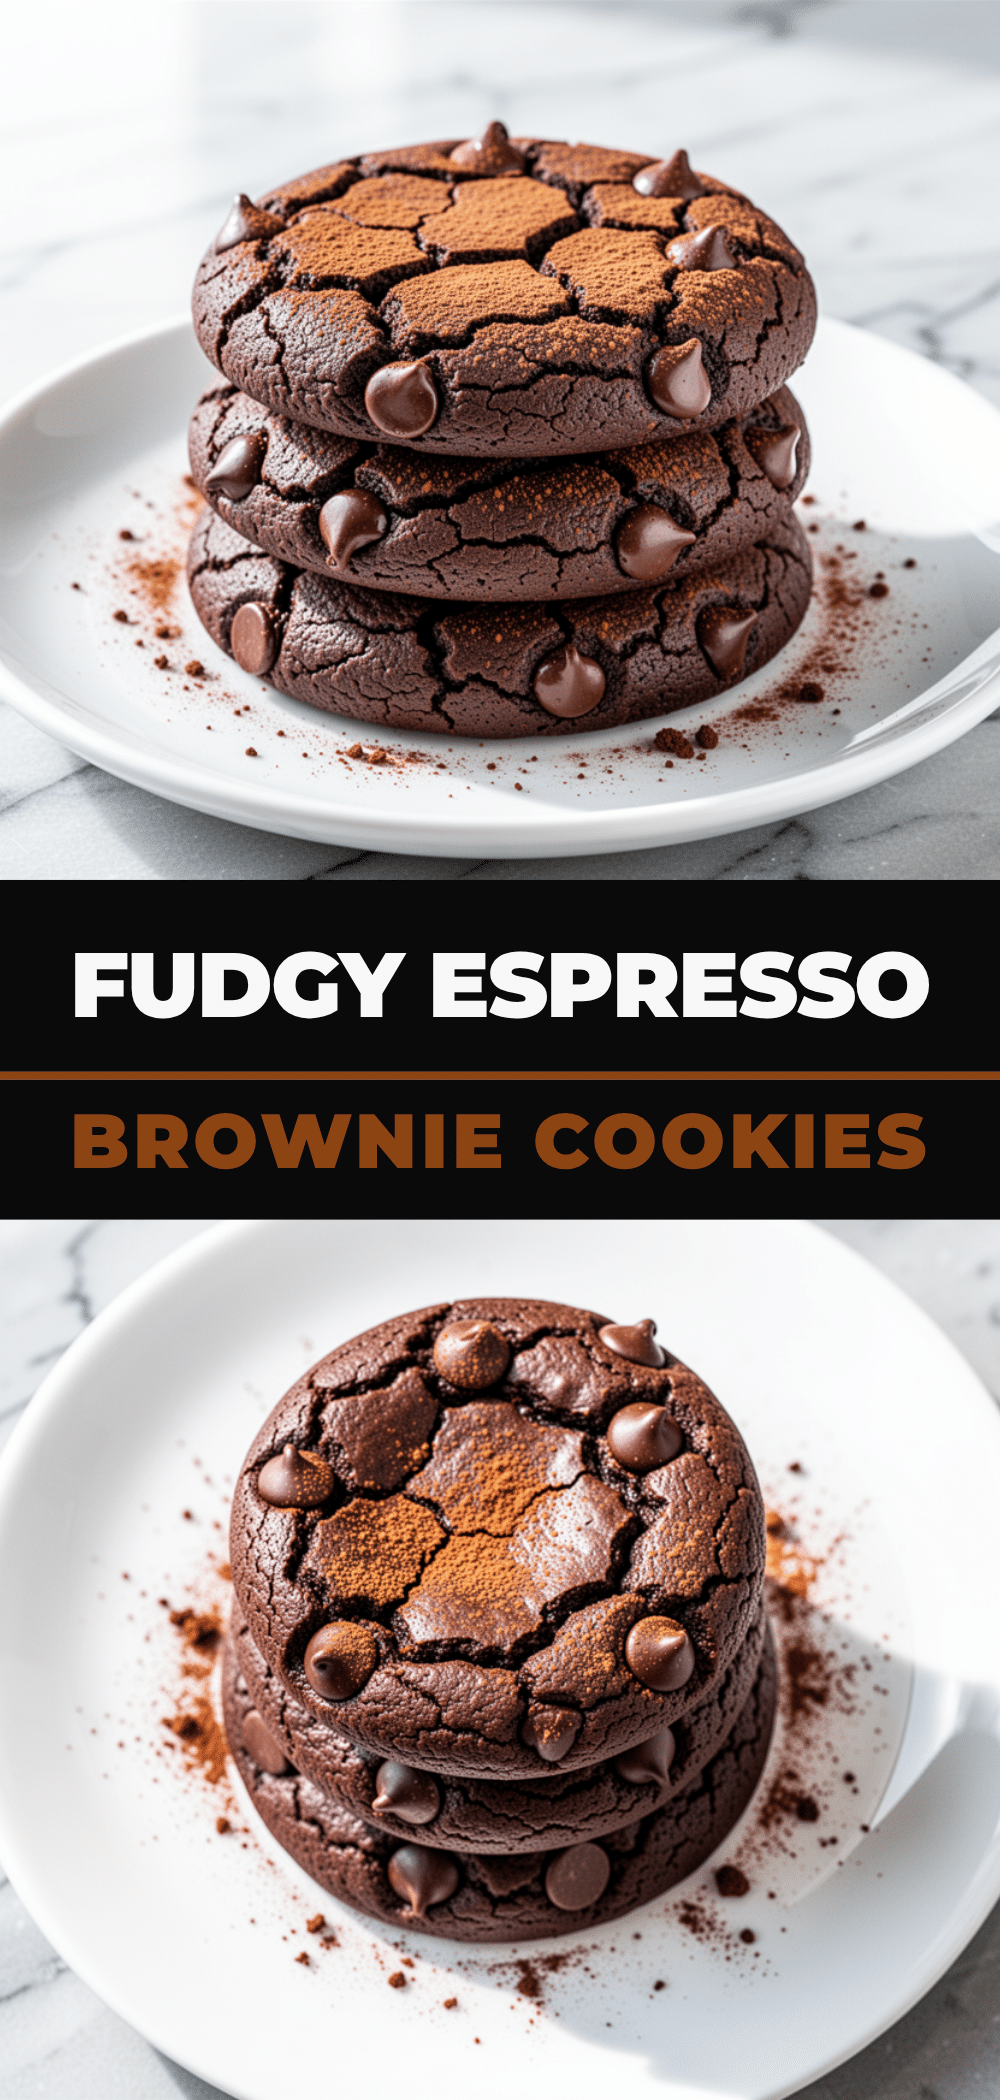
Fudgy Espresso Brownie Cookies
- Total Time: 25 minutes
- Yield: 24 cookies 1x
Description
Dense, fudgy cookies with crispy edges and a rich chocolate flavor enhanced by instant espresso powder. These easy-to-make treats are ready in 25 minutes and offer the perfect balance of chewy centers and crisp edges.
Ingredients
- 1 cup (170g) semi-sweet dark chocolate chips or chunks
- ½ cup (113g) unsalted butter, room temperature
- ½ cup (100g) granulated sugar
- ½ cup (100g) packed brown sugar
- 1 large egg
- 1 large egg yolk
- 1 teaspoon vanilla extract
- ¾ cup (95g) all-purpose flour
- 2 tablespoons (10g) unsweetened cocoa powder
- 1 teaspoon instant espresso powder
- ½ teaspoon baking powder
- ½ teaspoon salt
- Flaky sea salt for topping (optional)
- Optional add-ins: ½ cup peanut butter chips, white chocolate chips, or chopped nuts
Instructions
- Preheat oven to 350°F (175°C). Line two large baking sheets with parchment paper.
- Melt the dark chocolate chips in a microwave-safe bowl in 30-second intervals, stirring until smooth. Let cool slightly for 5 minutes.
- In a large mixing bowl, cream the softened butter, granulated sugar, and brown sugar until light and fluffy (about 2 minutes).
- Add the melted chocolate, egg, egg yolk, and vanilla extract to the butter mixture. Beat on low speed just until combined.
- In a separate small bowl, whisk together the flour, cocoa powder, espresso powder, baking powder, and salt.
- Gently fold the dry ingredients into the wet mixture using a spatula until no streaks of flour remain. Do not overmix.
- Fold in any optional add-ins (peanut butter chips, nuts, etc.).
- Scoop tablespoon-sized balls of dough onto the prepared baking sheets, spacing them 2 inches apart.
- Bake for 12-14 minutes, or until edges are set and slightly crisp but centers still look soft.
- Let cookies cool on the baking sheet for 5 minutes, then transfer to a wire rack. Sprinkle with flaky sea salt if desired while warm.
Notes
Do not overbake; the centers should look slightly underdone in the oven as they will continue to cook on the hot pan. For best texture, ensure butter is at room temperature. Dough can be chilled for 30 minutes to prevent spreading. Store in an airtight container at room temperature for up to 5 days.
- Prep Time: 5 minutes
- Cook Time: 14 minutes
- Category: Dessert
- Cuisine: American
Nutrition
- Serving Size: 1 cookie
- Calories: 180
- Sugar: 14
- Sodium: 90
- Fat: 10
- Saturated Fat: 6
- Carbohydrates: 22
- Fiber: 1
- Protein: 2
Keywords: fudgy brownie cookies, espresso brownies, chocolate cookies, easy dessert, coffee chocolate cookies, fudgy cookies, brownie cookies recipe



