There is a specific kind of chaos that only exists on a tailgate lot. It’s 8 a.m. on a Saturday. The sky is gray, the air is crisp enough to make you regret not wearing a hoodie, and you’re standing next to a cooler that is definitely not cold enough. You are hungry. You are tired. And you are staring at a table covered in paper plates, plastic forks, and a sad, dry-looking casserole dish that someone brought from home.
I used to think dessert at a tailgate was just a formality. You grab a stale cookie, eat it while watching people argue about the referee, and hope nobody notices you didn’t bring anything good. Then, about three years ago, I decided to stop bringing store-bought snacks. I decided to bring something that actually made people stop and ask, “Wait, you made this?”
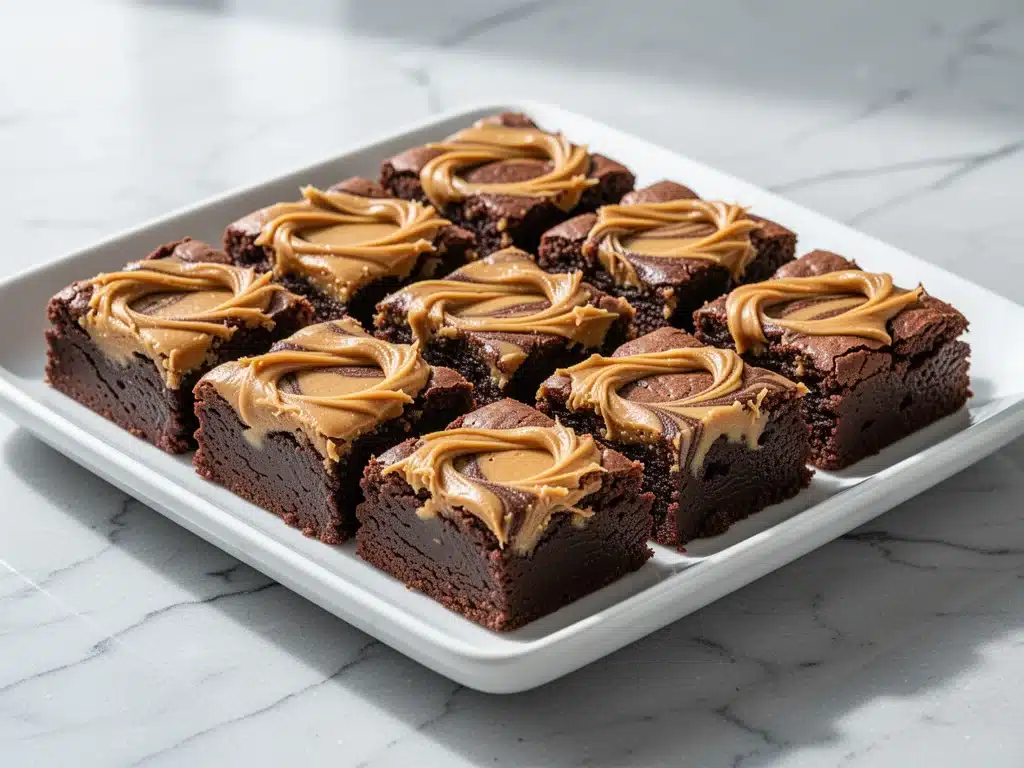
That was the year I introduced my Football Tailgate Peanut Butter Brownie Bars. I wasn’t trying to win any culinary awards. I just wanted something sweet, something that wouldn’t melt in my hands, and something that paired perfectly with a hot coffee or a cold soda. What I got was something else entirely: these brownies became the most requested item at every single game. They are dense, chewy, studded with peanut butter cups, and topped with a salted caramel drizzle that tastes like a vacation.
And here’s the honest truth: they are better than takeout. I know that sounds like a bold claim. Takeout is convenient. Takeout is consistent. But takeout doesn’t come with the pride of knowing you whipped up a batch of pure joy in your own kitchen while listening to game-day playlists. Plus, these bars are cheaper, they travel better, and they disappear faster than any pizza slice ever could.
If you’ve ever struggled to find a dessert that holds up to the elements, or if you just want a sweet treat that tastes like a candy bar but feels like homemade comfort, you need to make these. I’ve tested this recipe in freezing parking lots, in hot car trunks, and on picnic tables in the rain. It works. Every single time.
Why You’ll Love This Recipe
I’ve made dozens of brownie recipes over the years. Some are fudgy, some are cakey, and some are just… okay. But these Football Tailgate Peanut Butter Brownie Bars hit a sweet spot that I can’t stop going back to. Here’s why they’ve earned a permanent spot in my rotation, especially when the big game is on.
Stupid Simple
I’m not exaggerating when I say you can make these with basic ingredients. You don’t need a stand mixer. You don’t need fancy chocolate chips. You just need a bowl, a whisk, and 15 minutes of your time. I’ve made these while helping my kid with homework. I’ve made them at 11 p.m. when I couldn’t sleep. The process is forgiving. If you mess up the measurements slightly, they still taste amazing. That’s rare for baking.
Lightning Fast
From mixing to the oven, this recipe takes about 45 minutes total, with only 15 minutes of active work. For a dessert that looks and tastes like it came from a fancy bakery, that is incredibly fast. I usually start mixing while the coffee brews in the morning, and by the time I’m dressed and ready to leave for the tailgate, they’re cooling and ready to pack.
Travel-Proof
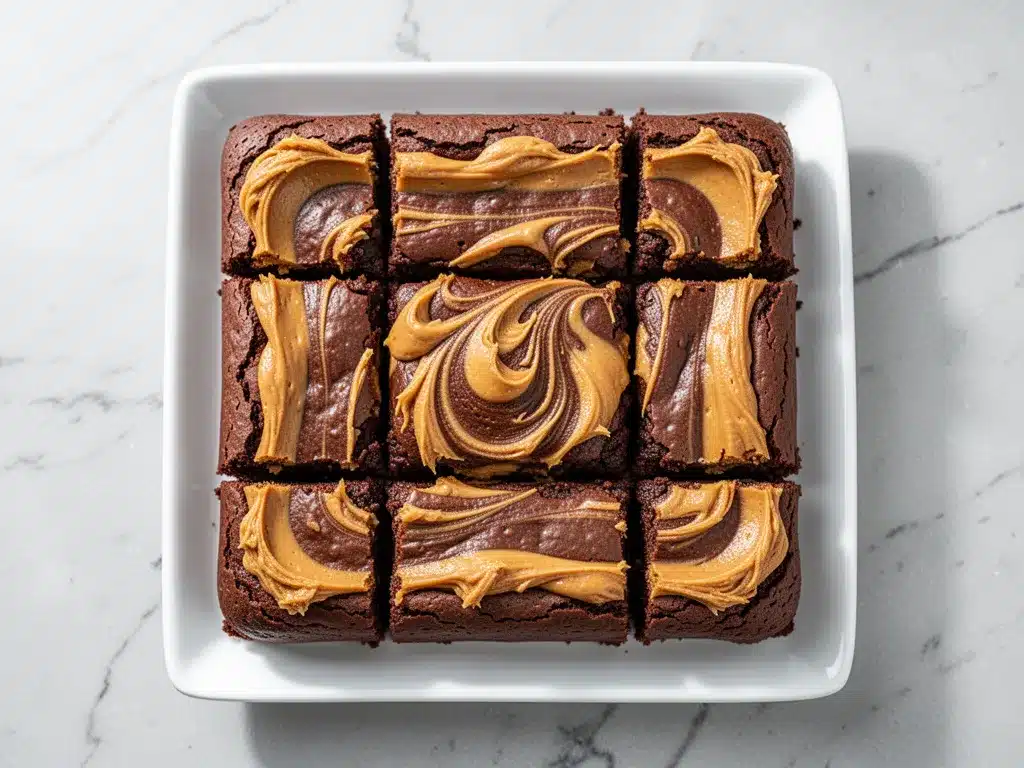
This is the biggest reason I love them for game day. Unlike a slice of pie or a delicate tart, these bars don’t fall apart. They are dense and sturdy. You can cut them into squares, wrap them in plastic, throw them in a container, and toss them in the back of an SUV. They won’t get squished. They won’t get warm and gooey in a bad way (unless you want them to be, which is also fine). They stay fresh for days, which means you can make them on Friday night and bring them on Saturday morning.
The Peanut Butter Cup Factor
Let’s talk about the star of the show: the peanut butter cups. I chop up mini peanut butter cups and fold them into the batter. Then, I chop more up and press them into the top before baking. The result? Every single bite has a burst of salty-sweet peanut butter flavor. It’s like eating a Reese’s Cup that has been baked into a rich, chocolate brownie. It’s not just a brownie; it’s an experience.
Makes Amazing Leftovers
Here’s the thing about tailgating: you often make more food than you eat. Or, you eat so much savory food that you don’t have room for dessert at the game. These bars are perfect for that. They taste even better the next day, as the flavors have time to meld. I keep a container in my fridge, and I’ll grab one with my morning coffee. It’s the perfect treat. My kids fight over the leftovers, which is always a good sign.
So basically, if you want a dessert that is easy, delicious, travels well, and makes you look like a hero in the parking lot, this is it. It’s my go-to when I need dinner—or rather, dessert—to just work.
Ingredients You’ll Need
Here’s the best part: you probably have most of this already in your pantry. This isn’t a recipe that requires a special trip to the store for obscure ingredients. It’s simple, honest baking. I’m particular about three things here—the chocolate, the peanut butter, and the salt—and I’ll tell you exactly why.
For the Brownie Base
Butter (1/2 cup / 113g, unsalted) — I use unsalted so I can control the saltiness, especially since we’re adding salty toppings later. Melt it gently. Don’t burn it. If you burn the butter, the whole batch tastes bitter. I learned that the hard way.
Granulated Sugar (1 cup / 200g) — This gives the brownies their crisp, crackly top. Don’t swap this for brown sugar if you want that specific texture. Brown sugar makes them chewier, but for this recipe, the crisp top is key.
Eggs (2 large) — Room temperature eggs mix better into the batter. If you’re in a rush, just put them in a bowl of warm water for 5 minutes. It’s a small trick that makes a big difference in texture.
Vanilla Extract (1 teaspoon) — Pure vanilla, please. The fake stuff tastes chemical, and in a simple recipe, you’ll notice it. It rounds out the chocolate flavor.
All-Purpose Flour (3/4 cup / 95g) — Just standard white flour. Don’t overmeasure it! Scoop and level, or weigh it if you have a scale. Too much flour makes dry brownies. I’ve had dry brownies. It’s not a good time.
Cocoa Powder (1/2 cup / 50g) — Use unsweetened cocoa powder. Hershey’s is my go-to because it’s cheap and reliable. Dutch-processed cocoa works too, but regular is fine. This is where the chocolate flavor lives.
Salt (1/2 teaspoon) — Just a pinch to balance the sweetness. Don’t skip it.
For the Peanut Butter Swirl
Mini Peanut Butter Cups (1.5 cups / about 12-15 small cups) — This is the fun part. I use Hershey’s Kisses or Reese’s Pieces, but actual mini peanut butter cups are best. Chop them roughly. You want chunks, not dust.
Reese’s Peanut Butter Cups (for topping) (1 cup / chopped) — These go on top. They melt slightly and create pockets of peanut butter goodness. I chop them into quarters before pressing them into the batter.
For the Salted Caramel Drizzle
Semi-Sweet Chocolate Chips (1/2 cup / 85g) — I use Ghirardelli or Nestle Toll House. They melt smoothly. Don’t use baking bars; chips have stabilizers that keep them from turning into soup.
Heavy Cream (2 tablespoons / 30ml) — Just enough to thin the chocolate into a drizzle. Whole milk works in a pinch, but cream is richer.
Flaky Sea Salt (like Maldon) — This is non-negotiable for me. The flaky salt adds a crunch and a burst of saltiness that contrasts with the sweet chocolate. It makes the dessert taste professional. If you don’t have flaky salt, regular kosher salt works, but sprinkle it gently.
Quick Tip: I always keep a bag of mini peanut butter cups in my pantry specifically for this. They are the secret weapon. If you can’t find them, you can use chunky peanut butter, but the texture won’t be the same.
Equipment Needed
You don’t need fancy equipment for this. Here’s what I actually use. If you don’t have these, don’t worry—I’ve listed alternatives.
8×8 Inch Baking Pan — This is the standard size for bar recipes. It gives the brownies the right thickness. If you don’t have an 8×8, a 9×9 will work, but the brownies will be thinner and bake faster. Watch them closely.
Microwave-Safe Bowl — For melting the butter and the chocolate chips. I use a large glass bowl. It’s easy to clean and doesn’t retain heat.
Mixing Bowls — One medium bowl for the wet ingredients, one large for the dry. I like having two so I don’t have to wash in between.
Whisk — A simple wire whisk is all you need. No mixer required. I’ve tried using a fork, but a whisk mixes faster and smoother.
Parchment Paper — This is the most important tool. Line your pan with parchment paper, leaving an overhang on the sides. This is called a “sling.” It lets you lift the entire slab of brownies out of the pan once they’re cool. Trying to dig brownies out of a pan without parchment is a nightmare. Trust me.
Sharp Knife — For chopping the peanut butter cups. A dull knife will crush the cups. A sharp knife cuts them cleanly.
Small Saucepan or Microwave Cup — For melting the chocolate chips for the drizzle. I usually just use a microwave-safe measuring cup. It’s easier than washing a pot.
Optional but nice:
– Offset Spatula — For spreading the batter evenly. A regular spatula works too.
– Piping Bag — For the drizzle. If you don’t have one, just put the melted chocolate in a ziplock bag and snip off a tiny corner. It’s the same thing.
How to Make It: Step-by-Step
Alright, let’s make this! I’m walking you through exactly how I do it, including the little tricks I’ve picked up. This is straightforward, but there are a few key moments where attention matters.
Step 1: Prep Your Pan and Oven (5 minutes)
Preheat your oven to 350°F (175°C). This is a standard baking temperature. While it heats, line your 8×8 inch baking pan with parchment paper. I like to do an “X” shape with two strips of parchment so they cross in the middle. Leave a few inches of overhang on all sides. Grease the parchment lightly with butter or cooking spray. This ensures the brownies don’t stick. It’s the difference between clean brownies and stuck-to-the-pan brownies.
Step 2: Melt the Butter (2 minutes)
In a microwave-safe bowl, melt the 1/2 cup of butter. I do this in 30-second intervals, stirring in between, to prevent burning. The butter should be fully liquid and hot, but not brown. If you see brown bits, it’s too hot. Let it cool for a minute.
Step 3: Mix the Wet Ingredients (3 minutes)
To the melted butter, add the granulated sugar, eggs, and vanilla extract. Whisk vigorously. You want to incorporate as much air as possible. The mixture should look glossy and slightly pale. This step creates that crackly top. Don’t skip the whisking. I used to just stir with a spoon, but the crackly top is worth the extra 30 seconds of effort.
Step 4: Add the Dry Ingredients (2 minutes)
Add the flour, cocoa powder, and salt. Stir gently until just combined. Do not overmix! Overmixing develops gluten, which makes brownies cakey instead of fudgy. You want them dense. The batter will look thick and dark. If there are small lumps of flour, that’s okay. They will disappear as you fold in the peanut butter cups.
Step 5: Fold in the Peanut Butter Cups (3 minutes)
Chop your mini peanut butter cups into rough chunks. Fold them into the batter using a spatula. Use a gentle folding motion—go from the bottom to the top. Turn the bowl and repeat. Stop when the cups are distributed. You don’t want them to turn into peanut butter paste. You want visible chunks.
Step 6: Add the Topping (2 minutes)
Spread the batter into your prepared pan. Smooth the top with your spatula. Now, take your chopped Reese’s Peanut Butter Cups and press them into the top of the batter. Don’t just sprinkle them; press them in. This helps them stick and ensures they don’t fall off during baking. You want them embedded in the chocolate.
Step 7: Bake (20-25 minutes)
Place the pan in the preheated oven. Bake for 20-25 minutes. Here’s the visual cue: the edges should be set and pulling away slightly from the sides of the pan. The center should still look slightly underbaked. It will jiggle a little when you shake the pan. This is crucial. If you bake it until the center is firm, it will be dry. The residual heat will finish cooking it as it cools.
Step 8: Cool Completely (30-60 minutes)
This is the hardest part. You have to let them cool. If you cut them hot, they will be a mushy mess. Let them cool in the pan on a wire rack. I usually let them cool for at least an hour. If you’re impatient, wait 45 minutes. But don’t rush it.
Step 9: Make the Drizzle (5 minutes)
While the brownies cool, make the salted caramel drizzle. In a small microwave-safe cup, combine the chocolate chips and heavy cream. Microwave in 15-second intervals, stirring in between, until smooth. If it’s too thick, add another teaspoon of cream. If it’s too thin, let it sit for a minute to thicken. Drizzle it over the cooled brownies.
Step 10: Add the Salt and Slice
Immediately after drizzling, sprinkle the flaky sea salt over the top. The chocolate will set as it cools, trapping the salt. Use the parchment sling to lift the brownies out of the pan. Cut into squares. I like 16 squares, but you can make them smaller for a party. Serve and enjoy.
Expert Tips & Tricks
Here’s everything I’ve learned from making these dozens of times. These tips will save you from my mistakes.
The Parchment Sling is Non-Negotiable
I cannot stress this enough. If you don’t line your pan, you will struggle to get these out. And if you struggle, you will break them. The sling lets you lift the entire slab out. Then you can cut them on a cutting board. It’s clean, it’s easy, and it keeps your brownies intact. I’ve tried greasing the pan without parchment. It’s a disaster. Don’t do it.
Don’t Overbake
This is the #1 mistake people make. They want to be sure it’s cooked, so they leave it in for 30 minutes. No. Leave it for 20-22 minutes. The center should be soft. As it cools, it will firm up. If you bake it until it’s firm in the oven, it will be dry when it’s cool. I’ve made dry brownies. They are sad. Don’t make sad brownies.
Chop the Cups, Don’t Crush Them
When you chop the peanut butter cups, use a sharp knife and a gentle sawing motion. Don’t press down hard. You want chunks, not crumbs. If you crush them, they will melt into the batter and you won’t get those nice pockets of peanut butter. I aim for quarter-sized pieces.
Use Flaky Salt
I know it’s an extra ingredient, but flaky sea salt changes the game. Regular salt dissolves instantly. Flaky salt stays crunchy and provides bursts of saltiness that contrast with the sweet chocolate. It makes the dessert taste more sophisticated. I buy Maldon salt because it’s the best, but any flaky sea salt works.
Room Temperature Eggs
If you take your eggs straight from the fridge, they can seize up the melted butter when you add them. This creates little curds of butter in your batter. To avoid this, let your eggs sit on the counter for 20 minutes before you start. Or, put them in a bowl of warm water for 5 minutes. It’s a small step that ensures a smooth batter.
Make-Ahead Strategy
These brownies actually taste better the next day. The flavors meld together, and the texture becomes even fudgier. I usually make them the night before the game. I store them in an airtight container at room temperature. They stay fresh for up to 3 days. If you’re tailgating on Saturday, make them Friday night. Perfect timing.
Variations & Substitutions
Once you’ve nailed the basic version, here’s how you can mix it up. I’ve tried all of these, and they all work.
Double Chocolate Version
Add 1/2 cup of mini chocolate chips to the batter along with the peanut butter cups. This makes it even more chocolatey. If you’re a chocolate lover, this is the way to go. It’s rich, intense, and delicious.
Snickerdoodle Style
Add 1 teaspoon of cinnamon to the dry ingredients. Top with a sprinkle of cinnamon sugar before baking. It gives it a cookie-like flavor. It’s a fun twist on the classic.
Gluten-Free
Use a 1:1 gluten-free flour blend. Most brands work well in brownies because the texture is forgiving. I’ve used Bob’s Red Mill and King Arthur, and both worked great. Make sure your peanut butter cups are certified gluten-free if you have celiac disease, as some contain wheat starch.
Dairy-Free
Use dairy-free butter (like Miyoko’s or Earth Balance) and dairy-free chocolate chips. Most peanut butter cups are dairy-free, but check the label. The drizzle will need dairy-free cream, like coconut cream. It changes the flavor slightly, but it’s still good.
Vegan
Use flax eggs (2 tablespoons ground flaxseed mixed with 6 tablespoons water, let sit for 5 minutes). Use vegan butter and vegan chocolate chips. Most peanut butter cups are accidentally vegan, but check. The texture will be slightly different, but still tasty.
No Peanut Butter Cups?
If you can’t find mini peanut butter cups, you can use chopped peanuts and a swirl of peanut butter. Or, just use chocolate chips. It won’t be the same, but it will still be a good brownie.
Serving & Storage
How do you serve these? And how do you keep them from going stale?
How to Serve
I serve these at room temperature. They are best that way. Cold brownies are hard. Warm brownies are messy. Room temperature is the sweet spot. I cut them into 16 squares and serve them on a platter. They are perfect with a glass of milk or a cup of coffee.
Side Dishes
These are a dessert, so they stand alone. But if you’re having a full tailgate, they pair well with savory snacks like bacon-wrapped smokies or crab rangoon dip. The sweet and salty contrast is perfect.
Storage Instructions
Refrigerator: Store in an airtight container for up to 4 days. They stay fresh and moist. I like to keep them in the fridge in the summer to prevent the chocolate from melting.
Freezer: Yes, you can freeze these! Wrap individual squares in plastic wrap, then put them in a freezer bag. They last up to 3 months. Thaw them at room temperature for 30 minutes before eating. They taste just like fresh.
Room Temperature: If you’re eating them within 2 days, keep them in an airtight container at room temperature. They stay fresh for 2-3 days.
Pro Tip: If your brownies seem a bit dry after a few days, microwave them for 10 seconds. It revives the moisture. Don’t do it for too long, or they’ll melt.
Nutrition Information
I’m not a nutritionist, but here’s the breakdown if you’re tracking. Keep in mind that these are rich, calorie-dense treats, so portion control is key.
Per Serving (1 of 16 bars):
- Calories: 220
- Protein: 4g
- Carbs: 28g
- Fat: 12g
- Sugar: 22g
What’s Good: They provide a quick energy boost, which is great for a long day of games. The peanut butter adds some protein and healthy fats.
What to Know: They are high in sugar and calories. This is a dessert, not a snack. Enjoy in moderation. If you want to make them lighter, you can reduce the sugar by 1/4 cup, but they won’t be as sweet.
Final Thoughts
So that’s my Football Tailgate Peanut Butter Brownie Bars! I’ve probably talked your ear off at this point, but when you make a recipe this often, you have a lot to say about it.
This has saved my tailgates more times than I can count. It’s my answer to “what dessert should I bring?” when I’m tired, don’t want to shop, and still want something that tastes really good. My friends are happy, my family is happy, and I’m happy because I’m not stressed about making something complicated.
Make it yours! Try different toppings, swap in your favorite chocolate chips, or adjust the salt. The best recipes are the ones you adapt to your tastes. If you make these, drop a comment and let me know what you think! I love hearing how recipes turn out in your kitchen. And if something doesn’t work, tell me that too—I’m here to help troubleshoot.
Happy tailgating! And I hope your kitchen smells half as good as mine does right now.
Frequently Asked Questions
Can I use regular peanut butter instead of peanut butter cups?
You can, but the texture will be different. If you use regular peanut butter, swirl it into the batter for a marble effect. But for the chunks and pockets of flavor, peanut butter cups are best. They hold their shape better and provide that specific sweet-salty crunch.
Why did my brownies turn out cakey?
Usually, this means you overmixed the batter or overbaked them. Remember, brownies should be fudgy. Mix the dry ingredients until just combined. And pull them out of the oven when the center still looks slightly underbaked. The residual heat will finish cooking them.
Can I make these ahead of time?
Yes! In fact, they taste better the next day. Make them 1-2 days ahead, store in an airtight container, and bring them to the tailgate. They hold up well at room temperature for up to 3 days.
Can I freeze these brownies?
Absolutely. Wrap individual squares in plastic wrap, then put them in a freezer bag. They last up to 3 months. Thaw at room temperature for 30 minutes before eating. They taste just like fresh.
What if I don’t have flaky sea salt?
You can use regular kosher salt or table salt. Just sprinkle it lightly. Flaky salt is nicer because it stays crunchy, but regular salt will still add that salty contrast. Don’t skip the salt entirely; it balances the sweetness.
Can I double this recipe?
Yes, but you’ll need a larger pan. A 9×13 inch pan works well. Increase the baking time by 5-10 minutes. Check for doneness with a toothpick. The center should still be slightly soft.
Are these bars better than takeout?
That’s subjective, but I’d argue yes! They are fresher, cheaper, and made with love. Plus, you know exactly what’s in them. No hidden preservatives. Just chocolate, peanut butter, and sugar. It’s hard to beat that.
Pin This Recipe!
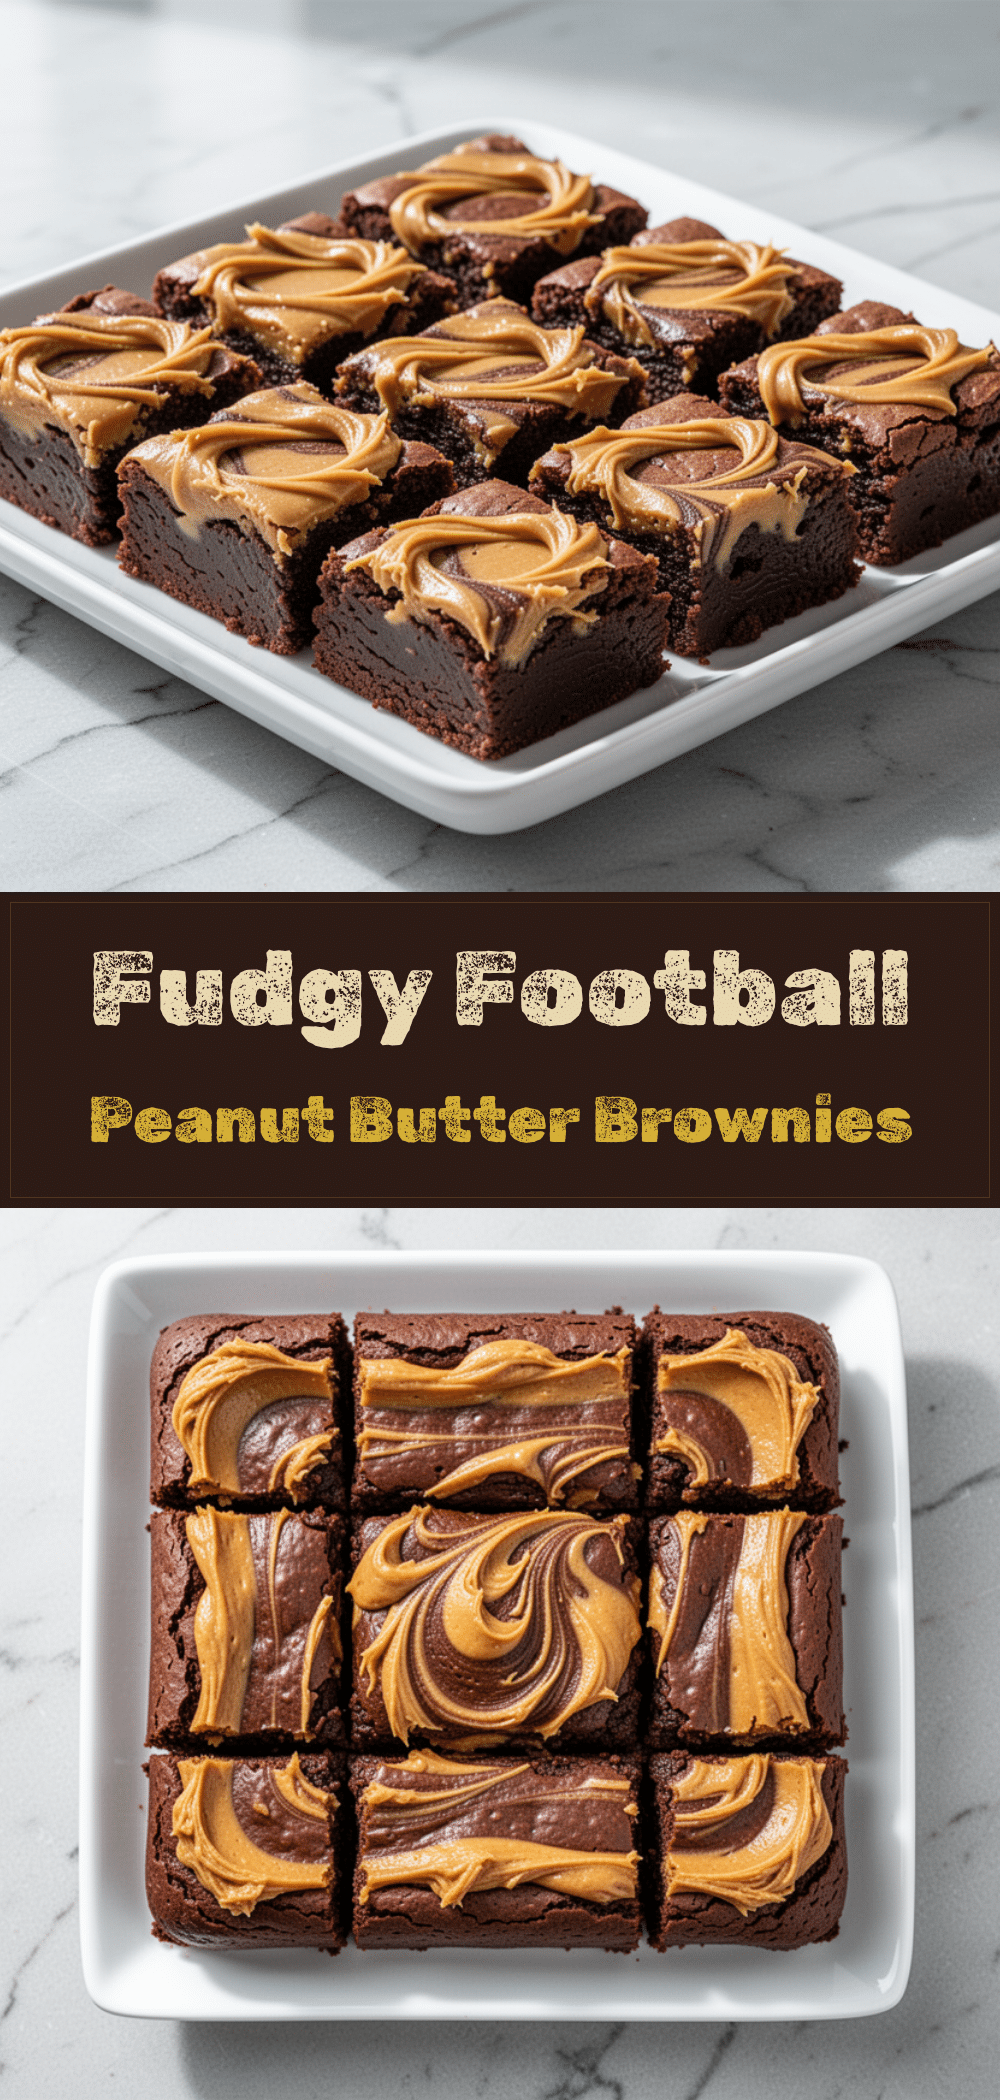
Football Tailgate Peanut Butter Brownie Bars
- Total Time: 45 minutes
- Yield: 16 servings 1x
Description
Dense, chewy brownie bars studded with peanut butter cups and topped with a salted caramel drizzle. This easy 15-minute prep dessert is travel-proof, perfect for tailgating, and tastes like a homemade candy bar.
Ingredients
- 1/2 cup (113g) unsalted butter
- 1 cup (200g) granulated sugar
- 2 large eggs, room temperature
- 1 teaspoon vanilla extract
- 3/4 cup (95g) all-purpose flour
- 1/2 cup (50g) unsweetened cocoa powder
- 1/2 teaspoon salt
- 1.5 cups (about 12–15 small cups) mini peanut butter cups, chopped
- 1 cup (chopped) Reese’s Peanut Butter Cups, for topping
- 1/2 cup (85g) semi-sweet chocolate chips
- 2 tablespoons heavy cream
- Flaky sea salt, for garnish
Instructions
- Preheat oven to 350°F (175°C). Line an 8×8 inch baking pan with parchment paper, leaving an overhang on the sides, and grease lightly.
- Melt the butter in a microwave-safe bowl in 30-second intervals, stirring between intervals. Let cool slightly.
- Whisk the melted butter, granulated sugar, eggs, and vanilla extract vigorously until the mixture is glossy and slightly pale.
- Add the flour, cocoa powder, and salt. Stir gently until just combined; do not overmix.
- Fold in the chopped mini peanut butter cups using a spatula until distributed.
- Spread the batter into the prepared pan. Press the chopped Reese’s Peanut Butter Cups into the top of the batter.
- Bake for 20-25 minutes until edges are set and pulling away from the pan, but the center still looks slightly underbaked.
- Cool completely in the pan on a wire rack for at least 30-60 minutes.
- While brownies cool, microwave chocolate chips and heavy cream in 15-second intervals, stirring until smooth.
- Drizzle the chocolate mixture over the cooled brownies and immediately sprinkle with flaky sea salt.
- Use the parchment sling to lift brownies out of the pan and cut into 16 squares.
Notes
Do not overbake; the center should remain soft as it firms up while cooling. Room temperature eggs prevent the butter from seizing. For best texture, let brownies cool completely before slicing. They taste even better the next day as flavors meld.
- Prep Time: 15 minutes
- Cook Time: 25 minutes
- Category: Dessert
- Cuisine: American
Nutrition
- Serving Size: 1 bar
- Calories: 220
- Sugar: 22
- Sodium: 150
- Fat: 12
- Saturated Fat: 7
- Carbohydrates: 28
- Fiber: 2
- Protein: 4
Keywords: brownies, peanut butter, tailgate, dessert, easy baking, game day, chocolate, caramel drizzle, make-ahead



