I have a confession to make. For years, I was terrified of cheesecake. Not because I don’t like it—I absolutely do—but because I thought making it from scratch was some kind of elite culinary skill reserved for people with degree-level baking knowledge. I was convinced that if I didn’t use a water bath, or if my oven temperature was off by five degrees, I’d end up with a cracked, weeping, sad mess instead of a dessert.
Then I discovered Basque Burnt Cheesecake. And honestly? It changed everything.
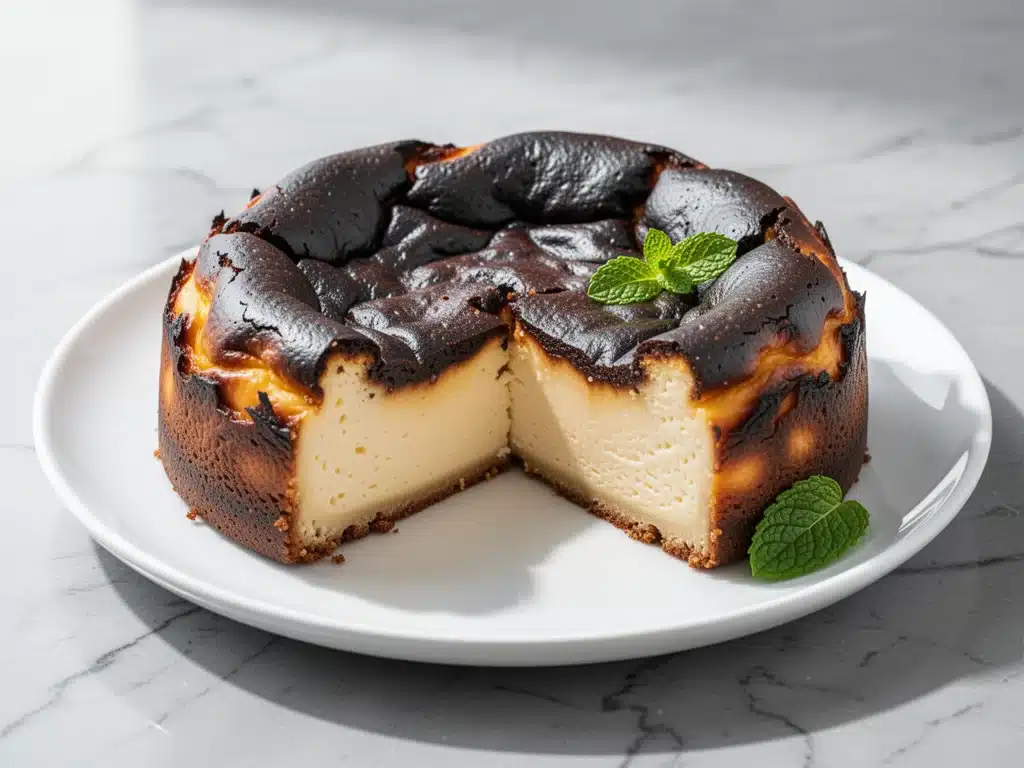
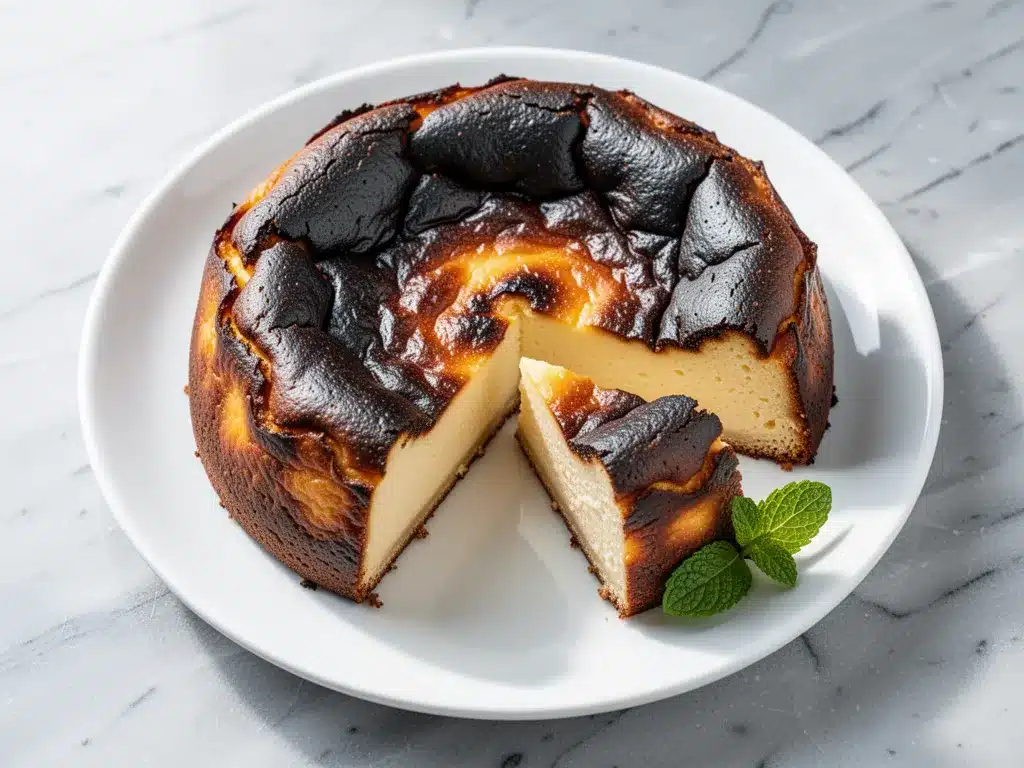
There is something almost rebellious about this dessert. It’s supposed to look burnt. The top is meant to be dark, almost charred, while the inside remains impossibly creamy, custardy, and soft. It’s ugly-cute in the best possible way. It’s the dessert equivalent of a perfectly messy bun—effortless, charming, and delicious.
Last month, I made this Foolproof Basque Burnt Cheesecake for a casual Friday dinner with friends. I didn’t tell them what it was. I just set it on the table, sliced it, and watched. One friend took a bite, paused, and said, “Is this from that fancy place downtown?” Another asked if I’d hired a pastry chef. I just smiled and said, “Nope. I threw it together in 15 minutes.”
That’s the magic of this recipe. It’s so easy that people assume it’s complicated. It’s so forgiving that you can’t mess it up. And it’s so good that everyone always asks for the recipe. I’ve made this Basque Burnt Cheesecake at least a dozen times since that night, and I’ve never had a single failure. Not one crack, not one runny center, not one burnt-to-a-crisp disaster.
It’s become my go-to for hosting. It’s my answer to “What dessert should I bring?” when I’m tired, stressed, or just don’t want to stress. It’s better than traditional tres leches cake because it requires no soaking syrup and no soaking time—it’s ready to eat the moment it cools. It’s simpler than fall caramel apple crisp because there’s no fruit prep, no crumble topping, no chopping. Just cheese, sugar, eggs, and cream. That’s it.
If you’ve been intimidated by cheesecake, this is your invitation to stop being scared. This foolproof Basque Burnt Cheesecake is here to save your dinner parties, your potlucks, and your sanity.
Why You’ll Love This Foolproof Basque Burnt Cheesecake
Okay, so why am I so obsessed? Why does this simple cake keep me coming back for more? Here’s the real talk—it’s not just about the taste (though the taste is incredible). It’s about the experience. Here’s why this Basque Burnt Cheesecake has earned a permanent spot in my kitchen rotation:
- Zero Cracking Allowed — Seriously. This cake is designed to burn on top. Cracks don’t exist here because the whole point is the char. You don’t need a water bath, you don’t need to wrap the pan in foil, and you don’t need to monitor the temperature like a hawk. You just bake it until it looks like you messed up, and it’s perfect.
- Five Ingredients, No Special Tools — You don’t need a stand mixer. You don’t need a springform pan (though it helps). You don’t need an electric mixer. A whisk and a bowl are all you need. I make this with a hand whisk while listening to a podcast. It’s that easy.
- Restaurant-Quality Texture — The inside is dense but creamy, like a cross between a cheesecake and a crème brûlée. It’s rich, tangy, and smooth. It tastes like you spent hours in the kitchen, but you didn’t.
- Make-Ahead Friendly — This cake actually gets better the next day. I make it the night before a dinner party, let it cool, refrigerate it, and serve it cold the next evening. The flavors meld, the texture sets, and it’s even more impressive.
- Gluten-Free by Default — No flour. None. This is naturally gluten-free, which means my gluten-free friends can eat it without feeling left out. (Unlike pumpkin pie, which usually has a crust.)
- Impresses Everyone — I’ve served this to food snobs, picky kids, and people who claim they “don’t like sweet things.” Everyone loves it. The contrast of the bitter char and the sweet, creamy center is addictive.
This is my go-to when I want to look like a pro baker but actually just want to relax. No stress, no special techniques, just reliable, delicious food that makes everyone happy.
Ingredients You’ll Need for Basque Burnt Cheesecake
Here’s the best part: you probably have most of these ingredients already. This isn’t a recipe that requires a trip to three different specialty stores. It’s pantry-friendly, fridge-staple simple.
I’m particular about three things here, and I’ll tell you exactly why. Trust me on this.
For the Base (It’s Just Cream Cheese, Really)
Full-fat cream cheese (32 oz / 900g) — This is non-negotiable. I use Philadelphia blocks, not tubs. Tub cream cheese has higher water content and lower fat, which makes the texture grainy and less rich. You need the block. Soften it at room temperature for at least an hour before you start. If it’s cold, you’ll get lumps, and we don’t do lumps in this house.
Granulated sugar (1 cup / 200g) — I use regular white sugar. Some people try to use coconut sugar or honey, but it changes the color and texture. We want that deep, dark char on top, and white sugar caramelizes beautifully for that look. Don’t skimp on the sugar—it’s not just for sweetness; it’s for the burnt crust.
Large eggs (5 large) — Room temperature eggs are crucial. Cold eggs can cause the mixture to seize or curdle when you add the cream. I take my eggs out of the fridge 30 minutes before I start baking. If I forget, I soak them in warm water for a few minutes. It’s worth the two minutes.
For the Creamy Center
Heavy cream (1 cup / 240ml) — Full-fat heavy cream (also called heavy whipping cream). Do not use half-and-half or milk. The high fat content is what makes the center so luxuriously creamy. If you use lower-fat dairy, the texture will be more like a custard than a cheesecake.
Vanilla extract (1 teaspoon) — Use real vanilla, not imitation. I know it’s pricey, but in a recipe with only five ingredients, the vanilla really shines. If you don’t have vanilla, you can skip it, but the flavor won’t be as rounded.
All-purpose flour (1 tablespoon) — Just one tablespoon. This is the secret stabilizer. It helps the eggs set properly so the center doesn’t collapse. Don’t skip it, but don’t add more. Too much flour makes it cakey, and we want creamy, not cakey.
Optional Add-ins (Because Why Not?)
Lemon zest (1 teaspoon) — Adds a bright, tangy note that cuts through the richness. I do this when I want a slightly lighter flavor profile.
Berry compote (½ cup) — A swirl of raspberry or strawberry compote before baking adds a beautiful marbled look and extra flavor. I love this for summer.
Cocoa powder (1 tablespoon) — For a chocolate version, swap the flour for cocoa powder. It’s amazing, but the classic version is still my favorite.
Quick Tip: I always measure my flour carefully. Too much flour makes the texture dense and heavy. I use the spoon-and-level method, not the scoop-and-pack method.
Equipment Needed
You don’t need fancy equipment for this. Here’s what I actually use:
9-inch springform pan — This is the standard for cheesecakes. The sides come off, which makes unmolding easy. I’ve tried using a regular round cake pan, but it’s harder to get the cake out intact. If you don’t have a springform pan, you can use a regular pan lined with parchment paper, but it’s trickier.
Parchment paper — This is your best friend. You need enough to line the bottom and the sides of the pan. I crumple the parchment paper into a ball and then unfold it—it makes it easier to fit into the pan. The paper gets dark and burnt, but that’s part of the charm.
Large mixing bowl — Any size that’s big enough to hold all the ingredients. I use a 6-quart bowl.
Hand whisk — I don’t use a mixer. A whisk is all you need to beat the cream cheese and sugar until smooth, and then to incorporate the eggs and cream. It’s faster and gives you more control.
Offset spatula — For smoothing the top of the batter before baking. Any spatula works, but an offset one makes it easier to get into the corners.
Cooling rack — The cake needs to cool completely in the pan before you refrigerate it. A rack allows air to circulate underneath.
Optional but nice: A kitchen scale for weighing the cream cheese and sugar. It’s more accurate than cups, but I usually eyeball it and it’s fine.
How to Make It: Step-by-Step
Alright, let’s make this! I’m walking you through exactly how I do it, including the little tricks I’ve picked up over the years.
Step 1: Prep Your Pan (2 minutes)
Preheat your oven to 400°F (200°C). This is a high-heat bake, which is what creates that signature burnt top. While the oven heats, line your 9-inch springform pan with parchment paper. Crumple the paper first, then fit it into the pan. It should cover the bottom and the sides, with some overhang on the edges. This overhang is crucial—it acts as a handle when you lift the cake out later. Don’t worry if it looks messy. The burnt top will hide everything.
Step 2: Beat the Cream Cheese (3 minutes)
Place your softened cream cheese in the mixing bowl. Add the sugar. Using a hand whisk, beat the cream cheese and sugar together until completely smooth. This takes about 2-3 minutes of vigorous whisking. You want no lumps. If you see lumps, keep whisking. The mixture should look like thick, smooth frosting. This step is important because lumps of cream cheese will create uneven spots in the final texture.
Step 3: Add the Eggs (2 minutes)
Add the eggs one at a time, whisking well after each addition. I add them one by one to ensure they’re fully incorporated before adding the next. Don’t overbeat at this stage—you just want them mixed in. The mixture might look slightly curdled or separated. That’s okay. It will come together in the next step.
Step 4: Pour in the Cream and Flour (1 minute)
Pour in the heavy cream, vanilla extract, and the tablespoon of flour. Whisk everything together until smooth. The mixture should be thin and liquid, like a thick batter. If it’s still lumpy, give it a few more whisks. You’re looking for a homogeneous, creamy mixture. If you have a fine-mesh strainer, you can strain the batter through it to catch any remaining lumps. I do this sometimes, but it’s not strictly necessary.
Step 5: Bake It (50-60 minutes)
Pour the batter into the prepared pan. Smooth the top with a spatula. Place it in the center of the preheated oven. Bake for 50-60 minutes. Here’s the thing: you’re not baking it until it’s set on top. You’re baking it until the edges are puffed and deeply browned, and the center is still jiggly. The center should wobble like Jell-O when you shake the pan gently. This is the key to the creamy texture. If the center is firm, you’ve overbaked it.
Visual Cue: The top should be very dark, almost black in spots. It will look like you burned it. Good. That’s what you want. The sides will be golden brown and puffed.
Step 6: Cool It (4-6 hours)
Remove the cake from the oven. It will look puffed and dark. Place the pan on a cooling rack. The center will sink as it cools—that’s normal. Let it cool completely at room temperature, which takes about 1-2 hours. Then, refrigerate it for at least 4 hours, preferably overnight. This chilling time is crucial. It sets the texture and allows the flavors to meld. Do not skip this step. If you eat it warm, it will be too soft and the texture won’t be right.
Step 7: Serve It
Once chilled, run a knife around the edge of the pan to loosen it. Release the springform ring. Lift the cake out using the parchment paper overhang. Slice it with a sharp knife. Wipe the knife between slices for clean cuts. Serve with fresh berries, a dollop of whipped cream, or just plain. It’s amazing on its own.
Total Time: About 7 hours (15 minutes active, 60 minutes baking, 4-6 hours cooling/chilling)
Built-in Troubleshooting:
- Center too runny? You might have underbaked it. Next time, bake for 5-10 more minutes. But remember, it should jiggle when you take it out. It firms up as it cools.
- Top not dark enough? Your oven might run cool. Check your oven temperature with an thermometer. Or, broil it for 1-2 minutes at the end (watch it closely!).
- Cracks on top? Impossible. This cake is designed to burn, not crack. If you see cracks, it’s just the texture of the burnt crust. It’s fine.
Expert Tips & Tricks
Here’s everything I’ve learned from making this dozens of times. These tips will save you from my mistakes.
Softened Cream Cheese is Non-Negotiable
I cannot stress this enough. If your cream cheese is cold, you will get lumps. And lumps mean uneven texture. I usually take my cream cheese out of the fridge the night before. If I forget, I cut it into cubes and microwave it in 10-second bursts, checking between each, until it’s soft but not melted. It should yield to gentle pressure, like soft butter.
Don’t Overmix After Adding Eggs
Once you add the eggs, mix just until combined. Overmixing incorporates too much air, which can cause the cake to rise too much and then collapse unevenly. You want a dense, creamy texture, not a fluffy cake texture.
The Jiggle Test is Your Best Friend
When you take the cake out of the oven, it should look puffed and dark, but the center should still jiggle. If it’s firm, you’ve baked it too long. If it’s liquidy, bake it longer. The center will set as it cools. This is the most important step. Trust the jiggle.
Chill Overnight for Best Results
I know you want to eat it right away. Don’t. The texture is vastly superior after chilling overnight. The flavors deepen, the texture becomes denser and creamier, and it’s easier to slice. I make this the night before a dinner party, and it’s always a hit.
Common Mistakes (and how to avoid them)
- Mistake: Using tub cream cheese — Fix: Use block cream cheese. Tub cream cheese has additives and higher water content, which affects the texture.
- Mistake: Under-baking — Fix: Bake for at least 50 minutes. The center should jiggle, but the edges should be set.
- Mistake: Skipping the chill time — Fix: Chill for at least 4 hours. The cake needs time to set.
Pro Tricks I’ve Learned
- For a smoother top: Tap the pan on the counter a few times before baking to release air bubbles.
- For extra flavor: Add a teaspoon of lemon zest or a tablespoon of bourbon to the batter.
- For better slicing: Dip your knife in hot water and wipe it dry between each slice. This gives you clean, professional-looking cuts.
Variations & Substitutions
Once you’ve nailed the basic version, here’s how you can mix it up. I’ve tried all of these.
Lemon Basque Burnt Cheesecake
Add the zest of one lemon and one tablespoon of lemon juice to the batter. The citrus cuts through the richness and adds a bright, fresh flavor. This is my favorite variation for spring and summer.
Chocolate Basque Burnt Cheesecake
Swap the tablespoon of flour for one tablespoon of cocoa powder. Mix it in with the sugar and cream cheese. The result is a rich, chocolatey version with the same creamy texture. It’s like a chocolate lava cake meets cheesecake.
Berry Swirl Basque Burnt Cheesecake
After pouring the batter into the pan, dollop a few spoonfuls of berry compote (raspberry, strawberry, or blueberry) on top. Use a knife to swirl it into the batter. Don’t overmix—just a few swirls. It creates a beautiful marbled effect and adds bursts of fruit flavor.
Coconut Basque Burnt Cheesecake
Replace the heavy cream with full-fat coconut cream. Add a teaspoon of coconut extract. It’s dairy-free and has a tropical flavor. My lactose-intolerant friends love this version.
Gluten-Free
The classic recipe is already gluten-free. Just make sure your cream cheese and other ingredients are certified gluten-free if you have celiac disease. It’s naturally GF because there’s no flour (except one tablespoon, which is negligible).
Different Toppings:
- Fresh berries (strawberries, raspberries, blueberries)
- Whipped cream
- Chocolate sauce
- Caramel drizzle
- Crushed pistachios or almonds
Serving & Storage
How to Serve:
I usually serve this straight from the refrigerator. It’s best cold, with a firm, creamy texture. But here are other ways I’ve enjoyed it:
- With fresh fruit: I top mine with fresh strawberries and raspberries. The acidity of the fruit balances the richness of the cake.
- With whipped cream: A dollop of lightly sweetened whipped cream is classic.
- With a drizzle: Chocolate sauce, caramel, or berry compote are all great.
- Plain: Honestly, it’s so good on its own that I often skip toppings. Just a dusting of powdered sugar is enough.
Storage Instructions:
Refrigerator: Store in an airtight container or wrap the pan tightly with plastic wrap for up to 5 days. It actually gets better after the first day.
Freezing: You can freeze this cake, but the texture might change slightly. Wrap it tightly in plastic wrap and then in aluminum foil. It will keep for up to 2 months. Thaw it in the refrigerator overnight before serving. I don’t freeze it often because it’s so good fresh, but it’s an option.
Reheating: I don’t recommend reheating this cake. It’s best served cold or at room temperature. If you must warm it, heat it gently in a low oven (300°F) for 5-10 minutes. But honestly, it’s not worth it.
Pro tip: If you’re serving it at a dinner party, make it the night before. It saves you time and stress on the day of the event.
Nutrition Information
I’m not a nutritionist, but here’s the breakdown if you’re tracking. Keep in mind that this is a rich, indulgent dessert, so portions should be moderate.
Per Serving (based on 12 servings):
| Nutrient | Amount |
|---|---|
| Calories | 380 |
| Protein | 6g |
| Carbs | 22g |
| Fiber | 0g |
| Sugar | 20g |
| Fat | 32g |
| Saturated Fat | 19g |
| Cholesterol | 140mg |
| Sodium | 220mg |
What’s Good:
- Gluten-free by default
- High in protein from the cream cheese and eggs
- Low in carbs compared to other cakes (no flour)
What to Know:
- High in calories and fat from the cream cheese and heavy cream
- Contains dairy
- High in sugar
My Take:
Look, this is comfort food with cream cheese and sugar. It’s not a diet recipe. But it’s way better than store-bought desserts, and you know exactly what’s in it. When I want to make it lighter, I use less sugar and add more berries. But usually? I just eat a small slice and enjoy it. It’s a treat, not a snack.
Final Thoughts
So that’s my foolproof Basque Burnt Cheesecake! I’ve probably talked your ear off at this point, but when you make a recipe this often, you have a lot to say about it.
This has saved my dinner parties more times than I can count. It’s my answer to “What dessert should I make?” when I’m tired, don’t want to bake a complicated cake, and still want something that tastes really good. My friends are happy, my family’s happy, and I’m happy because I’m not stressed about cooking.
Make it yours! Try different add-ins, swap in your favorite fruits, adjust the sugar to your taste. The best recipes are the ones you adapt to your family’s tastes.
If you make this, drop a comment and let me know what you think! I love hearing how recipes turn out in your kitchen. And if something doesn’t work, tell me that too—I’m here to help troubleshoot.
Happy baking! And I hope your kitchen smells half as good as mine does right now.
Frequently Asked Questions
Q: Can I use low-fat cream cheese?
A: You can, but the texture won’t be as creamy and rich. Low-fat cream cheese has more water and less fat, which can make the cake grainy and less dense. I recommend using full-fat block cream cheese for the best results. If you must use low-fat, mix it with a little extra heavy cream to compensate.
Q: My cake didn’t burn on top—what happened?
A: This usually means your oven runs cool. I recommend checking your oven temperature with an oven thermometer. If your oven is under 400°F, the cake won’t get that signature dark char. You can also broil it for 1-2 minutes at the end of baking, but watch it closely so it doesn’t burn too much.
Q: Can I make this in a different size pan?
A: You can, but the baking time will change. For a 7-inch pan, bake for 40-50 minutes. For an 8-inch pan, bake for 45-55 minutes. For a 10-inch pan, bake for 55-65 minutes. The key is the jiggle test—the center should still jiggle when you take it out. Adjust the time accordingly.
Q: Why is my cake too runny?
A: It might be underbaked. Bake it for 5-10 more minutes. Or, you might have used tub cream cheese, which has higher water content. Next time, use block cream cheese and make sure it’s fully softened before mixing.
Q: Can I freeze this cake?
A: Yes, but the texture might change slightly. Wrap it tightly in plastic wrap and then in aluminum foil. It will keep for up to 2 months. Thaw it in the refrigerator overnight before serving. I don’t freeze it often because it’s so good fresh, but it’s an option.
Q: Do I need a springform pan?
A: It’s highly recommended. The springform pan makes it easy to remove the cake from the pan without damaging it. If you don’t have one, you can use a regular round cake pan lined with parchment paper, but it’s harder to get the cake out intact.
Q: Can I make this dairy-free?
A: Yes, replace the cream cheese with dairy-free cream cheese (like Kite Hill or Miyoko’s) and the heavy cream with full-fat coconut cream. The texture will be slightly different, but it will still be delicious. My lactose-intolerant friends love this version.
Pin This Recipe!
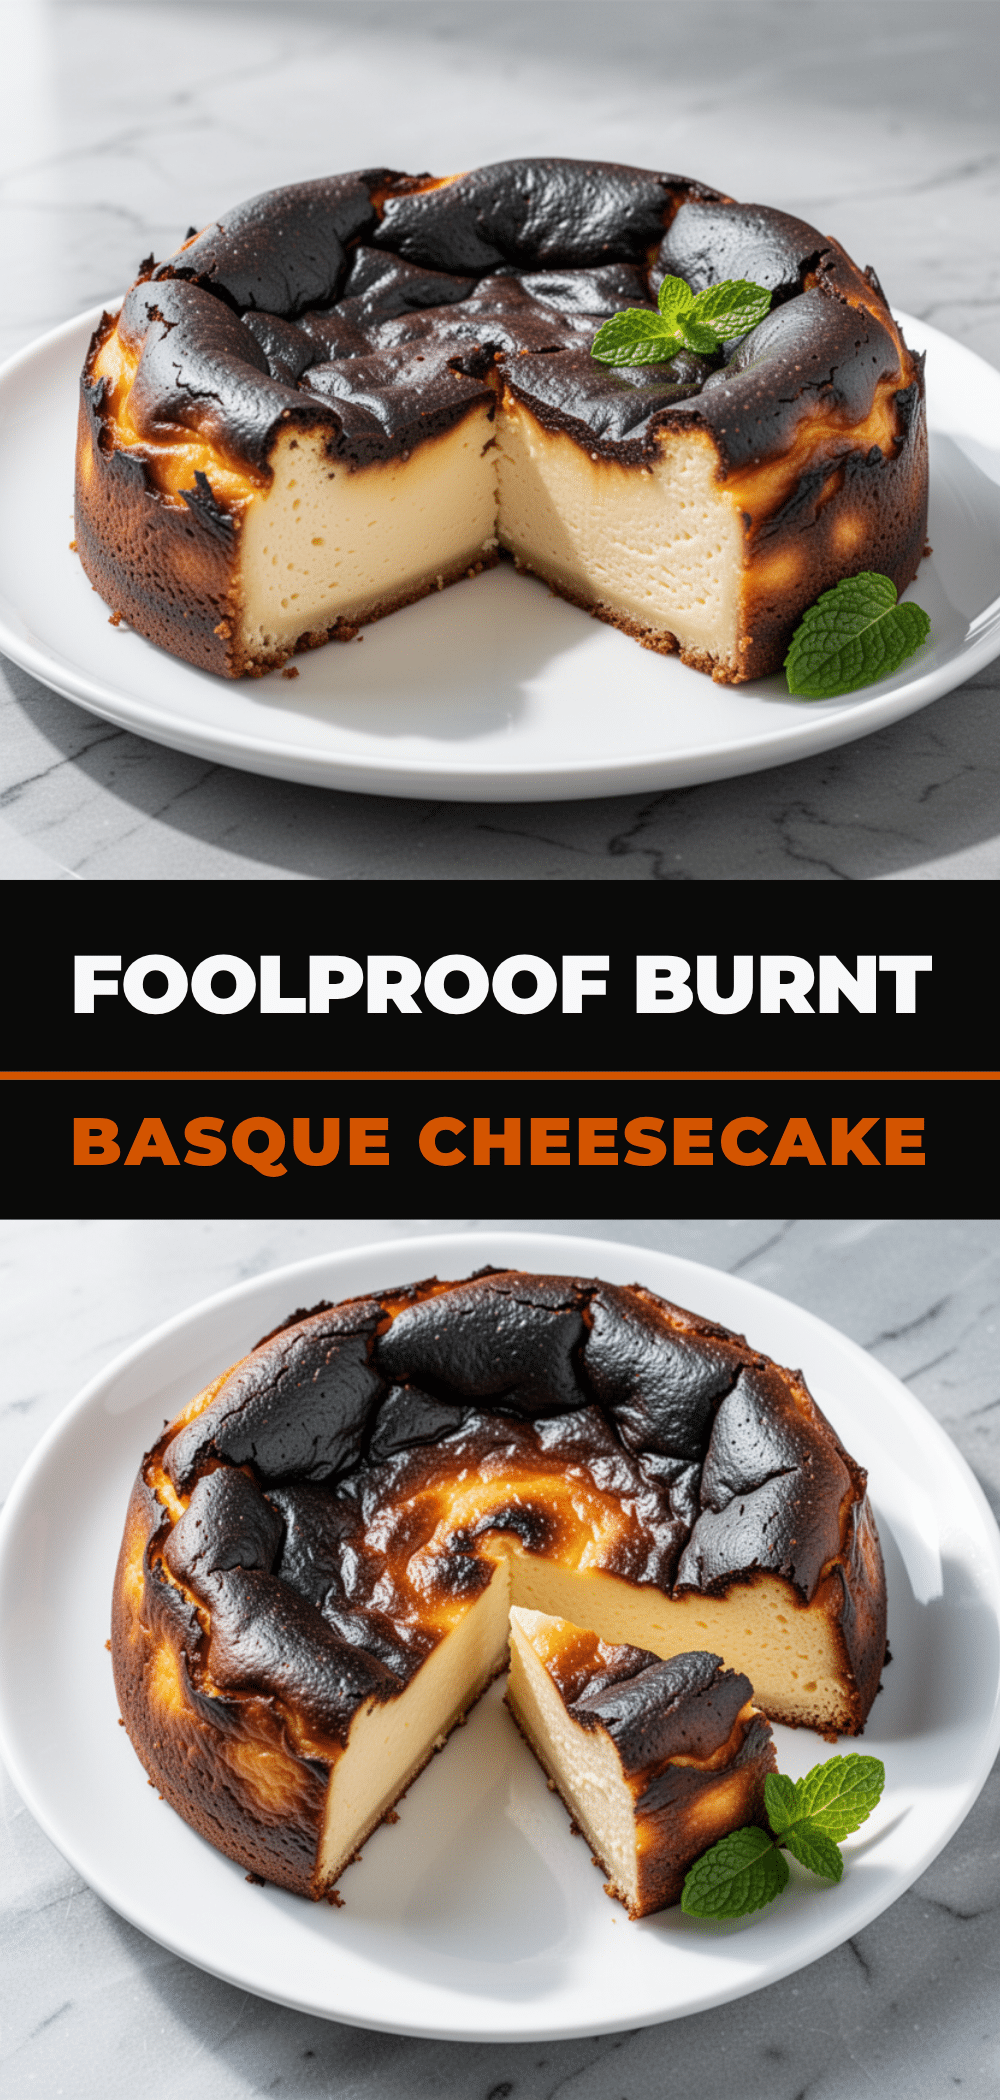
Foolproof Basque Burnt Cheesecake: The Best Easy Recipe
- Total Time: 7 hours (including cooling and chilling)
- Yield: 12 servings 1x
Description
A simple, forgiving, and delicious Basque Burnt Cheesecake that requires only five ingredients and no special tools. It features a dark, charred top and an impossibly creamy, custardy center, making it a gluten-free, restaurant-quality dessert that is easy to make ahead.
Ingredients
- 32 oz (900g) full-fat block cream cheese, softened
- 1 cup (200g) granulated sugar
- 5 large eggs, room temperature
- 1 cup (240ml) heavy cream (heavy whipping cream)
- 1 teaspoon vanilla extract
- 1 tablespoon all-purpose flour
Instructions
- Preheat oven to 400°F (200°C). Line a 9-inch springform pan with crumpled parchment paper, ensuring it covers the bottom and sides with overhang.
- In a large mixing bowl, beat the softened cream cheese and sugar together with a hand whisk until completely smooth and lump-free (about 2-3 minutes).
- Add the eggs one at a time, whisking well after each addition until just combined. Do not overmix.
- Pour in the heavy cream, vanilla extract, and flour. Whisk until the mixture is smooth and homogeneous.
- Pour the batter into the prepared pan and smooth the top with a spatula.
- Bake in the center of the preheated oven for 50-60 minutes. The edges should be puffed and deeply browned, while the center remains jiggly like Jell-O.
- Remove from the oven and let cool completely on a cooling rack at room temperature (1-2 hours). The center will sink as it cools.
- Refrigerate for at least 4 hours, preferably overnight, to set the texture.
- Run a knife around the edge to loosen, release the springform ring, and lift the cake out using the parchment overhang.
- Slice with a sharp knife (wiping between cuts) and serve chilled.
Notes
Use block cream cheese, not tub, for the best texture. Ensure cream cheese is fully softened to avoid lumps. The center should jiggle when removed from the oven; it will firm up as it cools. Do not skip the chilling time. For cleaner slices, dip the knife in hot water and wipe dry between cuts.
- Prep Time: 15 minutes
- Cook Time: 50-60 minutes
- Category: Dessert
- Cuisine: Basque
Nutrition
- Serving Size: 1 slice
- Calories: 380
- Sugar: 20
- Sodium: 220
- Fat: 32
- Saturated Fat: 19
- Carbohydrates: 22
- Protein: 6
Keywords: Basque Burnt Cheesecake, easy cheesecake, gluten-free dessert, burnt cheesecake, no water bath, creamy cheesecake, foolproof recipe



