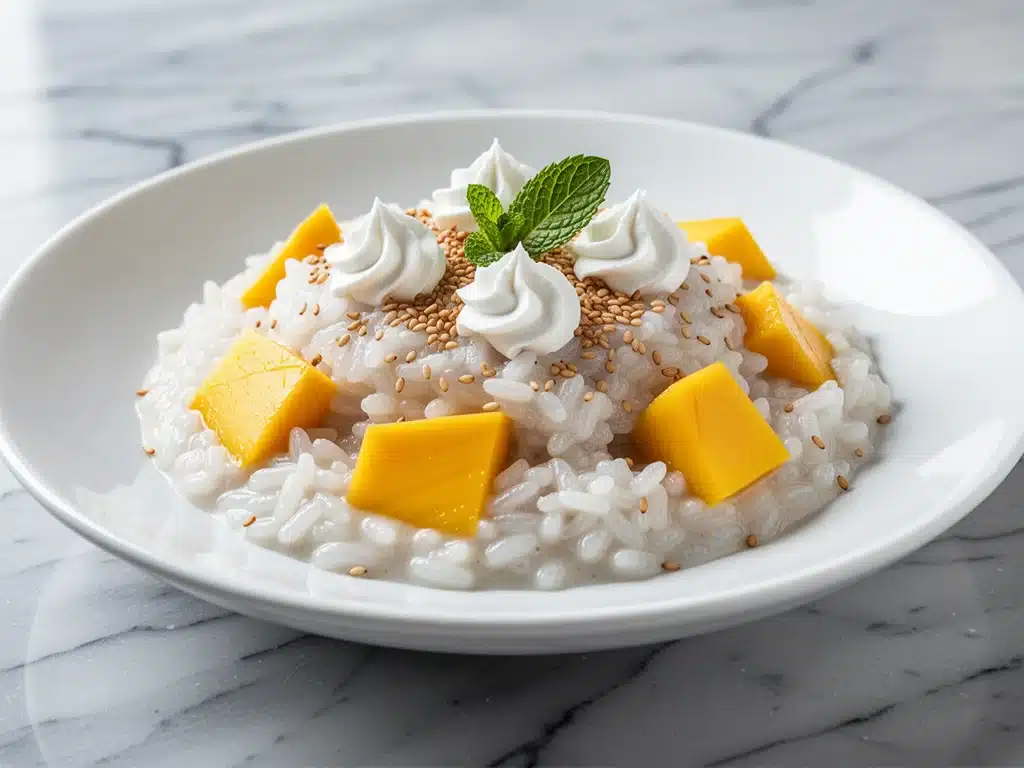
There was a rainy Sunday in November when I was feeling that specific kind of cozy melancholy—the kind that makes you crave something warm, sweet, and completely unrelated to dinner. I was staring into my fridge, looking for comfort, and instead found half a can of full-fat coconut milk and some overripe mangoes I’d been meaning to use. I didn’t have any heavy cream, and honestly, I didn’t want the heaviness of a traditional custard. I wanted something lighter, something that tasted like a vacation but felt like a hug.
So I threw together what I thought would be a quick coconut rice pudding. I wasn’t planning on it being dairy-free, but the ingredients I had dictated the recipe. I added toasted sesame seeds because I saw them in my pantry and thought, why not? It was a random, impulsive decision. But when I took that first spoonful—creamy, sweet, slightly nutty, with the bright pop of mango—it changed everything. It wasn’t just good for a “quick fix.” It was genuinely exceptional.
I’ve been making this dairy-free coconut mango sticky rice pudding for over two years now. It’s become my go-to when I need to feed a crowd with dietary restrictions without sacrificing flavor. My non-dairy-eating friends ask for the recipe. My dairy-loving kids beg for seconds. And honestly? It’s the easiest dessert I make. No complicated techniques, no weird ingredients you have to hunt down. Just simple, pantry-friendly stuff that tastes like you spent hours simmering it (even though it doesn’t take that long). If you’re looking for a dessert that’s naturally gluten-free, dairy-free, and absolutely delicious, this is the one. Trust me, once you taste it, you’ll be making it on repeat.
Why You’ll Love This Recipe
I’ve made desserts that require twelve ingredients and three separate bowls of despair. This recipe? It’s the antidote to cooking stress. Here’s why this coconut mango sticky rice pudding has earned a permanent spot in my weekly rotation:
- Actually Dairy-Free (No Fake Butter Needed) — I’m not talking about using almond milk and hoping for the best. This uses full-fat coconut milk, which gives you that rich, velvety texture you get from heavy cream, but with zero dairy. It’s naturally creamy, naturally lush, and naturally delicious. My lactose-intolerant brother says it’s better than the real thing.
- Sticky Rice Magic — If you’ve never cooked with short-grain sticky rice (also called sushi rice or glutinous rice), you’re in for a treat. It releases just enough starch to create a thick, pudding-like consistency without needing any thickeners like cornstarch or flour. It’s pure texture magic.
- Ready in Under an Hour — Seriously. From soaking to serving, it takes about 45-50 minutes of active and passive cooking. I can make this while helping my kids with homework or prepping for a dinner party. It’s not a “set it and forget it for four hours” recipe, but it’s definitely a “hands-off simmer” recipe.
- Customizable Sweetness — Some people like it sweet, some like it subtle. I love that this recipe lets you control the sugar. I usually go with about a third of a cup, but you can easily reduce it if you prefer a less sugary dessert. The natural sweetness of the mangoes does a lot of the heavy lifting.
- Make-Ahead Friendly — This actually tastes better the next day. The flavors meld together, the rice gets even creamier, and it’s perfect for meal-prepping desserts for the week. I often make a big batch on Sunday and eat it for breakfast or a snack throughout the week.
It’s the kind of dessert that feels fancy enough for guests but simple enough for a Tuesday night treat. Plus, it’s naturally gluten-free, which is a huge bonus for my family.
Ingredients You’ll Need
Here’s the best part: you probably have most of these ingredients already. This isn’t a recipe that requires a trip to three different specialty stores. It’s built on simple, whole-food ingredients that deliver big flavor.
For the Pudding Base
Short-Grain Sticky Rice (1 cup / 200g) — This is the most important ingredient. Do not use jasmine rice or basmati. You need short-grain Japanese sticky rice (often labeled as sushi rice or glutinous rice). It’s what gives the pudding that chewy, sticky texture. I buy mine in bulk bins to save money.
Full-Fat Coconut Milk (1 can / 400ml) — This is non-negotiable. Do not use “light” coconut milk or coconut beverage from a carton. You need the thick, creamy stuff from a can. Shake the can well before opening. If you can, buy the ones that don’t have added gums or stabilizers. The fat content is what makes it creamy.
Coconut Milk (Carton) (1 cup / 240ml) — I use a carton of unsweetened coconut milk (the beverage kind) to thin out the thick canned milk and make the cooking process easier. It helps the rice absorb the liquid without becoming a solid brick of coconut.
Granulated Sugar (1/3 to 1/2 cup / 70-100g) — I start with 1/3 cup. Taste it after it’s cooked. If you want it sweeter, add more. If you’re using very sweet mangoes, stick with 1/3 cup. Coconut sugar works too and adds a nice caramel note.
Salt (1/2 teaspoon) — Yes, salt. It’s crucial. It balances the sweetness and makes the coconut flavor pop. Don’t skip it.
Vanilla Extract (1 teaspoon) — Pure vanilla, please. I use Nielsen-Massey or McCormick. It adds depth that makes it taste less like a plain rice pudding.
For the Toppings
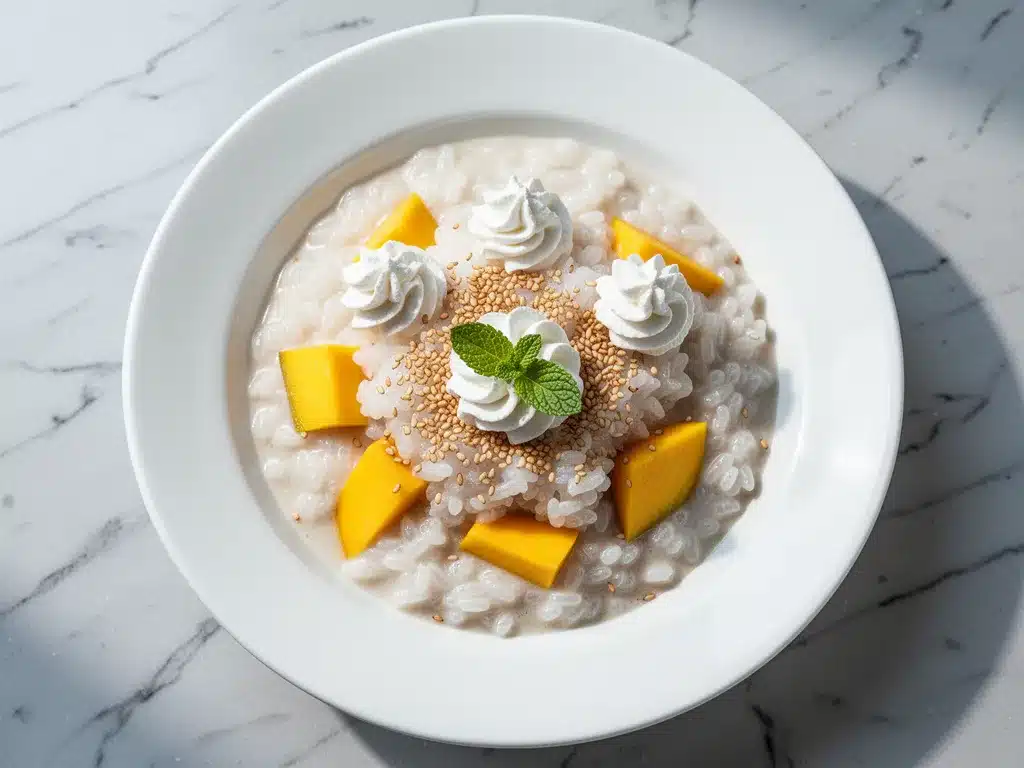
Ripe Mangoes (2 large, diced) — Look for mangoes that are fragrant and yield slightly to pressure. Ataulfo (Honey) mangoes are best because they’re less fibrous and sweeter. If you can’t find fresh mangoes, high-quality frozen mango chunks (thawed and drained) work in a pinch.
Sesame Seeds (2 tablespoons, toasted) — White or black sesame seeds both work. Toasting them is the secret step that adds a nutty, aromatic crunch that elevates the whole dish.
Coconut Flakes (Optional, for garnish) — I like to sprinkle a little toasted coconut on top for extra texture and visual appeal.
Quick Tip: If you want to make this extra special, you can add a pinch of cardamom or a strip of lemon zest to the cooking liquid. I tried it once, and it was amazing, but it’s not traditional. Stick to the basics if you’re a purist.
Equipment Needed
You don’t need fancy gadgets for this. Here’s what I actually use in my kitchen:
Medium Saucepan — I use a 3-quart heavy-bottomed saucepan. Heavy-bottomed is important because it prevents the rice from scorching on the bottom. A thin pan might get hot spots and burn the rice.
Wooden Spoon — For stirring. You’ll need to stir occasionally to prevent sticking. A silicone spatula works too, but I prefer wood.
Measuring Cups and Spoons — Standard stuff. Dollar store versions work fine.
Small Skillet — For toasting the sesame seeds. Any small pan works.
Knife and Cutting Board — For dicing the mangoes. Make sure your knife is sharp—it makes peeling and dicing the mango much easier and safer.
Serving Bowls — I love serving this in small glass bowls so you can see the layers. It looks beautiful on the table.
How to Make It: Step-by-Step
Alright, let’s make this! I’m walking you through exactly how I do it, including the little tricks I’ve picked up over the years.
Step 1: Rinse the Rice (5 minutes)
This is the most important step. Place the sticky rice in a fine-mesh strainer and rinse it under cold water. Keep rinsing until the water runs clear. This removes excess surface starch that can make the pudding gluey instead of creamy. I usually rinse it for about 3-4 minutes. It’s tedious, but it makes a huge difference in the final texture.
Step 2: Soak the Rice (15-30 minutes)
While the rice rinses, place it in your saucepan and cover it with the coconut milk from the carton (1 cup) and enough water to cover the rice by about an inch. Let it soak for 15-30 minutes. This helps the grains cook more evenly and reduces the overall cooking time. If you’re in a rush, you can skip this, but the rice might take a few minutes longer to cook.
Step 3: Cook the Rice (20-25 minutes)
Drain the soaking water (keep the rice in the pot). Add the canned coconut milk, sugar, and salt to the pot. Turn the heat to medium-high and bring it to a simmer. Once it starts bubbling, reduce the heat to low. Cover the pot with a tight-fitting lid. Let it simmer gently for 20-25 minutes, stirring occasionally (about every 5 minutes) to prevent sticking. The rice is done when the grains are tender and creamy, and most of the liquid has been absorbed. If there’s still too much liquid, uncover and cook for a few more minutes.
Step 4: Add Vanilla and Rest (10 minutes)
Once the rice is cooked and creamy, remove the pot from the heat. Stir in the vanilla extract. Cover the pot again and let it rest for 10 minutes. This allows the rice to absorb the remaining liquid and the flavors to meld. The pudding will thicken as it cools slightly.
Step 5: Toast the Sesame Seeds (2 minutes)
While the rice rests, heat a small skillet over medium-low heat. Add the sesame seeds. Stir constantly for 1-2 minutes until they are fragrant and lightly golden. Be careful—they burn quickly! Watch them closely. Pour them onto a plate to cool.
Step 6: Assemble and Serve
Divide the warm pudding among serving bowls. Top with diced fresh mangoes and a generous sprinkle of toasted sesame seeds. Add a little extra coconut flakes if you’re feeling fancy. Serve warm or at room temperature. It’s delicious either way.
Visual Cue: The finished pudding should look glossy and creamy, with distinct but tender grains. It shouldn’t be soupy, but it also shouldn’t be dry. If it’s too thick, you can stir in a splash more coconut milk.
Expert Tips & Tricks
Here’s everything I’ve learned from making this dozens of times. These tips will save you from my mistakes.
Don’t Skip the Rinse
I used to skip rinsing the rice to save time. Big mistake. The pudding became gluey and unpleasant. Rinsing until the water is clear is non-negotiable for the right texture.
Use Full-Fat Coconut Milk
Light coconut milk will result in a thin, watery pudding. You need the fat for creaminess. If you’re out of canned coconut milk, you can use coconut cream diluted with a little water, but canned milk is easiest.
Stir, Don’t Walk Away
While this is mostly hands-off, you need to stir it every 5 minutes or so. The starch settles to the bottom and can burn. If you walk away for 20 minutes, you’ll have a scorched bottom and a ruined dessert. Set a timer.
Toast the Seeds Properly
Raw sesame seeds have a bland, grassy taste. Toasting them brings out a nutty, rich flavor that contrasts beautifully with the sweet rice. Don’t rush this step, but don’t neglect it either.
Adjust Sweetness to Taste
Every batch of coconut milk and mango is different. Taste the pudding before you add all the sugar. Start with less, taste, and add more if needed. It’s easier to add sugar than to remove it.
Variations & Substitutions
Once you’ve nailed the basic version, here’s how you can mix it up. I’ve tried all of these.
Tropical Twist
Add 1/2 cup of diced pineapple or passion fruit pulp to the cooked rice. It adds a bright, tangy contrast to the rich coconut. This is my favorite variation for summer.
Matcha Green Tea
Whisk 1 teaspoon of culinary-grade matcha powder into the coconut milk before cooking. It adds a beautiful green color and a subtle earthy flavor. It’s surprisingly delicious.
Chocolate Chip
Stir in 1/2 cup of dairy-free chocolate chips in the last 5 minutes of cooking. The chips will melt slightly and create pockets of chocolate. Perfect for chocolate lovers.
Banana Version
Slice ripe bananas and layer them on top of the pudding instead of mango. Drizzle with a little maple syrup. It’s comforting and nostalgic.
Gluten-Free Note:
This recipe is naturally gluten-free, but always check your rice and coconut milk labels to ensure they’re processed in a gluten-free facility if you have celiac disease.
Dairy-Free Note:
This recipe is completely dairy-free. No butter, no cream, no milk. Just coconut and rice.
Serving & Storage
This pudding is versatile in how you can serve it. Here’s how I enjoy it:
How to Serve:
I usually serve it warm, straight from the pot. It feels cozy and comforting. But it’s also great at room temperature or even chilled. If you serve it chilled, the texture becomes firmer and more like a rice pudding cake. Both are delicious.
Side Dishes:
This is a dessert, so it doesn’t really need sides. But if you’re having a tropical-themed dinner, it pairs well with grilled chicken or fish. The sweet and savory contrast is nice.
Storage Instructions:
Store leftovers in an airtight container in the refrigerator for up to 5 days. The pudding will thicken as it cools, which is normal. To reheat, add a splash of coconut milk or water and microwave in 30-second intervals, stirring between each, until warm and creamy.
Freezing:
You can freeze this pudding, but the texture might change slightly. The rice might become a bit softer upon thawing. I usually freeze it in individual portions for easy snacking. Thaw in the fridge overnight and reheat gently.
Pro Tip:
If you’re making this for a dinner party, make it a day ahead. It tastes even better the next day, and it saves you time on the day of the party. Just reheat it gently before serving.
Nutrition Information
I’m not a nutritionist, but here’s the breakdown if you’re tracking. Please note that these values are estimates and can vary based on the specific brands and amounts of ingredients you use.
Per Serving (based on 6 servings):
- Calories: 280
- Protein: 4g
- Carbs: 48g
- Fiber: 2g
- Sugar: 22g
- Fat: 10g
- Saturated Fat: 8g
- Cholesterol: 0mg
- Sodium: 120mg
What’s Good:
It’s naturally dairy-free and gluten-free. It provides some healthy fats from the coconut milk. It’s a good source of energy from the rice.
What to Know:
It’s higher in carbohydrates and sugar, so keep portions in mind if you’re watching your intake. The sugar content can be reduced by using less added sugar and relying on the natural sweetness of the mangoes.
Final Thoughts
So that’s my dairy-free coconut mango sticky rice pudding! I’ve probably talked your ear off at this point, but when you make a recipe this often, you have a lot to say about it. This has become my go-to dessert when I want something that feels indulgent but is also relatively healthy and easy to make. My kids are happy, my friends with dietary restrictions are happy, and I’m happy because I’m not stressed about cooking.
Make it yours! Try different fruits, add different spices, or change up the toppings. The best recipes are the ones you adapt to your family’s tastes. If you make this, drop a comment and let me know what you think! I love hearing how recipes turn out in your kitchen. And if something doesn’t work, tell me that too—I’m here to help troubleshoot.
Happy cooking! And I hope your kitchen smells half as good as mine does right now.
Frequently Asked Questions
Can I use jasmine rice instead of sticky rice?
You can, but the texture will be different. Jasmine rice is long-grain and fluffy, so the pudding will be less creamy and sticky. It will still taste good, but it won’t have that traditional sticky rice pudding consistency. If you must use jasmine rice, you might need to add a bit more coconut milk and cook it a little longer.
Why is my pudding too watery?
This usually happens if you didn’t cook it long enough or if you used too much liquid. Make sure you simmer it on low heat until the rice is tender and the liquid has been mostly absorbed. If it’s still watery after the rice is cooked, you can uncover the pot and let it simmer for a few more minutes to reduce the liquid.
Can I make this ahead of time?
Yes! This pudding actually tastes better the next day. Make it up to 2 days ahead and store it in the fridge. Reheat it gently with a splash of coconut milk before serving. It’s perfect for meal prep.
Can I use coconut cream instead of coconut milk?
You can, but it will be very rich and thick. If you use coconut cream, dilute it with a little water or coconut milk beverage to get the right consistency. You might also need to add a bit more water to the cooking liquid to prevent the pudding from becoming too dense.
How do I toast sesame seeds without burning them?
Use low heat and stir constantly. Sesame seeds burn quickly because they’re small and oily. Heat your skillet on medium-low, add the seeds, and keep them moving with a spatula. They’re done when they’re fragrant and lightly golden, which should take about 1-2 minutes. If you see smoke, they’re burning.
Can I add other fruits to this recipe?
Absolutely! Berries, peaches, or even cooked apples work well. Just make sure the fruit is not too watery, or it might make the pudding soggy. Fresh mango is best because it’s firm and sweet, but feel free to experiment.
Pin This Recipe!
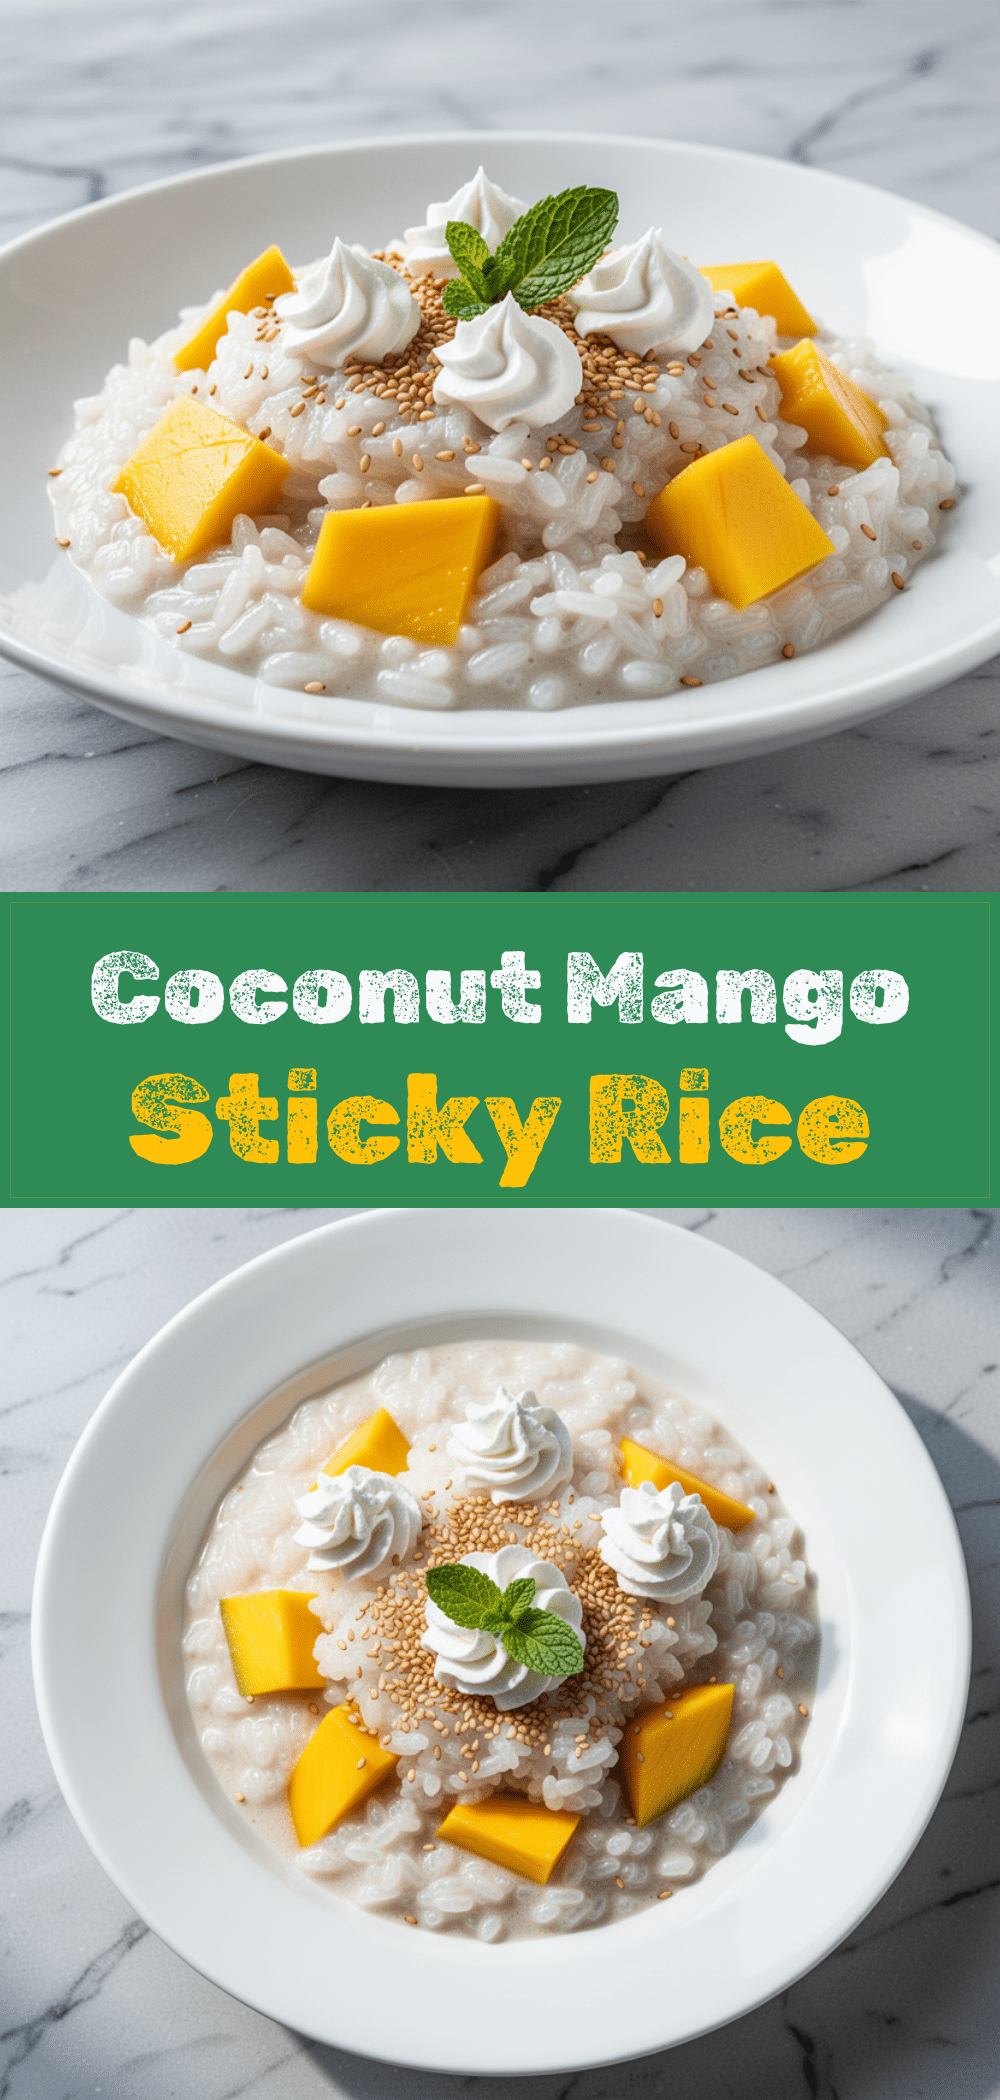
Dairy-Free Coconut Mango Sticky Rice Pudding
- Total Time: 45 minutes
- Yield: 6 servings 1x
Description
A creamy, naturally dairy-free and gluten-free dessert made with short-grain sticky rice, full-fat coconut milk, and fresh mangoes. This easy-to-make pudding is perfect for meal prep and feels indulgent yet wholesome.
Ingredients
- 1 cup (200g) short-grain sticky rice (sushi or glutinous rice)
- 1 can (400ml) full-fat coconut milk
- 1 cup (240ml) unsweetened coconut milk beverage (from carton)
- 1/3 to 1/2 cup (70-100g) granulated sugar (or coconut sugar)
- 1/2 teaspoon salt
- 1 teaspoon pure vanilla extract
- 2 large ripe mangoes, diced
- 2 tablespoons sesame seeds, toasted
- Toasted coconut flakes (optional, for garnish)
Instructions
- Rinse the sticky rice in a fine-mesh strainer under cold water for 3-4 minutes until the water runs clear to remove excess starch.
- Place the rinsed rice in a medium saucepan. Add the 1 cup of carton coconut milk and enough water to cover the rice by about an inch. Let soak for 15-30 minutes.
- Drain the soaking water, keeping the rice in the pot. Add the canned full-fat coconut milk, sugar, and salt.
- Turn heat to medium-high and bring to a simmer. Once bubbling, reduce heat to low, cover with a tight-fitting lid, and simmer gently for 20-25 minutes, stirring every 5 minutes to prevent sticking.
- Cook until rice is tender and most liquid is absorbed. Remove from heat and stir in vanilla extract. Cover and let rest for 10 minutes to thicken.
- While rice rests, toast sesame seeds in a small skillet over medium-low heat for 1-2 minutes until fragrant and golden. Set aside to cool.
- Divide warm pudding among serving bowls. Top with diced mangoes and toasted sesame seeds. Serve warm or at room temperature.
Notes
Do not skip rinsing the rice, as it prevents a gluey texture. Use full-fat canned coconut milk for creaminess; light milk will result in a watery pudding. Stir occasionally to prevent scorching. The pudding thickens as it cools and tastes even better the next day. Store in an airtight container in the refrigerator for up to 5 days.
- Prep Time: 20 minutes
- Cook Time: 25 minutes
- Category: Dessert
- Cuisine: Asian
Nutrition
- Serving Size: 1 bowl
- Calories: 280
- Sugar: 22
- Sodium: 120
- Fat: 10
- Saturated Fat: 8
- Carbohydrates: 48
- Fiber: 2
- Protein: 4
Keywords: dairy-free, gluten-free, coconut rice pudding, mango dessert, sticky rice, vegan dessert, easy dessert, meal prep



