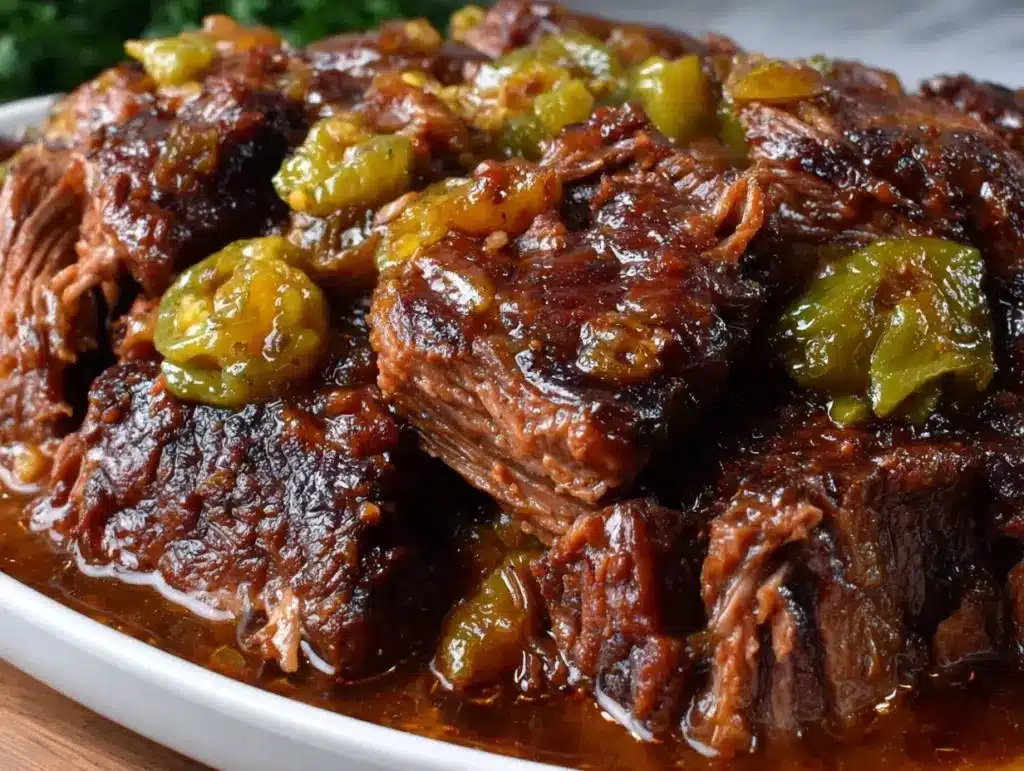
Last Sunday, I stood in my kitchen with four glass containers lined up on the counter, staring at a slow cooker that had just finished its work. It wasn’t just dinner; it was my entire work week sorted out in one go. I pulled the lid off, and the smell of au jus, pepperoncini, and melted butter hit me like a warm hug. I knew right then that this wasn’t just a Friday night treat—it was going to be my secret weapon for Tuesday and Wednesday when I’m too tired to think.
If you’ve been following my meal prep journey, you know I’m all about efficiency without sacrificing flavor. I don’t believe in spending my Sunday night sweating over the stove for hours. I believe in setting it and forgetting it, then reaping the rewards all week long. That’s exactly why I’m sharing this Crockpot Mississippi Pot Roast for meal prep. It’s the ultimate “make it once, eat it four times this week” recipe. The meat gets so tender it falls apart with a fork, the gravy is rich and savory, and it reheats perfectly without turning into a dry, chewy mess.
I’ve tested this specific method for portioning and storing over the last month, tweaking the liquid ratios so the meat doesn’t get soggy in the fridge. The result? Four distinct, restaurant-quality meals that take less than five minutes to heat up. Whether you’re a busy parent, a working professional, or just someone who wants to reclaim their weeknights, this method changes the game. Let’s get that slow cooker going.
Why This Recipe is a Meal Prep Game-Changer
There are about a dozen reasons I keep making this for my weekly prep, but here are the big ones that actually matter when you’re trying to stay organized.
Incredibly Forgiving — Seriously, you can’t mess this up. If you leave it on low for an extra hour, it’s better. If you forget to drain the pepperoncini juice, it’s still delicious. I’ve accidentally left this on the “warm” setting for six hours after work, and it was still perfect. That’s the kind of reliability you need when your schedule is chaotic.
Freezes Like a Dream — Most pot roast recipes separate or get grainy when frozen. Not this one. The high fat content from the butter and cheese packet keeps the meat moist even after thawing. I prep three days’ worth in the fridge and freeze one portion for a “emergency” day when I’m working late. It thaws in the fridge overnight and reheats just like fresh.
Zero Active Cooking Time — You have about 10 minutes of hands-on time. That’s it. Chop the onions, dump everything in the pot, turn it on, and go live your life. I usually start this while I’m getting dressed in the morning or right after I drop the kids at school. It’s the ultimate low-effort, high-reward dinner.
Versatile Leftovers — This is the best part. By Wednesday, I’m not eating the same plate of roast and potatoes four days in a row. I turn the leftovers into sandwiches, stir them into mashed potatoes, or use them to fill cozy fall chicken and dumplings style bowls. The meat is so flavorful it works as a main, a sandwich filling, or a topping.
Budget-Friendly — Chuck roast is one of the most affordable cuts of beef, especially when you buy it in bulk. This recipe feeds 6-8 people easily. If you calculate the cost per meal, it’s significantly cheaper than takeout and healthier too. I love that I’m saving money while eating better.
This is my go-to when I need dinner to just work. No complicated techniques, no last-minute grocery runs, just reliable, delicious food that makes everyone happy.
Ingredients You’ll Need
Here’s the best part: you probably have most of this already, or it’s a quick stop at the grocery store. I’m particular about a few things here, so pay attention to the details.
For the Roast
Chuck Roast (3-4 pounds / 1.5-2 kg) — This is the star. Look for one with good marbling (white streaks of fat). That fat renders down during the long cook, keeping the meat juicy. Ask your butcher to trim the excess hard fat, but leave some. I always use a boneless chuck roast for easier slicing later.
Yellow Onion (1 large, sliced / about 200g) — Slices it up. Don’t dice it; you want distinct pieces that caramelize slightly. Yellow onions give a sweet, savory base. White onions are too sharp for this long cook.
Pepperoncini Peppers (1 jar / 14 oz) — This is the “Mississippi” secret. You need the peppers AND the juice. I use the ones in brine, not vinegar. The brine adds that tangy, salty kick that cuts through the richness. If you can’t find pepperoncini, banana peppers work in a pinch, but pepperoncini is authentic.
The Seasoning Packets
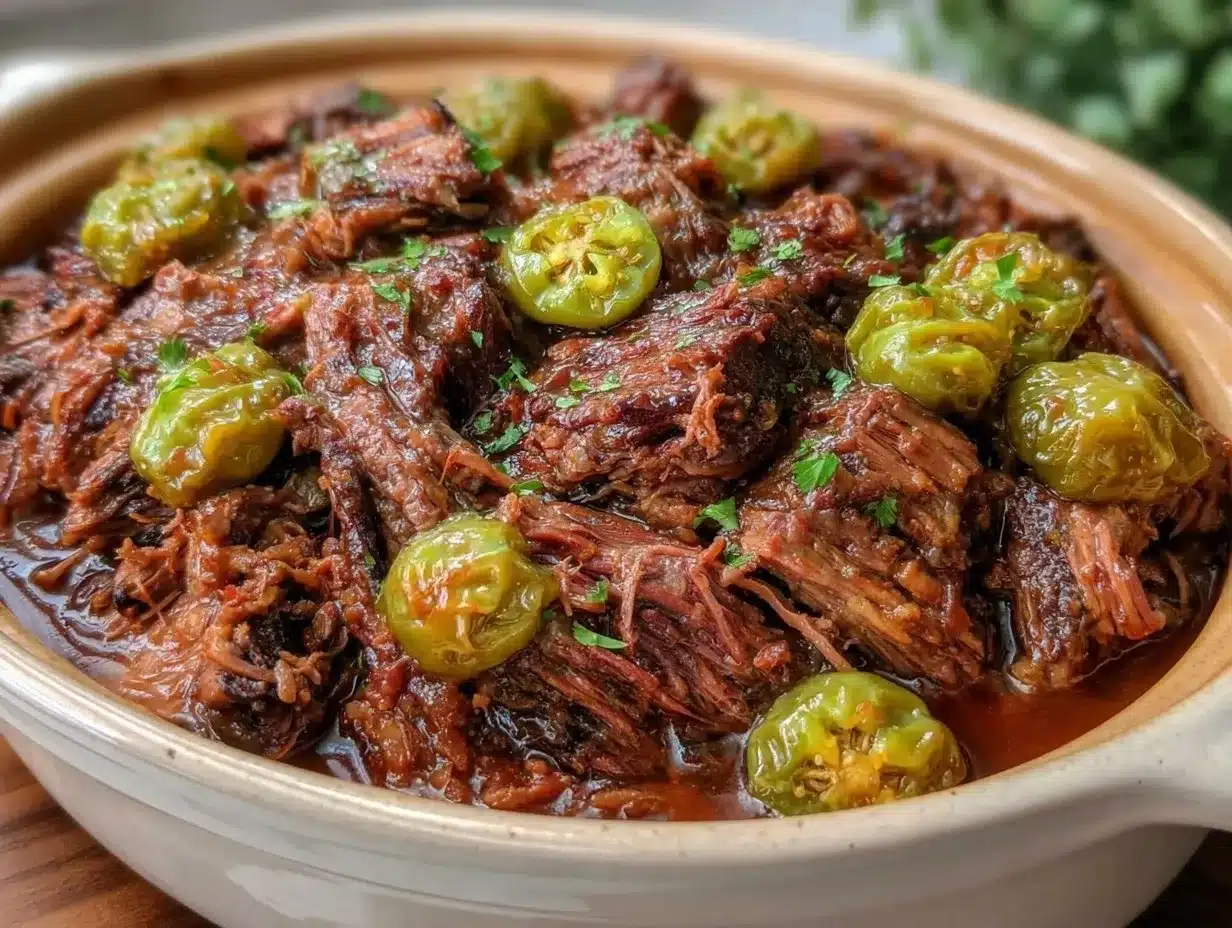
Ranch Seasoning Packet (1 packet / 1 oz) — I use Hidden Valley or any standard dry ranch mix. It adds garlic, onion, and herby flavor. If you’re watching sodium, look for a low-sodium version, but the regular one is what makes the flavor profile classic.
Italian Dressing Seasoning Packet (1 packet / 1 oz) — Or use 2 tablespoons of your favorite Italian seasoning blend. This adds oregano, basil, and thyme. It balances the ranch perfectly. I keep a stash of these packets in my pantry specifically for slow cooker recipes.
Butter (½ cup / 113g) — Yes, half a cup of butter. It sounds like a lot, but it melts into the au jus, creating that rich, glossy gravy. Use unsalted butter so you can control the salt, but if you only have salted, just reduce the salt in your sides. I use high-quality European butter if I can find it—it tastes richer.
Gravy Gravy Mix (1 packet / 1.5 oz) — This is optional but recommended for thicker gravy. I use the brown gravy mix from the soup aisle. It helps bind the juices into a proper sauce. If you prefer a thinner jus, skip this, but I think it makes the meal prep portions more cohesive.
For Serving
Starches — I love serving this over garlic parmesan soft breadsticks for dipping, or with mashed potatoes, rice, or egg noodles. I usually prep the starches fresh each day, but you can prep them ahead too.
Vegetables — Green beans, roasted broccoli, or a simple side salad. The roast is heavy, so I like a crisp, fresh vegetable to balance the plate.
Equipment Needed
You don’t need fancy equipment for this. Here’s what I actually use.
6-Quart Slow Cooker — I use a Crock-Pot brand. It needs to be big enough to hold the roast comfortably without crowding. If your roast is huge, you might need a 7-quart. I prefer the oval shape for roasts.
Sharp Chef’s Knife — For slicing the onions. A dull knife makes you cry more—learned this the hard way.
Large Cutting Board — Any size works. I use plastic for easier cleanup.
Measuring Spoons — For the butter and any extra seasoning. Dollar store versions work fine.
Meal Prep Containers — I use 4-cup glass containers with tight-fitting lids. Glass is better than plastic because it doesn’t stain from the beef jus and reheats evenly. I have a stack of these from IKEA.
Aluminum Foil — For wrapping the roast initially if you want to keep it warm before portioning, or for freezing.
How to Make It: Step-by-Step
Alright, let’s make this! I’m walking you through exactly how I do it, including the little tricks I’ve picked up for meal prep success.
Step 1: Prep the Roast (5 minutes)
Take your chuck roast out of the fridge and let it sit for 15 minutes while you chop. Pat it dry with paper towels. This helps the seasoning stick. If the roast is very thick, you can score it lightly with a knife to help the flavors penetrate, but it’s not necessary.
Step 2: Layer the Aromatics (2 minutes)
Slice the onion into half-moons. Place half of the onions in the bottom of your slow cooker. This creates a bed for the roast so it doesn’t stick to the bottom. Place the roast on top of the onions.
Step 3: Add the Seasonings (2 minutes)
Pour the entire packet of ranch seasoning and the entire packet of Italian seasoning over the roast. Don’t rub it in yet; let it sit on top. Then, pour the jar of pepperoncini peppers and their juice over the meat. Finally, place the half cup of butter on top. The butter will melt and distribute as it cooks.
Step 4: Slow Cook (8-10 hours)
Cover and cook on LOW for 8-10 hours. Do not cook on HIGH if you want the best texture for meal prep. Low and slow breaks down the collagen properly, making the meat tender but not mushy. If you’re short on time, HIGH works for 6 hours, but the texture won’t be quite as consistent.
Step 5: Shred and Rest (10 minutes)
Once done, remove the roast to a cutting board. Let it rest for 5 minutes. This allows the juices to redistribute. While it rests, skim off some of the excess fat from the top of the cooking juices if you want a lighter gravy. If you’re using the gravy mix, whisk it with ½ cup of cold water and stir it into the slow cooker juices, then turn it to HIGH for 5 minutes to thicken.
Step 6: Shred the Meat
Use two forks to shred the beef. Pull it apart into bite-sized chunks. Discard any large pieces of hard fat you don’t like. Return the shredded meat to the slow cooker and toss it with the au jus.
Step 7: Portion for Meal Prep
Divide the meat and juices evenly into your glass containers. Aim for about 1 cup of meat and ¼ cup of juice per container. Let them cool completely to room temperature before putting them in the fridge. This prevents condensation, which can make the meat soggy.
Total Time: About 10 minutes active, 8-10 hours passive.
Expert Tips & Tricks
Here’s everything I’ve learned from making this dozens of times. These tips will save you from my mistakes.
Don’t Skip the Resting Step
I know it’s tempting to shred it immediately, but resting the meat for 5-10 minutes makes it easier to handle and keeps it juicier. If you shred it hot, it loses more juice into the pot, leaving the meat drier.
Control the Salt
Ranch and Italian seasoning packets can be salty. If you’re watching sodium, taste the au jus before adding extra salt. Usually, you don’t need it. If you want more flavor, add black pepper or a splash of Worcestershire sauce.
Freeze in Single Servings
If you’re freezing, portion it into single-serving containers. That way, you’re not thawing a giant block of meat for one meal. Label them with the date. They last 3 months in the freezer.
Thicken the Gravy
If you want a thicker gravy for your meal prep, mix 1 tablespoon of cornstarch with 2 tablespoons of cold water. Stir it into the slow cooker juices on the last 30 minutes of cooking. It thickens beautifully without changing the flavor.
Reheat Gently
When reheating, add a splash of water or beef broth to the container before microwaving. This creates steam and keeps the meat moist. Cover it loosely with a paper towel to prevent splattering.
Variations & Substitutions
Once you’ve nailed the basic version, here’s how you can mix it up. I’ve tried all of these.
Low-Carb Version
Skip the starches. Serve this over cauliflower rice or zucchini noodles. The meat and gravy are naturally low-carb, so you’re just swapping the side. I love this with cozy fall roasted red pepper and smoked gouda soup on the side for a complete low-carb meal.
Spicy Kick
Add a teaspoon of cayenne pepper or a diced jalapeño to the slow cooker. It adds a nice heat that cuts through the richness. Great if you like your food with a bit of a zing.
Mushroom Lover’s
Sauté 8oz of sliced mushrooms with the onions before adding the roast. Cook until golden brown. Adds earthiness and makes it feel fancier.
Dairy-Free
Swap the butter for olive oil or dairy-free butter. The ranch packet usually contains dairy, so check the label or use a dairy-free ranch mix. It’s not quite the same, but still tasty.
Gluten-Free
Use gluten-free ranch and Italian seasoning packets (many brands make them). The rest of the ingredients are naturally gluten-free. I use Hidden Valley GF versions.
Serving & Storage
How to Serve:
I usually serve this straight from the container. I heat it up, plate it with a starch, and drizzle some extra au jus on top. Here are other ways I’ve enjoyed it:
Side Dishes:
- Mashed potatoes (obviously)
- Buttered egg noodles
- Steamed green beans with lemon
- Roasted carrots
Toppings Bar:
When I have guests, I put out: extra pepperoncini, chives, black pepper, and hot sauce. Everyone customizes their bowl.
Storage Instructions:
Refrigerator: Store in an airtight container for up to 4 days. The flavors actually get better after day 2.
Freezing: Store in a freezer-safe container for up to 3 months. Thaw in the fridge overnight before reheating.
Reheating: Microwave for 2-3 minutes, stirring halfway. Add a splash of water if it looks dry. Stovetop reheating is gentle and even—warm it in a saucepan over low heat with a splash of broth.
Pro tip: If you’re meal prepping for work, pack the starch and the meat separately if you’re worried about sogginess. Combine them when you heat it up.
Nutrition Information
I’m not a nutritionist, but here’s the breakdown if you’re tracking. Per serving (based on 6 servings, without starch):
| Nutrient | Amount |
|---|---|
| Calories | 380 |
| Protein | 35g |
| Carbs | 4g |
| Fat | 24g |
| Sodium | 650mg |
What’s Good: High protein, low carb (if you skip starch). The meat is nutrient-dense.
What to Know: Higher in fat from the butter and chuck roast. Sodium is moderate to high due to the seasoning packets. Use low-sodium broth or packets to reduce.
My Take: Look, this is comfort food. It’s rich and satisfying. It’s not a diet recipe, but it’s far better than processed meals. When I want to make it lighter, I trim the visible fat from the roast and use less butter. But usually? I just enjoy a reasonable portion and balance it with veggies.
Final Thoughts
So that’s my go-to Crockpot Mississippi Pot Roast for meal prep! I’ve probably talked your ear off at this point, but when you make a recipe this often, you have a lot to say about it.
This has saved weeknight dinners more times than I can count. It’s my answer to “what’s for dinner” when I’m tired, don’t want takeout, and still want something that tastes really good. My family is happy, and I’m happy because I’m not stressed about cooking.
Make it yours! Try different add-ins, swap in your favorite vegetables, adjust the spice level. The best recipes are the ones you adapt to your family’s tastes.
If you make this, drop a comment and let me know what you think! I love hearing how recipes turn out in your kitchen. And if something doesn’t work, tell me that too—I’m here to help troubleshoot.
Happy cooking! And I hope your kitchen smells half as good as mine does right now.
Frequently Asked Questions
Can I use a different cut of meat?
You can, but chuck roast is best because of its fat content. Sirloin roast will be leaner and drier. Brisket works but takes longer to cook. Stick with chuck for the best results.
Why did my sauce turn out watery?
Pepperoncini release a lot of liquid. If you want thicker sauce, skim the fat off the top and simmer the juices on high for 10-15 minutes at the end. Or use a cornstarch slurry as mentioned in the tips.
Can I make this in an Instant Pot?
Yes! Sear the meat first, then add everything. Cook on high pressure for 60 minutes, then natural release for 15 minutes. The texture will be slightly different but still delicious.
How do I reheat it without drying it out?
Add a splash of water or broth to the container before heating. Cover it loosely and stir halfway through. This creates steam and keeps the meat moist.
Can I freeze the au jus separately?
Yes, you can freeze the jus in an ice cube tray, then transfer to a bag. It’s great for adding flavor to other dishes like mashed potatoes or gravy.
Is this recipe kid-friendly?
Most kids love it because it’s tender and savory. If they’re sensitive to the pepperoncini tang, you can pick them out or use fewer peppers. The ranch and butter make it familiar and comforting.
Can I double this recipe?
Absolutely! Double everything and use your biggest slow cooker. The cooking times stay roughly the same, but check for doneness a bit earlier. I do this when I’m meal-prepping for the whole family.
Pin This Recipe!
Crockpot Mississippi Pot Roast: 1 Pot, 4 Meals
- Total Time: 8 hours 10 minutes
- Yield: 4 servings 1x
Description
A forgiving, slow-cooker pot roast recipe designed for meal prep. This dish yields four distinct, restaurant-quality meals that reheat perfectly, featuring tender chuck roast in a rich au jus with pepperoncini and ranch seasoning.
Ingredients
- 3–4 pounds boneless chuck roast
- 1 large yellow onion, sliced into half-moons
- 1 jar (14 oz) pepperoncini peppers and juice
- 1 packet (1 oz) ranch seasoning mix
- 1 packet (1 oz) Italian dressing seasoning mix
- 1/2 cup (113g) unsalted butter
- 1 packet (1.5 oz) brown gravy mix (optional, for thicker gravy)
Instructions
- Pat the chuck roast dry with paper towels. If thick, score lightly with a knife.
- Slice the onion into half-moons and place half in the bottom of a 6-quart slow cooker to create a bed.
- Place the roast on top of the onions.
- Pour the ranch seasoning packet and Italian seasoning packet over the roast.
- Pour the pepperoncini peppers and their juice over the meat.
- Place the half cup of butter on top of the roast.
- Cover and cook on LOW for 8-10 hours (or HIGH for 6 hours if short on time).
- Remove roast to a cutting board and let rest for 5 minutes.
- Skim excess fat from the juices if desired. If using gravy mix, whisk with 1/2 cup cold water and stir into juices, cooking on HIGH for 5 minutes to thicken.
- Shred the beef using two forks, discarding large pieces of hard fat.
- Return shredded meat to the slow cooker and toss with the au jus.
- Divide meat and juices evenly into meal prep containers (approx. 1 cup meat, 1/4 cup juice per container).
- Cool completely to room temperature before refrigerating or freezing.
Notes
Do not skip the resting step; it keeps the meat juicier. If reheating, add a splash of water or broth to prevent drying out. For freezing, portion into single servings and label with the date; they last up to 3 months. The flavors improve after day 2 in the fridge.
- Prep Time: 10 minutes
- Cook Time: 8-10 hours
- Category: Main Course
- Cuisine: American
Nutrition
- Serving Size: Approximately 1 cup
- Calories: 380
- Sugar: 2
- Sodium: 650
- Fat: 24
- Saturated Fat: 12
- Carbohydrates: 4
- Fiber: 1
- Protein: 35
Keywords: crockpot, pot roast, meal prep, slow cooker, chuck roast, pepperoncini, ranch seasoning, easy dinner, freezer friendly



