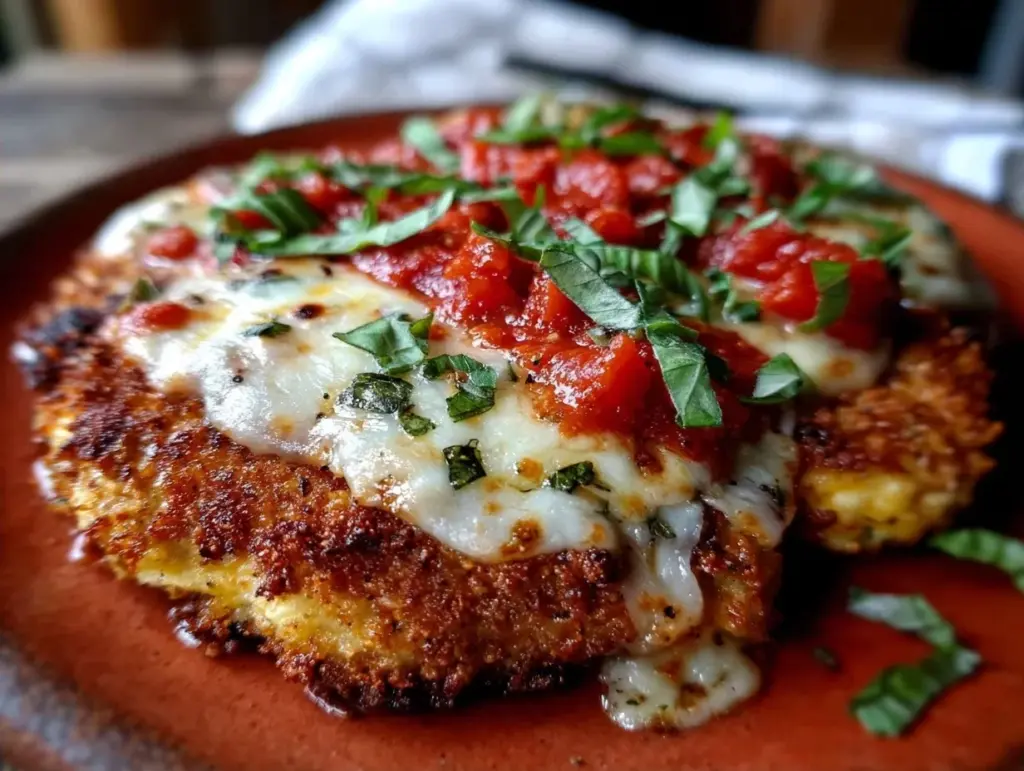
Last Saturday morning, I found my six-year-old standing on a step stool in front of the counter, wearing an apron that was two sizes too big and covered in flour. He was holding a spoon like it was a magic wand, intensely focused on mixing breadcrumbs with parmesan cheese. His tongue was poking out the corner of his mouth—the universal sign of deep concentration. When he looked up at me, flour smudged on his nose, he beamed and said, “Look, Mom! I made the crunchy part. Now we get to dip the chicken.”
That moment is exactly why I’m sharing this recipe. It’s not just about getting dinner on the table. It’s about those messy, flour-dusted mornings where cooking becomes a game. This crispy baked chicken parmesan is the recipe that turns kitchen chaos into connection. It’s the dish where my kids feel like little chefs, and I get to sit back (mostly) and watch them learn.
I’ve tried dozens of chicken parm recipes over the years. Some are too complicated for little hands. Others require deep frying, which is a safety hazard when you’re working with a toddler. But this baked version? It’s the sweet spot. It’s crispy without the oil mess, cheesy without the stress, and simple enough that my kids can help with almost every step. I’ve made this at least fifteen times in the last year, and every single time, the kids are more excited than I am. It’s become our weekend ritual, and honestly, it’s saved my sanity more than once.
If you’ve been looking for a way to get your kids interested in cooking—or just want a dinner that tastes like a restaurant favorite but feels like home—this is it. We’re going to make crispy baked chicken parmesan together, and I promise you’ll love the result as much as they love the process.
Why You’ll Love This Recipe
There are a million reasons to cook chicken parmesan, but this specific version has completely changed our weekend dynamic. Here’s why I keep coming back to it:
- Kids Actually Want to Help — Seriously. The breading station is basically a sensory play area. Mixing the crumbs, sprinkling the cheese, and dipping the chicken feels like a craft project. My daughter loves the “crunch test” where we check if the coating is thick enough before it hits the oven.
- Healthy-ish Comfort Food — Baking instead of frying cuts the fat significantly, but you don’t lose any of that crispy texture. It’s lighter, easier on my stomach, and doesn’t leave the house smelling like an oil slick. Plus, it’s a great way to sneak in protein and calcium.
- Minimal Cleanup — Since we’re baking on a sheet pan, there are no splattering pans to scrub. Just three bowls for the breading station and one baking sheet. That’s it. I can handle that after a busy week.
- Customizable for Picky Eaters — My son doesn’t like tomato sauce right now, so he dips his chicken in ranch. My daughter wants extra cheese. This recipe bends to fit your family’s mood. It’s flexible without being complicated.
- Makes Amazing Leftovers — Cold chicken parm is actually delicious. I pack mine for lunch at least twice a week. It reheats well in the oven (not the microwave, which makes it soggy) and tastes just as good the next day.
This isn’t just dinner. It’s a shared experience. It’s the recipe that gets my kids excited about cooking, and it gets me excited about family time. If you’re looking for a way to bond in the kitchen, this is the one.
Ingredients You’ll Need
Here’s the best part: you probably have most of this already in your pantry. I’m particular about three ingredients here, and I’ll tell you exactly why. We’re keeping this simple so your kids can handle it too.
For the Chicken
Chicken breasts (2 large or 4 small, pounded flat) — I use boneless, skinless chicken breasts. Pound them to about ½-inch thickness. This ensures they cook evenly and become tender. My kids love helping with this step using a meat mallet or even a rolling pin. It’s surprisingly satisfying.
Salt and pepper — To taste. Simple seasoning to start. Don’t skip this; it adds depth to the chicken itself.
For the Breading Station
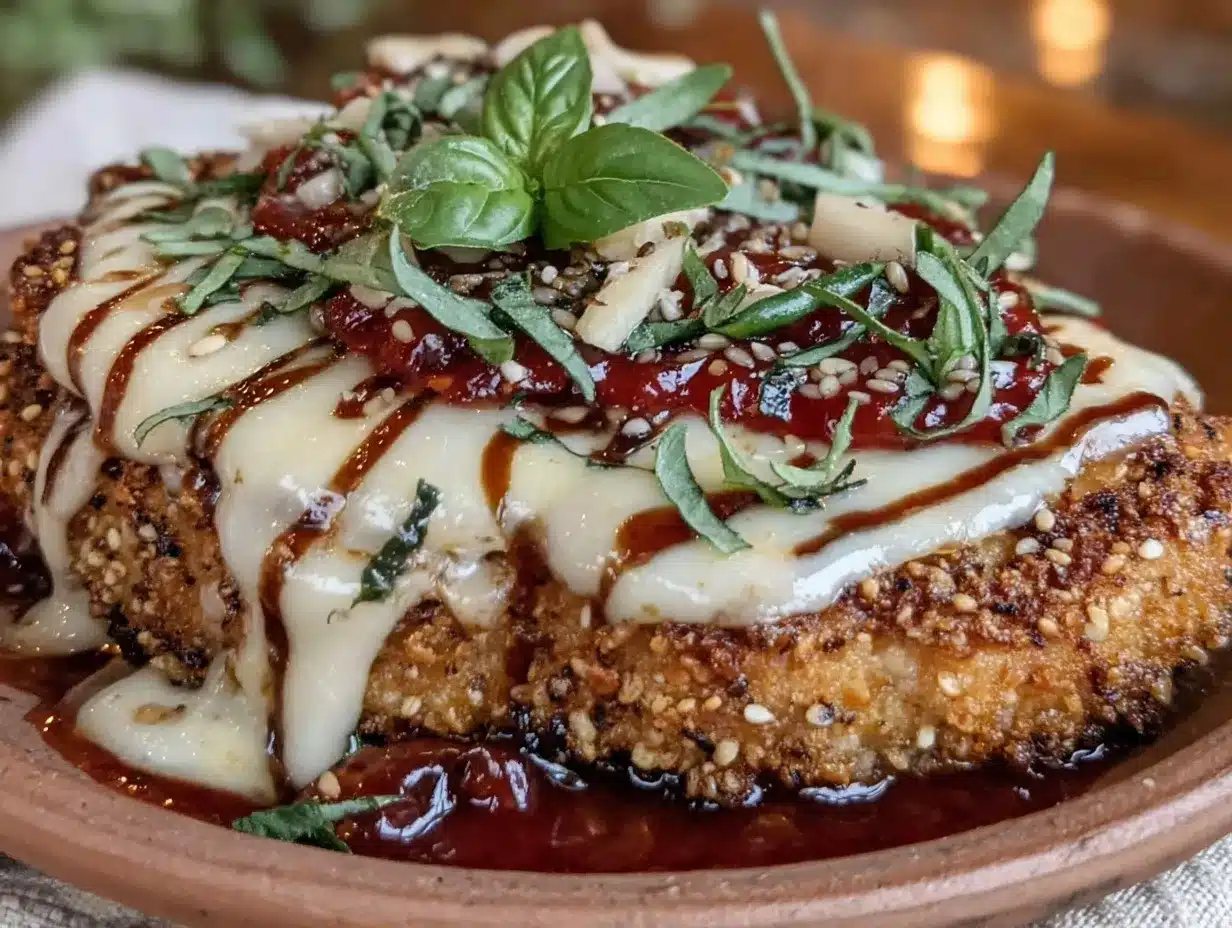
All-purpose flour (1 cup / 120g) — This helps the egg wash stick. I keep a bag in the pantry just for breading stations. It’s cheap and versatile.
Eggs (2 large) — Whisked well. This is the glue. My kids love cracking the eggs (with supervision, of course) and whisking them until they’re bright yellow.
Panko breadcrumbs (1.5 cups / 150g) — This is the secret weapon. Regular breadcrumbs are fine, but panko creates those big, shaggy, crispy bits that kids go crazy for. It’s lighter and crunchier. I buy the big bags because we use them for everything from these chicken cutlets to my garlic parmesan soft breadsticks.
Parmesan cheese (½ cup / 50g, freshly grated) — Buy a block and grate it yourself. Pre-grated cheese has anti-caking agents that prevent it from melting properly. Freshly grated parmesan adds a salty, nutty flavor that pairs perfectly with the panko. My kids think it’s magic when the cheese melts into the crumbs.
Italian seasoning (1 tablespoon) — Or a mix of dried basil, oregano, and thyme. This adds that classic Italian flavor. I use a good quality blend, but any dried herbs work.
For the Sauce and Assembly
Marinara sauce (2 cups / 480ml) — I use a high-quality jarred sauce for convenience, but homemade is great if you have time. Look for one with no added sugar. My favorite is Rao’s, but any brand you like works. This is the heart of the dish.
Low-moisture mozzarella cheese (2 cups / 200g, shredded) — Shred it yourself from a block. Pre-shredded mozzarella doesn’t melt as smoothly. You want that beautiful, stretchy cheese pull that kids love. It’s worth the extra two minutes.
Fresh basil (optional, for garnish) — Adds freshness and color. My kids usually pick these leaves off before eating, but I love the aroma.
Equipment Needed
You don’t need fancy equipment for this. Here’s what I actually use, and what my kids can handle.
Three shallow bowls or pie plates — For the breading station. I use glass pie plates because they’re stable and easy to clean. One for flour, one for egg, one for breadcrumbs. My kids love setting this up like a assembly line.
Baking sheet — Large, rimmed. I line it with parchment paper for easy cleanup. This is non-negotiable. Parchment paper saves so much scrubbing time.
Rolling pin or meat mallet — For pounding the chicken. A rolling pin is safer for kids than a mallet. Let them do the pounding; it’s therapeutic.
Whisk — For the eggs. Any size works. My kids use a small whisk, and it’s perfect.
Olive oil spray — To lightly spray the chicken before baking. This helps the breadcrumbs brown. I use a spray bottle for better control.
Optional but nice:
- Tongs — For flipping the chicken if needed. Easier than a fork.
- Pastry brush — For brushing oil on the chicken if you don’t have spray.
How to Make It: Step-by-Step
Alright, let’s make this! I’m walking you through exactly how I do it, including the little tricks I’ve picked up to keep the kids engaged and the chicken crispy.
Step 1: Prep the Chicken (10 minutes)
Start by preheating your oven to 400°F (200°C). Line a large baking sheet with parchment paper. This is a great time for your kids to help. Take the chicken breasts and place them between two sheets of plastic wrap or in a zip-top bag. Using a rolling pin or meat mallet, pound them to an even ½-inch thickness. This ensures they cook evenly and become tender. My kids love this step—it’s like a game of “how flat can we get it?” Just make sure they don’t hit too hard and tear the chicken. Supervise closely.
Step 2: Set Up the Breading Station (5 minutes)
While the chicken is pounding, set up your three bowls. In the first bowl, place the flour and season with salt and pepper. In the second bowl, whisk the eggs until smooth. In the third bowl, mix the panko breadcrumbs, grated parmesan, and Italian seasoning. My kids love mixing the crumbs and cheese—it’s a sensory delight. Let them sprinkle the cheese and herbs in and mix it up with their hands (after washing, of course).
Step 3: Bread the Chicken (10 minutes)
Now for the fun part. Take a piece of chicken and dredge it in the flour, shaking off any excess. Then dip it in the egg wash, making sure it’s fully coated. Finally, press it into the breadcrumb mixture, ensuring it’s covered on all sides. Pat the crumbs down gently so they stick. My kids love the “patting” part—it helps the crumbs adhere. Place the breaded chicken on the prepared baking sheet. Repeat with the remaining chicken. If you have small pieces of chicken, they’re perfect for little hands to handle.
Step 4: Bake the Chicken (15 minutes)
Lightly spray the top of each chicken cutlet with olive oil. This helps them brown and get crispy. Place the baking sheet in the oven and bake for 15 minutes. The chicken should be golden brown and cooked through (internal temperature of 165°F / 74°C). If your chicken pieces are thicker, you might need an extra 5 minutes. Check with a meat thermometer to be sure.
Step 5: Add the Sauce and Cheese (5 minutes)
Remove the baking sheet from the oven. Spoon a generous amount of marinara sauce over each chicken cutlet. Then, top with shredded mozzarella cheese. Return to the oven and bake for another 5 minutes, or until the cheese is melted and bubbly. This is the moment of truth. The smell alone is worth it. My kids usually start drooling by now.
Step 6: Serve and Enjoy
Remove from the oven and let cool for a minute. Garnish with fresh basil if you like. Serve immediately with spaghetti, garlic bread, or a simple green salad. My kids love dipping their chicken in the extra sauce on the side. It’s a fun, interactive way to eat.
Expert Tips & Tricks
Here’s everything I’ve learned from making this dozens of times. These tips will save you from my mistakes.
- Pound Evenly — Uneven chicken cooks unevenly. Make sure all pieces are the same thickness. This prevents dry, overcooked edges and raw centers.
- Don’t Skip the Oil Spray — Baking can dry out chicken. A light spray of oil helps the breadcrumbs crisp up like they were fried. It’s a small step with a big impact.
- Fresh Cheese Matters — Pre-shredded mozzarella has cornstarch that prevents melting. Shred your own for that perfect, stretchy melt. My kids can tell the difference.
- Use Parchment Paper — It’s worth every penny. Cleanup is instant, and you don’t have to scrub baked-on cheese off your pan. I use it for everything, including my soft no-knead artisan bread.
- Keep it Warm — If you’re baking in batches, keep the cooked chicken warm in a 200°F oven while you finish the rest. This ensures everything is hot when you serve.
Variations & Substitutions
Once you’ve nailed the basic version, here’s how you can mix it up. I’ve tried all of these.
- Turkey Version — Use turkey cutlets instead of chicken. Same process, just a leaner protein. My kids like it too, though it’s slightly drier.
- Veggie Option — Try this with eggplant slices. It’s a classic Italian combo. Just bread and bake the eggplant, then add sauce and cheese.
- Gluten-Free — Use gluten-free flour and gluten-free panko breadcrumbs. It works surprisingly well. I use Bob’s Red Mill gluten-free panko.
- Dairy-Free — Use nutritional yeast instead of parmesan and dairy-free mozzarella. It’s not the same, but it’s still tasty. My lactose-intolerant friend likes this version.
- Spicy Kick — Add red pepper flakes to the breadcrumb mixture. My son loves a little heat. Start with ½ teaspoon and adjust.
Serving & Storage
How to Serve: I usually serve this with spaghetti, but it’s also great with garlic bread, roasted vegetables, or a simple green salad. My kids love dipping their chicken in the sauce, so I always serve extra on the side.
Refrigerator: Store leftovers in an airtight container for up to 3 days. The chicken might get a bit soggy, but it’s still delicious.
Reheating: Best method: Reheat in the oven at 350°F for 10-15 minutes. This keeps the chicken crispy. Microwave works, but it makes the chicken rubbery. If you must microwave, do it in short bursts and let it rest.
Freezing: You can freeze the breaded chicken before baking. Place on a baking sheet and freeze until solid, then transfer to a freezer bag. Bake from frozen, adding 5-10 minutes to the cooking time. This is great for meal prep.
Nutrition Information
I’m not a nutritionist, but here’s the breakdown if you’re tracking. This is per serving (based on 4 servings).
- Calories: 450
- Protein: 35g
- Carbs: 30g
- Fiber: 2g
- Sugar: 5g
- Fat: 20g
- Saturated Fat: 8g
- Cholesterol: 120mg
- Sodium: 600mg
This is a protein-rich meal with good amounts of calcium from the cheese. It’s higher in calories due to the breading and cheese, but it’s a balanced meal. If you want to lighten it up, use less cheese and more vegetables on the side.
Final Thoughts
So that’s my crispy baked chicken parmesan! I’ve probably talked your ear off at this point, but when you make a recipe this often, you have a lot to say about it. This has saved weekend dinners more times than I can count. It’s my answer to “what’s for dinner” when I want something special but don’t want to stress. My kids are happy, my husband’s happy, and I’m happy because I’m not stressed about cooking.
Make it yours! Try different add-ins, swap in your favorite vegetables, or adjust the spices. The best recipes are the ones you adapt to your family’s tastes. If you make this, drop a comment and let me know what you think! I love hearing how recipes turn out in your kitchen. And if something doesn’t work, tell me that too—I’m here to help troubleshoot.
Happy cooking! And I hope your kitchen smells half as good as mine does right now.
Frequently Asked Questions
Can I use chicken thighs instead of breasts?
Yes, you can use boneless, skinless chicken thighs. They’re juicier but might need a slightly longer baking time. Just make sure they’re pounded to an even thickness. My kids love thighs because they’re more tender.
Why did my chicken come out dry?
This usually happens if the chicken is overcooked. Make sure you pound it to an even thickness and check the internal temperature. It should be 165°F (74°C). Overcooking dries it out. Also, don’t skip the oil spray—it helps keep it moist.
Can I make this ahead for a dinner party?
Sort of. You can bread the chicken and store it in the fridge for up to 24 hours. Bake it right before serving. This saves time during the party. I do this all the time when I have guests.
Why did my breadcrumbs fall off?
This usually means the chicken wasn’t coated well enough. Make sure you press the breadcrumbs into the chicken firmly. Also, ensure the egg wash is well-whisked and the chicken is fully coated. If the breadcrumbs are still falling off, try adding a little more flour to the chicken before dipping.
Can I use regular breadcrumbs instead of panko?
Yes, you can, but panko creates a crispier texture. Regular breadcrumbs work, but they’re denser. If you use regular breadcrumbs, you might need to bake them a little longer to get them crispy. I recommend panko for the best results.
How do I reheat leftovers without it getting soggy?
Reheat in the oven at 350°F for 10-15 minutes. This keeps the chicken crispy. Microwave works, but it makes the chicken rubbery. If you must microwave, do it in short bursts and let it rest.
Can I double this recipe?
Absolutely! Double everything and use two baking sheets. The cooking times stay the same. I do this when I’m meal-prepping or feeding a crowd. Just make sure your oven has enough space for both sheets.
Pin This Recipe!
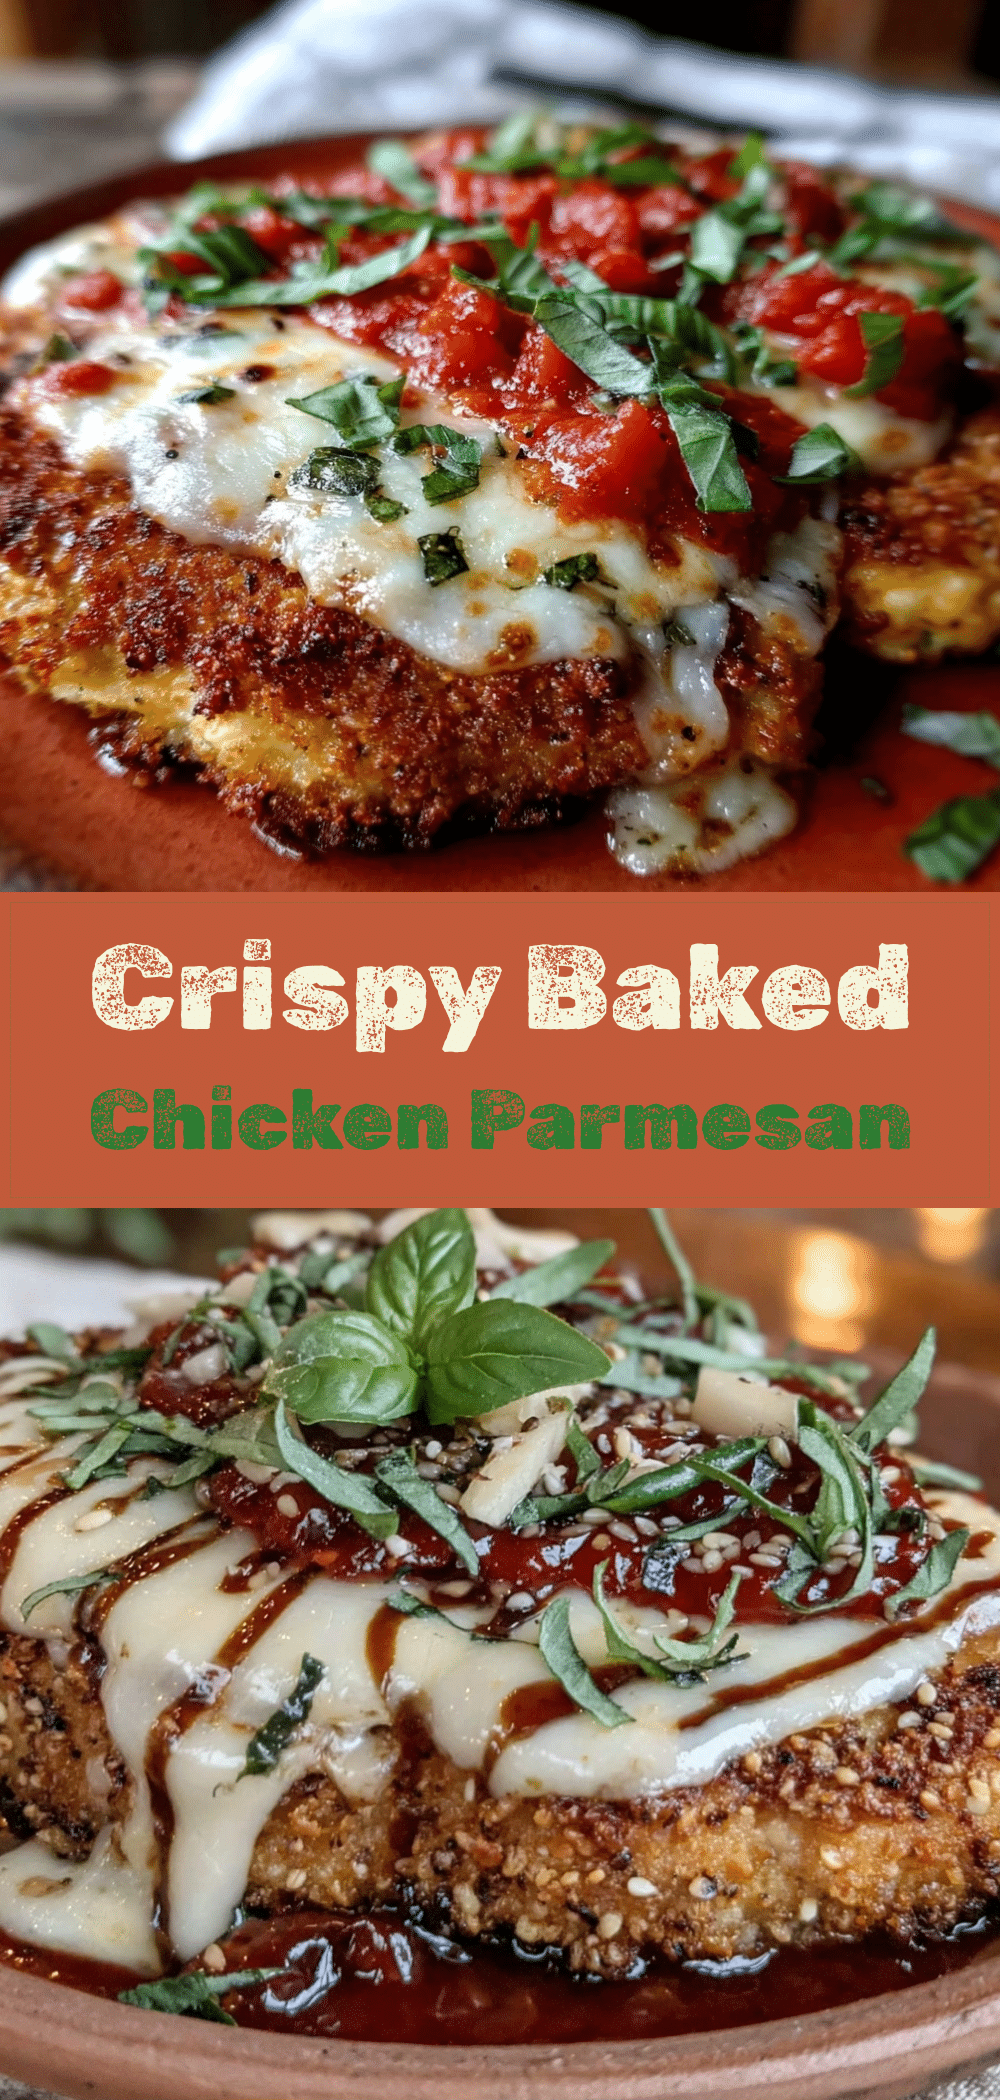
Crispy Baked Chicken Parmesan: Easy Kid-Friendly Recipe
- Total Time: 45 minutes
- Yield: 4 servings 1x
Description
A kid-friendly, baked chicken parmesan recipe that turns kitchen chaos into connection. It’s crispy without the oil mess, simple enough for children to help with, and offers a healthier alternative to traditional deep-fried versions.
Ingredients
- 2 large or 4 small boneless, skinless chicken breasts (pounded to ½-inch thickness)
- Salt and pepper (to taste)
- 1 cup all-purpose flour
- 2 large eggs (whisked)
- 1.5 cups panko breadcrumbs
- ½ cup freshly grated parmesan cheese
- 1 tablespoon Italian seasoning
- 2 cups marinara sauce
- 2 cups low-moisture mozzarella cheese (shredded)
- Fresh basil (optional, for garnish)
- Olive oil spray
Instructions
- Preheat oven to 400°F (200°C). Line a large baking sheet with parchment paper.
- Place chicken breasts between plastic wrap or in a zip-top bag and pound to an even ½-inch thickness using a rolling pin or meat mallet.
- Set up three shallow bowls: one with flour seasoned with salt and pepper, one with whisked eggs, and one with panko breadcrumbs mixed with parmesan cheese and Italian seasoning.
- Dredge each chicken piece in flour, shaking off excess. Dip into the egg wash, then press firmly into the breadcrumb mixture to coat all sides.
- Place breaded chicken on the prepared baking sheet. Lightly spray the tops with olive oil.
- Bake for 15 minutes until golden brown and cooked through (internal temperature of 165°F / 74°C).
- Remove from oven. Spoon marinara sauce over each cutlet and top with shredded mozzarella cheese.
- Return to oven and bake for another 5 minutes until cheese is melted and bubbly.
- Let cool for a minute, garnish with fresh basil if desired, and serve immediately.
Notes
Pound chicken evenly to ensure consistent cooking. Use freshly grated cheese for better melting. For leftovers, reheat in the oven at 350°F for 10-15 minutes to maintain crispiness; avoid microwaving as it makes the chicken rubbery. You can freeze the breaded chicken before baking for meal prep.
- Prep Time: 25 minutes
- Cook Time: 20 minutes
- Category: Main Course
- Cuisine: Italian
Nutrition
- Serving Size: 1 chicken cutlet wit
- Calories: 450
- Sugar: 5
- Sodium: 600
- Fat: 20
- Saturated Fat: 8
- Carbohydrates: 30
- Fiber: 2
- Protein: 35
Keywords: chicken parmesan, baked chicken, kid-friendly recipes, easy dinner, family cooking, healthy comfort food, gluten-free option



