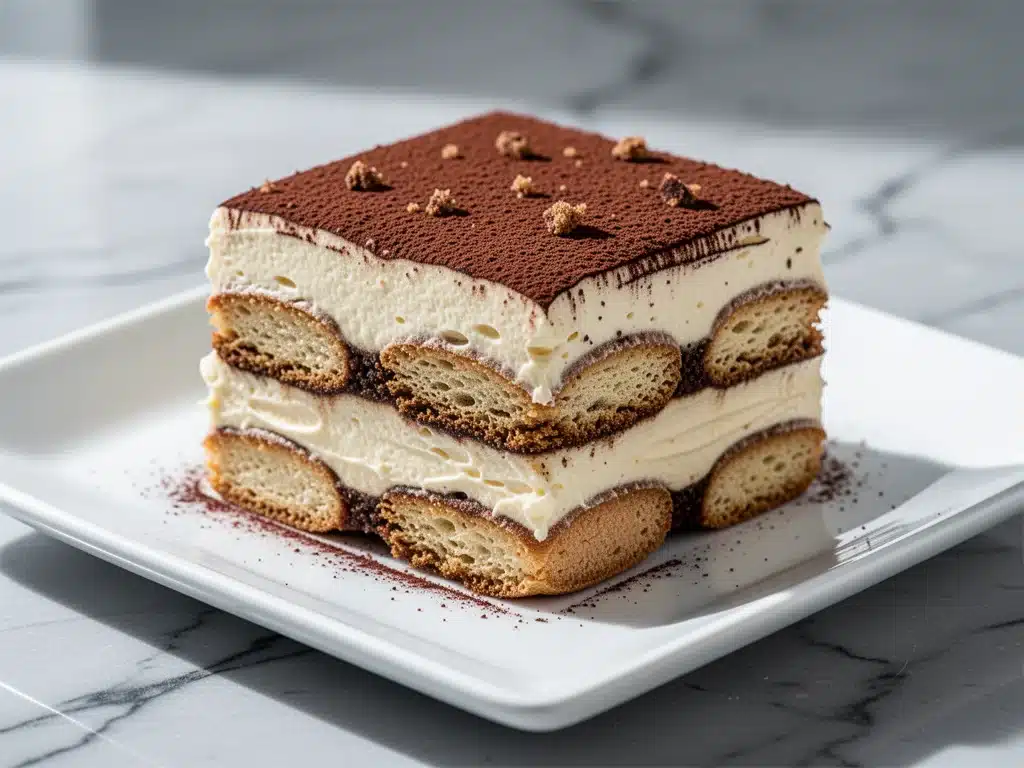
I have a confession to make. For the first three years I lived in my own apartment, I bought tiramisu from the bakery down the street every Friday. It was the little treat that got me through the work week. I’d walk in, smell the coffee and cocoa, and buy the slice before I even knew I was hungry. But here’s the thing: store-bought tiramisu is rarely the real deal. It’s usually stiff, overly sweet, and lacks that delicate balance of bitter espresso and sweet cream that makes the original so addictive.
Last month, I decided I was tired of overpaying for a dessert that felt like a compromise. I pulled out an old recipe card from my aunt Maria—she’s the one who taught me that cooking is mostly about feeling, not measuring—and I set out to make a Classic Tiramisu from scratch. I expected it to be complicated. Everyone assumes Italian desserts require hours of whisking and precise temperatures. But after my first attempt, I realized that making this at home is actually easier than baking a cake. There’s no oven, no timing anxiety, and no cleanup frenzy.
I made it three times in two weeks. The first time, I was nervous about the alcohol. The second time, I adjusted the coffee strength. By the third time, my neighbors knocked on my door asking what smelled so good. That’s when I knew I had it right. This Classic Tiramisu isn’t just a dessert; it’s a mood. It’s that moment when you sit down with a spoon, take a bite, and forget about everything else for a minute. It’s elegant enough for a dinner party but simple enough for a Tuesday night craving. And the best part? It tastes better the longer it sits. So basically, you can make it the day before and look like a genius when you serve it.
Why You’ll Love This Recipe
There are about a dozen reasons I keep making this, but let’s be honest—you’re here because you want something that tastes incredible without requiring a culinary degree. This recipe has completely changed how I approach desserts. Here’s why it’s become my absolute favorite:
- Zero Baking Required — Seriously, if you can assemble a sandwich, you can make this. No oven, no timer, no burnt edges. I’ve made this while watching TV, and it turned out perfectly every single time.
- Make-Ahead Magic — This is the ultimate stress-free dessert. You assemble it the night before, let it chill, and it gets better. In fact, it’s almost always better the next day because the ladyfingers fully absorb the coffee and cream. It’s perfect for meal prep or last-minute guests.
- Five Star Flavors — Just five ingredients, but each one plays a huge role. The mascarpone is rich, the espresso is bold, the cocoa is bitter, and the sugar is sweet. It hits every note on your palate. It’s not just sweet; it’s complex.
- Gluten-Free Friendly (Sort Of) — If you swap the ladyfingers, this recipe is naturally gluten-free. The cream and cheese are safe, and the coffee is obviously fine. It’s a great option for guests with restrictions, provided you find GF ladyfingers.
- Impress Without Trying — People think this is fancy because it’s Italian and layered. But it’s just cheese and cookies. When you serve it, everyone will be impressed, and you can just smile and say, “It’s super easy.”
This is my go-to when I need dessert to just work. No complicated techniques, no weird ingredients, just reliable, delicious food that makes everyone happy. It’s the kind of dessert that feels like a hug.
Ingredients You’ll Need
Here’s the best part: you probably have most of this already in your kitchen. Tiramisu is famous for its simplicity, and that’s what makes it so reliable. I’m particular about three ingredients here, and I’ll tell you exactly why.
For The Cream Filling
Mascarpone cheese (16 oz / 450g) — This is non-negotiable. Do not substitute cream cheese. Cream cheese is tangy and stiff; mascarpone is mild, rich, and buttery. It’s the soul of this dessert. Keep it cold until you’re ready to mix it.
Heavy cream (1 cup / 240ml) — You need full-fat heavy cream to whip into stiff peaks. This gives the filling its airy, cloud-like texture. Half-and-half won’t whip up properly, and milk will make it runny. Don’t skimp.
Egg yolks (6 large) — Yes, six yolks. This gives the cream its rich, custard-like color and texture. Some modern recipes skip eggs for safety, but I like the richness they add. If you’re concerned about raw eggs, use pasteurized eggs or see the variation section below.
Granulated sugar (¾ cup / 150g) — This balances the bitterness of the coffee and cocoa. I find ¾ cup is the sweet spot. If you prefer less sweet, you can drop to ½ cup, but it might taste too bitter.
Vanilla extract (1 teaspoon) — Just a splash to round out the flavors. Pure vanilla, not imitation. It adds a subtle warmth that pairs beautifully with the coffee.
For The Assembly
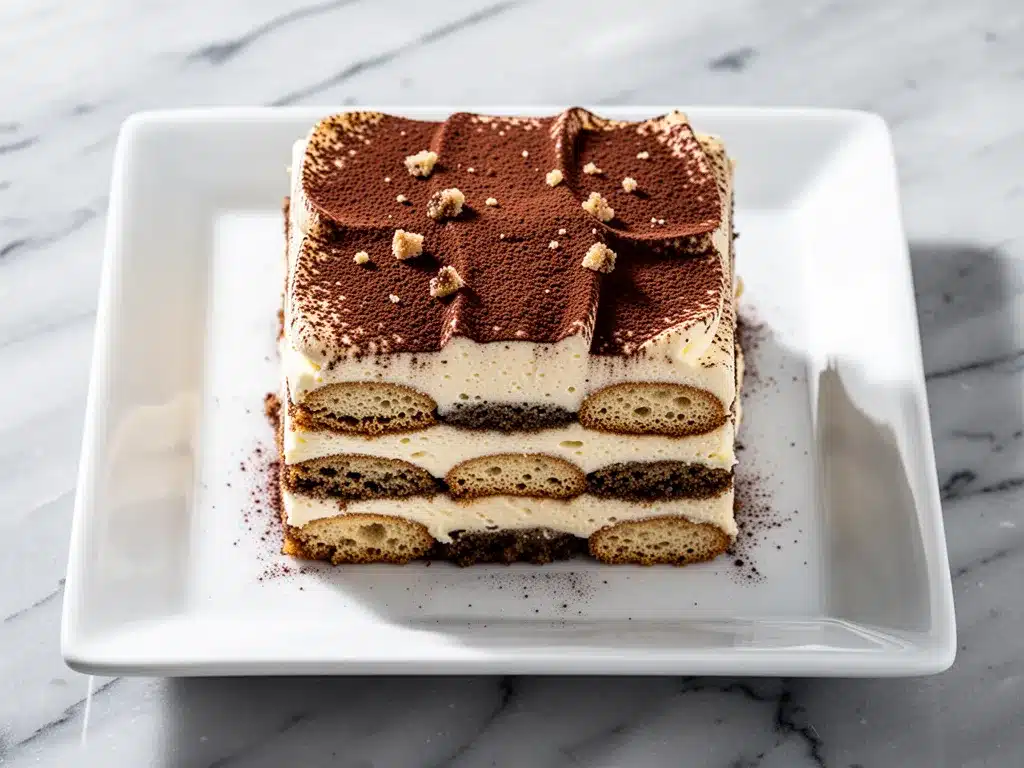
Strong espresso or very strong coffee (2 cups / 480ml) — This needs to be strong. If you use weak coffee, the cookies will be soggy and the flavor will be bland. Let it cool completely before dipping. Cold coffee is easier to work with.
Ladyfingers (24-30 cookies) — These are the sponge fingers you dip in coffee. Look for the dry, crisp kind, not the soft, cake-like ones. You need them to hold up without disintegrating immediately.
Unsweetened cocoa powder — For dusting on top. I use Dutch-processed cocoa because it’s darker and has a deeper chocolate flavor. It makes the presentation look professional.
Optional: Marsala wine or rum (2-3 tablespoons) — Traditional tiramisu uses Marsala wine, a sweet fortified wine from Italy. It adds a deep, fruity complexity. If you don’t drink alcohol, you can skip it, or use a teaspoon of vanilla extract instead. My husband loves the boozy version, but my kids prefer it plain.
Equipment Needed
You don’t need fancy equipment for this. Here’s what I actually use:
9×13 inch baking dish — A glass Pyrex dish is great because you can see the layers. But a ceramic dish or even a metal pan works fine. Just make sure it’s deep enough so the cream doesn’t spill over.
Electric mixer or whisk — I use an electric hand mixer because it whips the cream and yolks faster and with less effort. But if you’re feeling strong, a balloon whisk works too. It’ll take about 10 minutes of arm work.
Two shallow bowls — One for the coffee (and wine, if using) and one for the cocoa powder. I like using pie plates or wide-rimmed bowls so I can dip the ladyfingers easily.
Spatula — A rubber spatula is essential for folding the whipped cream into the mascarpone mixture without deflating it. Be gentle here.
Microplane or fine grater — If you want to grate dark chocolate on top instead of dusting cocoa, this is perfect. But cocoa powder is traditional and easier.
Measuring cups and spoons — Standard stuff. Accuracy matters more here than in baking because there’s no chemical leavening to save you.
How to Make It: Step-by-Step
Alright, let’s make this! I’m walking you through exactly how I do it, including the little tricks I’ve picked up over the years. This process is meditative, so take your time.
Step 1: Brew and Cool the Coffee
Brew two cups of strong espresso or coffee. I use a French press for convenience, but any method works as long as it’s strong. Stir in the Marsala wine or rum if you’re using it. Pour the coffee into a shallow bowl and let it cool to room temperature. You don’t want hot coffee, or it’ll melt the mascarpone instantly. If you’re in a hurry, put the bowl in the fridge for 20 minutes.
Step 2: Whip the Egg Yolks and Sugar
In a large bowl, add the egg yolks and sugar. Beat them together with your mixer on medium-high speed for about 4-5 minutes. You’re looking for the mixture to become pale yellow, thick, and fluffy. It should leave a trail when you lift the beaters. This step incorporates air and dissolves the sugar, which is crucial for the texture. Don’t rush this part.
Step 3: Add the Mascarpone
Reduce the mixer speed to low. Add the mascarpone cheese to the yolk mixture. Beat gently until just combined. Be careful not to overmix here. Mascarpone can seize up if you beat it too hard. You want a smooth, creamy mixture. Scrape down the sides of the bowl with a spatula to make sure everything is incorporated.
Step 4: Whip the Heavy Cream
In a separate cold bowl, whip the heavy cream until it forms stiff peaks. This means when you lift the whisk, the cream stands up straight and doesn’t droop. It should look like whipped topping from a can, but fresher. If you under-whip, the filling will be runny. If you over-whip, it’ll turn into butter. Stop when it’s glossy and holds its shape.
Step 5: Fold the Cream Into the Cheese
This is the most important step for texture. Add about one-third of the whipped cream to the mascarpone mixture and stir gently to lighten it up. Then, add the rest of the cream. Use a rubber spatula to fold the mixture together. Use a cutting motion: go down the side, across the bottom, and up the other side. Turn the bowl and repeat. Stop as soon as there are no white streaks left. You want to keep as much air in the mixture as possible.
Step 6: Dip and Layer
Now for the fun part. Take a ladyfinger and dip it quickly into the coffee mixture. I mean quick—like 1-2 seconds per side. You want it soaked but not falling apart. If you leave it in too long, it’ll disintegrate in the fridge. Place the dipped ladyfingers in a single layer at the bottom of your baking dish. They don’t need to be perfectly aligned; rustic is good.
Step 7: Fill and Repeat
Spread half of the cream mixture over the first layer of ladyfingers. Use a spatula to smooth it out, reaching the edges. Then, repeat the process: dip another layer of ladyfingers in coffee, place them on top of the cream, and cover with the remaining cream. You should have two layers of cookies and two layers of cream.
Step 8: Chill and Dust
Cover the dish tightly with plastic wrap. Refrigerate for at least 6 hours, but ideally overnight. This is when the magic happens—the flavors meld, and the texture becomes creamy and cohesive. Before serving, dust the top generously with unsweetened cocoa powder. Use a fine-mesh sieve for an even, professional-looking dusting. Slice with a sharp knife and serve cold.
Expert Tips & Tricks
Here’s everything I’ve learned from making this dozens of times. These tips will save you from my mistakes.
- Keep Everything Cold — Mascarpone and heavy cream behave better when they’re cold. Take them out of the fridge right before you start. If the cream gets warm while you’re working, put the bowl in the fridge for 10 minutes.
- The Dip is a Sprint — I cannot stress this enough: dip fast. Ladyfingers are like sponges. If you linger, you’ll end up with mush. Think of it as a quick dunk, not a bath.
- Don’t Skip the Rest Time — I know you want to eat it immediately. Don’t. The structure needs time to set. If you cut it right after assembling, it’ll be a mess. 6 hours is the minimum; 12 hours is the sweet spot.
- Use Fresh Cocoa — Old cocoa powder loses its flavor and turns clumpy. If your cocoa has been sitting in the cabinet for two years, buy a new tin. It makes a huge difference in the taste and appearance.
- Room Temperature Eggs — If you’re worried about raw eggs, use pasteurized eggs. Or, if you’re traditional, make sure your eggs are fresh and from a reputable source. The acidity of the coffee and the sugar actually help preserve them slightly, but safety first.
Common Mistake: Grainy Texture
Fix: This happens if you overbeat the mascarpone. Stop mixing as soon as it’s smooth. Also, make sure your mascarpone wasn’t frozen and thawed, which can change its texture.
Common Mistake: Soggy Bottom
Fix: You probably left the ladyfingers in the coffee too long. Or, your coffee was too weak. Make it strong, and dip quickly.
Variations & Substitutions
Once you’ve nailed the basic version, here’s how you can mix it up. I’ve tried all of these, and they’re all winners.
Alcohol-Free Version
Skip the Marsala or rum. Add 1 teaspoon of vanilla extract to the coffee instead. The flavor is still rich, just less complex. Great for kids or non-drinkers.
Chocolate Tiramisu
Add 2 tablespoons of cocoa powder to the cream mixture. Or, drizzle melted chocolate between the layers. For extra indulgence, use chocolate-dipped ladyfingers.
Coffee-Lover’s Intense
Use double-strength espresso. Add a teaspoon of instant espresso powder to the cream mixture for a deeper coffee punch. This is for when you need a real caffeine kick.
Fruit Tiramisu
Swap the coffee for a berry liqueur or even just strong black tea. Layer with sliced strawberries or raspberries. It’s a lighter, fresher take on the classic.
Gluten-Free Tiramisu
Use gluten-free ladyfingers. Many brands exist now, and they work surprisingly well. Just be extra careful with the dipping time, as GF cookies can be more fragile.
Vegan Tiramisu
Replace mascarpone with cashew cream (blend soaked cashews with lemon juice and a little oil). Use coconut cream instead of dairy cream. Use aquafaba (chickpea water) to whip like egg whites. It’s a different texture, but still delicious.
Serving & Storage
How to Serve:
I usually serve this straight from the dish, using a large spoon or a pie server. It looks rustic and homemade. But if you want to be fancy, use a piping bag to dollop extra whipped cream on top, or grate some dark chocolate over each slice. A mint leaf adds a nice pop of color.
Side Dishes:
Tiramisu is rich, so it doesn’t need much. Maybe a simple arugula salad with lemon vinaigrette to cut the richness. Or just serve it with a cup of tea or black coffee. It’s the perfect ending to a meal.
Storage Instructions:
Store in the refrigerator, covered tightly with plastic wrap or in an airtight container, for up to 5 days. It actually stays good for a week, though it rarely lasts that long in my house. Do not freeze it. The cream will separate and become grainy when thawed. It’s best fresh (well, chilled fresh).
Reheating:
Do not reheat tiramisu. It’s meant to be eaten cold. If it’s been in the fridge for a few days and the cocoa has absorbed some moisture, just dust it with a little fresh cocoa before serving.
Nutrition Information
I’m not a nutritionist, but here’s the breakdown if you’re tracking. Keep in mind that this is a rich dessert, so portion control is key.
Per Serving (based on 12 slices):
- Calories: 380
- Protein: 6g
- Carbs: 32g
- Fiber: 1g
- Sugar: 22g
- Fat: 24g
- Saturated Fat: 14g
What’s Good:
It provides some calcium from the cheese and coffee. It’s relatively low in fiber, so pair it with a fruit side if you want to balance the meal.
What to Know:
High in saturated fat and sugar due to the cream, cheese, and sugar. Contains dairy and eggs. Not suitable for vegans or those with dairy/egg allergies without modifications.
My Take:
Look, this is comfort food. It’s sweet, rich, and indulgent. It’s not a health food. But it’s way better than store-bought, and you control the ingredients. When I make it, I enjoy a small slice and savor it. That’s the point.
Final Thoughts
So that’s my Classic Tiramisu! I’ve probably talked your ear off at this point, but when you make a recipe this often, you have a lot to say about it. This has saved my dessert game more times than I can count. It’s my answer to “what’s for dessert” when I want something fancy but don’t want to spend hours in the kitchen.
My family loves it, my friends ask for it, and I love making it. It’s simple, it’s elegant, and it’s just delicious. Make it yours! Try different coffees, add different liqueurs, or change the cocoa to chocolate shavings. The best recipes are the ones you adapt to your tastes.
If you make this, drop a comment and let me know what you think! I love hearing how recipes turn out in your kitchen. And if something doesn’t work, tell me that too—I’m here to help troubleshoot. Happy cooking! And I hope your kitchen smells half as good as mine does right now.
Frequently Asked Questions
Can I use instant coffee instead of espresso?
Yes, you can! Dissolve 2-3 tablespoons of instant coffee granules in 2 cups of hot water. Let it cool completely. It won’t have the same depth as fresh espresso, but it works in a pinch. I prefer fresh brewed, but instant is acceptable.
Why is my tiramisu runny?
Usually, this means the cream wasn’t whipped stiff enough, or you overmixed the mascarpone. Make sure your heavy cream forms stiff peaks. Also, ensure you didn’t leave the ladyfingers in the coffee too long, which can make the layers soggy and loose.
Can I make this ahead?
Absolutely. This is actually better made ahead. Assemble it the night before and let it chill for 12-24 hours. The flavors meld, and the texture becomes creamy and cohesive. It’s the perfect make-ahead dessert.
What if I don’t have Marsala wine?
Use rum, brandy, or coffee liqueur (like Kahlúa). Or, skip the alcohol entirely and add a teaspoon of vanilla extract to the coffee. The tiramisu will still be delicious without it.
Can I use cream cheese instead of mascarpone?
I don’t recommend it. Cream cheese is tangy and has a different texture. It will change the flavor profile significantly. If you must, mix cream cheese with a little heavy cream to soften it, but mascarpone is the real deal.
How do I store leftovers?
Keep it in the refrigerator, covered tightly with plastic wrap or in an airtight container. It will last for up to 5 days. Do not freeze it, as the cream will separate.
Can I make individual servings?
Yes! Use small glasses or jars. Layer the coffee-dipped ladyfingers and cream in each glass. This is great for parties because everyone gets their own portion. Just adjust the dipping time slightly, as smaller cookies might absorb coffee faster.
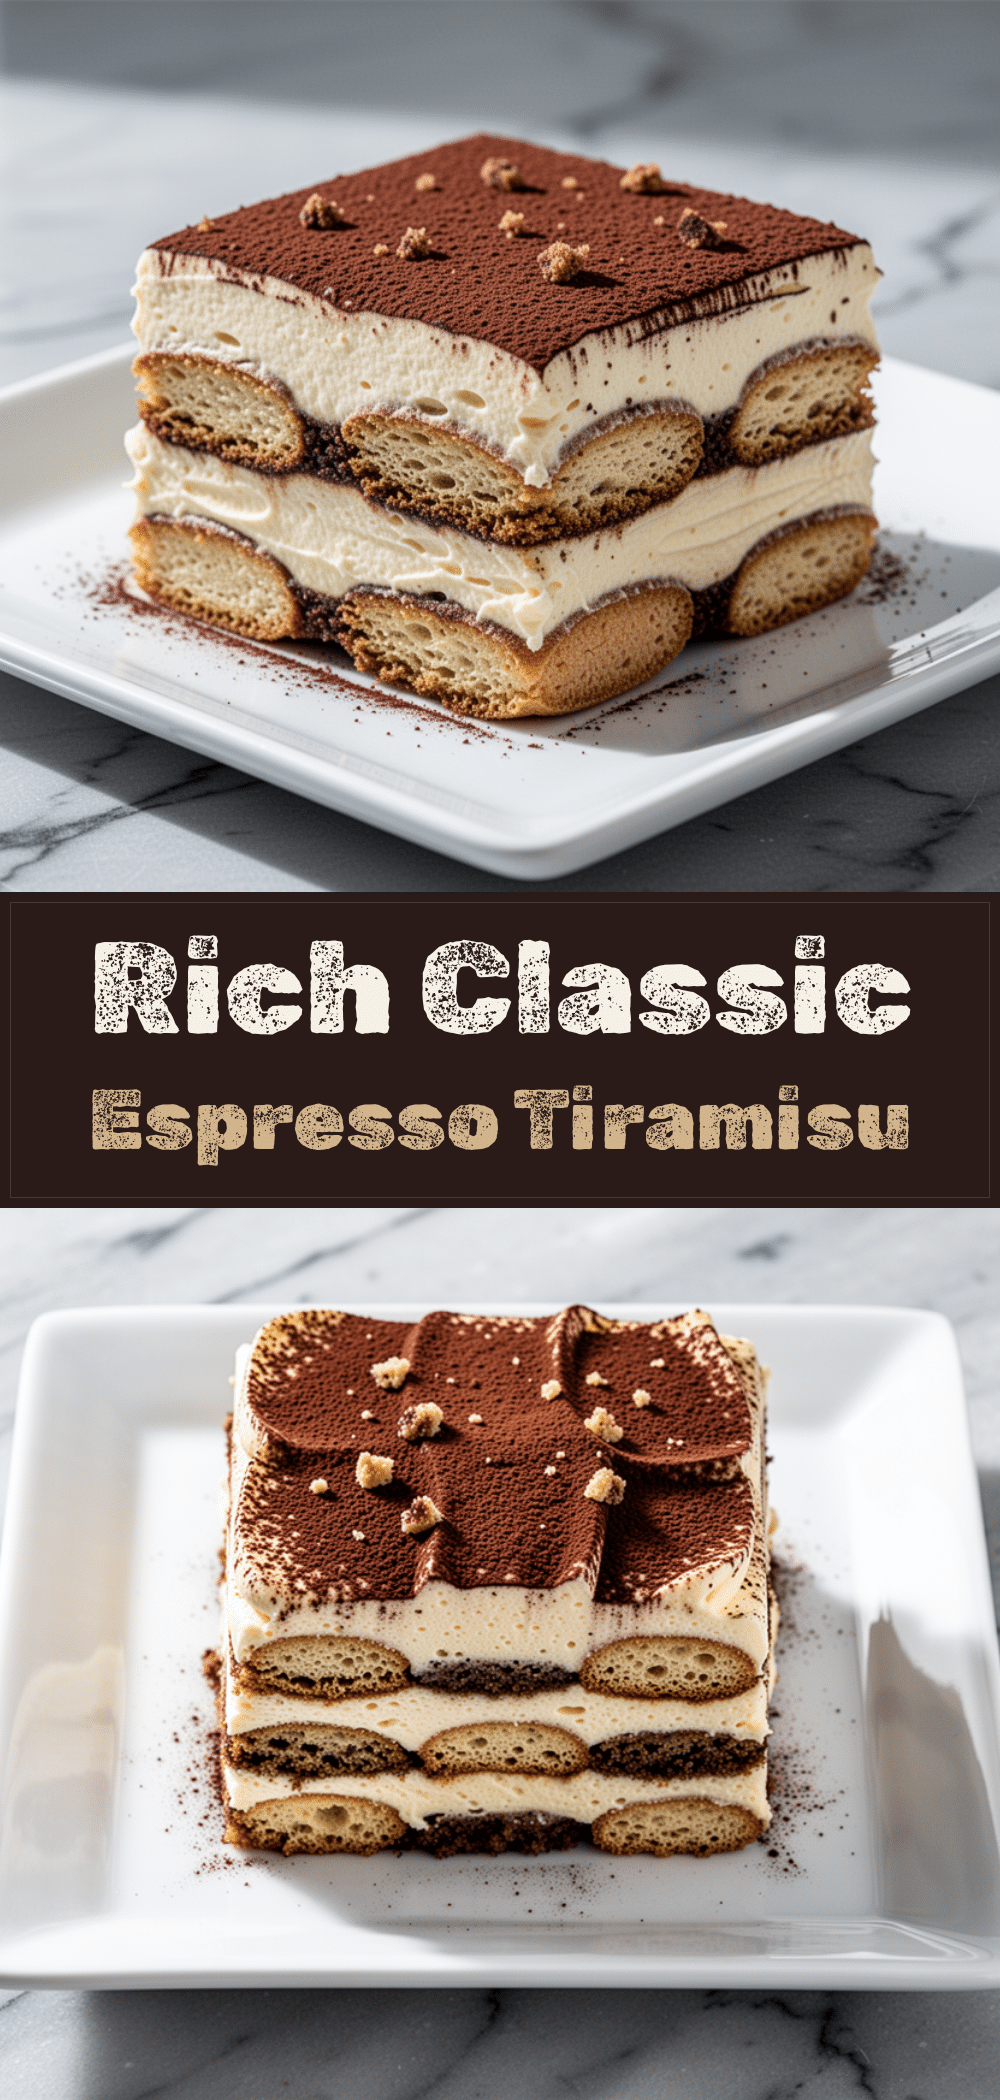
Pin This Recipe!
Classic Tiramisu: 5-Step Easy Dessert Recipe
- Total Time: 6 hours 30 minutes
- Yield: 12 servings 1x
Description
An authentic, no-bake Italian dessert featuring layers of coffee-soaked ladyfingers and a rich, airy mascarpone cream. This easy-to-make treat is best when chilled overnight, allowing the flavors to meld into a complex, elegant finish.
Ingredients
- 16 oz (450g) mascarpone cheese, cold
- 1 cup (240ml) heavy cream, cold
- 6 large egg yolks
- ¾ cup (150g) granulated sugar
- 1 teaspoon pure vanilla extract
- 2 cups (480ml) strong espresso or very strong coffee, cooled
- 24–30 ladyfingers (dry, crisp type)
- Unsweetened cocoa powder, for dusting
- 2–3 tablespoons Marsala wine or rum (optional)
Instructions
- Brew strong espresso or coffee and stir in Marsala wine or rum if using. Pour into a shallow bowl and let cool completely to room temperature.
- In a large bowl, beat egg yolks and sugar on medium-high speed for 4-5 minutes until pale, thick, and fluffy.
- Reduce mixer speed to low and add mascarpone cheese. Beat gently until just combined and smooth. Scrape down the sides of the bowl.
- In a separate cold bowl, whip heavy cream until stiff peaks form.
- Add one-third of the whipped cream to the mascarpone mixture and stir gently to lighten. Fold in the remaining cream using a rubber spatula with a cutting motion until no white streaks remain.
- Quickly dip each ladyfinger into the cooled coffee mixture (1-2 seconds per side) and place in a single layer at the bottom of a 9×13 inch baking dish.
- Spread half of the cream mixture over the first layer of ladyfingers. Repeat with a second layer of dipped ladyfingers and the remaining cream.
- Cover tightly with plastic wrap and refrigerate for at least 6 hours, ideally overnight.
- Before serving, dust the top generously with unsweetened cocoa powder using a fine-mesh sieve. Slice with a sharp knife and serve cold.
Notes
Keep all ingredients cold for best results. Dip ladyfingers quickly to avoid sogginess. Do not freeze, as the cream will separate upon thawing. For a gluten-free version, use gluten-free ladyfingers. For a vegan version, substitute mascarpone with cashew cream and heavy cream with coconut cream.
- Prep Time: 30 minutes
- Cook Time: 0 minutes
- Category: Dessert
- Cuisine: Italian
Nutrition
- Serving Size: 1 slice
- Calories: 380
- Sugar: 22
- Fat: 24
- Saturated Fat: 14
- Carbohydrates: 32
- Fiber: 1
- Protein: 6
Keywords: tiramisu, italian dessert, no bake dessert, mascarpone, coffee dessert, make ahead dessert, classic tiramisu, easy dessert



