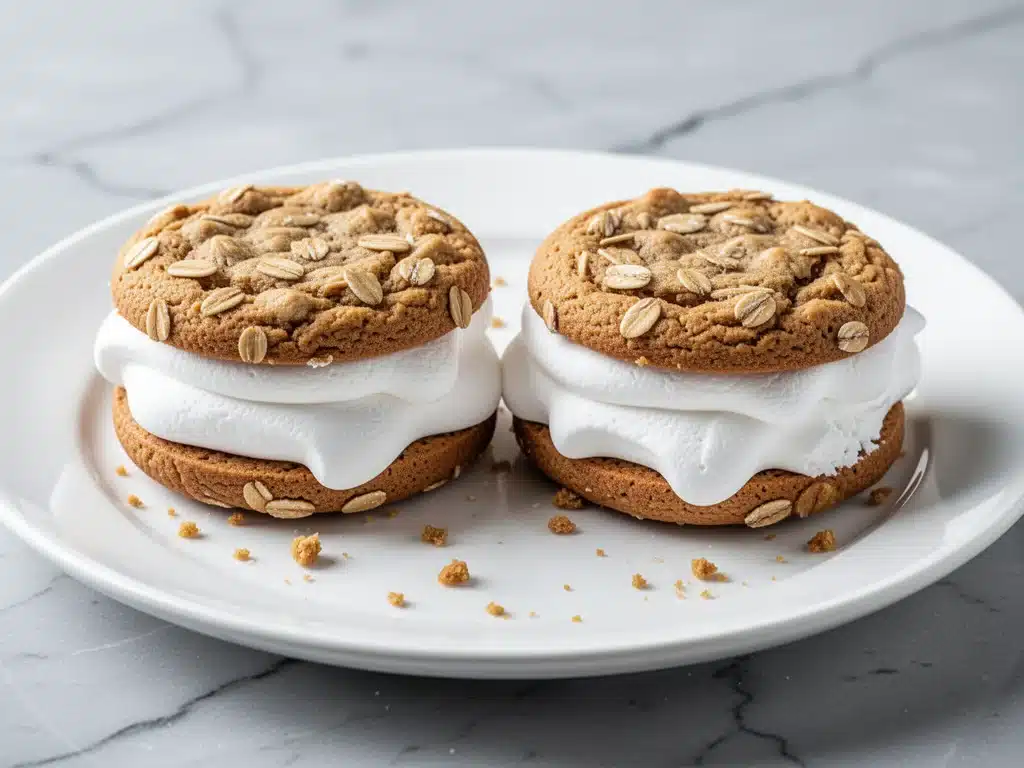
My grandmother’s kitchen had a specific sound on Saturday afternoons. It was the rhythmic *thump-thump-thump* of her wooden spoon against the side of a cast-iron pot, mixed with the low hum of the radio playing old standards. But the smell? That was the real memory. It was a mix of brown sugar, warm oats, and this weird, sweet, almost artificial vanilla scent that only came from marshmallow fluff. She didn’t bake the store-bought version, but she made a homemade approximation that tasted like pure, unadulterated childhood joy. I used to think those little orange packages from the grocery store were the gold standard. I was wrong. The box stuff is fine, but it’s static. It’s just… there. But a homemade version? With a cookie that’s actually chewy and a filling that’s light as air? That’s magic.
I stumbled onto this specific recipe about three years ago, right when I was trying to get my toddler to eat anything other than crackers. I needed something sweet but “healthy-ish,” something that felt like a treat but didn’t involve a sugar crash that would ruin our evening. I whipped up a batch of these chewy oatmeal cream pies, and the look on my kid’s face when he bit into that pillowy marshmallow center was worth every minute of dough-sticking-to-the-counter chaos. Since then, I’ve made them for school bake sales, office parties, and just because it was a Tuesday. They’ve become my go-to comfort bake. And honestly? Once you try a homemade oatmeal cream pie with real buttercream and fluffy marshmallow filling, you’ll never go back to the orange package. You’ll be making these on repeat, just like I do.
Why You’ll Love This Recipe
There’s a reason this recipe has earned a permanent spot in my rotation, right next to my fall molasses ginger cookies. It’s not just about the taste; it’s about the experience. Here’s why these cookies win every time:
The Texture Contrast — This is the big one. Most oatmeal cookies are either cakey (like a muffin top) or crisp (like a biscuit). This recipe gives you that perfect, dense chewiness that holds up against the soft, airy filling. It’s like a cookie and a cake had a delicious baby. I’ve tested this dough a dozen times, and the ratio of oats to flour is exactly right to give that satisfying chew.
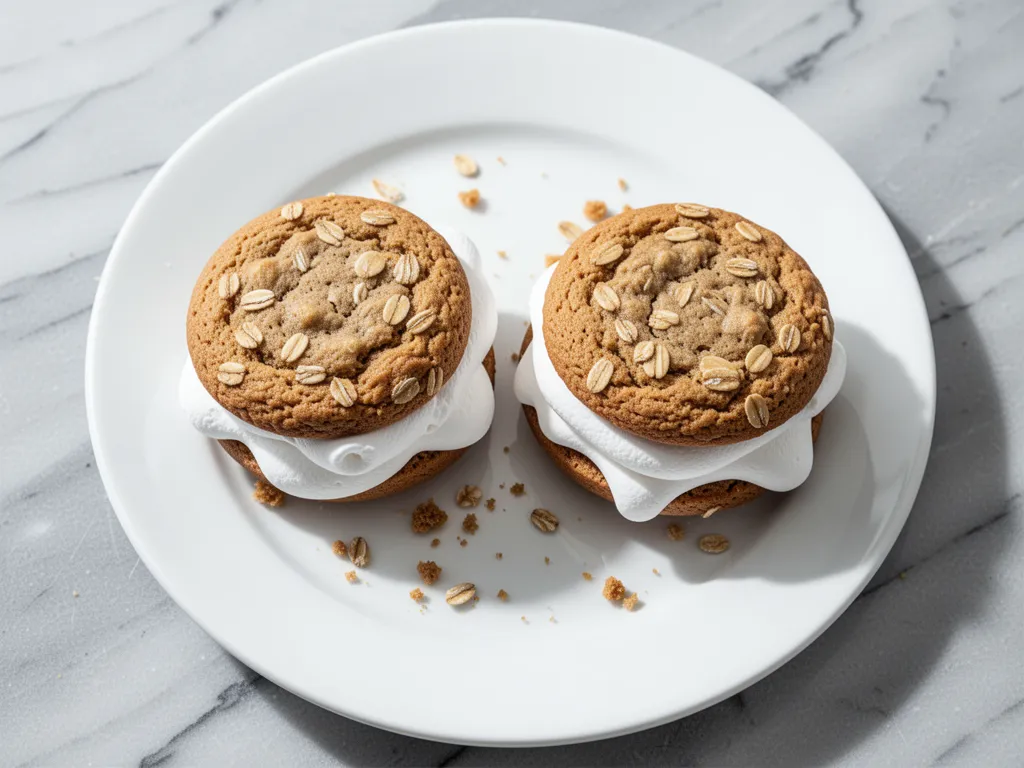
The Marshmallow Factor — I’m not talking about a dense, fudge-like center. I’m talking about a buttercream that’s whipped with marshmallow fluff until it’s literally clouds on a plate. It’s sweet, but not cloying, and it has this subtle vanilla aroma that fills the whole house. It’s the kind of filling that makes you stop mid-bite and just stare at your cookie in disbelief.
Make-Ahead Friendly — I live in a world of busy mornings and unexpected guests. These cookies keep perfectly in an airtight container for up to a week. In fact, they taste even better the next day, as the cookies soften slightly and meld with the filling. I often make them on Sunday and they’re gone by Wednesday. They’re also great for freezing—just freeze the cookies before filling them, then thaw and fill when you’re ready.
Kid-Approved Simplicity — My son loves helping me make these. The dough is easy to mix, and the fun part is the assembly. He loves squeezing the piping bag (or just scooping with a spoon, no judgment) and watching the white fluff ooze out. It’s a great way to get kids involved in baking without it being a stressful, flour-dust-cloud disaster.
Budget-Friendly Luxury — You might think making gourmet-style cookies from scratch is expensive. It’s not. Oats, flour, sugar, butter, marshmallow fluff—these are pantry staples. You’re spending maybe $5-6 for a batch that feeds a family of four for days. Compared to buying fancy bakery treats or even the boxed version, this is a steal.
This recipe is my answer to “what’s for dessert?” when I want something that feels special but doesn’t require a degree in pastry arts. It’s reliable, delicious, and always makes people happy.
Ingredients You’ll Need
Here’s the best part: you probably have most of this already in your pantry. This isn’t a recipe that requires a trip to a specialty store. I’m particular about two things here—the quality of your oats and the brand of marshmallow fluff—but everything else is pretty standard.
For the Chewy Oatmeal Cookies
Old-Fashioned Rolled Oats (3 cups / 270g) — Do not use instant oats. They’ll turn your cookies into mush. Old-fashioned gives you that hearty chew. I love Bob’s Red Mill, but any brand works. If you need gluten-free, use certified gluten-free oats.
Unsalted Butter (1 cup / 225g, softened) — This is crucial. Softened means room temperature, not melted. If you melt it, your cookies will spread too thin. I take my butter out of the fridge about an hour before I start. If I forget, I can microwave it for 10-second bursts until it’s soft but still holds its shape.
Brown Sugar (1 cup / 200g, packed) — Dark brown sugar is my preference because it has more molasses, which adds depth and keeps the cookies chewy. Light brown works too, but you might lose a little flavor complexity.
Granulated Sugar (½ cup / 100g) — This adds sweetness and helps with the crisp edges. Don’t skip it, even if you’re trying to cut sugar. It’s necessary for the texture.
Eggs (2 large, room temperature) — Room temp eggs mix into the batter better than cold ones. They help emulsify the butter and sugar. I leave them on the counter while I prep the dry ingredients.
Vanilla Extract (2 teaspoons) — Use real vanilla, not imitation. It makes a huge difference in the flavor profile. I use McCormick or Nielsen-Massey. It’s worth the few extra dollars.
All-Purpose Flour (2 cups / 250g) — Spoon and level method, please. Don’t scoop directly from the bag, or you’ll pack in too much flour and get dry cookies. Spoon it into the measuring cup and level it off with a knife.
Baking Soda (1 teaspoon) — This helps the cookies spread and brown. Make sure it’s fresh. If your baking soda is old, it won’t work properly, and your cookies will be flat bricks.
Salt (1 teaspoon) — Salt is flavor enhancer. It balances the sweetness. Don’t skip it, even if you’re watching sodium.
For the Fluffy Marshmallow Buttercream
Marshmallow Fluff (1 jar / 7 oz) — This is the star. I use the classic Jet-Puffed brand. It’s consistent and easy to find. Some people make their own marshmallow cream, but I’m lazy, and this works perfectly.
Unsalted Butter (½ cup / 115g, softened) — Again, room temperature. Softened, not melted. This gives the frosting body and richness.
Powdered Sugar (3-4 cups / 360-480g) — You’ll need about 3 cups to get the right consistency, but add more if you want it stiffer. Sift it if it’s lumpy. I hate lumpy frosting.
Vanilla Extract (1 teaspoon) — More vanilla never hurts. It ties the marshmallow flavor together.
Salt (¼ teaspoon) — Just a pinch to cut the sweetness.
Milk or Cream (1-2 tablespoons) — Only if you need to thin the frosting. Usually, you won’t need it, but have it ready just in case.
Optional Add-Ins
Mini Chocolate Chips (½ cup) — I love adding these to the cookie dough for a chocolate-oat combo. It’s like a breakfast cookie meets a dessert cookie.
Chopped Walnuts or Pecans (½ cup) — Adds crunch and nutty flavor. Great if you want to vary the texture.
Equipment Needed
You don’t need fancy equipment for this. Here’s what I actually use in my home kitchen.
Large Mixing Bowls — I use a big one for wet ingredients and a smaller one for dry. Plastic is fine, or glass. Just make sure they’re big enough to hold all the dough.
Electric Hand Mixer or Stand Mixer — This is not optional. Creaming the butter and sugar by hand is a workout I don’t want to do. A hand mixer works great, but a stand mixer is even better if you have one. I use my KitchenAid for big batches.
Rubber Spatula — For scraping down the sides of the bowl. You want all that butter and sugar incorporated.
Measuring Cups and Spoons — Standard stuff. Dollar store versions work fine.
Baking Sheets — I use two large sheets. If you have one, that’s fine, but you’ll need to bake in batches.
Parchment Paper — Line your baking sheets. This prevents sticking and makes cleanup a breeze. I never bake these directly on the metal.
Cooling Rack — Essential for cooling the cookies completely before filling. If you fill warm cookies, the frosting will melt and slide off.
Piping Bag with Large Tip (Optional) — If you want them to look professional, use a piping bag with a round tip (like a Wilton 1M). But honestly? A spoon works just fine. I use a spoon when I’m in a hurry, and they taste the same.
Cookie Scoop — I love using a small ice cream scoop to portion the dough. It ensures uniform size and saves time. But a tablespoon works too.
How to Make It: Step-by-Step
Alright, let’s make this! I’m walking you through exactly how I do it, including the little tricks I’ve picked up over the years.
Step 1: Prep Your Dough (10 minutes)
Preheat your oven to 350°F (175°C). Line your baking sheets with parchment paper. In a large bowl, whisk together the flour, baking soda, and salt. Set this aside. In another large bowl, cream together the softened butter, brown sugar, and granulated sugar until it’s light and fluffy. This takes about 3-4 minutes with an electric mixer. If you’re doing it by hand, it’ll take longer and your arms will hurt. Don’t rush this step—it’s key for the texture.
Step 2: Add Wet Ingredients (2 minutes)
Add the eggs one at a time, beating well after each addition. Then stir in the vanilla extract. Scrape down the sides of the bowl with your spatula to make sure everything is incorporated.
Step 3: Combine Dry and Wet (2 minutes)
Gradually add the dry ingredients to the wet ingredients, mixing on low speed until just combined. Don’t overmix! Once you see the last streaks of flour disappear, stop. Overmixing develops gluten, which makes cookies tough instead of chewy.
Step 4: Fold in Oats (1 minute)
Stir in the rolled oats (and any optional add-ins like chocolate chips or nuts) by hand with your spatula. The dough will be thick and sticky. This is normal. If it feels too dry, add a tablespoon of milk. If it’s too wet, add a tablespoon of flour.
Step 5: Scoop and Bake (12-14 minutes)
Scoop the dough onto the prepared baking sheets, spacing them about 2 inches apart. They will spread. Bake for 12-14 minutes, or until the edges are golden brown but the centers still look slightly soft and underdone. This is crucial! They will finish cooking on the hot pan after you take them out. If you bake them until they look firm, they’ll be dry.
Step 6: Cool Completely (30 minutes)
Let the cookies cool on the baking sheet for 5 minutes, then transfer them to a wire rack to cool completely. This step is non-negotiable. Warm cookies + cold frosting = mess. Cold cookies + cold frosting = perfect sandwich.
Step 7: Make the Filling (10 minutes)
While the cookies cool, make the frosting. In a clean bowl, beat the softened butter until creamy. Add the marshmallow fluff and vanilla. Beat until smooth. Gradually add the powdered sugar, one cup at a time, beating on low speed. Once all the sugar is in, increase the speed to medium-high and beat for 2-3 minutes until the frosting is light, fluffy, and white. If it’s too stiff, add a splash of milk. If it’s too soft, add more powdered sugar.
Step 8: Assemble the Pies (10 minutes)
Take two cookies of similar size. Pipe or spoon a generous amount of frosting onto the flat side of one cookie. Press the flat side of the second cookie on top, gently twisting to spread the frosting to the edges. Repeat with remaining cookies. You should get about 15-18 cream pies from this recipe.
Expert Tips & Tricks
Here’s everything I’ve learned from making these dozens of times. These tips will save you from my mistakes.
Room Temperature Butter is Key
I can’t stress this enough. If your butter is too cold, it won’t cream properly with the sugar, and your cookies will be dense. If it’s melted, they’ll spread too thin. Softened butter is the sweet spot. I test it by pressing my finger into it—it should leave an indent but not feel greasy.
Don’t Overbake
This is the #1 mistake people make. They take the cookies out when they look done. They shouldn’t. They should look slightly underdone in the center. The residual heat will finish cooking them. Overbaked oatmeal cookies are dry and crumbly. Underbaked (but safe) oatmeal cookies are chewy and delicious.
Chill the Dough (Optional but Recommended)
If you have time, chill the dough in the fridge for 30 minutes before baking. This helps the cookies hold their shape better and can enhance the flavor as the oats hydrate. I don’t always do this, but when I do, the cookies are slightly thicker and chewier.
Frosting Consistency
The frosting should be pipeable but not runny. If it’s too stiff, it’ll tear the cookies when you press them together. If it’s too soft, it’ll ooze out everywhere. Aim for a consistency similar to peanut butter. Add liquid sugar sparingly.
Storage is Simple
Store the finished cream pies in an airtight container at room temperature for up to 5 days. If your kitchen is hot, refrigerate them, but let them come to room temperature before eating for the best texture. They also freeze beautifully for up to 3 months. Freeze them on a baking sheet first, then transfer to a freezer bag.
Make It Your Own
Try adding a teaspoon of cinnamon to the cookie dough for a fall vibe. Or swap half the marshmallow fluff for peanut butter for a PB&J twist. I’ve even added a pinch of espresso powder to the frosting for a mocha-marshmallow flavor. The possibilities are endless.
Variations & Substitutions
Once you’ve nailed the basic version, here’s how you can mix it up. I’ve tried all of these.
Chocolate Chip Oatmeal Cream Pies
Add ½ cup mini chocolate chips to the dough. This is my family’s favorite version. The chocolate melts into the chewy oats, and it pairs perfectly with the sweet marshmallow. It’s like a breakfast cookie meets a dessert cookie.
Peanut Butter Marshmallow
Sweeten the frosting by mixing ¼ cup peanut butter into the butter before adding the fluff. This adds a salty-sweet contrast that’s amazing. If you’re allergic to peanuts, try sunflower seed butter.
Gluten-Free Version
Use certified gluten-free rolled oats and a 1:1 gluten-free flour blend. The texture will be slightly different—maybe a bit more tender—but still delicious. I’ve used Bob’s Red Mill 1:1 blend with great results.
Dairy-Free Option
Use vegan butter in both the cookies and the frosting. For the frosting, you might need to adjust the powdered sugar ratio slightly, as vegan butter can have different water content. It works, but it’s not quite as fluffy as the dairy version.
Mini Version
Scoop smaller balls of dough (about 1 tablespoon) for bite-sized treats. Bake for 8-10 minutes. These are perfect for lunchboxes or party trays. My kids love these because they’re easy to eat without getting frosting all over their faces.
Seasonal Twists
Add pumpkin puree (2 tablespoons) and pumpkin pie spice to the dough for fall. Or use peppermint extract in the frosting for Christmas. I made a batch with orange zest in the dough and lemon extract in the frosting last Easter, and it was a hit.
Serving & Storage
How to Serve:
I usually serve these with a cold glass of milk. It’s the classic combo. But they’re also great with coffee or tea. If I’m having guests, I put them on a platter with a few fresh berries on the side for color. They look rustic and homemade, which is exactly the vibe I’m going for.
Storage Instructions:
Room Temperature: Store in an airtight container for up to 5 days. Place parchment paper between layers if stacking them.
Refrigerator: If your kitchen is hot, store them in the fridge. Let them come to room temperature before eating for the best texture. They’ll last up to 2 weeks.
Freezer: Freeze the assembled cream pies on a baking sheet until solid, then transfer to a freezer bag. They’ll keep for up to 3 months. Thaw at room temperature for an hour before eating.
Meal Prep: I often make the dough in advance and freeze it in balls. When I want fresh cookies, I just thaw the dough balls and bake them. It’s a great way to have dessert ready on demand.
Pro Tip: If the frosting gets a bit stiff after storing, let it sit at room temperature for 15 minutes and give it a quick stir. It’ll soften up nicely.
Nutrition Information
I’m not a nutritionist, but here’s the breakdown if you’re tracking. Keep in mind, this is a sweet treat, so enjoy it in moderation.
Per Serving (1 cream pie, based on 18 servings):
– Calories: 280
– Protein: 4g
– Carbs: 42g
– Fiber: 2g
– Sugar: 28g
– Fat: 12g
– Saturated Fat: 7g
– Cholesterol: 35mg
– Sodium: 180mg
What’s Good:
– Oats provide some fiber and heart-healthy benefits
– Protein from butter and eggs
– Can be modified to be gluten-free or dairy-free
What to Know:
– Higher in sugar due to the marshmallow fluff and powdered sugar
– Contains dairy and gluten (unless modified)
– Moderate calories, but it’s a rich treat
My Take:
Look, this is a dessert. It’s not a health food. But it’s homemade, so you know exactly what’s in it. When I want to make it slightly lighter, I use less powdered sugar in the frosting and add more oats to the dough. But usually? I just eat one (or two) and enjoy it. Life’s too short for diet food.
Final Thoughts
So that’s my go-to chewy oatmeal cream pie recipe! I’ve probably talked your ear off at this point, but when you make a recipe this often, you have a lot to say about it. These cookies have saved my dessert game more times than I can count. They’re my answer to “what’s for dessert?” when I want something that feels special but doesn’t require a lot of effort. My kids are happy, my husband’s happy, and I’m happy because I’m not stressed about cooking.
Make it yours! Try different add-ins, swap in your favorite flavors, adjust the sweetness to your taste. The best recipes are the ones you adapt to your family’s tastes. If you make these, drop a comment and let me know what you think! I love hearing how recipes turn out in your kitchen. And if something doesn’t work, tell me that too—I’m here to help troubleshoot.
Happy baking! And I hope your kitchen smells half as good as mine does right now.
Frequently Asked Questions
Q: Can I use instant oats instead of old-fashioned oats?
A: I don’t recommend it. Instant oats are thinner and will make your cookies cakey and soft, rather than chewy. Old-fashioned rolled oats give you that hearty texture. If you must use instant, chop them up a bit with a knife first to mimic the texture, but old-fashioned is best.
Q: My cookies spread too much—what happened?
A: This usually means your butter was too warm or melted, or you didn’t chill the dough. Make sure your butter is softened, not melted. Also, make sure your baking sheets are cool before adding new dough. If you put hot dough on a warm pan, it’ll spread instantly.
Q: Can I make the frosting ahead of time?
A: Yes! You can make the frosting up to 2 days ahead and store it in the fridge in an airtight container. Let it come to room temperature and re-whip it before using. It might need a little extra beating to get fluffy again.
Q: Why did my frosting turn out grainy?
A: This usually happens if the powdered sugar wasn’t sifted, or if the butter wasn’t soft enough. Sift your powdered sugar to remove lumps. Also, make sure your butter is room temperature and creamy before adding the sugar. If it’s already grainy, try beating it on high speed for a few minutes—it might smooth out.
Q: Can I freeze the cookie dough?
A: Absolutely! Scoop the dough into balls and freeze them on a baking sheet. Once solid, transfer to a freezer bag. You can bake them straight from frozen, just add 1-2 minutes to the baking time. This is great for having fresh cookies on demand.
Q: How do I store the cream pies if I don’t eat them all at once?
A: Store them in an airtight container at room temperature for up to 5 days. If your kitchen is hot, refrigerate them. Let them come to room temperature before eating for the best texture. They also freeze well for up to 3 months.
Q: Can I use a different flavor of marshmallow fluff?
A: The classic white marshmallow fluff is traditional, but you can experiment. Strawberry marshmallow fluff makes a fun pink filling. Or try adding a teaspoon of citrus zest to the white fluff for a bright twist. Just keep in mind that flavored fluffs might be sweeter or have a different consistency.
Pin This Recipe!
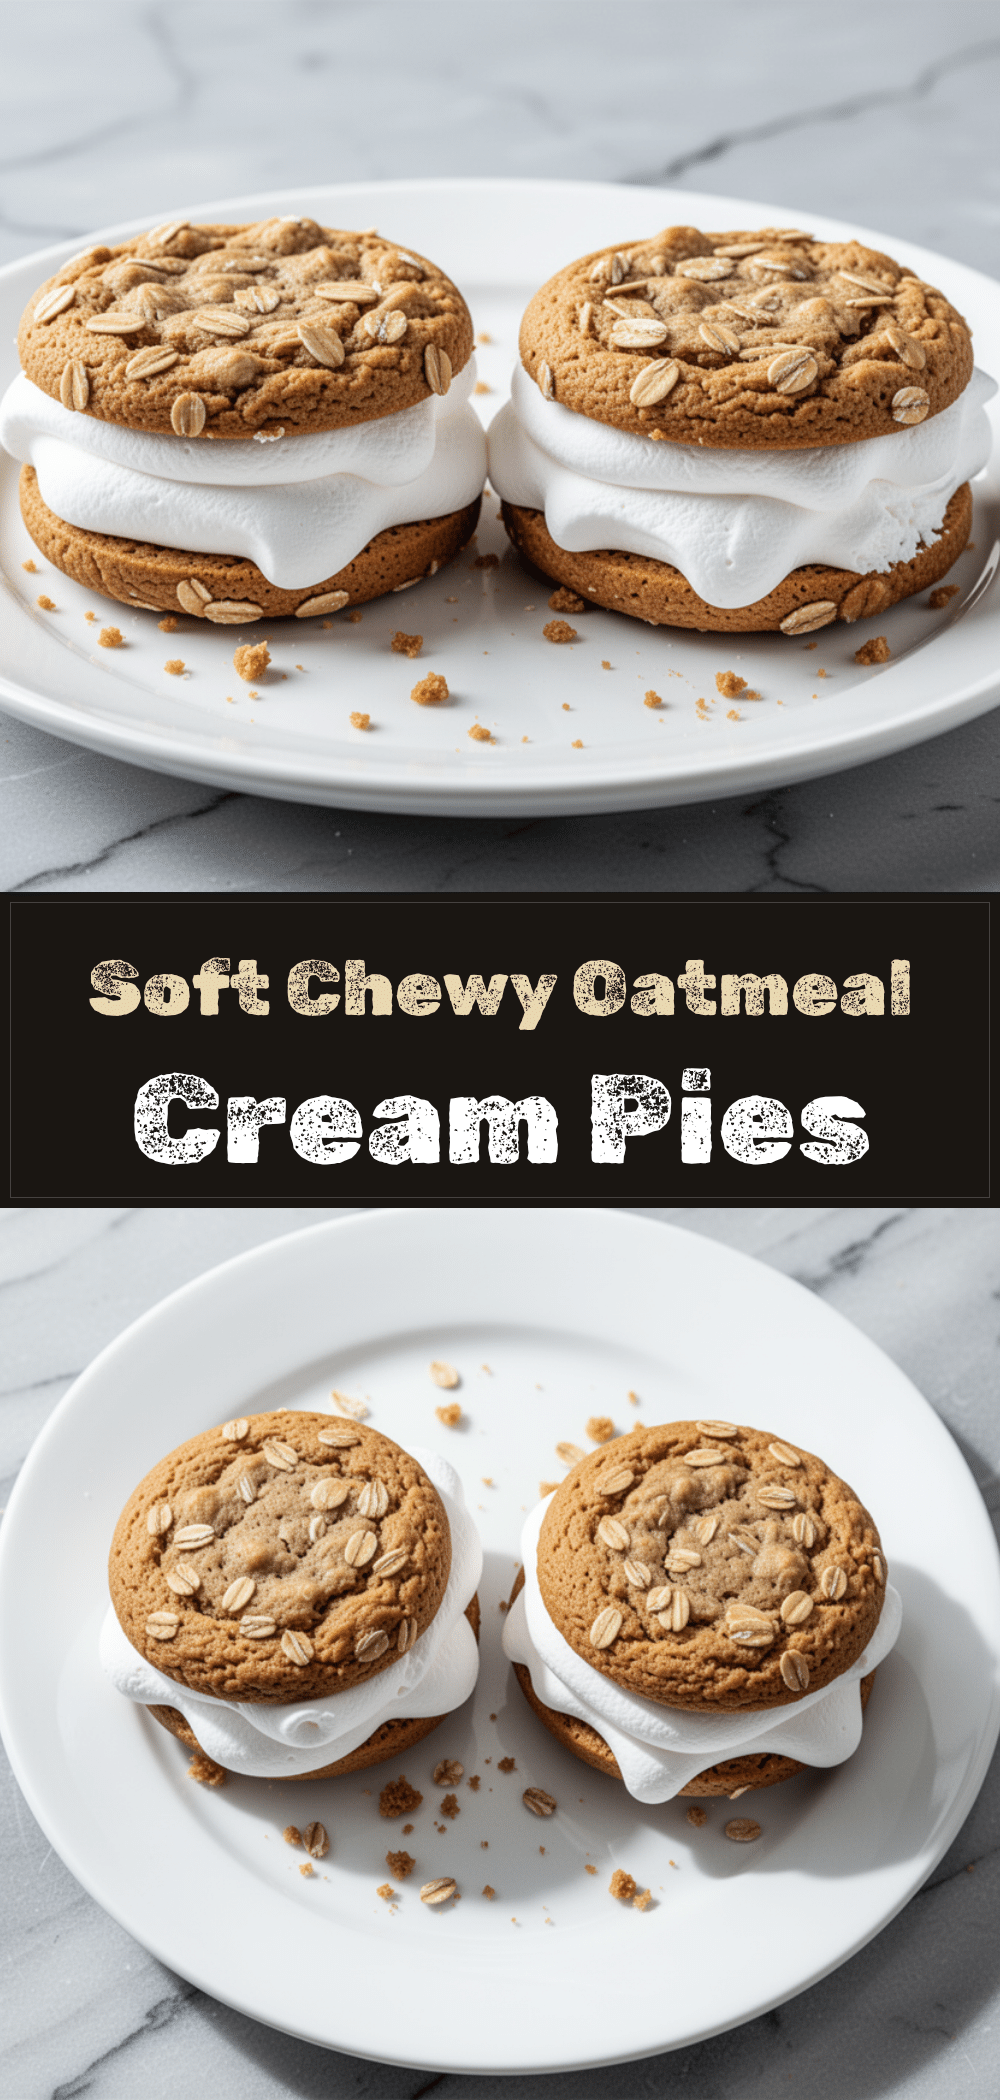
Chewy Oatmeal Cream Pies: Easy Marshmallow Filling
- Total Time: 45 minutes
- Yield: 15-18 servings 1x
Description
Homemade oatmeal cream pies with a dense, chewy cookie and a light, fluffy marshmallow buttercream filling. A nostalgic, kid-approved treat that is easy to make and perfect for baking with children.
Ingredients
- 3 cups old-fashioned rolled oats
- 1 cup unsalted butter, softened (for cookies)
- 1 cup packed brown sugar
- ½ cup granulated sugar
- 2 large eggs, room temperature
- 2 teaspoons vanilla extract
- 2 cups all-purpose flour
- 1 teaspoon baking soda
- 1 teaspoon salt
- 1 jar (7 oz) marshmallow fluff
- ½ cup unsalted butter, softened (for frosting)
- 3–4 cups powdered sugar
- 1 teaspoon vanilla extract (for frosting)
- ¼ teaspoon salt (for frosting)
- 1–2 tablespoons milk or cream (optional, for frosting consistency)
- ½ cup mini chocolate chips (optional)
- ½ cup chopped walnuts or pecans (optional)
Instructions
- Preheat oven to 350°F (175°C) and line baking sheets with parchment paper.
- In a large bowl, whisk together flour, baking soda, and salt; set aside.
- In another large bowl, cream softened butter, brown sugar, and granulated sugar until light and fluffy (3-4 minutes).
- Add eggs one at a time, beating well after each addition, then stir in vanilla extract.
- Gradually add dry ingredients to wet ingredients, mixing on low speed until just combined.
- Fold in rolled oats and optional add-ins (chocolate chips or nuts) by hand.
- Scoop dough onto prepared baking sheets, spacing 2 inches apart.
- Bake for 12-14 minutes until edges are golden but centers look slightly soft.
- Let cookies cool on baking sheet for 5 minutes, then transfer to a wire rack to cool completely.
- While cookies cool, beat softened butter for frosting until creamy.
- Add marshmallow fluff and vanilla to butter, beat until smooth.
- Gradually add powdered sugar, beating on low then medium-high until light and fluffy.
- Pipe or spoon frosting onto the flat side of one cookie.
- Press the flat side of a second cookie on top to form a sandwich.
- Repeat with remaining cookies to make 15-18 cream pies.
Notes
Ensure butter is softened, not melted, for proper texture. Do not overbake cookies; they should look slightly underdone in the center to remain chewy. Cool cookies completely before filling to prevent frosting from melting. Store in an airtight container at room temperature for up to 5 days or freeze for up to 3 months.
- Prep Time: 30 minutes
- Cook Time: 14 minutes
- Category: Dessert
- Cuisine: American
Nutrition
- Serving Size: 1 cream pie
- Calories: 280
- Sugar: 28
- Sodium: 180
- Fat: 12
- Saturated Fat: 7
- Carbohydrates: 42
- Fiber: 2
- Protein: 4
Keywords: oatmeal cream pies, marshmallow filling, homemade cookies, kid-friendly baking, chewy oatmeal cookies, marshmallow fluff frosting, easy dessert



