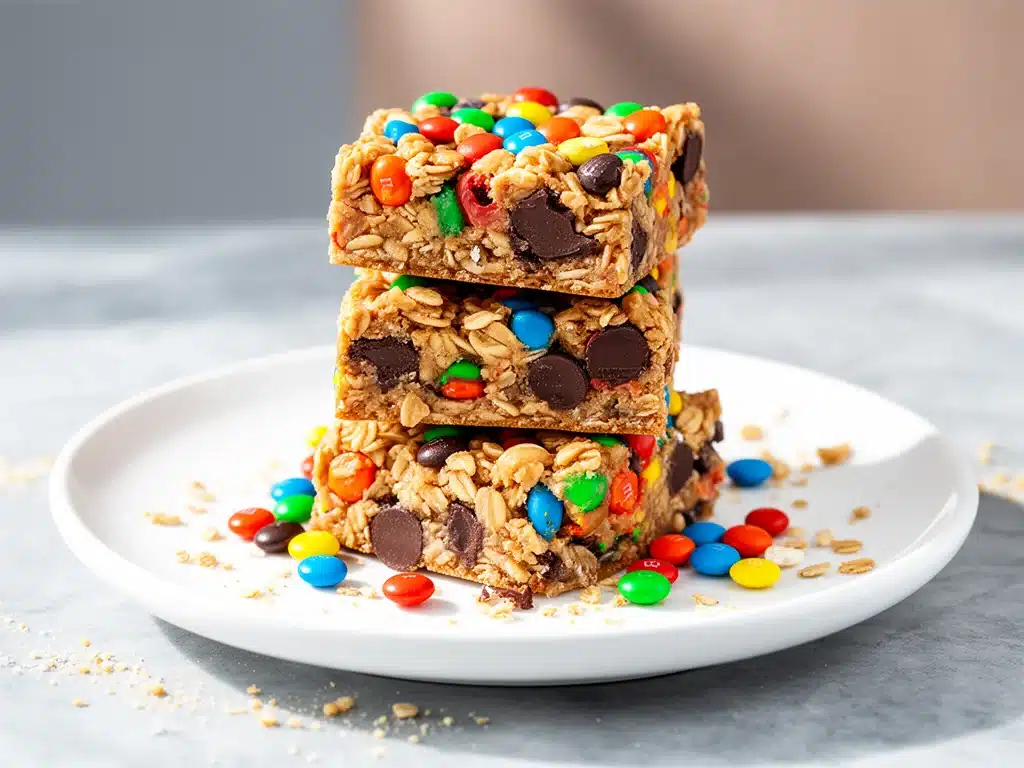
One Thursday evening, I found myself staring at an empty cookie jar and a fridge full of random pantry odds and ends. My kids were bouncing off the walls after school, and I needed a quick, no-fuss treat that wouldn’t have me turning on the oven or making a mess I’d regret later. Enter these chewy no-bake monster cookie bars—my accidental lifesaver that night. I tossed together a handful of ingredients, crossed my fingers, and within 20 minutes, had a pan full of chewy, colorful bars that disappeared faster than I could say “bedtime.”
After testing this recipe over a dozen times (because yes, I had to be sure), I’m convinced these chewy no-bake monster cookie bars are the ultimate go-to for busy weeknights. They’re fast, fun, and forgiving—plus, they satisfy that sweet tooth without a ton of fuss. If you’ve ever wished for a dessert that’s easy enough to whip up on a hectic evening but still feels like a special treat, this recipe is for you.
Why You’ll Love This Recipe
This recipe has completely changed how I handle those hectic evenings when dessert just can’t wait.
- Speedy Prep — From pantry to plate in under 30 minutes, no baking required. I’ve made these bars on nights when dinner ran late, and they still saved the day.
- Kid-Approved — My kids have begged for these bars more than once, and I’ve caught them sneaking bites straight from the pan. The monster mix-ins make it feel like a treat, but it’s packed with oats and peanut butter for some staying power.
- Mess-Free — No oven, no timer, no flour flying everywhere. Seriously, if you can stir and press, you can make these. Perfect for when you’re multitasking or just not in the mood for a kitchen deep clean.
- Flexible Ingredients — Don’t love peanut butter? Swap in almond or sunflower butter. No M&Ms? Use chocolate chips or raisins. I’ve tried all sorts of variations and they all work beautifully.
- Great for Meal Prep — These bars keep well in the fridge for up to a week, making them perfect for quick snacks or lunchbox surprises. I often make a double batch on Sundays.
Honestly, these chewy no-bake monster cookie bars have become my secret weapon for juggling busy weeknights while keeping everyone happy and fed. It’s one of those recipes that makes me feel like a kitchen superhero—without the cape.
Ingredients You’ll Need
Here’s the best part: you probably have most of these ingredients already. I’m pretty particular about using creamy peanut butter and quick oats here, and I’ll explain why.
- Peanut Butter (1 cup / 240g) — Creamy works best for binding everything together smoothly. Natural peanut butter is fine, but stir it well first. Avoid crunchy unless you love surprises in every bite.
- Honey (½ cup / 120ml) — The glue that holds these bars together. I’ve tried maple syrup and agave, but honey gives the best chew and flavor.
- Vanilla Extract (1 teaspoon) — A little goes a long way in boosting flavor. Use pure vanilla for the best taste.
- Quick Oats (3 cups / 270g) — I use quick oats because they absorb the peanut butter and honey better, giving that chewy texture. Old-fashioned oats work but make the bars a little coarser.
- Mini M&Ms (1 cup / 170g) — The “monster” part! Feel free to swap in mini chocolate chips, Reese’s Pieces, or chopped nuts if you want. These add color and a fun crunch.
- Chopped Nuts (½ cup / 60g) — Optional, but I like pecans or walnuts for extra texture and flavor. Toast them lightly for a nuttier taste.
- Salt (⅛ teaspoon) — Balances the sweetness and enhances the peanut butter flavor. Don’t skip it.
Quick note: I keep a jar of creamy peanut butter and quick oats on hand at all times because these bars are one of my favorite last-minute fixes. Also, if you ever want to switch things up, using almond butter or adding shredded coconut works beautifully.
Equipment Needed
You don’t need fancy equipment for this. Here’s what I actually use:
- Mixing Bowl — Any medium to large bowl works. I use a 3-quart glass bowl because it’s easy to scrape out the sticky mixture.
- Spoon or Spatula — For stirring and pressing the mixture evenly into the pan. Silicone spatulas are my favorite.
- 8×8-inch Baking Pan — I line mine with parchment paper for easy removal. You can also use a 9×9-inch pan if that’s what you have; the bars will be slightly thinner.
- Measuring Cups and Spoons — Pretty standard, but accurate measuring helps get the texture just right.
Optional but handy:
- Microwave-Safe Bowl — If you want to warm the peanut butter and honey slightly for easier mixing.
- Sharp Knife — To cut the bars neatly once they’re set.
How to Make It: Step-by-Step
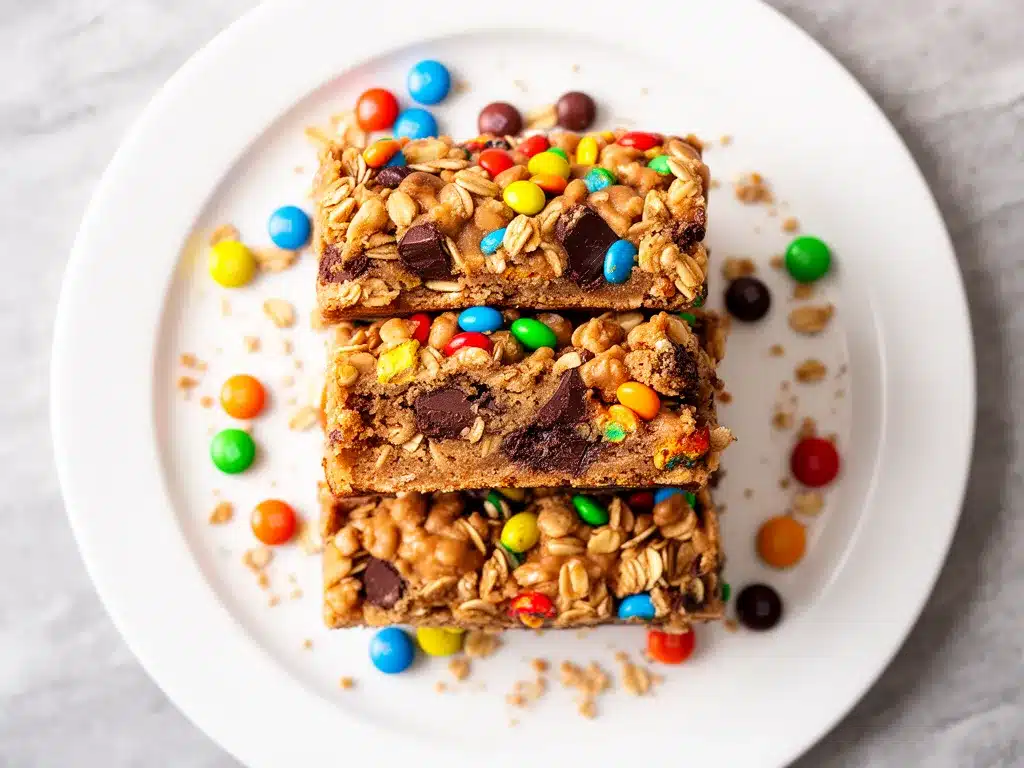
Alright, let’s make these chewy no-bake monster cookie bars! I’m walking you through exactly how I do it, including the little tricks I’ve picked up.
Step 1: Prep Your Ingredients (5 minutes)
Measure out your peanut butter, honey, vanilla, oats, and mix-ins. If your peanut butter is thick or cold, microwave it for 20-30 seconds to soften—it makes mixing way easier. Line your baking pan with parchment paper, leaving some overhang to lift the bars out later.
Step 2: Combine Wet Ingredients (2 minutes)
In your mixing bowl, stir together the peanut butter, honey, and vanilla extract until smooth and well blended. If it’s too thick, warming it slightly helps. This sticky mixture is the glue, so make sure it’s combined well.
Step 3: Add Dry Ingredients (3 minutes)
Add the quick oats, salt, chopped nuts (if using), and mini M&Ms to the wet mixture. Stir gently but thoroughly until everything is evenly coated. Be careful not to crush the M&Ms while mixing; you want those colorful pops intact.
Step 4: Press into the Pan (3 minutes)
Transfer the mixture to your lined pan. Use the back of your spatula or clean hands (dampen slightly to prevent sticking) to press the mixture firmly and evenly into the pan. The firmer you press, the better the bars will hold together.
Step 5: Chill and Set (15-20 minutes)
Pop the pan into the fridge and let it chill until firm—usually about 15-20 minutes. If you’re in a hurry, the freezer works too (just don’t forget to check so they don’t freeze solid!). Once set, use the parchment overhang to lift the whole block out and cut into bars or squares.
Step 6: Serve and Enjoy
Serve immediately or store in an airtight container. These bars are chewy, colorful, and full of that peanut butter-honey goodness that keeps you coming back for more.
Expert Tips & Tricks
Here’s everything I’ve learned from making these bars dozens of times. These tips will save you from my mistakes.
- Warm Your Peanut Butter and Honey: This makes mixing easier and ensures a smooth, even texture. Don’t skip this step unless your peanut butter is already very soft.
- Don’t Overmix the M&Ms: Stir gently at the end so they don’t get crushed and lose their charm.
- Press Firmly: I can’t stress this enough. A tightly packed pan means bars that hold together instead of crumbling apart.
- Use Quick Oats: I tried old-fashioned oats, but quick oats give a softer, chewier bar. If you only have old-fashioned, pulse them in a food processor a few times.
- Let Bars Fully Cool: They might seem a bit soft when you first take them out, but give them time to firm up in the fridge for the best texture.
- Storage: Keep these bars in an airtight container in the fridge. They stay chewy and fresh for up to a week.
Common mistake: trying to cut the bars before they’re fully set. I’ve done it—hello, crumbly mess! Just be patient, it’s worth it.
Variations & Substitutions
Once you’ve nailed the basic recipe, here’s how you can mix it up. I’ve tried all of these and they’re all winners.
- Almond Butter Version — Swap peanut butter for almond butter for a milder, nuttier flavor.
- Sunflower Seed Butter — Perfect if you’re allergic to nuts. The flavor is slightly different but just as delicious.
- Chocolate Lover’s — Add ½ cup mini chocolate chips or drizzle melted chocolate over the top before chilling.
- Gluten-Free — Use certified gluten-free oats to keep these bars safe for gluten-sensitive eaters.
- Vegan — Replace honey with maple syrup and make sure your mix-ins are vegan-friendly.
- No Nuts — Omit the chopped nuts and add extra M&Ms or sunflower seeds for crunch.
- Protein Boost — Stir in a scoop of your favorite protein powder with the oats for an energy-packed snack.
Serving & Storage
I usually keep these chewy no-bake monster cookie bars in the fridge and grab one whenever I need a quick sweet pick-me-up. Here’s how I serve and store them:
- Serving Suggestions — Perfect with a cold glass of milk or a hot cup of coffee. I also like to crumble them over yogurt for an easy parfait.
- Storage — Store in an airtight container in the fridge for up to 7 days. They stay chewy and fresh.
- Freezing — You can freeze these bars wrapped tightly in plastic wrap and foil for up to 3 months. Thaw in the fridge overnight before serving.
- Travel-Friendly — Great for lunchboxes or on-the-go snacks. Just wrap individually for easy packing.
Nutrition Information
I’m not a nutritionist, but here’s the approximate breakdown per bar if you cut the batch into 12 squares:
| Calories | 190 |
|---|---|
| Protein | 5g |
| Carbohydrates | 22g |
| Fiber | 3g |
| Sugar | 14g |
| Fat | 9g |
| Saturated Fat | 2g |
| Sodium | 90mg |
What’s good: decent protein from peanut butter, fiber from oats, and energy-packed from natural sugars. What to know: these are treats, not diet food, but way better than store-bought processed bars. Adding nuts boosts the healthy fats and crunch.
Final Thoughts
So that’s my go-to chewy no-bake monster cookie bars recipe! I’ve probably talked your ear off by now, but when you make a recipe this often, you have a lot to say about it.
This recipe has saved me on too many busy weeknights to count—when I’m tired, the kids are hungry, and I don’t want to bake but still want something homemade. My family loves them, and I love that they’re quick and simple without sacrificing flavor or fun.
Make it yours! Swap in your favorite nut butters, mix-ins, or add a sprinkle of sea salt on top. The best recipes are the ones you tweak to fit your kitchen and your family’s tastes.
If you make these chewy no-bake monster cookie bars, drop a comment and let me know how they turned out! I’m always here to help troubleshoot or share more ideas.
Happy snacking! And here’s hoping your kitchen smells as good as mine does right now.
Frequently Asked Questions
Q: Can I use natural peanut butter instead of creamy?
A: You can! Just give it a good stir first since natural peanut butter separates. The bars might be a bit less smooth but still delicious. If your peanut butter is very thick, warming it slightly helps with mixing.
Q: My bars are crumbly and falling apart—what went wrong?
A: Most likely you didn’t press the mixture firmly enough into the pan or the peanut butter and honey weren’t mixed well. Also, make sure to chill the bars long enough to set. I’ve learned to really pack the mixture down tightly with a spatula or my hands (dampened so it doesn’t stick).
Q: Can I substitute maple syrup for honey?
A: Yes, you can, but the texture will be a bit softer and less chewy. Honey gives a nice stickiness that helps the bars hold together better. I’ve tried maple syrup and it still works, but honey is my favorite.
Q: How long do these bars last?
A: Stored in an airtight container in the fridge, they keep well for up to a week. They get a little firmer but stay chewy and tasty. I don’t recommend leaving them out at room temperature for more than a day because of the peanut butter and honey.
Q: Can I add protein powder to this recipe?
A: Absolutely! I usually add a scoop of vanilla or unflavored protein powder when I’m making these for an afternoon pick-me-up. Just mix it in with the oats before combining everything. It thickens the mixture a bit, so you might need an extra tablespoon of honey or peanut butter.
Q: Can I make these bars nut-free?
A: Yes! Use sunflower seed butter instead of peanut butter, and swap nuts for seeds like pumpkin or sunflower seeds. Make sure your mix-ins don’t have nuts too. These bars still come out chewy and delicious without nuts.
Q: Can I double the recipe?
A: Definitely! Just double all the ingredients and use a larger pan (like a 9×13-inch). The chilling time might be a little longer to fully set, so plan accordingly. I do this all the time when I want to have snacks ready for the week.
Also, if you love no-bake treats, you might enjoy my no-bake peanut butter chocolate bars or the crowd-pleasing chewy oatmeal raisin cookies that are perfect for busy days.
Pin This Recipe!
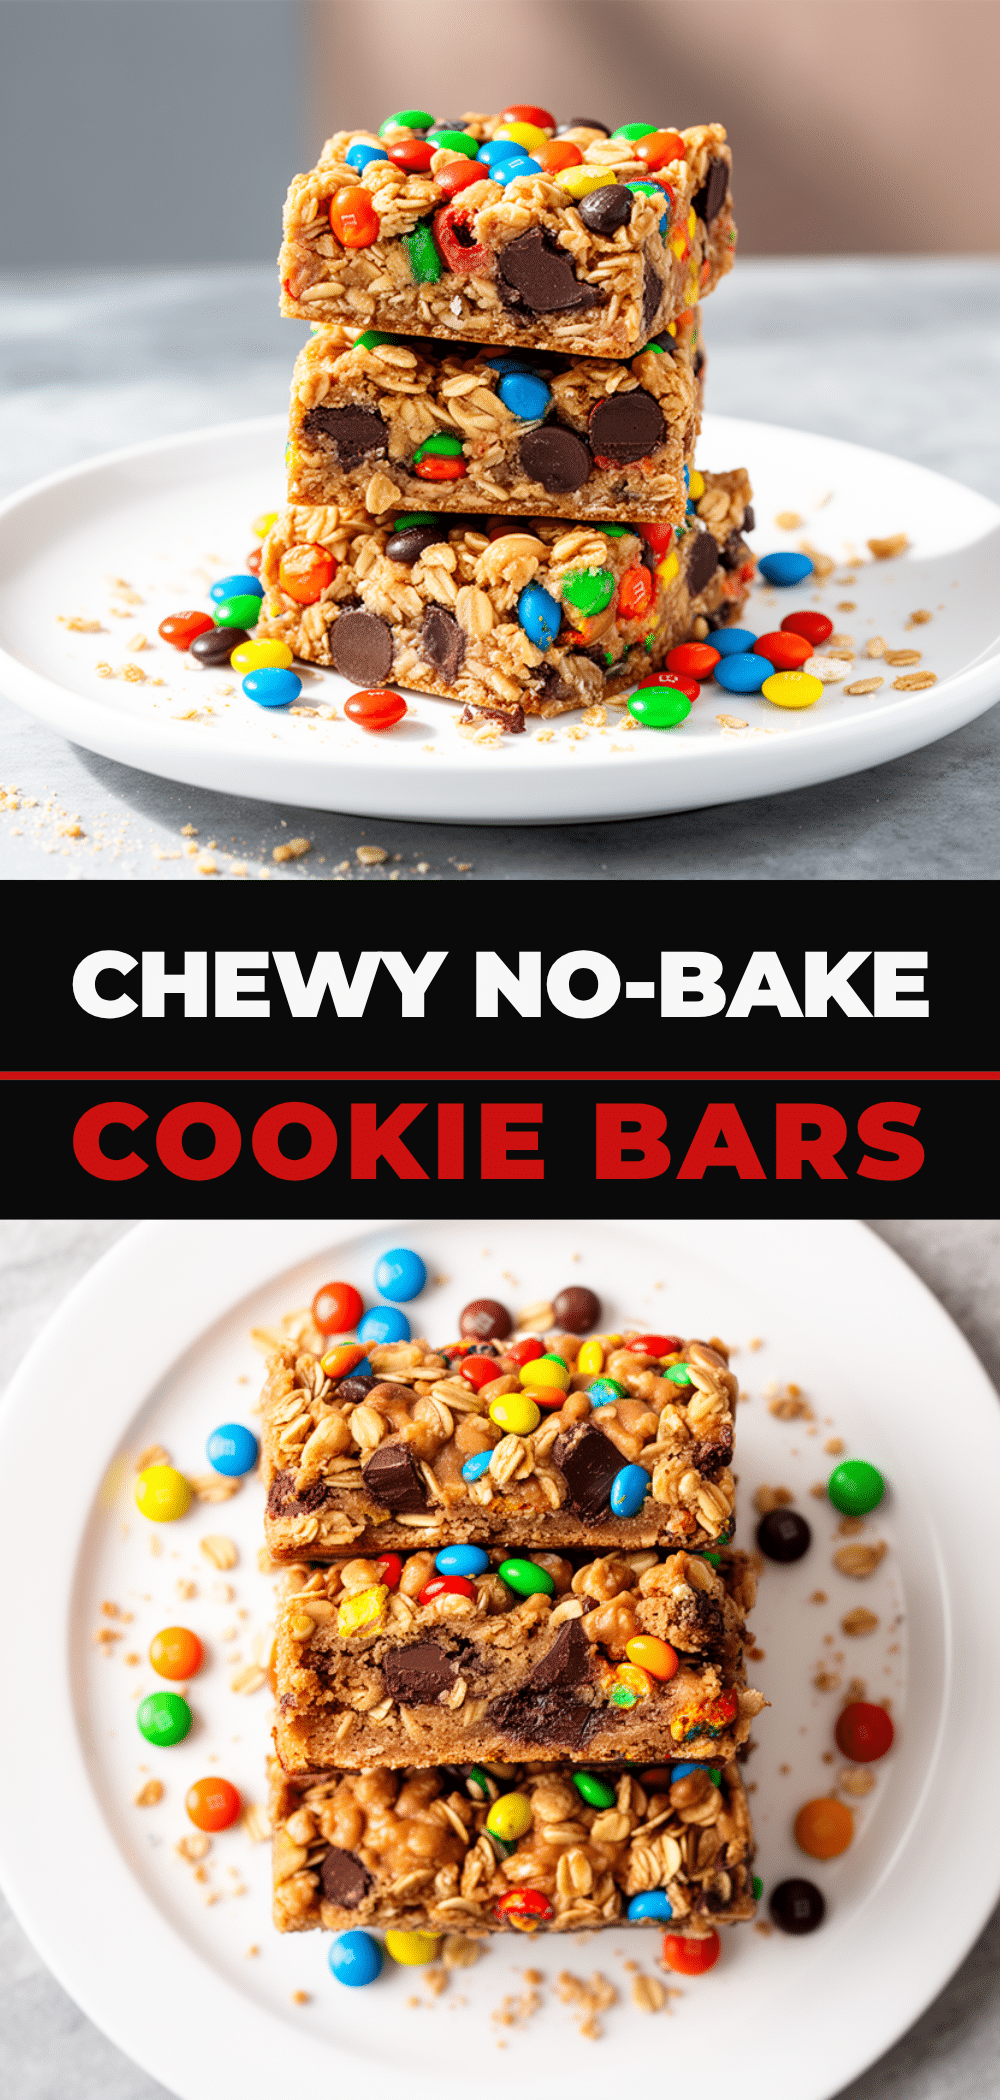
Chewy No-Bake Monster Cookie Bars
- Total Time: 25-30 minutes
- Yield: 12 bars 1x
Description
Quick and easy no-bake cookie bars packed with oats, peanut butter, honey, and colorful mix-ins, perfect for busy weeknights and kid-approved treats.
Ingredients
- 1 cup creamy peanut butter (240g)
- 1/2 cup honey (120ml)
- 1 teaspoon vanilla extract
- 3 cups quick oats (270g)
- 1 cup mini M&Ms (170g)
- 1/2 cup chopped nuts, optional (60g)
- 1/8 teaspoon salt
Instructions
- Measure out peanut butter, honey, vanilla, oats, and mix-ins. Microwave peanut butter for 20-30 seconds if thick or cold. Line an 8×8-inch baking pan with parchment paper.
- In a mixing bowl, stir together peanut butter, honey, and vanilla extract until smooth and well blended. Warm slightly if too thick.
- Add quick oats, salt, chopped nuts (if using), and mini M&Ms to the wet mixture. Stir gently until evenly coated, being careful not to crush the M&Ms.
- Transfer mixture to the lined pan. Press firmly and evenly into the pan using a spatula or dampened hands.
- Chill in the refrigerator for 15-20 minutes until firm. Alternatively, use the freezer but monitor to avoid freezing solid.
- Lift the set block out using parchment overhang and cut into bars or squares. Serve immediately or store in an airtight container.
Notes
Warm peanut butter and honey slightly for easier mixing. Press mixture firmly into the pan to prevent crumbling. Use quick oats for best chewy texture. Chill bars fully before cutting. Store in airtight container in fridge up to 7 days or freeze up to 3 months.
- Prep Time: 10 minutes
- Cook Time: 0 minutes
- Category: Dessert
- Cuisine: American
Nutrition
- Serving Size: 1 bar
- Calories: 190
- Sugar: 14
- Sodium: 90
- Fat: 9
- Saturated Fat: 2
- Carbohydrates: 22
- Fiber: 3
- Protein: 5
Keywords: no-bake, monster cookie bars, peanut butter bars, quick dessert, kid-friendly, easy recipe, chewy bars, no oven dessert



