I have a confession to make. For years, I avoided making trifle. I thought it was one of those fancy, high-maintenance desserts that required a chef’s degree, a dozen different recipes, and a level of precision that terrified me. I imagined delicate layers of homemade sponge cake, intricate piping, and a disaster waiting to happen if I so much as sneezed near the glass bowl.
Then, last July, I stood in my kitchen staring at a gallon of fresh strawberries and a pint of blueberries that were screaming to be used. My grill was smoking outside because I was attempting easy Labor Day BBQ chicken skewers, and my oven was hot enough to melt my face off. I didn’t want to bake. I didn’t want to stand over a hot stove. I just wanted something sweet, cool, and easy that would make my guests go “wow” without me stressing out.
So I threw everything into a big glass bowl. I crushed some store-bought cookies, whipped some cream, and layered the berries. I didn’t measure a thing. I just piled it high. When I served it, my husband took one bite, closed his eyes, and said, “Okay, we are making this every summer now.”
That was the moment I realized that berry trifle for summer cookouts isn’t about perfection. It’s about simplicity. It’s about taking ingredients you already have and letting them shine. This recipe is beginner-proof because there are no complicated techniques. No baking. No tempering chocolate. No delicate pastry work. Just layers of creamy, fruity goodness that come together in about 15 minutes. If you can open a box and scoop a spoon, you can make this. Seriously. You really can’t mess this up.
Why You’ll Love This Simple Berry Trifle
There are about ten reasons I keep coming back to this dessert, but let’s be honest—you’re here because you want something that works. Here is why this berry trifle has earned a permanent spot in my summer rotation:
- Zero Baking Required — This is the biggest selling point. The oven stays off, your kitchen stays cool, and you save on energy bills. It’s the perfect solution when it’s 90 degrees outside and the last thing you want to do is heat up your house.
- Pantry and Fridge Staples — You don’t need to run to three different stores. I’m talking heavy cream, sugar, vanilla, cookies (or cake), and berries. That’s it. If you have a carton of cream and a bag of frozen or fresh berries, you’re already 80% done.
- Forgiving and Flexible — Ran out of strawberries? Use raspberries. Don’t like vanilla cookies? Use ladyfingers or even crumbled pound cake. This recipe is like a puzzle where every piece fits. I’ve made it with graham crackers, sponge cake, and shortbread cookies, and every version is delicious.
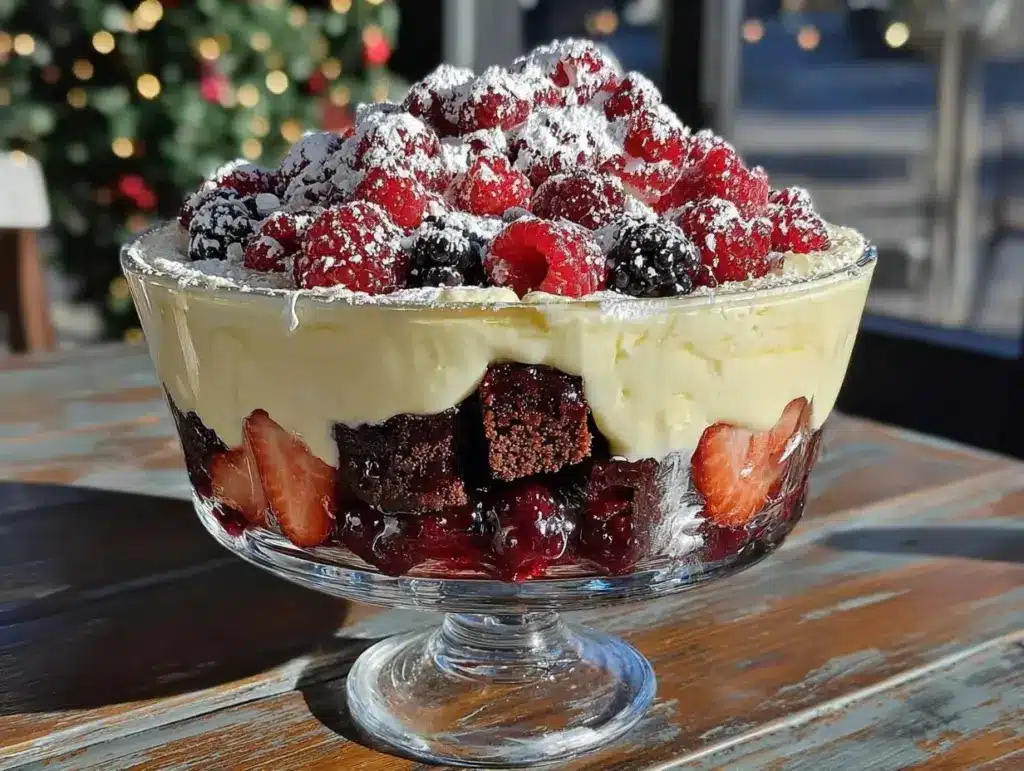
- Makes a Stunning Visual — Because you build it in a clear glass bowl, it looks like you spent hours on it. The layers of red, purple, and white are Instagram-worthy, but the effort is basically just stacking. It’s the ultimate “look hard, work easy” dessert.
- Perfect for Crowds — This makes a huge batch. I can feed 12-15 people easily without breaking a sweat. It’s the ultimate party pleaser because everyone gets a little bit of everything in every spoonful.
This is my go-to when I need a dessert that feels special but requires zero stress. It’s reliable, it’s delicious, and it’s going to make you look like a culinary genius without you having to actually be one.
Ingredients You’ll Need
Here’s the best part: this ingredient list is short. I’m being very particular about only three things, but the rest is up to your taste. This looks like a basic list, but the combination is what makes it magic.
For the Cream Layer
Heavy whipping cream (2 cups / 480ml) — This is non-negotiable for texture. You need the fat content to whip up stiff peaks. Half-and-half won’t work here; it’s too thin. If you can’t find heavy cream, you can try panna cotta techniques, but for this, stick to heavy cream for that airy, cloud-like texture.
Granulated sugar (½ cup / 100g) — You don’t need much because the berries are sweet. I find that ½ cup is the perfect balance. If you’re using very sweet berries, you can drop it to ⅓ cup. Taste your cream before adding more; you can always add sugar, you can’t take it away.
Vanilla extract (1 tablespoon / 15ml) — Use the real stuff. I know it’s pricier, but in a recipe with only four ingredients, the vanilla flavor will dominate. Fake vanilla tastes chemical and bitter. A good vanilla extract makes this taste homemade and expensive.
Unflavored gelatin (1 packet / 2.5 teaspoons) — This is my secret weapon. It stabilizes the cream so it doesn’t weep or get runny at room temperature. If you’re having a cookout where the trifle sits out for a while, this is crucial. Skip it if you’re eating it immediately, but I highly recommend it for beginners who want a clean slice.
For the Fruit Layer
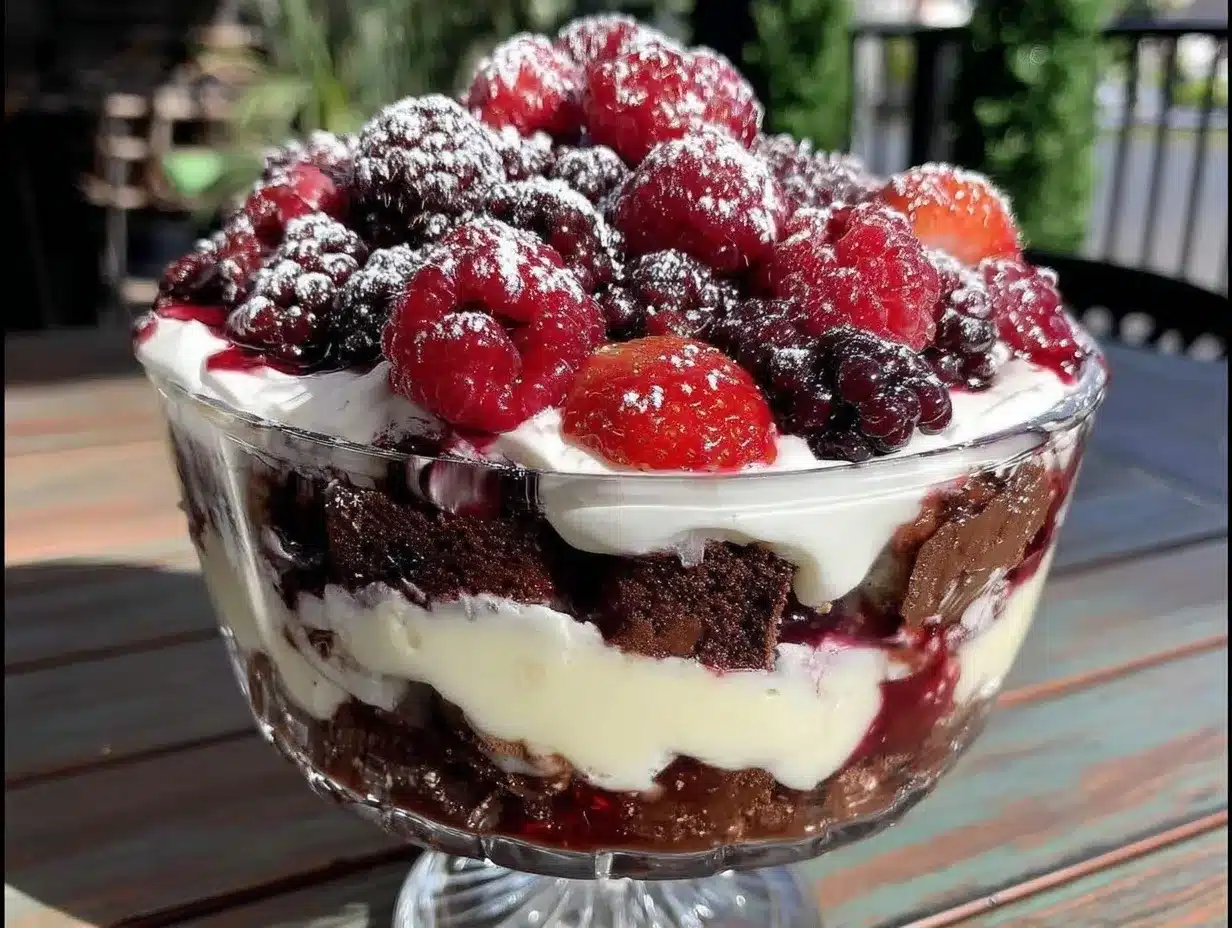
Mixed berries (3-4 cups / 400-500g) — I use a mix of strawberries, blueberries, and raspberries for color contrast. Fresh is best, but frozen works too (just thaw and drain well). I sometimes use mini cheesecake bites with berry topping vibes, but this is way easier and lighter.
Lemon juice (1 tablespoon / 15ml) — This isn’t for taste; it’s for brightness. It cuts through the richness of the cream and keeps the berries from tasting flat. Trust me, it makes a huge difference.
Simple syrup or honey (2 tablespoons / 30ml) — Optional, but if your berries are tart, a little drizzle helps. I usually just toss the berries in the lemon juice and let them sit.
For the Base/Crunch Layer
Vanilla wafers or ladyfingers (1 package / about 30 cookies) — This is the classic choice. I like vanilla wafers because they hold their shape better than ladyfingers, which can get soggy too fast. If you want to try something different, crumbled lemon lavender shortbread cookies would be amazing, or even leftover pound cake.
Optional: Cream cheese (4 oz / 115g) — Some people mix softened cream cheese into the whipped cream for a cheesecake flavor. It’s delicious, but it makes the whipping process harder. For a beginner-proof recipe, stick to just the cream, sugar, and vanilla.
Equipment Needed
You don’t need fancy gadgets for this. Here’s what I actually use:
Large glass trifle bowl or punch bowl — I use a 6-quart bowl. It needs to be clear so you can see the pretty layers. If you don’t have a trifle bowl, a large mixing bowl or even a deep casserole dish works. Just make sure it’s big enough to hold all the layers.
Electric hand mixer or stand mixer — While you *can* whip cream by hand, I strongly recommend a mixer. It takes 3 minutes with a mixer and 15 minutes with a whisk. Save your arms for the cookout.
Large mixing bowls — You’ll need one for the cream and one for the fruit. I use two separate bowls so I don’t get berry juice in my cream.
Whisk or spatula — For folding the cream gently. You want to keep the air in the cream, so use a gentle hand.
Knife and cutting board — For slicing the strawberries. I slice them into quarters or halves, depending on their size.
Measuring cups and spoons — Standard stuff. Dollar store versions work fine here.
Colander — If you’re using frozen berries, you’ll need this to drain the excess liquid. Wet berries = soggy trifle.
How to Make It: Step-by-Step
Alright, let’s make this! I’m walking you through exactly how I do it, including the little tricks I’ve picked up to keep it beginner-proof.
Step 1: Prep Your Berries (5 minutes)
Wash your berries thoroughly. If you’re using strawberries, hull them and slice them into even pieces. Toss them in a bowl with the lemon juice. Let them sit while you make the cream. The berries will release some juice, which is good—it flavors the next layer. If you’re using frozen berries, thaw them in a colander first and pat them dry with paper towels. You want them moist, not swimming in water.
Step 2: Bloom the Gelatin (5 minutes)
If you’re using gelatin, sprinkle the powder over 2 tablespoons of cold water in a small bowl. Let it sit for 5 minutes until it looks like a rubbery sponge. Then, microwave it for 10 seconds until it’s liquid. Let it cool for a minute. This step ensures the gelatin dissolves evenly into the cream without getting clumpy.
Step 3: Whip the Cream (3-5 minutes)
Pour the cold heavy cream into a large, chilled bowl. If your kitchen is warm, chill your bowl in the freezer for 10 minutes first. Add the sugar and vanilla extract. Beat on medium-high speed until stiff peaks form. What does that look like? When you lift the beaters, the cream should stand up straight and not droop. Be careful not to over-whip it into butter! Stop as soon as it holds its shape.
Step 4: Fold in the Gelatin
Slowly drizzle the melted gelatin into the whipped cream while mixing on low speed. Mix just until combined. This stabilizes the cream so it stays firm even if it sits out at the party.
Step 5: Build the Layers (10 minutes)
Now for the fun part. Grab your glass bowl. Start with a layer of crushed cookies or whole ladyfingers on the bottom. Don’t pack them down; just let them be. Spread a thick layer of the whipped cream over the cookies. Then, add a layer of the berry mixture. Repeat: cookies, cream, berries. I usually do three layers of each, ending with cream on top.
Step 6: Chill and Serve
Once your trifle is built, cover it with plastic wrap and refrigerate for at least 2 hours. This is crucial. It lets the cookies soften and the flavors meld. If you’re impatient, you can serve it right away, but the texture will be very different (more like a fruit and cream salad). For the classic trifle experience, patience pays off. When you’re ready to serve, garnish with a few fresh berries and a sprig of mint if you have it.
Expert Tips & Tricks
Here’s everything I’ve learned from making this dozens of times. These tips will save you from my early mistakes.
Keep Everything Cold
Heavy cream whips best when it’s cold. If your cream is warm, it won’t whip. Keep your bowl and beaters in the fridge or freezer until the last minute. If your cream gets too warm while whipping, put the bowl in the fridge for 10 minutes and try again.
Don’t Skip the Gelatin for Parties
If this trifle is going to sit on a table at a cookout for an hour or two, the gelatin is your best friend. Without it, the cream will separate and look watery. With it, it stays perfect. I learned this the hard way when my trifle looked sad after 30 minutes at a picnic.
Drain Your Berries Well
If you use frozen berries, the excess water is the enemy. It makes the cookies soggy and the trifle watery. Thaw them, drain them in a colander, and then press them gently with paper towels to remove extra moisture.
Layer Evenly
You don’t need to be perfect, but try to keep the layers roughly even. It makes it easier to scoop and ensures everyone gets a bit of everything. I use a large spoon to spread the cream, which is faster than a spatula.
Make Ahead is Best
This trifle tastes better the next day. The cookies have time to absorb the cream and berry juices, creating a cake-like texture. I usually make it the night before the cookout. It’s even easier because you don’t have to rush.
Variations & Substitutions
Once you’ve nailed the basic version, here’s how you can mix it up. I’ve tried all of these.
Berry Cheesecake Trifle
Mix 4 oz of softened cream cheese into the whipped cream before whipping. It adds a tangy, cheesecake flavor that is incredible. This is similar to the vibe of lemon raspberry cheesecake bars, but in trifle form.
Tropical Trifle
Swap the berries for mango and pineapple. Use vanilla wafers and coconut cream. It’s a vacation in a bowl.
Chocolate Berry Trifle
Add a layer of chocolate pudding between the cream and the berries. Or, use chocolate sandwich cookies (like Oreos) instead of vanilla wafers. This is great if you have kids who prefer chocolate.
Gluten-Free Option
Use gluten-free vanilla wafers or crumbled gluten-free pound cake. Everything else is naturally gluten-free, so this is easy to adapt.
Dairy-Free Option
Use coconut cream (the thick part from a can of full-fat coconut milk) instead of heavy cream. Whip it with sugar and vanilla. It won’t be as stable, so skip the gelatin or use a plant-based stabilizer. It’s lighter and still delicious.
Serving & Storage
How to Serve
I serve this straight from the bowl with a large serving spoon. It looks rustic and inviting. For a fancy touch, add a dollop of extra whipped cream on top of each serving. Fresh mint leaves or a dusting of powdered sugar look pretty too.
Side Dishes
Since this is a rich dessert, pair it with something light. A simple green salad or some of my grilled chicken salad works well to balance the meal. It’s also great alongside savory BBQ dishes, since it’s sweet and refreshing.
Storage Instructions
Refrigerator:
Store covered in the fridge for up to 3 days. The cookies will continue to soften, so it might get a bit mushy after day 2. It’s still good, but best on day 1 or 2.
Freezing:
I don’t recommend freezing this. The texture of the whipped cream changes when thawed—it can become grainy or separate. It’s best made fresh.
Make-Ahead Strategy:
Make it the night before. This is the best way to do it. The flavors meld, the cookies soften, and you have zero stress on the day of the party.
Nutrition Information
I’m not a nutritionist, but here’s the breakdown if you’re tracking. This is a rich dessert, so portion control is key.
Per Serving (based on 12 servings):
- Calories: 280
- Protein: 3g
- Carbs: 28g
- Fiber: 2g
- Sugar: 18g
- Fat: 18g
- Saturated Fat: 11g
What’s Good: It’s a lighter option than a heavy cake or pie. The fruit adds some vitamins and antioxidants. It’s also easy to control portions since it’s served in scoops.
What to Know: It’s high in sugar and fat from the cream and cookies. If you want to lighten it up, use less sugar in the cream and opt for lower-fat cookies. But honestly? It’s a treat. Enjoy it.
Final Thoughts
So that’s my go-to berry trifle for summer cookouts! I’ve probably talked your ear off at this point, but when you make a recipe this often, you have a lot to say about it.
This has saved me more times than I can count. It’s my answer to “what’s for dessert” when I’m tired, don’t want to bake, and still want something that tastes really good. My guests are happy, my family is happy, and I’m happy because I’m not stressed about cooking.
Make it yours! Try different berries, swap the cookies, adjust the sweetness. The best recipes are the ones you adapt to your tastes. If you make this, drop a comment and let me know what you think! I love hearing how recipes turn out in your kitchen. And if something doesn’t work, tell me that too—I’m here to help troubleshoot.
Happy cooking! And I hope your kitchen smells half as good as mine does right now.
Frequently Asked Questions
Can I use frozen berries?
Yes, but you need to thaw them first and drain the excess liquid. If you put frozen berries directly into the trifle, they’ll release water as they thaw, making the trifle soggy. Thaw them in a colander, then pat them dry with paper towels. It takes a few extra minutes but it’s worth it.
Why is my trifle watery?
Usually, this happens because the berries weren’t drained well, or the cream wasn’t whipped stiff enough. Make sure your berries are dry before layering, and whip the cream until it holds stiff peaks. If you’re having a hot party, the gelatin is essential to keep the cream from separating.
Can I make this ahead of time?
Absolutely! In fact, it’s best made the night before. It needs at least 2 hours to set, but 8-12 hours is ideal. The flavors meld, and the cookies soften to a cake-like texture. Just keep it covered in the fridge until you’re ready to serve.
Can I use cake instead of cookies?
Yes! Crumbled pound cake, sponge cake, or even leftover cookies and cream poke cake pieces work great. Just make sure the cake pieces are dry, not moist, so they don’t turn to mush too quickly.
How long does this trifle last?
It’s best eaten within 2 days. After that, the texture starts to break down, and the cookies get too soft. It’s still safe to eat, but the quality drops. I usually make it the night before a party and eat it all by the next day.
Can I double this recipe?
Yes! Just use a larger bowl and double all the ingredients. The layering process is the same. I often double it for big cookouts. Just make sure your bowl is big enough to hold all the layers without overflowing.
Pin This Recipe!
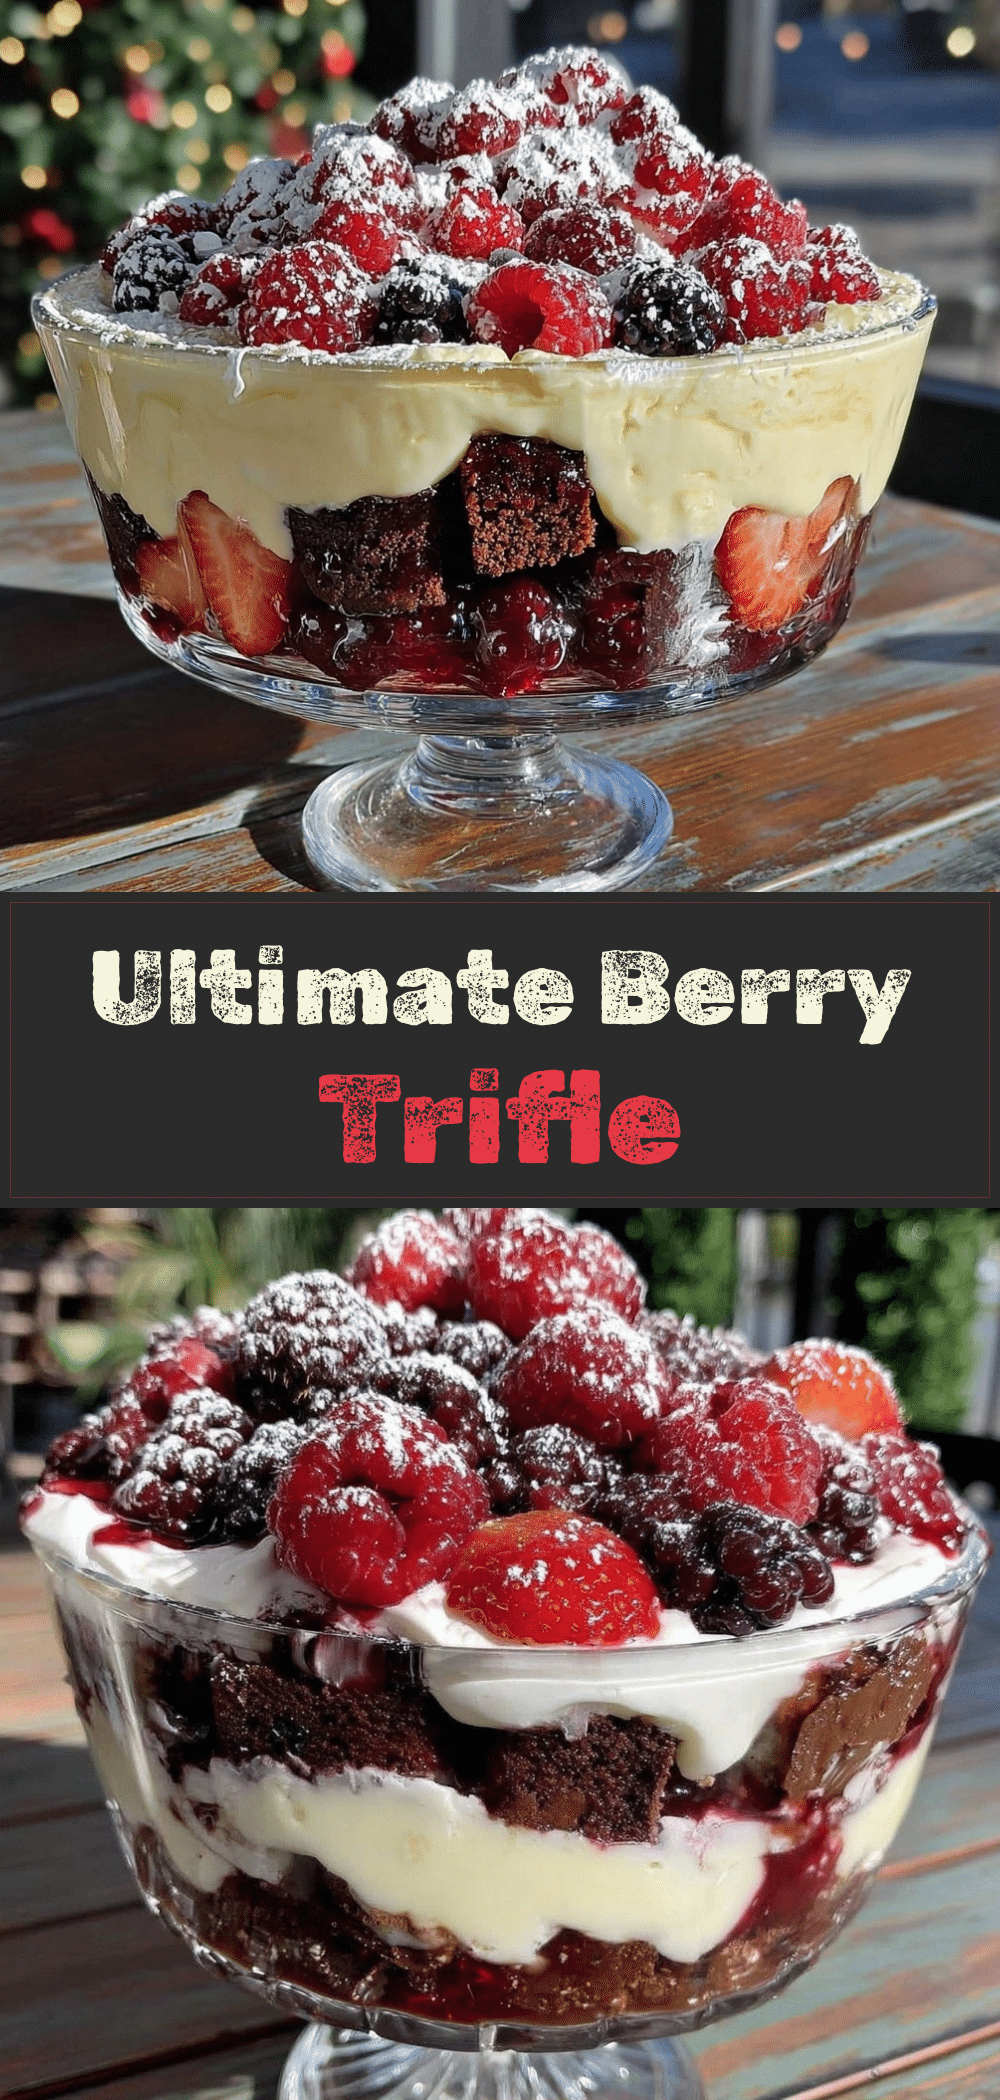

Berry Trifle for Summer Cookouts: Easy & Beginner-Proof
- Total Time: 2 hours 15 minutes
- Yield: 12 servings 1x
Description
A simple, no-bake summer dessert featuring layers of whipped cream, fresh berries, and cookies. This beginner-proof recipe requires zero baking and comes together in about 15 minutes of prep time.
Ingredients
- 2 cups heavy whipping cream
- 1/2 cup granulated sugar
- 1 tablespoon vanilla extract
- 1 packet (2.5 teaspoons) unflavored gelatin
- 2 tablespoons cold water (for blooming gelatin)
- 3–4 cups mixed berries (strawberries, blueberries, raspberries)
- 1 tablespoon lemon juice
- 2 tablespoons simple syrup or honey (optional)
- 1 package vanilla wafers or ladyfingers (about 30 cookies)
- 4 oz cream cheese, softened (optional)
Instructions
- Wash, hull, and slice the berries. Toss them with lemon juice and let them sit.
- Sprinkle gelatin powder over cold water in a small bowl and let it bloom for 5 minutes.
- Microwave the bloomed gelatin for 10 seconds until liquid, then let it cool slightly.
- In a large chilled bowl, whip the heavy cream, sugar, and vanilla extract on medium-high speed until stiff peaks form.
- Slowly drizzle the melted gelatin into the whipped cream while mixing on low speed until combined.
- In a large glass trifle bowl, create layers: start with crushed cookies, followed by a layer of whipped cream, then a layer of berries.
- Repeat the layers (cookies, cream, berries) two more times, ending with cream on top.
- Cover the trifle with plastic wrap and refrigerate for at least 2 hours (or overnight) to set.
- Serve chilled, garnished with fresh berries or mint if desired.
Notes
Keep all equipment and cream cold for best whipping results. If using frozen berries, thaw and drain thoroughly to prevent sogginess. The gelatin is crucial if the trifle will sit out at room temperature for a party. For a cheesecake variation, mix softened cream cheese into the whipped cream. This trifle is best made the night before to allow flavors to meld.
- Prep Time: 15 minutes
- Cook Time: 0 minutes
- Category: Dessert
- Cuisine: American
Nutrition
- Serving Size: 1 scoop
- Calories: 280
- Sugar: 18
- Fat: 18
- Saturated Fat: 11
- Carbohydrates: 28
- Fiber: 2
- Protein: 3
Keywords: berry trifle, summer dessert, no bake dessert, easy trifle, beginner friendly, cookout dessert, whipped cream dessert, layered dessert



