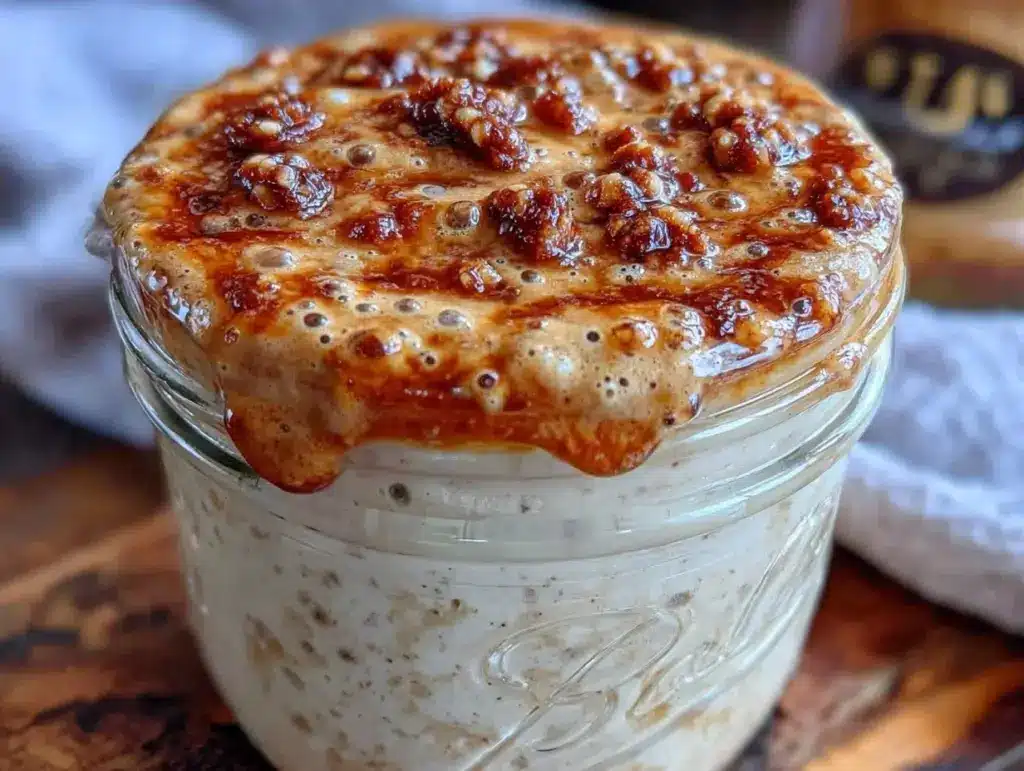
Three years ago, I bought a $18 loaf of sourdough that tasted like cardboard soaked in vinegar. I ate it anyway because I thought I was “doing bread right.” That was my breaking point. I realized I wasn’t baking; I was just following instructions from someone else’s kitchen. So, I decided to start my own starter from scratch. No fancy flours, no expensive jars, just flour, water, and patience.
Here’s the thing about sourdough starters: they aren’t science experiments. They’re living pets. And honestly? They’re lower maintenance than a cat. You feed them, they grow, and they give you the most incredible bread you’ve ever tasted. I’ve tested this beginner-friendly sourdough starter method dozens of times, tweaking the timing and ratios until it was foolproof. It’s the same starter I use for my fall cranberry pecan sourdough focaccia and my weekly sandwich loaves. Once you have this base, the world of baking opens up.
I remember the first time my starter bubbled. It was 2 AM on a Tuesday, and I was staring at a jar on my counter, waiting for something magical to happen. When I saw those tiny bubbles clinging to the side of the glass, I nearly screamed. It wasn’t just dough; it was life. And it was mine. If you can mix flour and water, you can do this. Let’s get you started.
Why You’ll Love This Sourdough Starter Method
There are a million ways to make sourdough starter, but this one strips away the confusion. It’s designed for people who have never baked bread before and are slightly intimidated by the idea of “wild yeast.” Here’s why this method works so well:
Zero Guesswork — Most guides tell you to “wait until it doubles.” But what does that look like in your kitchen? This guide gives you a clear day-by-day schedule. Day 1: Mix. Day 3: Bubbles. Day 7: Ready to bake. It’s predictable.
Pantry Staples Only — You don’t need rye flour or expensive organic whole wheat. All-purpose flour works perfectly fine for starting a starter. I use whatever flour I have on hand. This makes it accessible immediately.
Visual Cues Over Timers — I’ve moved away from strict hour-by-hour feeds. Instead, I teach you to look for the “rise and fall.” When your starter peaks and then starts to slump, that’s your signal. It’s intuitive.
Long-Term Investment — Once you have this starter, you never have to buy yeast again. It’s a one-time effort that pays off for years. I’ve had mine for three years, and it’s stronger than ever. Plus, you can use it to make everything from soft no-knead artisan bread to fluffy pancakes.
Less Waste, More Success — Many starters require you to discard half the batch every day. While discarding is traditional, this method is designed to minimize waste for beginners by using smaller amounts, so you’re not throwing away pounds of dough.
Ingredients You’ll Need
Before we dive in, let’s talk about what you need. It’s a short list, but the quality matters more than you think. I’m not being fancy; I’m being practical.
All-Purpose Flour (500g total) — I use unbleached all-purpose flour. It has enough protein to create structure but isn’t as heavy as bread flour. You’ll need about 1 cup for each feeding. Don’t use self-rising flour; it has leavening agents that will kill your starter.
Filtered Water (500ml total) — Chlorine in tap water can inhibit yeast growth. If you live in an area with heavily chlorinated water, let it sit out for an hour or use filtered/bottled water. Your starter will thank you. I keep a jug of filtered water right next to my flour.
Jar (1-quart capacity) — A wide-mouth mason jar is ideal. You need to see the sides to track the rise. I use a reused pasta sauce jar. Cleanliness is key, but you don’t need to sterilize it. Just make sure it’s rinsed out.
Scale — I know, I know. “Can’t I just use cups?” Yes, you can. But weights are precise. One cup of flour can vary by 20 grams depending on how you scoop it. A $10 digital scale changes everything. If you absolutely must use cups, spoon the flour into the cup and level it off. Don’t scoop and pack.
Non-Metal Spoon — Stainless steel is fine, but I prefer a wooden or plastic spoon. Some people believe metal reacts with the acidity, but I think it’s mostly about ease of cleaning. Plastic or wood is easier to scrape clean.
Equipment Needed
You don’t need a fancy kitchen for this. Here’s what I actually use:
Digital Kitchen Scale — Essential for accuracy. I use the one from Amazon Basics; it’s cheap and accurate enough for home baking.
Wide-Mouth Jar — A 1-quart mason jar is perfect. It needs to be wide enough to stir and see the bubbles. I love glass because it doesn’t retain odors.
Bench Scraper — Not for the starter, but for cleaning up your workspace. A little dough sticks everywhere.
Cheesecloth or Coffee Filter — To cover the jar. You need airflow. Plastic lids trap gas and can cause pressure buildup. I loosely cover my jar with a coffee filter secured with a rubber band.
Marker and Notebook — To draw a line on the jar to track the rise. This is a game-changer for visual learners.
How to Make It: Step-by-Step Guide
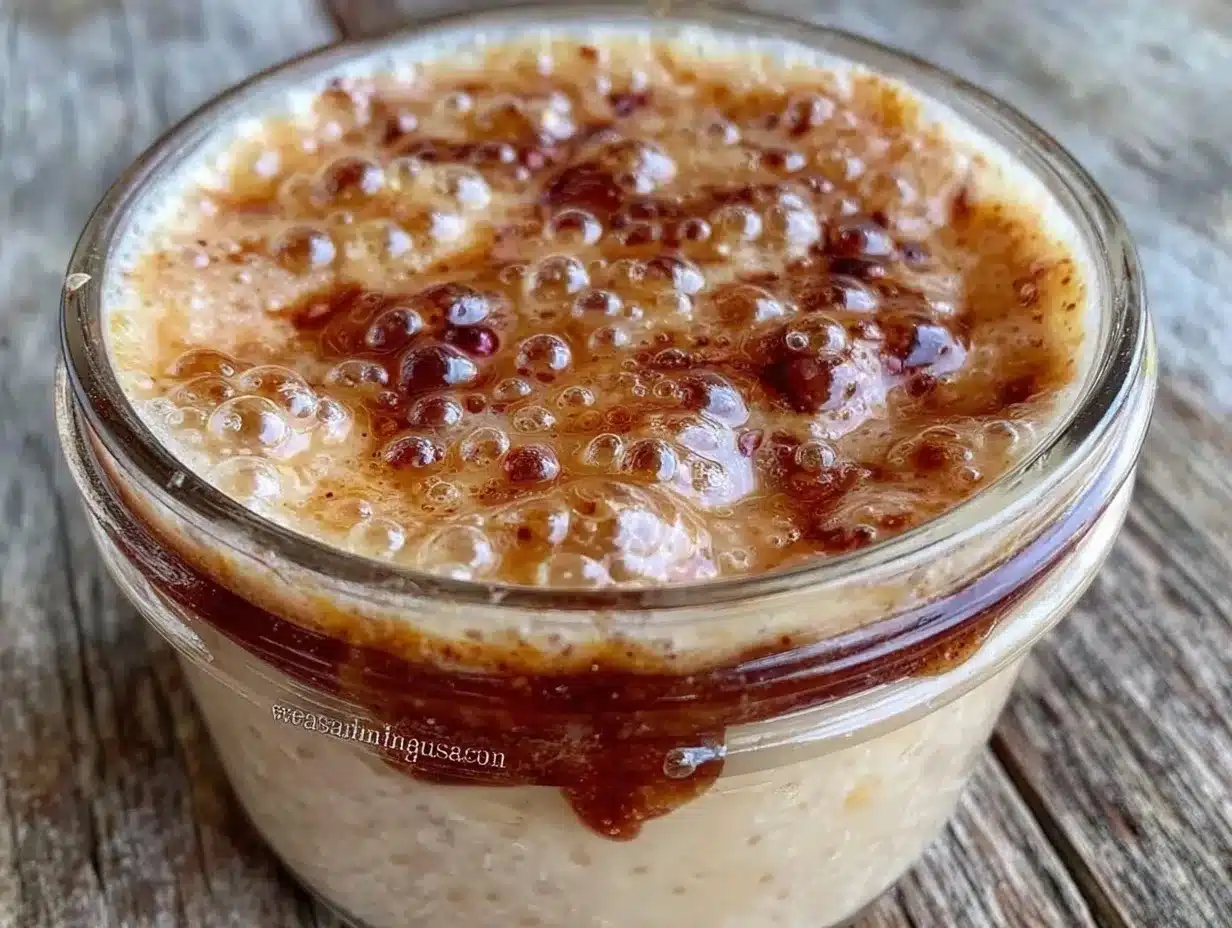
Alright, let’s make this! I’m walking you through exactly how I do it. This is a 7-day process, but most of it is just waiting.
Day 1: The Beginning
50g Flour + 50g Water — In your clean jar, combine 50 grams of all-purpose flour and 50 grams of lukewarm water (about 75°F/24°C). Stir vigorously with your non-metal spoon for about 30 seconds. You want to incorporate as much air as possible. Cover loosely with a coffee filter or lid (not tightened). Let it sit at room temperature (70-75°F) for 24 hours.
What to expect: Nothing much happens. Maybe a few bubbles. Don’t panic.
Day 2: The First Feeding
Discard Half, Add More — By now, you might see a few bubbles. Discard half of the mixture (about 50g). Add 50g flour and 50g water. Stir well. Cover and let sit for 24 hours.
What to expect: Still quiet. This is the hard part. You might think it’s dead. It’s not.
Day 3: The Awakening
Discard Half, Add More — Discard half (50g). Add 50g flour and 50g water. Stir. Cover. Let sit.
What to expect: You should start seeing more bubbles. It might smell a bit sour or yeasty. This is normal. The wild yeast is waking up.
Day 4: The Rise
Discard Half, Add More — Discard half. Add 50g flour and 50g water. Stir. Cover. Let sit.
What to expect: It should start to rise! Draw a line on the jar with a marker to track how high it goes. It might not double, but it should go up.
Day 5: The Peak
Discard Half, Add More — Discard half. Add 50g flour and 50g water. Stir. Cover. Let sit.
What to expect: It should rise significantly, maybe even overflow if you’re not careful. The smell should be pleasantly sour, like yogurt or vinegar.
Day 6: The Test
Discard Half, Add More — Discard half. Add 50g flour and 50g water. Stir. Cover. Let sit.
What to expect: It should be very bubbly and active. Do the “float test”: Drop a small spoonful of starter into a glass of water. If it floats, it’s ready!
Day 7: Ready to Bake
Discard Half, Add More — Discard half. Add 50g flour and 50g water. Stir. Cover. Let sit.
What to expect: Your starter is now mature! It should double in size within 4-6 hours of feeding. It’s ready for your first loaf of soft buttery cinnamon sugar pretzel bites or your first sourdough loaf.
Expert Tips & Tricks
Here’s everything I’ve learned from making this dozens of times. These tips will save you from my mistakes.
Temperature is Key — Yeast loves warmth. If your kitchen is cold (below 65°F), your starter will move slowly. Put it in the oven with the light on (not the burner) to create a warm spot. I use my microwave with a cup of hot water next to the jar to create a warm environment.
Don’t Over-Stir — You want to incorporate air, but you don’t want to knock out all the gas. Gentle but thorough stirring is best.
Trust the Float Test — This is the best way to know if your starter is ready. If it floats, it has enough gas to leaven bread. If it sinks, keep feeding it.
Consistency Matters — Your starter should be the consistency of thick pancake batter. If it’s too thick, add water. If it’s too thin, add flour.
Keep a Log — Write down what you feed it and how it reacts. This helps you troubleshoot if something goes wrong.
Variations & Substitutions
Once you’ve nailed the basic version, here’s how you can mix it up.
Whole Wheat Starter — After your starter is established (Day 7), switch to 100% whole wheat flour for feedings. This creates a more robust, tangy starter perfect for hearty breads.
Rye Starter — Rye flour is high in enzymes and can make a very active starter. Some bakers start with rye, but all-purpose is easier for beginners.
Gluten-Free Starter — You can make a gluten-free starter using gluten-free flour blend. It won’t have the same elasticity, but it works for gluten-free breads and pancakes.
Discard Recipes — Don’t throw away your discard! Use it for soft buttery cinnamon sugar pretzel bites, crackers, or pancakes. It adds a wonderful tang.
Serving & Storage
How to Store — If you’re not baking every day, store your starter in the fridge. Feed it once a week. Take it out, feed it, and let it come to room temperature before baking.
Reactivating — When you take it out of the fridge, it might look inactive. Feed it 2-3 times over 2-3 days to bring it back to life.
Long-Term Storage — You can dry your starter and store it in a jar. Spread it thin on a baking sheet, let it dry completely, then crumble it up. To reactivate, mix with water and flour and follow the feeding schedule.
Nutrition Information
I’m not a nutritionist, but here’s the breakdown if you’re tracking. Note that this is for the starter itself, not the finished bread.
Per 50g serving of starter:
- Calories: 110
- Protein: 3g
- Carbs: 22g
- Fiber: 1g
- Sugar: 1g
- Fat: 0g
Look, sourdough starter is mostly carbs and water. It’s not a health food on its own. But when used in bread, the fermentation process breaks down gluten and phytic acid, making it easier to digest. That’s the real benefit.
Final Thoughts
So that’s my go-to sourdough starter! I’ve probably talked your ear off at this point, but when you make a recipe this often, you have a lot to say about it.
This starter has saved my bread budget and my sanity. It’s my answer to “what’s for dinner” when I want something homemade and comforting. My kids love the bread, my husband loves the smell, and I love the process.
Make it yours! Try different flours, adjust the feeding times, and see what works for your kitchen. The best recipes are the ones you adapt to your life.
If you make this, drop a comment and let me know how it goes! I love hearing how recipes turn out in your kitchen. And if something doesn’t work, tell me that too—I’m here to help troubleshoot.
Happy baking! And I hope your kitchen smells half as good as mine does right now.
Frequently Asked Questions
Q: Can I use bread flour instead of all-purpose?
A: Yes, you can. Bread flour has more protein, which can create a stronger starter. However, it can be harder to mix and might result in a thicker starter. I recommend starting with all-purpose and switching later if you want.
Q: My starter smells like vomit. Is it bad?
A: Sometimes, especially in the first few days, your starter can smell funky. This is normal. As the yeast population establishes itself, the smell will improve to a pleasant sourness. If it smells like rotting eggs or garbage, it might be contaminated. Discard and start over.
Q: Can I feed my starter less often?
A: Yes! If you store it in the fridge, you can feed it once a week. Just take it out, feed it, and let it sit at room temperature for a few hours before putting it back. This is great for casual bakers.
Q: Why is my starter not rising?
A: It might be too cold. Yeast needs warmth. Try putting it in a warmer spot. It might also need more time to establish. Be patient.
Q: Can I use tap water?
A: If your tap water is heavily chlorinated, it can inhibit yeast growth. Let it sit out for an hour to let the chlorine evaporate, or use filtered water.
Q: How do I know when my starter is ready to bake with?
A: Do the float test. Drop a small spoonful into a glass of water. If it floats, it’s ready. If it sinks, keep feeding it.
Q: Can I freeze my starter?
A: You can, but drying it is better. Freeze it in an ice cube tray, then transfer the cubes to a bag. To use, thaw and feed it a few times to reactivate.
Pin This Recipe!
Beginner Friendly Sourdough Starter: Perfect 7-Day Guide
- Total Time: 7 days
- Yield: 100g starter (plus discard) 1x
Description
A foolproof, 7-day method for creating a wild yeast sourdough starter using simple pantry staples. This guide eliminates guesswork with clear daily schedules and visual cues, perfect for beginners.
Ingredients
- 500g All-Purpose Flour (unbleached)
- 500ml Filtered Water
- Water for float test
Instructions
- Day 1: In a clean jar, combine 50g flour and 50g lukewarm water (75°F/24°C). Stir vigorously for 30 seconds to incorporate air. Cover loosely and let sit at room temperature for 24 hours.
- Day 2: Discard half of the mixture (approx. 50g). Add 50g flour and 50g water. Stir well, cover, and let sit for 24 hours.
- Day 3: Discard half (50g). Add 50g flour and 50g water. Stir, cover, and let sit. Expect to see more bubbles and a slightly sour smell.
- Day 4: Discard half. Add 50g flour and 50g water. Stir, cover, and let sit. Draw a marker line on the jar to track the rise.
- Day 5: Discard half. Add 50g flour and 50g water. Stir, cover, and let sit. The starter should rise significantly.
- Day 6: Discard half. Add 50g flour and 50g water. Stir, cover, and let sit. Perform the float test: drop a spoonful in water; if it floats, it is ready.
- Day 7: Discard half. Add 50g flour and 50g water. Stir, cover, and let sit. The starter is now mature and ready to bake with.
Notes
Use filtered water to avoid chlorine inhibiting yeast. Keep the starter at room temperature (70-75°F). If your kitchen is cold, place the jar in the oven with the light on or next to a cup of hot water. The consistency should resemble thick pancake batter. Store in the fridge if not baking daily, feeding once a week.
- Prep Time: 15 minutes
- Cook Time: 0 minutes
- Category: Baking
- Cuisine: American
Nutrition
- Serving Size: Per 50g serving of s
- Calories: 110
- Sugar: 1
- Carbohydrates: 22
- Fiber: 1
- Protein: 3
Keywords: sourdough starter, beginner sourdough, wild yeast, bread making, 7-day guide, no discard waste, homemade bread



