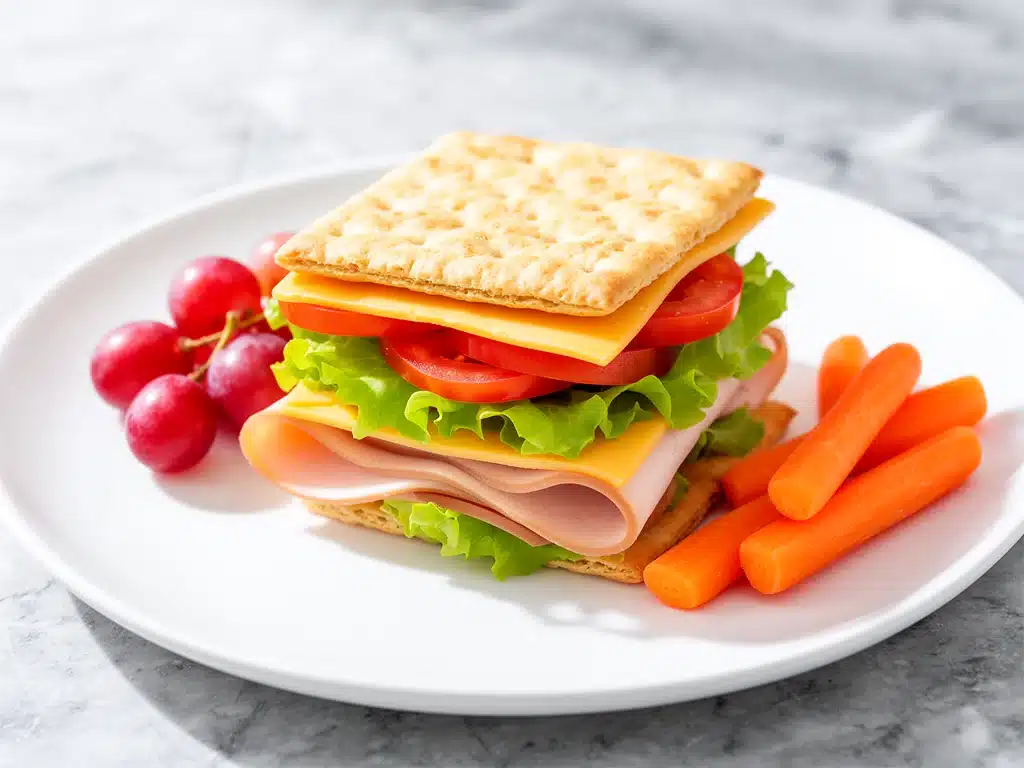
One hectic morning last September, I found myself scrambling to pack lunches for my two kids while simultaneously trying to get them out the door on time. I wanted something quick, nutritious, and—let’s be real—fun enough that they’d actually eat it without a fuss. After a bit of rummaging through the pantry, I cobbled together what I now call the Back-to-School Homemade Cracker Stacker Lunchbox. At first, I thought it was just a makeshift solution, but it quickly became a family favorite. My kids started asking for it every week, and even my husband wanted in on the action (he’s not usually the lunchbox type).
What’s wild is how easy it is to put together, yet it feels like a mini charcuterie board tucked neatly into a lunchbox. Plus, it’s customizable, so everyone gets exactly what they love. After testing it over a dozen times (and yes, sometimes with a few last-minute ingredient swaps), I finally nailed the perfect balance of flavors and textures. This recipe isn’t just for kids—it’s a lunchbox game changer for the whole family.
Why You’ll Love This Recipe
I’m not exaggerating when I say this Back-to-School Homemade Cracker Stacker Lunchbox has changed how we tackle lunch at home and on the go. Here’s why it might just become your new lunch obsession too:
- Totally customizable — Whether your kid loves turkey and cheese or you’re craving a vegetarian version, this lunchbox adapts to everyone’s tastes without extra fuss.
- Easy to assemble — I’ve packed this in under 10 minutes during those crazy mornings when time feels nonexistent.
- Balanced flavors and textures — Crunchy crackers, creamy spreads, savory meats, crisp veggies, and a touch of sweet fruit keep every bite interesting.
- Kid-approved — My pickiest eater used to push lunch aside, but now she’s the first to finish her box and ask for more.
- Great for the whole family — More than just a lunchbox idea for kids, I pack this for my husband’s office lunch and even for quick snacks at home.
- Pantry-friendly and budget-smart — Most ingredients are staples, so you’re not running to the store every week.
This isn’t just about making lunches—it’s about making lunchtime something everyone looks forward to, and honestly, it’s saved me from the dreaded “what’s for lunch?” dilemma more times than I can count.
Ingredients You’ll Need
Here’s the best part about this recipe: most of these ingredients are pantry and fridge staples. I always keep these on hand, so I can whip up a Back-to-School Homemade Cracker Stacker Lunchbox anytime.
- Assorted crackers (about 2 cups / 60g) — I like sturdy crackers like multigrain or water crackers that can hold toppings without breaking. Avoid super thin or flaky ones.
- Sliced deli meats
- Cheese slices or cubes (4 ounces / 115g) — Sharp cheddar, Swiss, or pepper jack add flavor and pair well with meats and crackers.
- Fresh veggies (1 cup / 150g) — Think cucumber slices, cherry tomatoes, or baby carrots. Adds crunch and color.
- Fresh fruit (1 cup / 150g) — Grapes, apple slices, or berries bring natural sweetness.
- Spread or dip (2-3 tablespoons / 30-45ml) — Mustard, hummus, cream cheese, or guacamole. This keeps things moist and flavorful.
- Pickles or olives (optional, ¼ cup / 40g) — Adds a tangy punch that balances the richness of cheese and meats.
- Optional extras: nuts, seeds, or a small sweet treat like a couple of chocolate chips or a mini cookie to finish off.
Quick note: I always pick crackers with minimal added sugar and go for nitrate-free deli meats when possible. When I’m in a pinch, pre-sliced veggies and fruits from the store save me time without sacrificing freshness.
Equipment Needed
You don’t need anything fancy for this. Here’s what I use to make assembling the Back-to-School Homemade Cracker Stacker Lunchbox a breeze:
- Lunchbox or bento box — I use one with compartments to keep everything neat, but a simple reusable container works too.
- Sharp knife
- Cutting board
- Small bowls or ramekins
- Tongs or small spoons
Honestly, I’ve assembled this on the kitchen counter, the dining table, and even on my lap while watching the morning news. No special gear required.
How to Make It: Step-by-Step
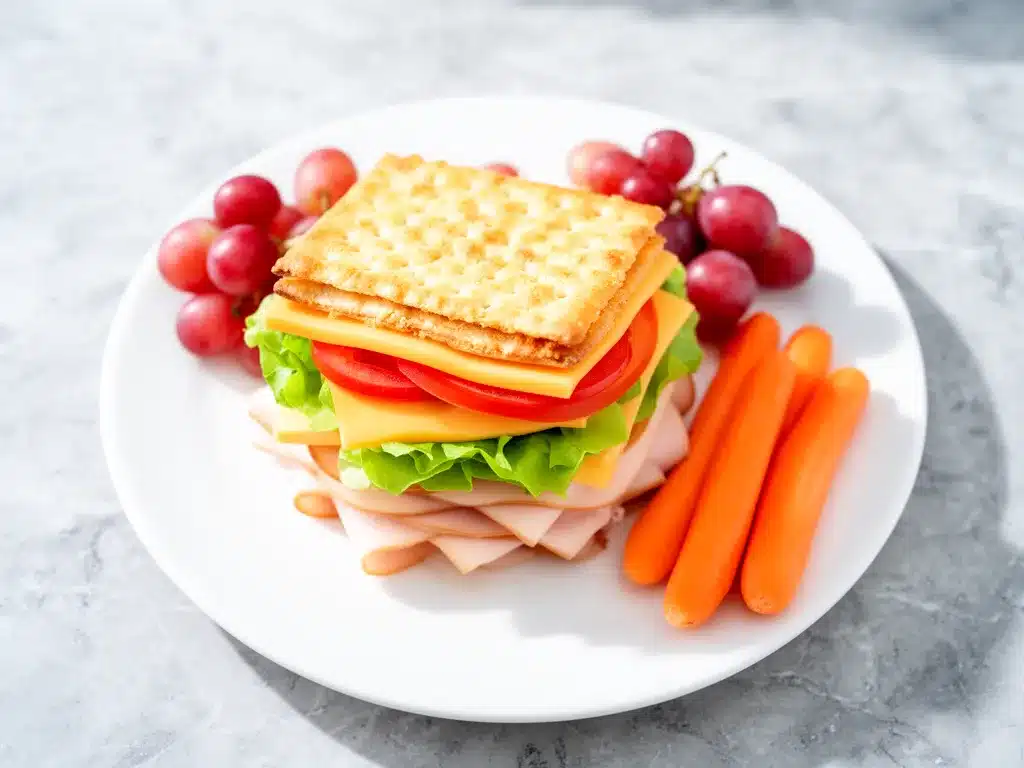
Alright, let’s walk through how I put this together. It’s straightforward, but these little steps make a big difference:
- Prep your ingredients (5 minutes)
Wash and slice your veggies and fruit. I like to keep cucumber slices thin and apple slices coated in a little lemon juice to prevent browning. Cube or slice the cheese and arrange your deli meats in bite-sized pieces. - Choose and arrange crackers (2 minutes)
Lay out your crackers in one section of the lunchbox. I usually mix two types for variety—something plain and something with a little flavor. - Add the protein and cheese (2 minutes)
Stack your deli meats and cheese next to the crackers. For kids, I fold the meat to make it easier to pick up. - Include fresh veggies and fruit (3 minutes)
Fill another compartment with your prepared veggies and fruit. If you’re using juicy fruits like grapes or berries, I line the compartment with a paper towel to keep things from getting soggy. - Pack the spreads and extras (2 minutes)
Spoon your spread into a small container or ramekin. Add pickles, olives, nuts, or a little treat on the side. These add flavor and keep the lunchbox exciting. - Final touch
Close the lunchbox and give it a gentle shake to make sure nothing’s going to spill. If you’re packing for school, toss in an ice pack to keep everything fresh.
This whole process takes about 10 minutes once you get the hang of it, and it’s so much better than grabbing pre-packaged snacks or boring sandwiches.
Expert Tips & Tricks
- Mix textures: Crunchy crackers, soft cheese, crisp veggies, and juicy fruit create a lunchbox that’s fun to eat. If everything’s the same texture, it gets boring fast.
- Use small containers: Keeps dips and spreads from making crackers soggy. I like stacking everything separately so nothing gets lost or mushy.
- Prep ahead: On Sunday evenings, I slice up veggies and fruits and portion out cheese and meats. Mornings become a breeze.
- Rotate flavors: Switch up spreads and meats each week to keep things interesting. One week might be honey mustard and turkey, the next hummus and cheddar cheese.
- Include a surprise: A small sweet treat or a funny note tucked into the box makes lunchtime special.
One mistake I made early on was packing too many crackers. Kids tend to pick at the meat and cheese first, so I’ve learned to keep cracker portions moderate to avoid waste.
Variations & Substitutions
Once you’ve nailed the basic Back-to-School Homemade Cracker Stacker Lunchbox, feel free to switch things up. Here are some tried-and-true variations:
- Vegetarian version: Swap deli meats for hard-boiled eggs, hummus, or sliced avocado. Add extra veggies like bell peppers or snap peas.
- Gluten-free: Use gluten-free crackers or crispbreads. Most other ingredients are naturally gluten-free.
- Dairy-free: Replace cheese with dairy-free slices or nut-based cheeses. Use guacamole or dairy-free spreads.
- Protein boost: Add roasted chickpeas, edamame, or grilled chicken strips.
- International flair: Try Mediterranean flavors with olives, feta, and pita chips, or Mexican-inspired with black bean dip and tortilla chips.
When I’m feeling adventurous, I swap out the usual cheddar for a smoky gouda or pepper jack. It makes the whole lunchbox feel a bit more grown-up, and my husband loves that twist.
Serving & Storage
This lunchbox is perfect for school, work, or even a picnic. Here’s how I handle serving and storing:
- Serving: Eat straight from the lunchbox or transfer to a plate if you want it a bit fancier. The crackers make great handheld bites, but everything pairs well together.
- Storage: Keep the lunchbox refrigerated until ready to eat. Use an ice pack in the lunch bag to keep dairy and meats fresh during the day.
- Leftovers: If you have leftover meats or cheese, wrap them tightly and store in the fridge for 2-3 days. Crackers don’t store well after being packed with moist ingredients, so add fresh crackers daily.
Pro tip: For on-the-go freshness, pack spreads separately and add them right before eating to avoid soggy crackers.
Nutrition Information
| Nutrient | Per Serving (1 lunchbox) |
|---|---|
| Calories | 450 |
| Protein | 22g |
| Carbohydrates | 35g |
| Fiber | 5g |
| Sugar | 7g |
| Fat | 20g |
| Saturated Fat | 7g |
| Sodium | 600mg |
This lunchbox offers a good balance of protein, fiber, and healthy fats to keep energy steady throughout the day. You can always boost the veggie portion for more fiber and vitamins. The sodium can be adjusted by choosing low-sodium deli meats and crackers.
Final Thoughts
So that’s the Back-to-School Homemade Cracker Stacker Lunchbox—a simple, flexible, and downright delicious way to make lunchtime something to look forward to. I’ve probably talked your ear off, but making lunches this way has saved our mornings and made mealtimes happier. Plus, it’s a great way to get creative with flavors and use up whatever you have on hand.
Make it your own! Swap ingredients based on your family’s favorites or what’s in season. Don’t be afraid to add a little extra garlic hummus or a handful of nuts for crunch. This lunchbox isn’t just for school—it’s perfect for quick snacks, picnics, or anytime you need a fast, satisfying meal.
If you try it, I’d love to hear how it goes. Drop a comment and tell me what combos your family loved or any tweaks you made. And if something didn’t work, no worries—I’m here to help figure it out. Happy packing and happy eating!
Frequently Asked Questions
Q: Can I make this lunchbox vegan?
A: Totally! Swap deli meats and cheese for plant-based alternatives like smoked tofu, vegan cheese slices, or hearty hummus. Add plenty of veggies and nuts for protein and texture. I’ve made this vegan for a friend’s kids, and they loved how colorful and tasty it was.
Q: How long can I prepare these lunchboxes ahead of time?
A: You can prep most ingredients a day ahead and store them in separate containers in the fridge. Assemble the lunchboxes the morning of to keep crackers from getting soggy. If you want to prep fully assembled boxes, eat them within 12 hours for best freshness.
Q: My kid doesn’t like deli meat—what can I use instead?
A: No problem! Use sliced hard-boiled eggs, nut butters (if allowed), cheese cubes, or even cooked chicken strips. I’ve also had success with roasted chickpeas or black beans mashed with a little seasoning.
Q: Can I freeze any parts of this lunchbox?
A: Most components don’t freeze well, especially crackers and fresh veggies. However, you can freeze cooked proteins like chicken or hard-boiled eggs in advance, then thaw before packing. Fresh is definitely best here though.
Q: How can I keep crackers from getting soggy?
A: Keep spreads and moist items in separate small containers or cups inside the lunchbox. Add crackers right before eating if possible. Also, avoid stacking wet ingredients directly on crackers during packing.
Q: What’s a good way to add more veggies if my kids are picky?
A: Try fun shapes or colorful veggies like mini bell peppers or snap peas. Pair veggies with a tasty dip like ranch or hummus to make them more appealing. Sometimes I sneak shredded carrots or cucumber slices between meats and cheese to make it less obvious.
Q: Can I use homemade crackers?
A: Absolutely! Homemade crackers add a special touch. Just make sure they’re sturdy enough to hold toppings without crumbling. If you want some inspiration, I’ve shared a recipe for crispy garlic crackers that go perfectly in lunchboxes like this.
And hey, if you want to switch things up for dinner, this crispy garlic chicken recipe is one of my favorites that the whole family devours. It’s another easy, flavorful dish that pairs well with simple sides—perfect for busy nights.
Pin This Recipe!

Back-to-School Homemade Cracker Stacker Lunchbox
- Total Time: 10 minutes
- Yield: 1 lunchbox (1 serving)
Description
A quick, nutritious, and customizable lunchbox recipe featuring crackers, deli meats, cheese, fresh veggies, and fruit. Perfect for kids and the whole family, easy to assemble in under 10 minutes.
Ingredients
- Assorted crackers (about 2 cups / 60g)
- Sliced deli meats (4-6 ounces / 115-170g) – turkey, ham, or roast beef; or vegetarian option with sliced cheese or hummus
- Cheese slices or cubes (4 ounces / 115g) – sharp cheddar, Swiss, or pepper jack
- Fresh veggies (1 cup / 150g) – cucumber slices, cherry tomatoes, or baby carrots
- Fresh fruit (1 cup / 150g) – grapes, apple slices, or berries
- Spread or dip (2-3 tablespoons / 30-45ml) – mustard, hummus, cream cheese, or guacamole
- Pickles or olives (optional, ¼ cup / 40g)
- Optional extras: nuts, seeds, or a small sweet treat like chocolate chips or a mini cookie
Instructions
- Prep your ingredients: Wash and slice veggies and fruit. Keep cucumber slices thin and coat apple slices with lemon juice to prevent browning. Cube or slice cheese and arrange deli meats in bite-sized pieces.
- Choose and arrange crackers: Lay out crackers in one section of the lunchbox, mixing two types for variety.
- Add the protein and cheese: Stack deli meats and cheese next to the crackers. Fold meat for easier picking if packing for kids.
- Include fresh veggies and fruit: Fill another compartment with prepared veggies and fruit. Line compartment with a paper towel if using juicy fruits to prevent sogginess.
- Pack the spreads and extras: Spoon spread into a small container or ramekin. Add pickles, olives, nuts, or a small treat on the side.
- Final touch: Close the lunchbox and gently shake to prevent spilling. Add an ice pack if packing for school to keep everything fresh.
Notes
Use sturdy crackers to hold toppings without breaking. Keep spreads and moist items separate to avoid soggy crackers. Prep ingredients ahead to save time in the morning. Rotate flavors and ingredients to keep lunches interesting. Add a small sweet treat or note for a fun surprise. Use nitrate-free deli meats and minimal added sugar crackers for healthier options.
- Prep Time: 5 minutes
- Cook Time: 0 minutes
- Category: Lunch
- Cuisine: American
Nutrition
- Serving Size: 1 lunchbox
- Calories: 450
- Sugar: 7
- Sodium: 600
- Fat: 20
- Saturated Fat: 7
- Carbohydrates: 35
- Fiber: 5
- Protein: 22
Keywords: lunchbox, homemade lunch, cracker stacker, kid-friendly lunch, easy lunch, deli meat lunch, healthy lunch, customizable lunch



