Last September, I found myself staring at the clock at 6:15 pm, realizing I had exactly 30 minutes before my kids needed to be fed, homework done, and uniforms laid out for the next day. The usual scramble to whip something quick and kid-approved was on. My go-to frozen pizza option was tempting but uninspired, and honestly, I wanted something homemade without the stress.
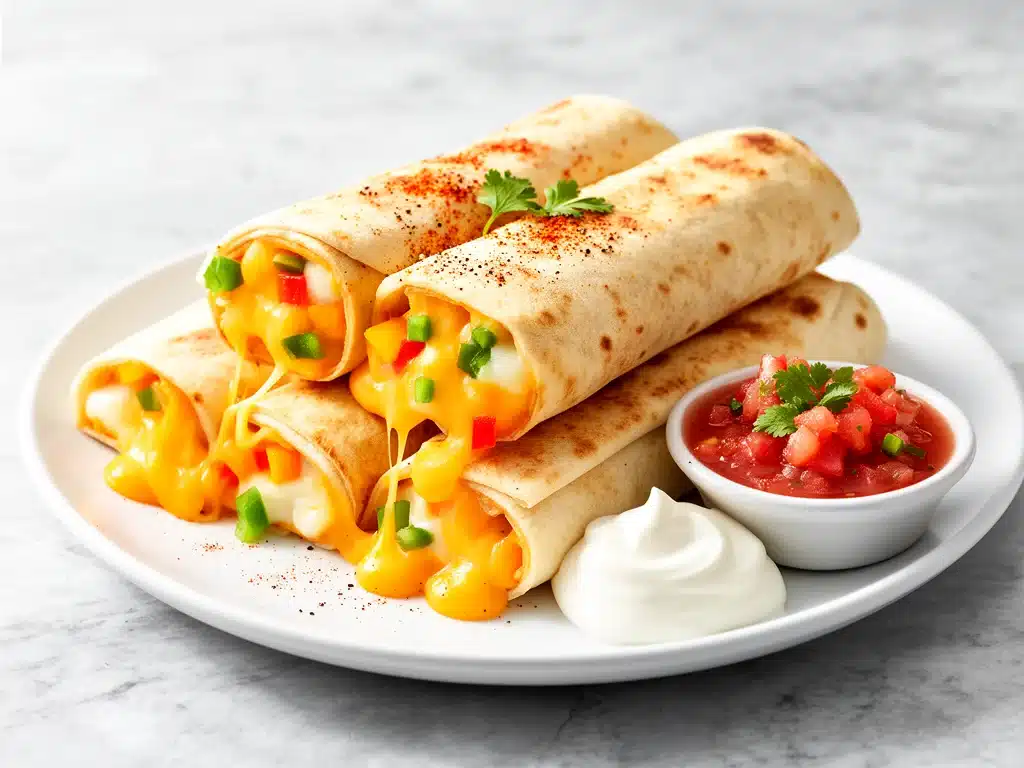
That’s when I threw together these Back-to-School Cheesy Quesadilla Roll-Ups, using just a handful of ingredients I already had on hand. They turned out to be a total lifesaver—kids gobbled them up, my husband gave me a high-five, and I managed to sneak in a few minutes of calm before bedtime chaos. I’ve now made these roll-ups more times than I care to admit, especially on those busy weeknights when I barely have time to breathe.
What makes these quesadilla roll-ups so special isn’t just the melty cheese or the crispy tortilla shell—it’s how simple and flexible they are. Whether you’re rushing home from work, juggling after-school activities, or just need something that works for picky eaters, these roll-ups have got your back.
Why You’ll Love These Cheesy Quesadilla Roll-Ups
This recipe has turned into a staple in our household for a ton of reasons. Here’s why I keep coming back to it:
- Ridiculously Fast — From start to finish, it takes about 20 minutes. I’ve made these while helping with math homework and somehow still got dinner on the table on time.
- Kid-Approved — My kids are notorious for turning their noses up at new things, but these roll-ups? They ask for seconds every time.
- Super Customizable — You can add veggies, swap cheeses, or sneak in some protein. I’ve even made a buffalo chicken version that’s a hit with the adults.
- Minimal Ingredients — You probably have everything you need already. No fancy shopping trips required.
- Perfect for Meal Prep — Make a batch ahead, refrigerate, and bake when you need them. Great for packing into lunchboxes or having ready for after-school snacks.
Honestly, these cheesy quesadilla roll-ups have saved more weeknights than I can count. They’re comfort food without the fuss, and that means a lot when life gets hectic.
Ingredients You’ll Need for Cheesy Quesadilla Roll-Ups
Here’s the thing: this recipe looks simple because it is. But I get picky about a few ingredients because they make a noticeable difference.
- Flour tortillas (8-inch, 6-8 pieces) — I use soft, pliable tortillas that roll easily without cracking. Fresh ones from the store work best.
- Shredded cheese (2 cups / 200g) — A mix of sharp cheddar and Monterey Jack is my fave for melt and flavor. You can go all cheddar or even mozzarella if that’s what you have.
- Cooked chicken (optional, 1 cup / 150g, shredded) — Leftover rotisserie chicken or grilled chicken work great here if you want to add protein.
- Green onions (2 stalks, thinly sliced) — Adds a fresh bite without being overpowering.
- Olive oil or melted butter (2 tablespoons / 30ml) — For brushing the roll-ups before baking. Butter gives a richer flavor; olive oil is a lighter option.
- Spices — 1 teaspoon chili powder and ½ teaspoon cumin for a subtle smoky warmth. Adjust based on your family’s spice tolerance.
- Sour cream or salsa (for serving) — Totally optional, but great for dipping.
Pro tip: If you want to sneak in veggies, finely diced bell peppers or corn kernels mix right in with the cheese and chicken. My kids never suspect a thing.
Equipment Needed
You don’t need anything fancy for these cheesy quesadilla roll-ups. Here’s what I use:
- Baking sheet — Lined with parchment paper for easy cleanup.
- Pastry brush — To spread olive oil or melted butter on the tortillas. No brush? A paper towel works fine.
- Mixing bowl — To combine cheese, chicken, and spices.
- Sharp knife — For slicing green onions and any add-ins.
- Spatula or tongs — Helpful for rolling and transferring the roll-ups to the baking sheet.
How to Make Back-to-School Cheesy Quesadilla Roll-Ups: Step-by-Step
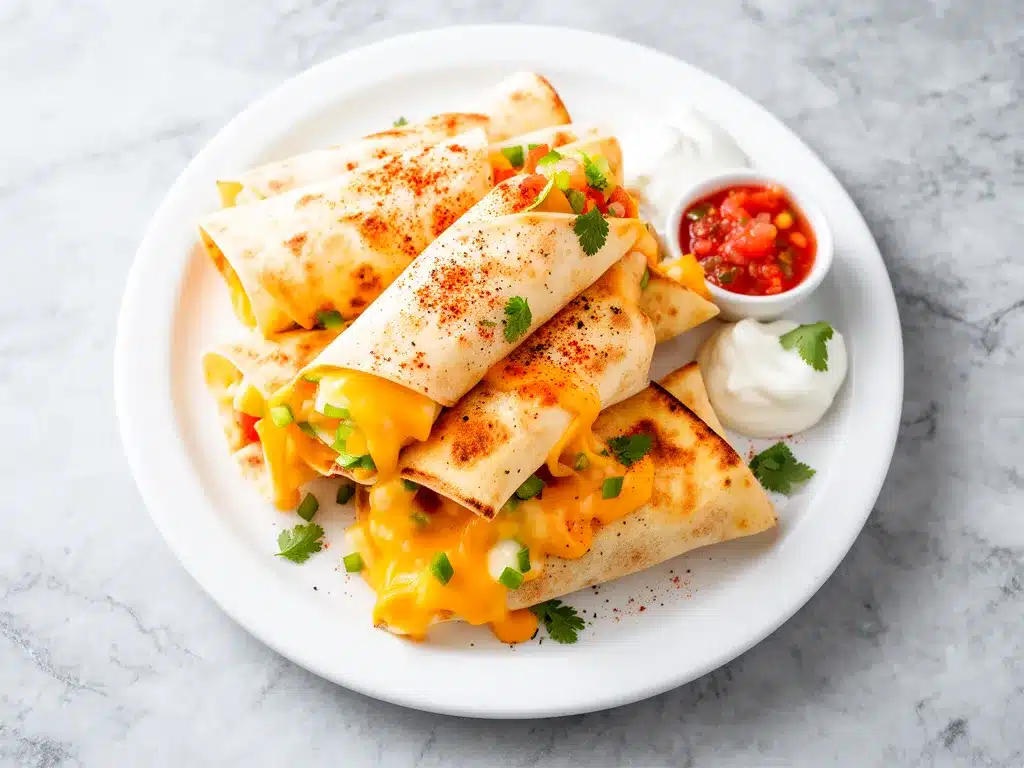
Alright, here’s exactly how I put these together. I’ve made mistakes (and a few burnt tortillas) so you don’t have to.
Step 1: Preheat and Prep (5 minutes)
Preheat your oven to 400°F (200°C) and line a baking sheet with parchment paper. In a mixing bowl, combine shredded cheese, cooked chicken (if using), green onions, chili powder, and cumin. Stir it all up so it’s evenly mixed.
Step 2: Assemble the Roll-Ups (8-10 minutes)
Lay a tortilla flat on your work surface. Spread about ⅓ cup of the cheese mixture evenly over the entire tortilla. Don’t be shy—this is where the melty goodness happens. Roll it up tightly, tucking in the sides slightly if you want to avoid cheese spilling out during baking. Place the rolled tortilla seam side down on the baking sheet. Repeat with the rest.
Step 3: Brush and Bake (10-12 minutes)
Brush the tops of the roll-ups with olive oil or melted butter. This helps them get golden and crispy. Bake in the preheated oven for 10-12 minutes, turning halfway through if you want even crispiness. You’ll know they’re ready when the tortillas are golden brown and the cheese inside is bubbly.
Step 4: Serve
Let the roll-ups cool for a couple of minutes before serving—they’ll be hot! Serve with sour cream, salsa, or guacamole on the side for dipping. If you have fresh cilantro or extra green onions, sprinkle those on top for a pop of color.
Expert Tips & Tricks for Perfect Quesadilla Roll-Ups
- Don’t overfill: Too much filling makes rolling tricky and can cause cheese to leak everywhere. Keep it tight and even.
- Warm tortillas slightly: If your tortillas feel stiff, microwave them for 10-15 seconds wrapped in a damp paper towel. They’ll roll up without cracking.
- Use a mix of cheeses: Sharp cheddar gives flavor, Monterey Jack or mozzarella adds creamy melt. I’ve tried single cheeses, but the combo is unbeatable.
- Brush generously: The oil or butter on top is what gives you that crave-worthy golden crunch. Don’t skip!
- Make ahead: Assemble the roll-ups and refrigerate them for up to 24 hours before baking. Perfect for prepping after school and baking right before dinner.
- Add a little heat: If your family likes spice, add a pinch of cayenne pepper to the cheese mix or serve with a spicy salsa.
Variations & Substitutions
Once you have the basics down, these roll-ups are a playground for creativity. Here’s what I’ve tried (and loved):
- Vegetarian option: Skip the chicken and add black beans and corn for protein. Toss in some diced jalapeños if you want a kick.
- Buffalo chicken: Mix shredded chicken with buffalo sauce before adding to cheese. Serve with ranch or blue cheese dressing.
- Mexican street corn style: Add cotija cheese, lime zest, and a bit of chili powder into the mix for a fresh twist.
- Gluten-free: Use gluten-free tortillas. I’ve used brands like Mission and they hold up well.
- Cheese swap: Pepper jack adds spice, or try smoked gouda for a deep flavor.
Serving & Storage
I usually serve these straight from the baking sheet, with a side of crunchy veggies or a simple salad. They make a great quick dinner but also double as fantastic after-school snacks or lunchbox fillers.
Storage: Store leftovers in an airtight container in the fridge for up to 3 days. To reheat, pop them in the oven at 350°F (175°C) for about 8 minutes or until warmed through and crispy again. Microwave works in a pinch but tends to make them a bit soggy.
Freezing: You can freeze unbaked roll-ups on a tray until solid, then transfer to a freezer bag for up to 2 months. Bake from frozen, adding 5 extra minutes to the baking time.
Nutrition Information (Per Serving, Makes 6 Roll-Ups)
| Calories | 320 |
|---|---|
| Protein | 18g |
| Carbohydrates | 28g |
| Fat | 14g |
| Saturated Fat | 7g |
| Sodium | 450mg |
Not bad for a quick, cheesy dinner that fills everyone up. You can always lighten it up by using less cheese or whole wheat tortillas.
Final Thoughts
So that’s the magic behind my Back-to-School Cheesy Quesadilla Roll-Ups. I’ve probably made these more times than I can count, and they never fail to hit the spot on those crazy weeknights. The best part? They’re flexible, fast, and crowd-pleasing—exactly what busy families need.
Make this recipe your own. Add extra spices, sneak in veggies, or try different cheeses. If you give these a try, drop a comment and let me know how they turned out. And if you run into any hiccups, I’m here to help troubleshoot.
Now go on—make your kitchen smell like melty cheese and happy memories.
Frequently Asked Questions
Q: Can I use milk instead of cheese or cream in the recipe?
A: This recipe relies on shredded cheese for texture and flavor, so milk won’t work as a substitute here. If you want a lighter version, use less cheese or swap in a low-fat cheese, but the melty texture comes from the cheese itself.
Q: How do I keep the tortillas from getting soggy?
A: Brushing the tortillas with oil or melted butter before baking helps crisp them up. Also, don’t overfill to avoid excess moisture. Baking on a parchment-lined sheet and flipping halfway through creates an even crisp.
Q: Can I make these roll-ups ahead of time?
A: Definitely. Assemble the roll-ups and store them covered in the fridge for up to 24 hours. Bake fresh when you’re ready. This is great for quick after-school snacks or early meal prep.
Q: What if my kids don’t like spicy food?
A: You can easily skip the chili powder and cumin or reduce the amounts to suit your family’s tastes. These roll-ups are still delicious without the spice.
Q: Can I freeze these roll-ups?
A: Yes! Freeze unbaked roll-ups on a tray until firm, then transfer to a freezer bag. Bake from frozen, adding a few extra minutes. This makes for a perfect ready-to-bake option on hectic nights.
Q: How can I add more veggies without them noticing?
A: Finely dice bell peppers, corn, or even spinach and mix into the cheese and chicken. The cheese and spices mask the veggies well, and the texture blends in easily.
Q: Can I use corn tortillas instead of flour?
A: Corn tortillas are less flexible and prone to cracking when rolled, so I don’t recommend them for roll-ups. Flour tortillas hold together much better for this recipe.
For extra inspiration, you might enjoy my crispy garlic chicken recipe, which pairs perfectly with these cheesy quesadilla roll-ups on a chill night, or try adding a fresh green salad from my simple garden salad post for a quick side.
Pin This Recipe!
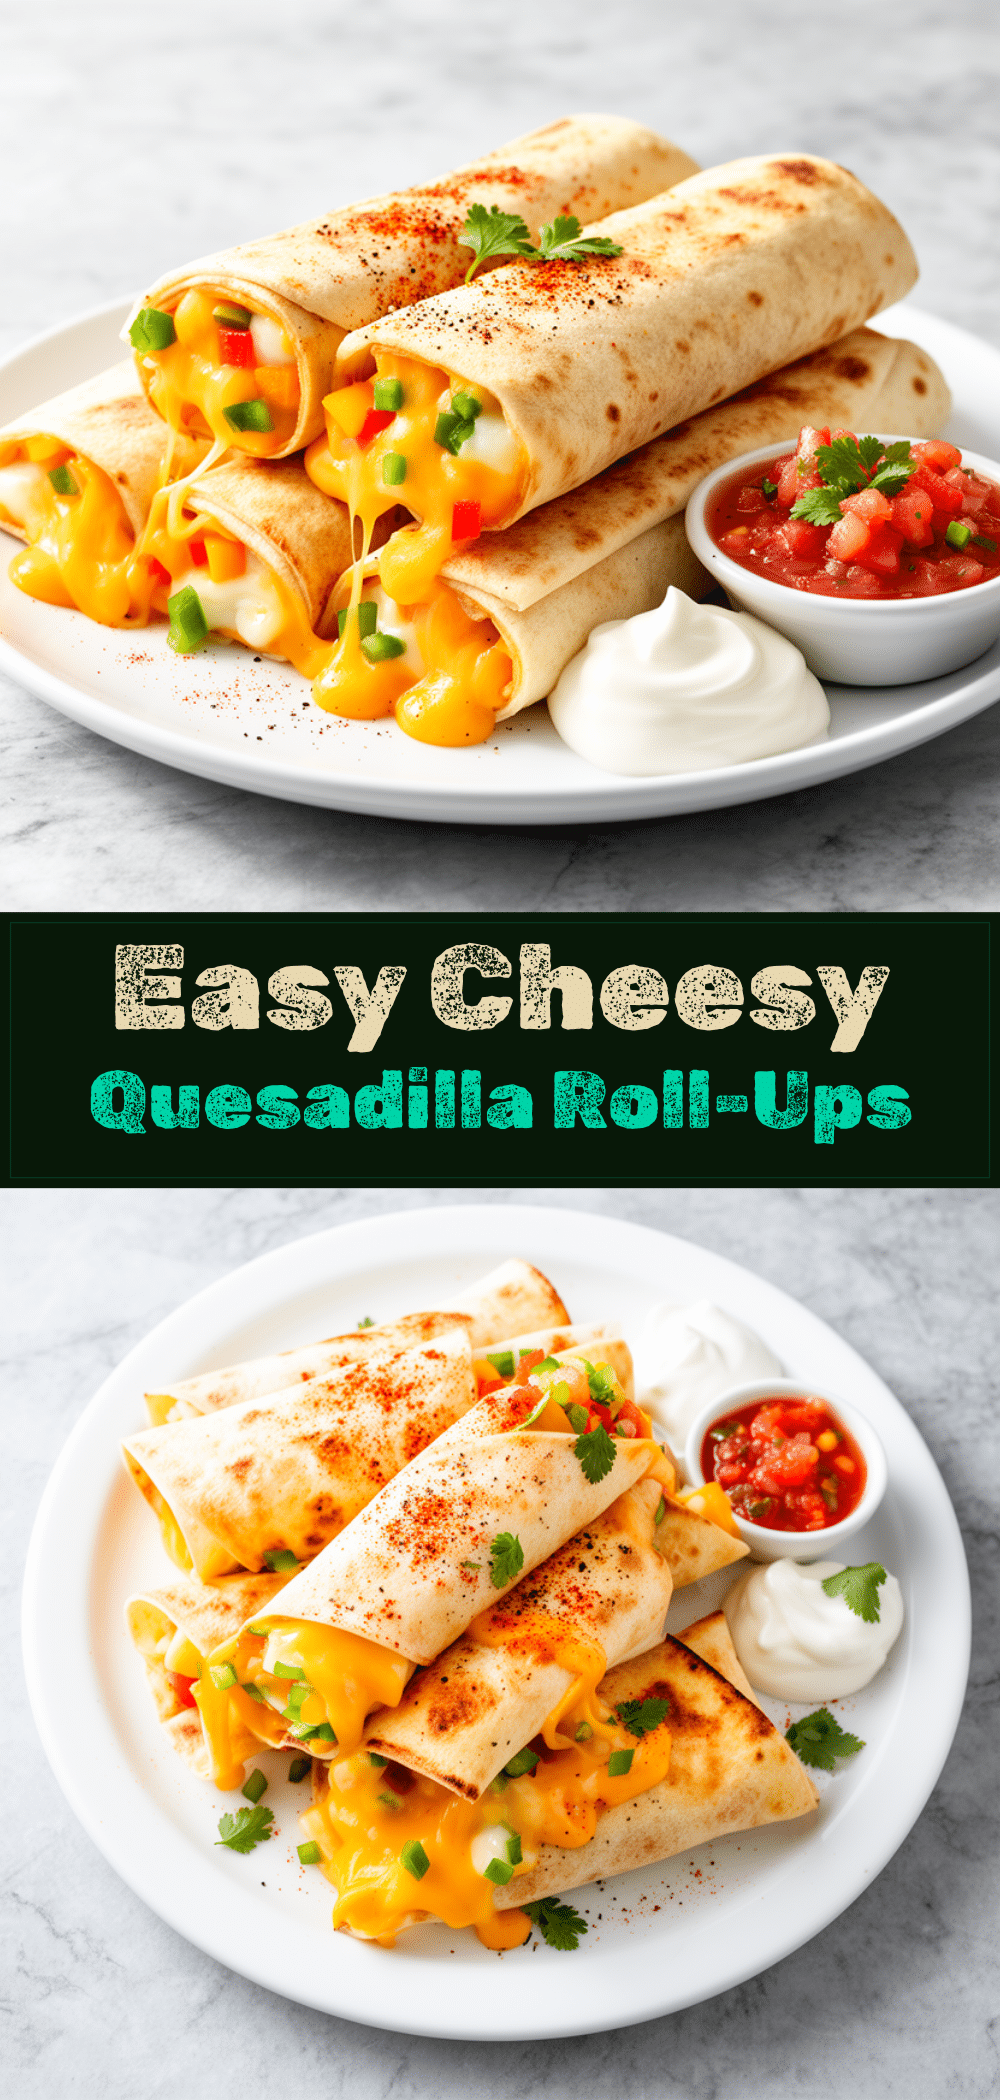

Back-to-School Cheesy Quesadilla Roll-Ups
- Total Time: 25 minutes
- Yield: 6 roll-ups 1x
Description
Quick and kid-approved cheesy quesadilla roll-ups perfect for busy weeknights, made with simple ingredients and customizable to your family’s taste.
Ingredients
- 6–8 flour tortillas (8-inch, soft and pliable)
- 2 cups shredded cheese (sharp cheddar and Monterey Jack mix)
- 1 cup cooked chicken, shredded (optional)
- 2 stalks green onions, thinly sliced
- 2 tablespoons olive oil or melted butter
- 1 teaspoon chili powder
- 1/2 teaspoon cumin
- Sour cream or salsa for serving (optional)
Instructions
- Preheat oven to 400°F (200°C) and line a baking sheet with parchment paper.
- In a mixing bowl, combine shredded cheese, cooked chicken (if using), green onions, chili powder, and cumin. Stir until evenly mixed.
- Lay a tortilla flat on your work surface. Spread about 1/3 cup of the cheese mixture evenly over the entire tortilla.
- Roll the tortilla tightly, tucking in the sides slightly to avoid cheese spilling out during baking.
- Place the rolled tortilla seam side down on the prepared baking sheet. Repeat with remaining tortillas.
- Brush the tops of the roll-ups with olive oil or melted butter.
- Bake for 10-12 minutes, turning halfway through, until tortillas are golden brown and cheese is bubbly.
- Let cool for a couple of minutes before serving. Serve with sour cream, salsa, or guacamole if desired.
Notes
Do not overfill the tortillas to avoid cheese leakage. Warm tortillas slightly in the microwave if stiff. Brush generously with oil or butter for a golden, crispy finish. Assemble ahead and refrigerate up to 24 hours before baking. Freeze unbaked roll-ups for up to 2 months; add 5 extra minutes to baking time when baking from frozen.
- Prep Time: 13 minutes
- Cook Time: 12 minutes
- Category: Main Course
- Cuisine: Mexican-inspired
Nutrition
- Serving Size: 1 roll-up
- Calories: 320
- Sodium: 450
- Fat: 14
- Saturated Fat: 7
- Carbohydrates: 28
- Protein: 18
Keywords: quesadilla, roll-ups, cheesy, quick dinner, kid-friendly, easy recipe, weeknight meal, chicken, vegetarian option



