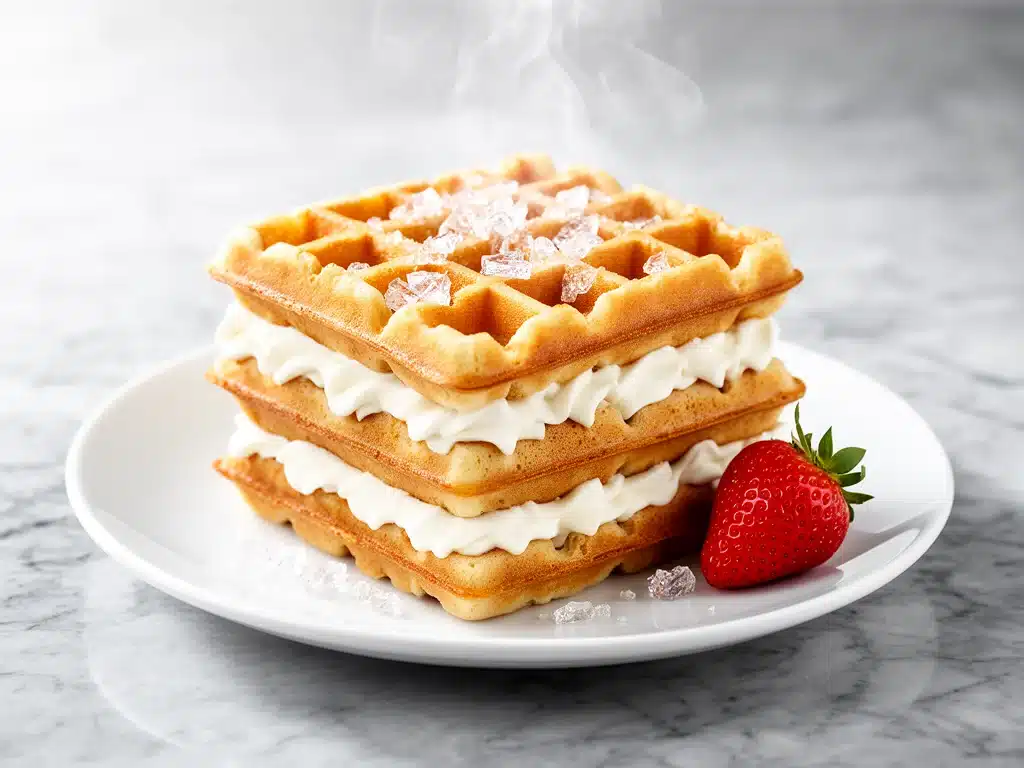
There was a time when my idea of a “nice breakfast” was a bowl of cereal eaten over the sink while checking emails. Fast forward a few years, and my ideal Sunday involves flour everywhere, a waffle iron humming in the corner, and the smell of buttered dough filling the entire house. I didn’t set out to become a waffle expert. Honestly, I just wanted something better than pancakes for my family’s weekend brunch. But somewhere between the burnt batches and the soggy disasters, I stumbled into the holy grail: the crispy Belgian waffle.
It’s funny how a simple breakfast food can become such a centerpiece. Last Sunday, I watched my partner and three-year-old race to the table before the waffles got cold. They were sitting there, golden-brown squares topped with fresh berries and a dusting of powdered sugar, looking like something you’d see in a magazine. It wasn’t just breakfast; it was an event. A moment. And it all came down to getting the batter right and knowing the one trick that makes them actually crispy instead of soft and steaming.
If you’ve ever struggled with waffles that go limp after five minutes, or if you’ve ever wondered why yours don’t have those deep, jam-holding pockets, you’re in the right place. I’ve tested this Crispy Belgian Waffles recipe enough times to know exactly where the pitfalls are. I’ve used different flours, different milks, and even tried egg whites separately (spoiler: it works, but the whole-egg method is easier for week-to-week life). This version is the sweet spot. It’s rich, it’s crisp, and it’s the best way to start a lazy weekend.
Why You’ll Love This Crispy Belgian Waffles Recipe
Let’s be real: making waffles from scratch sounds like a lot of work. But once you have this recipe dialed in, it’s actually faster and easier than flipping pancakes. Here’s why this Crispy Belgian Waffles recipe has taken over our weekend brunch rotation:
- Actually Crispy — Most homemade waffles turn soft the moment you take them off the iron. Not these. Thanks to a specific ratio of fat to liquid and a little secret ingredient, these stay crisp on the outside for at least 15 minutes. That’s enough time to sit down and actually enjoy them.
- Deep Pockets for Toppings — Belgian waffles are famous for their size and depth. These have those big, deep squares that hold maple syrup, whipped cream, or fruit without sliding off. It’s structural engineering for breakfast.
- Rich, Tender Crumb — They aren’t dense like a pancake. They’re airy and light inside, with a buttery flavor that stands up on its own. You don’t need heavy syrup to make them taste good.
- One-Bowl Mix — I’m not a fan of washing six bowls on a Sunday morning. This recipe mixes in one large bowl. Dry stuff in, wet stuff in, whisk it up, and you’re done. Minimal cleanup for maximum reward.
- Freezes Like a Dream — I often make double batches on Sunday. Half for brunch, half for toastable breakfasts during the busy week. They reheat in a regular toaster and come out just as crispy as fresh.
This isn’t just a recipe; it’s a permission slip to slow down on weekends. It’s the kind of food that makes you feel like you’re treating yourself, even if you’re just in your pajamas eating at the kitchen counter.
Ingredients You’ll Need
Don’t let the list scare you. You likely have most of this in your pantry. The key here is quality. Since there aren’t a ton of ingredients, each one matters. I’m particular about a few things here, and I’ll tell you why.
For the Dry Mix
All-purpose flour (2 cups / 250g) — This is your base. Don’t swap in cake flour; it’ll be too tender and fall apart. Don’t use bread flour; it’ll be too chewy. All-purpose is the gold standard for waffles. I use King Arthur if I can find it, but any standard brand works.
Baking powder (2 teaspoons) — This is what makes them rise. Make sure yours isn’t expired! I test mine every few months by dropping a teaspoon in hot water—it should fizz like crazy. If it doesn’t, toss it.
Baking soda (½ teaspoon) — This helps with browning and tenderness. It reacts with the buttermilk to create those air bubbles.
Salt (1 teaspoon) — Essential for flavor. It balances the sweetness and enhances the buttery taste. Don’t skip it.
For the Wet Mix
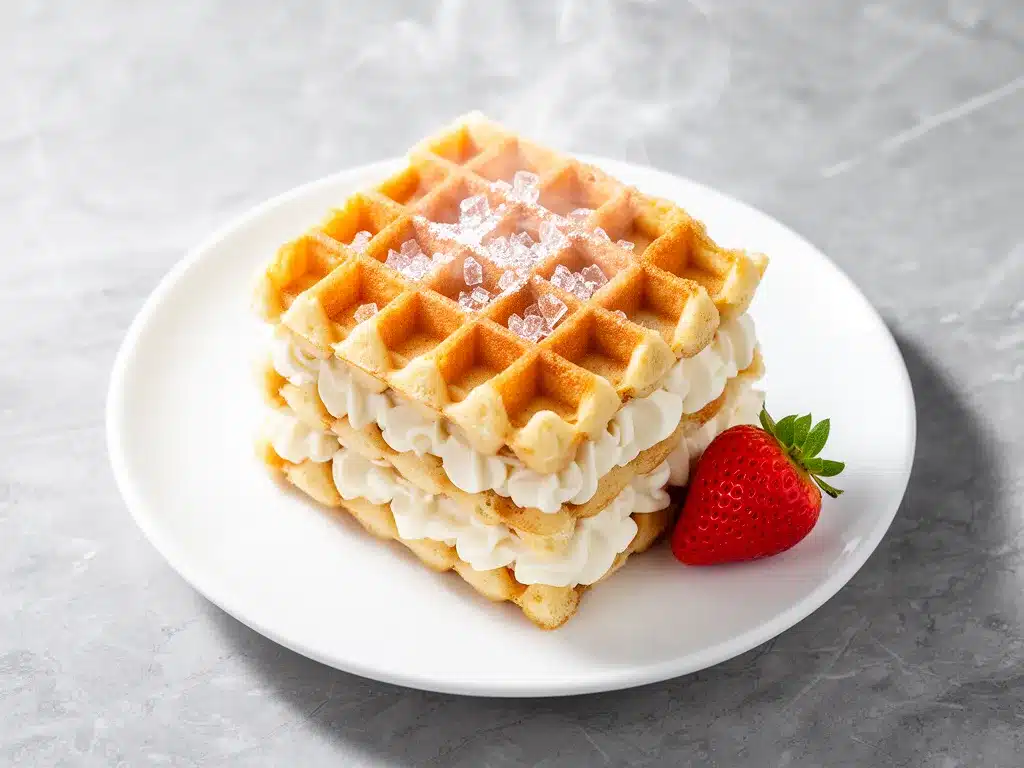
Buttermilk (1 ½ cups / 360ml) — This is the secret weapon. The acidity tenderizes the gluten and reacts with the baking soda. If you don’t have buttermilk, make your own: add 1 tablespoon of lemon juice or white vinegar to 1 ½ cups of milk, let it sit for 10 minutes. It curdles slightly and works perfectly.
Eggs (4 large) — Room temperature eggs mix better and create a smoother batter. I take them out of the fridge while I prep the dry ingredients. If they’re cold, the batter can get lumpy.
Melted butter (½ cup / 115g) — Unsalted is best so you control the salt level. Let it cool slightly before mixing so you don’t cook the eggs. Use good quality butter; it makes a huge difference in flavor.
Vanilla extract (2 teaspoons) — Pure vanilla, please. I’ve tried imitation, and it tastes chemical. Real vanilla adds warmth and depth.
The Secret Weapon
Vegetable oil (2 tablespoons) — This is the trick. Butter is great for flavor, but oil has a higher smoke point and helps create that extra crispiness. It’s a small addition, but it changes the texture entirely. I learned this from a professional baker friend who swore by it.
For Serving
Maple syrup — Real maple syrup, Grade B or A Dark. Avoid the bottle labeled “pancake syrup.” It’s just corn syrup with flavoring.
Fresh berries — Strawberries, blueberries, or raspberries. The acidity cuts through the richness of the waffle.
Equipment Needed
You don’t need fancy gadgets, but having the right tool makes a world of difference.
Belgian Waffle Iron — This is non-negotiable for this recipe. Regular waffle irons make thin, crisp waffles (like Eggo-style). Belgian waffle irons make thick, deep-pocketed waffles. I use a Cuisinart, but any brand that heats evenly works. Just make sure it’s clean!
Large Mixing Bowls — You need one big bowl for the batter. I usually use a 4-quart bowl. If it’s too small, you’ll spill when you whisk.
Whisk — A balloon whisk is best for incorporating air into the batter. Forks work in a pinch, but a whisk is faster.
Wire Rack — This is crucial for keeping them crisp. If you stack waffles on a plate, they steam each other and get soggy. A wire rack allows air to circulate.
Pastry Brush — For greasing the iron. I use a silicone one, but a paper towel works too.
How to Make It: Step-by-Step
Alright, let’s get cooking! This process is straightforward, but timing is everything. I’m walking you through exactly how I do it to ensure maximum crispiness.
Step 1: Prep the Iron (5 minutes)
Preheat your Belgian waffle iron to the highest setting. While it heats, get your wire rack ready. If you don’t have a rack, you can leave them on a baking sheet in a 200°F oven, but a rack is better. Grease the iron lightly with oil or butter. I use a pastry brush to spread a thin layer. Too much grease makes them greasy; too little makes them stick.
Step 2: Mix the Dry Ingredients (2 minutes)
In your large bowl, whisk together the flour, baking powder, baking soda, and salt. Make sure there are no clumps of baking powder. This ensures even rising. Whisk for about 30 seconds to aerate the flour.
Step 3: Combine the Wet Ingredients (2 minutes)
In a separate medium bowl or large measuring cup, whisk the buttermilk, eggs, melted butter, vanilla, and vegetable oil. Whisk until the eggs are fully incorporated and the mixture looks smooth. The melted butter should be liquid but not hot.
Step 4: Make the Batter (3 minutes)
Pour the wet ingredients into the dry ingredients. Gently whisk until just combined. Stop when you see streaks of flour. Do not overmix. Overmixing develops gluten, which makes waffles tough and chewy instead of tender. It’s okay if there are a few lumps. Lumps are good. Lumps mean tender waffles.
Step 5: Cook the Waffles (3-4 minutes per waffle)
Once the iron is hot (look for a ready light or touch test), pour about 1 ½ cups of batter onto the center. Close the lid gently. Don’t press down! Pressing squeezes out the air pockets. Let it cook for 3-4 minutes. Watch for steam. When the steam slows down or stops, the waffle is likely done. The iron should be golden brown.
Step 6: Transfer and Repeat
Lift the lid carefully. The waffle should release easily. If it sticks, your iron wasn’t hot enough or you didn’t grease it enough. Transfer the waffle to the wire rack. Lightly grease the iron again if needed (depending on your iron, you might not need to). Repeat with the remaining batter.
Expert Tips & Tricks
Here’s everything I’ve learned from making dozens of batches. These tips will save you from my mistakes.
Don’t Overmix the Batter — I cannot stress this enough. Lumpy batter = tender waffles. Smooth batter = tough waffles. Whisk until combined, then stop.
Keep Them Warm and Crisp — Use a wire rack, not a plate. If you stack them, they steam. If you use an oven, keep it low (200°F) and place them on a rack over a baking sheet.
Check Your Iron’s Heat — If the first waffle is pale, your iron isn’t hot enough. Let it preheat longer. If the first waffle burns, it’s too hot. Let it cool slightly. Every iron is different.
Use Room Temperature Eggs — Cold eggs can seize the melted butter, creating little curds. Room temp eggs blend seamlessly.
Don’t Peek Too Early — Resist the urge to open the iron every 30 seconds. The waffle needs time to set. If you open it too early, it will break.
Grease Between Waffles — Even if your iron is non-stick, a light brush of oil helps the edges crisp up and prevents sticking.
Variations & Substitutions
Once you’ve nailed the basic version, here’s how you can mix it up. I’ve tried all of these.
Berry Waffles — Fold 1 cup of fresh or frozen berries into the batter right before cooking. If using frozen, don’t thaw them first, or they’ll bleed color.
Chocolate Chip — Add ½ cup of chocolate chips. They’ll melt into pockets of goodness.
Lemon Blueberry — Add the zest of one lemon to the wet ingredients. Fold in 1 cup of blueberries.
Gluten-Free — Use a 1:1 gluten-free flour blend. The texture is slightly different but still delicious. Add a teaspoon of xanthan gum if your blend doesn’t have it.
Dairy-Free — Use dairy-free milk (oat or almond work well) and dairy-free butter or coconut oil. The texture is slightly less rich but still good.
Serving & Storage
How to Serve: I usually serve these straight from the iron. They look rustic and stay warm. Top with powdered sugar, fresh fruit, whipped cream, or bacon. My favorite is a mix of maple syrup and crumbled bacon.
Storage: Store leftover waffles in an airtight container in the fridge for up to 3 days. They’re best reheated in a toaster or oven to restore crispiness.
Freezing: These freeze beautifully. Let them cool completely, then stack them with parchment paper between each. Freeze in a bag for up to 3 months. Toast straight from frozen.
Nutrition Information
I’m not a nutritionist, but here’s the breakdown if you’re tracking. Per serving (based on 4 waffles):
Calories: 450
Protein: 12g
Carbs: 55g
Fat: 20g
Sugar: 6g
Look, this is a treat. It’s rich and indulgent. But it’s also made with whole ingredients. When I make it lighter, I use less butter and more berries. But usually? I just enjoy a reasonable portion and love every bite.
Final Thoughts
So that’s my go-to Crispy Belgian Waffles recipe! I’ve talked your ear off, but when you make a recipe this often, you have a lot to say. This has saved my weekends. It’s my answer to “what’s for brunch?” when I want to feel fancy but don’t want to leave the house. My kids love it, my partner loves it, and I love that it brings us all together.
Make it yours! Try different toppings, swap in your favorite fruits, or add a splash of orange juice to the batter. The best recipes are the ones you adapt to your family’s tastes.
If you make this, drop a comment and let me know what you think! I love hearing how recipes turn out in your kitchen. And if something doesn’t work, tell me that too—I’m here to help.
Frequently Asked Questions
Why are my waffles not crispy?
Usually, this means the iron wasn’t hot enough, or you stacked them while they were still warm. Make sure your iron is fully preheated, and use a wire rack to cool them. Also, the addition of oil in the batter helps with crispiness.
Can I use self-rising flour?
No. Self-rising flour already has leavening agents and salt. You’d need to adjust the baking powder and salt in this recipe, which is tricky. Stick to all-purpose flour for best results.
Can I make the batter ahead of time?
You can, but it’s better fresh. If you must, mix the dry and wet separately and combine right before cooking. The baking powder loses potency over time, so fresh batter rises better.
How do I store leftovers?
Store in an airtight container in the fridge for 3 days. Reheat in a toaster or oven to keep them crisp. Do not microwave, or they’ll be soft.
Can I freeze the batter?
No. The baking powder will lose its effectiveness. Freeze the cooked waffles instead.
Pin This Recipe!
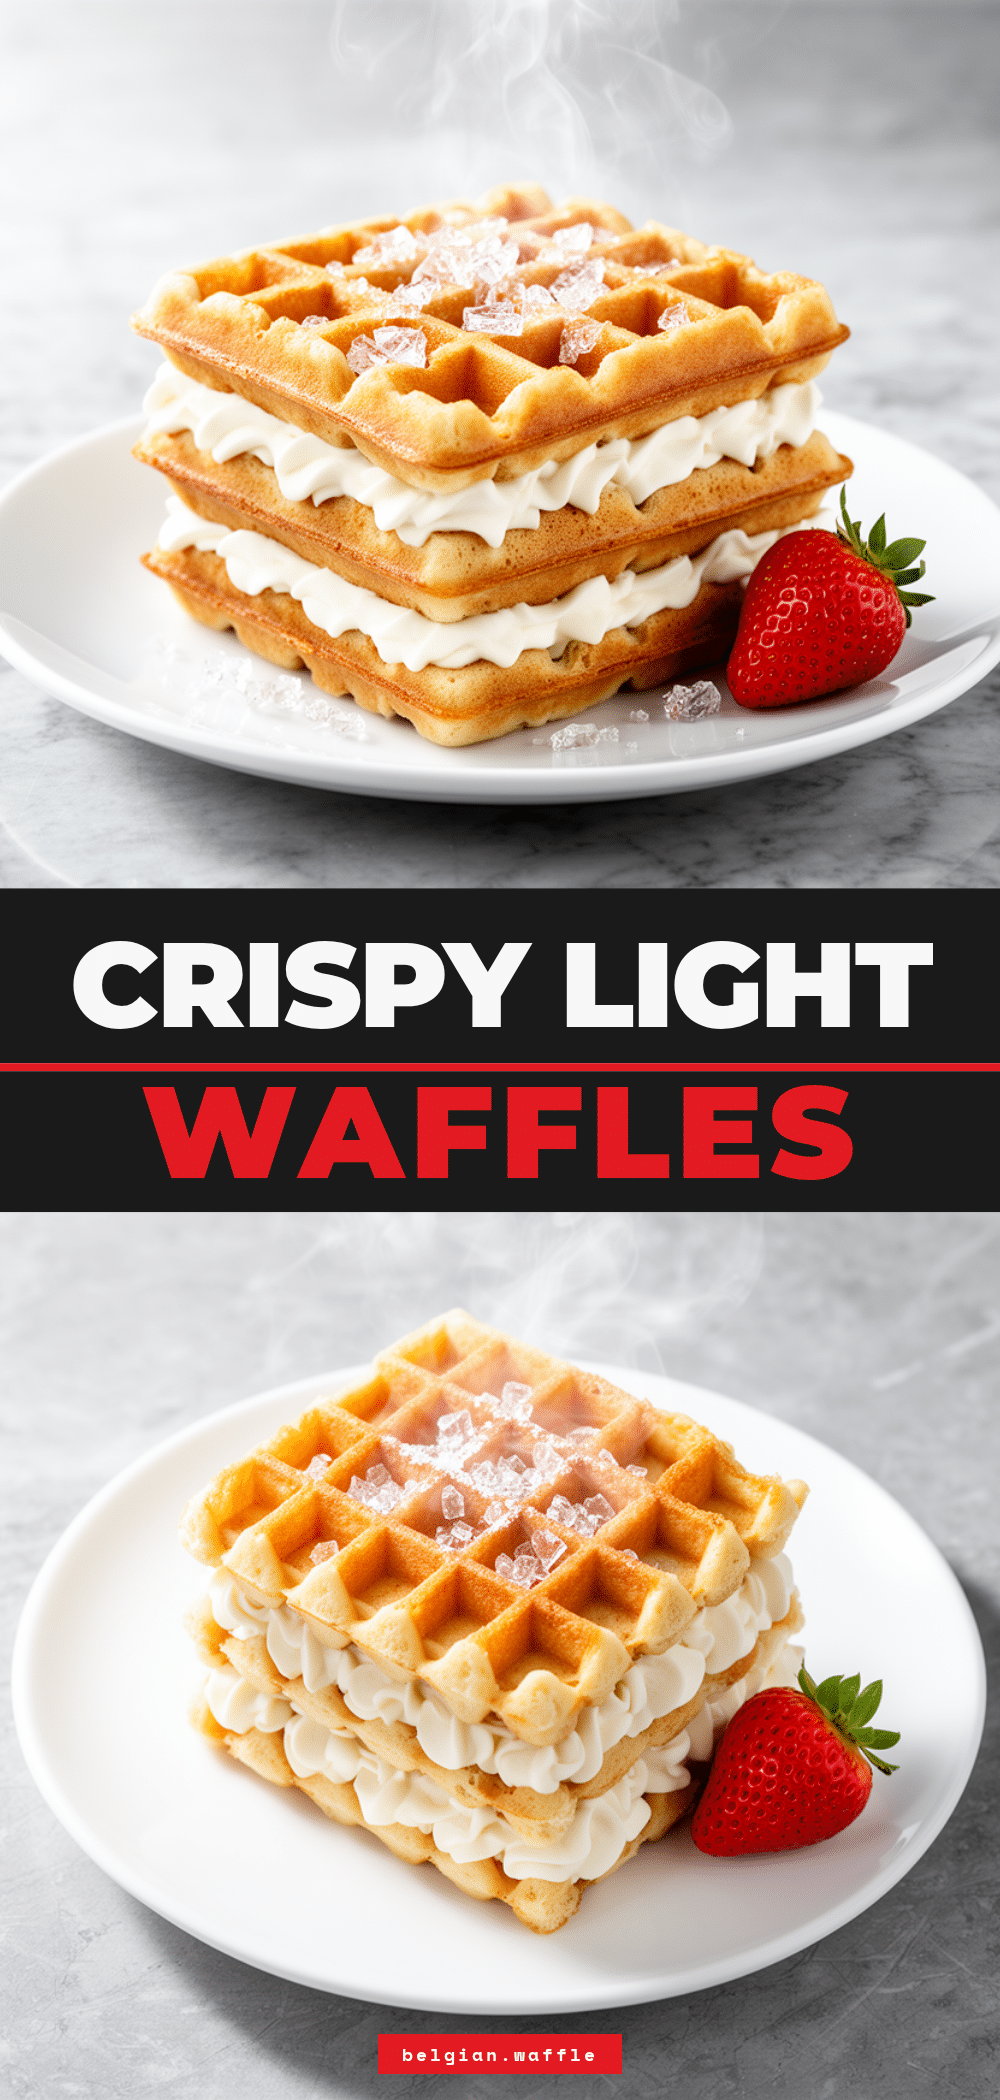

Crispy Belgian Waffles: 5-Step Weekend Brunch Recipe
- Total Time: 27 minutes
- Yield: 4 servings 1x
Description
Rich, tender, and extra crispy Belgian waffles that stay crisp for at least 15 minutes. This one-bowl recipe uses a secret oil trick for maximum crunch and deep pockets perfect for toppings.
Ingredients
- 2 cups (250g) all-purpose flour
- 2 teaspoons baking powder
- ½ teaspoon baking soda
- 1 teaspoon salt
- 1 ½ cups (360ml) buttermilk
- 4 large eggs, room temperature
- ½ cup (115g) unsalted butter, melted and slightly cooled
- 2 teaspoons pure vanilla extract
- 2 tablespoons vegetable oil
- Maple syrup for serving
- Fresh berries for serving
Instructions
- Preheat your Belgian waffle iron to the highest setting. Prepare a wire rack for cooling.
- In a large bowl, whisk together the flour, baking powder, baking soda, and salt until no clumps remain.
- In a separate medium bowl or large measuring cup, whisk the buttermilk, eggs, melted butter, vanilla, and vegetable oil until smooth.
- Pour the wet ingredients into the dry ingredients. Gently whisk until just combined, stopping when you see streaks of flour. Do not overmix; lumps are okay.
- Pour about 1 ½ cups of batter onto the center of the hot iron. Close the lid gently without pressing down.
- Cook for 3-4 minutes until steam slows down and the waffle is golden brown.
- Transfer the cooked waffle to the wire rack to keep it crisp. Lightly grease the iron again if needed and repeat with remaining batter.
Notes
Do not overmix the batter to ensure tender waffles. Use a wire rack to keep waffles crisp; stacking them on a plate will cause them to steam and become soggy. Room temperature eggs blend better with melted butter. If you don’t have buttermilk, make a substitute by adding 1 tablespoon of lemon juice or vinegar to 1 ½ cups of milk and letting it sit for 10 minutes.
- Prep Time: 12 minutes
- Cook Time: 15 minutes
- Category: Breakfast
- Cuisine: Belgian
Nutrition
- Serving Size: 1 large waffle
- Calories: 450
- Sugar: 6
- Sodium: 600
- Fat: 20
- Saturated Fat: 10
- Carbohydrates: 55
- Fiber: 2
- Protein: 12
Keywords: Belgian waffles, crispy waffles, weekend brunch, homemade waffles, breakfast recipe, one-bowl waffles