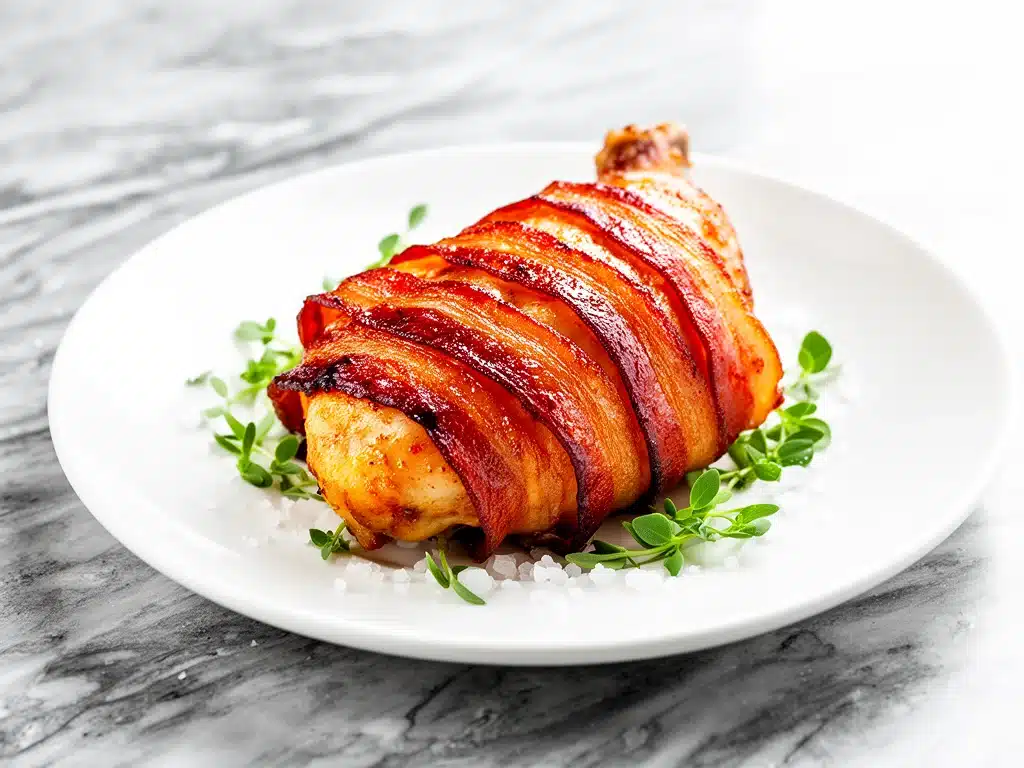
Last Tuesday, I was staring at the clock. It was 5:45 PM, my kids were already whining about dinner, and I had exactly zero energy to chop vegetables or worry about macros. I opened the freezer and found a package of chicken thighs and a pack of bacon that had been sitting there since Sunday. Usually, this combination screams “messy project,” but I had a sudden craving for something salty, savory, and ridiculously easy. So, I threw them together with a few pantry staples and threw them in the oven. Twenty minutes later, the smell of crispy bacon and roasting chicken filled the house, and my husband actually stopped complaining about the day. That was the moment I realized these keto bacon-wrapped chicken thighs weren’t just a quick meal—they were a legitimate game-changer for anyone trying to stay low-carb without sacrificing the comfort food vibe.
I’ve made this recipe probably a dozen times since that chaotic Tuesday. It’s become my go-to answer for “what’s for dinner?” when I’m tired, busy, or just don’t feel like thinking. The best part? It requires almost zero active effort. You wrap the bacon, toss it in the oven, and walk away. While it cooks, you can help with homework, take a shower, or just sit on the couch and pretend you’re not exhausted. The result is juicy, tender chicken thighs encased in crispy, salty bacon, with a glaze that sticks to everything without spiking your blood sugar. It’s the kind of meal that makes you feel like a gourmet chef even though you did the bare minimum.
If you’re new to keto or just looking for a weeknight dinner that doesn’t involve a sink full of dishes, this is the one. I’ve tested different methods—pan-frying, air-frying, baking—and the oven method gives the most consistent results with the least fuss. Plus, it freezes surprisingly well if you batch-cook on Sundays. I’m going to walk you through exactly how I make these, including the little tricks that keep the bacon crispy and the chicken juicy, so you can stop stressing about dinner and start enjoying it.
Why You’ll Love This Recipe
There are a lot of reasons I keep coming back to these keto bacon-wrapped chicken thighs, but they mostly boil down to convenience, flavor, and not having to do dishes. Here’s why this recipe has earned a permanent spot in my weekly rotation:
- Incredibly Low Effort — Seriously, if you can wrap a piece of meat in bacon, you can make this. I’ve made this recipe while on the phone with my mom, and it turned out fine. The oven does 95% of the work.
- Ready in 20 Minutes — Not counting the prep time, the cooking time is roughly 20 minutes. That’s faster than ordering takeout, and it doesn’t arrive lukewarm in a greasy bag.
- Macro-Friendly — Perfect for keto, low-carb, and gluten-free diets. No breading, no flour, no hidden sugars. Just pure protein and healthy fats. It’s the kind of meal that keeps you full for hours without the carb crash.
- Flavor Bomb — Bacon adds salt and smokiness, but the garlic butter glaze adds a richness that makes it taste like restaurant food. My kids, who usually turn their noses up at “diet food,” ask for this weekly.
- Pantry Staples — You probably have the bacon, chicken, garlic, and butter already. No special trips to the store needed. It’s the ultimate “clean out the fridge” meal.
This is my secret weapon for busy weeknights. It’s reliable, delicious, and makes me look like I planned ahead, even when I didn’t.
Ingredients You’ll Need
Here’s the best part: the ingredient list is short, simple, and mostly things you already have. I’m particular about a few items here, and I’ll tell you exactly why they matter.
For the Chicken and Bacon
Chicken thighs (4 large boneless, skinless thighs / about 600g) — I always use thighs, never breasts. Thighs have more fat and flavor, and they stay juicy even if you overcook them slightly. Breasts turn into dry leather in 20 minutes. Look for thighs that are roughly the same size so they cook evenly. If they’re huge, you can cut them in half.
Bacon (8-10 slices / 300-400g) — You need about two slices per thigh. I recommend thick-cut bacon. It holds its shape better and gets crispier. Thin bacon burns too fast and gets greasy. I usually buy the standard hickory-smoked kind, but applewood is nice too if you want a sweeter smoke.
For the Garlic Butter Glaze
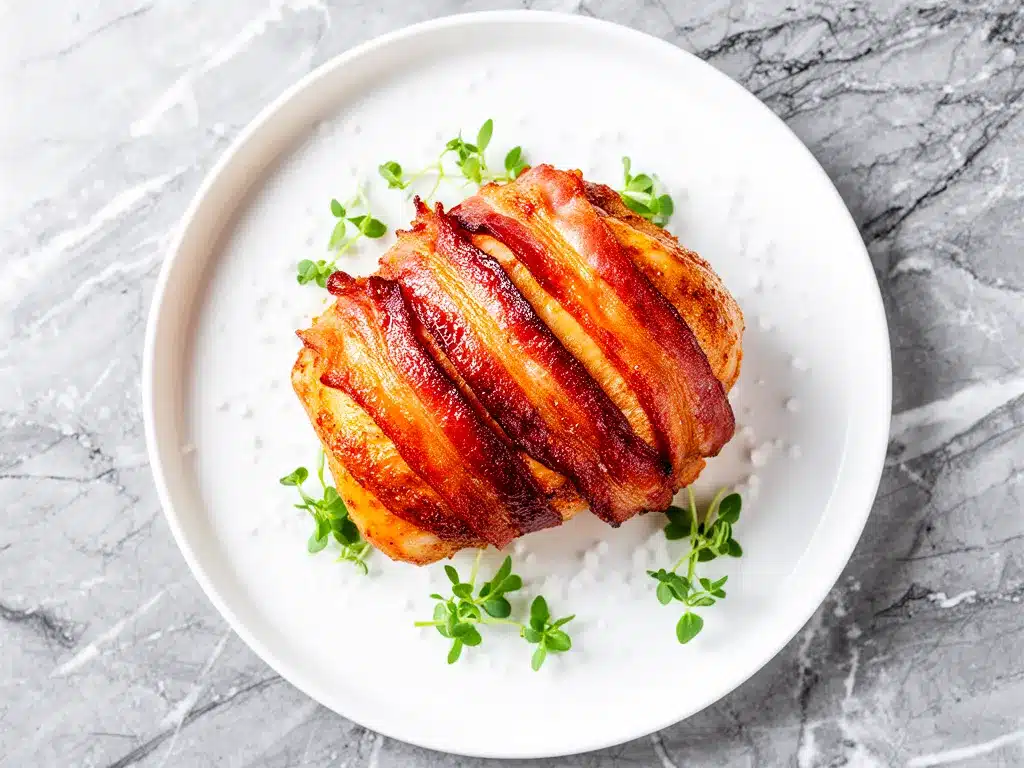
Butter (4 tablespoons / 60g) — Unsalted is best so you can control the saltiness, but if you only have salted, just reduce the added salt in the glaze. Melted butter carries the flavor and helps the glaze stick.
Garlic (4 cloves, minced / about 2 tablespoons) — Fresh garlic is non-negotiable. Jarred garlic has a weird metallic taste that really shows up in a simple glaze. Minced fine so it distributes evenly. I use a microplane if I’m feeling fancy, but a knife works fine.
Dijon mustard (1 tablespoon) — This adds a tangy depth that cuts through the richness of the bacon and butter. Don’t skip it! It’s the secret ingredient that makes it taste complex.
Apple cider vinegar (1 teaspoon) — Just a splash. It brightens the whole dish and balances the fat. If you don’t have this, lemon juice works, or just omit it. The dish will still be good.
Italian seasoning (1 teaspoon) — Or a mix of dried oregano and basil. It adds a subtle herbal note that pairs perfectly with chicken. If you’re out, dried thyme works too.
Salt and black pepper — To taste. I usually start with half a teaspoon of salt and a generous crack of pepper. Taste the glaze before brushing it on to get it right.
Optional Add-ins
Red pepper flakes — A pinch adds a nice kick. I add this when I want a little heat, but it’s optional.
Fresh parsley — For garnish. It adds color and freshness, making the dish look more appealing, especially for photos or dinner parties.
Equipment Needed
You don’t need fancy equipment for this. Here’s what I actually use:
Baking sheet — I use a standard half-sheet pan. Make sure it’s large enough to hold the chicken in a single layer with space between them for air circulation. If your oven is small, you might need two pans.
Parchment paper — Lining your baking sheet is a lifesaver. It prevents sticking and makes cleanup a breeze. I never skip this. Grease is fine, but parchment is easier.
Small bowl — For mixing the glaze. A ramekin or small glass bowl works best.
Whisk or fork — To blend the glaze ingredients. A fork is fine if you don’t want to wash a whisk.
Tongs — For turning the chicken halfway through cooking. Metal tongs are best because they’re sturdy.
Cooking spray or extra butter — To lightly grease the parchment paper if you’re worried about sticking.
Oven — Preheated to 400°F (200°C). That’s it. No special tools required.
How to Make It: Step-by-Step
Alright, let’s make this! I’m walking you through exactly how I do it, including the little tricks I’ve picked up over time.
Step 1: Prep Your Oven and Pan (5 minutes)
Preheat your oven to 400°F (200°C). Line a large baking sheet with parchment paper. This is crucial for easy cleanup and preventing the bacon from sticking. If you don’t have parchment, lightly grease the pan with butter or cooking spray.
Step 2: Wrap the Chicken (5 minutes)
Take your chicken thighs and pat them dry with paper towels. This helps the bacon stick better. Lay two slices of bacon on a cutting board, slightly overlapping. Place a chicken thigh in the center and wrap the bacon around it, tucking the ends underneath. Repeat for all thighs. They don’t need to be perfect; just make sure the bacon covers most of the chicken. If a thigh is too big for two slices, use three.
Step 3: Place on Baking Sheet
Place the wrapped chicken thighs on the prepared baking sheet, leaving a little space between them. This allows hot air to circulate so the bacon cooks evenly and gets crispy. Don’t crowd the pan, or they’ll steam instead of roast.
Step 4: Make the Glaze (2 minutes)
In a small bowl, melt the butter. Stir in the minced garlic, Dijon mustard, apple cider vinegar, Italian seasoning, salt, and pepper. Whisk until well combined. The mixture should look like a smooth, fragrant sauce. Taste it and adjust seasoning if needed.
Step 5: Bake and Brush (20 minutes)
Place the baking sheet in the preheated oven. Bake for 15 minutes. Then, remove the pan and brush the tops of the chicken with half of the glaze. Return to the oven and bake for another 5-10 minutes, or until the bacon is crispy and the chicken reaches an internal temperature of 165°F (74°C). The exact time depends on the size of your thighs. I usually check them at 20 minutes total.
Step 6: Final Brush and Serve
Once the chicken is cooked, remove from the oven and brush with the remaining glaze. Let them rest for 2-3 minutes before serving. This allows the juices to redistribute and the glaze to set. Serve warm, garnished with fresh parsley if you like.
Total Time: About 20-25 minutes (5 minutes prep, 20 minutes cooking)
Expert Tips & Tricks
Here’s everything I’ve learned from making this dozens of times. These tips will save you from my mistakes.
Pat the Chicken Dry
This is the #1 tip. Wet chicken = slippery bacon. If the chicken is wet, the bacon won’t stick, and it’ll slide off during cooking. I always pat them dry with paper towels before wrapping. It takes 30 seconds but makes a huge difference.
Use Thick-Cut Bacon
Thin bacon burns quickly and gets greasy. Thick-cut bacon stays crispier and holds its shape better. It’s worth the extra dollar. I’ve tried both, and thick-cut is always superior for this recipe.
Don’t Skip the Glaze
It’s tempting to just bake the bacon-wrapped chicken plain, but the garlic butter glaze adds so much flavor. It keeps the chicken moist and adds a savory-sweet element that pairs perfectly with the salty bacon. Don’t skimp on the garlic.
Check the Temperature
Chicken thighs can handle a little more heat than breasts, but you still want to ensure they’re cooked through. Use a meat thermometer if you have one. 165°F (74°C) is safe. If you don’t have one, cut into the thickest part to check—juices should run clear, not pink.
Rest Before Serving
Letting the chicken rest for a few minutes after baking helps the juices redistribute. If you cut into it immediately, all the juices run out, and the chicken can be dry. Just wait 2-3 minutes. It’s worth the patience.
Common Mistakes (and how to avoid them)
Mistake: Bacon is soggy
Fix: Your oven might not be hot enough, or the pan was too crowded. Make sure your oven is fully preheated, and leave space between the chicken pieces. You can also broil for the last 1-2 minutes to crisp up the bacon (watch it closely!).
Mistake: Chicken is dry
Fix: You probably overcooked it. Thighs are forgiving, but 20 minutes is usually enough. Check at 18 minutes. Also, using breast meat instead of thighs will lead to dryness every time.
Mistake: Glaze burns
Fix: The garlic in the glaze can burn if exposed to high heat for too long. That’s why I brush it on halfway through, not at the beginning. If you brush it on at the start, the garlic will turn black and bitter.
Variations & Substitutions
Once you’ve nailed the basic version, here’s how you can mix it up. I’ve tried all of these.
Spicy Version
Add a pinch of cayenne pepper or red pepper flakes to the glaze. Or use spicy bacon. This adds a nice kick that balances the sweetness of the glaze. My husband loves this version.
Honey Garlic (Not Keto)
If you’re not strictly keto, add 1 tablespoon of honey to the glaze. It creates a sticky, sweet glaze that’s delicious. Just be aware it adds carbs.
Herb-Crusted
Instead of Italian seasoning, use fresh thyme and rosemary in the glaze. It gives a more sophisticated, French-inspired flavor. Great for dinner parties.
Dietary Modifications:
Gluten-Free — This recipe is naturally gluten-free. Just ensure your bacon and mustard are certified gluten-free if you’re sensitive.
Low-Sodium — Use low-sodium bacon and reduce the salt in the glaze. You can add a splash of lemon juice for flavor without salt.
Different Proteins:
Chicken Breasts — You can use breasts, but they cook faster and dry out easier. Reduce cooking time to 15 minutes and watch them closely.
Pork Chops — Small pork chops work too. Wrap them similarly and cook until they reach 145°F (63°C).
Serving & Storage
How to Serve:
I usually serve this straight from the baking sheet at the dinner table—it looks rustic and stays warm. But here are other ways I’ve enjoyed it:
Side Dishes:
- Roasted broccoli or green beans
- Cauliflower rice or mashed cauliflower
- A simple green salad with vinaigrette
- Zucchini noodles (zoodles) for a low-carb pasta substitute
Toppings Bar:
When I have guests, I put out: extra red pepper flakes, fresh parsley, lemon wedges. Everyone customizes their bowl.
Storage Instructions:
Refrigerator: Store in an airtight container for up to 3 days. The bacon will soften in the fridge—totally normal. Reheat in the oven or air fryer to crisp it back up.
Reheating: Best method: Oven or air fryer at 350°F for 5-7 minutes. This restores the crispiness. Microwave works but makes the bacon chewy and rubbery. If you do microwave, do it in short bursts.
Freezing: You can freeze these, but the texture of the bacon changes after freezing and reheating. It’s better to freeze the raw, wrapped chicken (before baking) and cook fresh. If you freeze cooked chicken, it’s still safe to eat, but the bacon might not be as crispy.
Nutrition Information
I’m not a nutritionist, but here’s the breakdown if you’re tracking. This is per serving (based on 4 servings).
Per Serving:
- Calories: 450
- Protein: 35g
- Carbs: 1g (net carbs)
- Fat: 35g
- Sodium: 600mg (varies by bacon brand)
What’s Good:
- High in protein, which keeps you full
- Very low in carbs, perfect for keto
- Contains healthy fats from bacon and olive oil (if used)
What to Know:
- Higher in sodium due to bacon. Use low-sodium bacon if you’re watching salt.
- High in saturated fat. Enjoy in moderation as part of a balanced keto diet.
My Take:
Look, this is comfort food. It’s salty, rich, and delicious. It’s not a diet recipe in the sense of being light and airy, but it fits perfectly into a keto lifestyle. When I want to make it lighter, I use turkey bacon (though the flavor is different) or add more vegetables to the plate. But usually? I just eat a reasonable portion and enjoy it.
Final Thoughts
So that’s my go-to keto bacon-wrapped chicken thighs! I’ve probably talked your ear off at this point, but when you make a recipe this often, you have a lot to say about it. This has saved weeknight dinners more times than I can count. It’s my answer to “what’s for dinner?” when I’m tired, don’t want takeout, and still want something that tastes really good. My kids are happy, my husband’s happy, and I’m happy because I’m not stressed about cooking.
Make it yours! Try different glazes, swap in your favorite herbs, or add a little heat. The best recipes are the ones you adapt to your family’s tastes. If you make this, drop a comment and let me know what you think! I love hearing how recipes turn out in your kitchen. And if something doesn’t work, tell me that too—I’m here to help troubleshoot.
Happy cooking! And I hope your kitchen smells half as good as mine does right now.
Frequently Asked Questions
Can I use chicken breasts instead of thighs?
You can, but I don’t recommend it for this specific recipe. Chicken breasts dry out very quickly in the oven, especially with bacon wrapping which can trap heat. Thighs have more fat and stay juicy. If you must use breasts, reduce the cooking time to 15 minutes and check the temperature frequently.
Why is my bacon not crispy?
This usually happens if the oven wasn’t hot enough, the pan was too crowded, or the bacon was too thin. Make sure your oven is fully preheated to 400°F. Leave space between the chicken pieces. Use thick-cut bacon. If the bacon is still soft after baking, you can broil for 1-2 minutes, but watch it closely to prevent burning.
Can I make this in the air fryer?
Yes! This works great in an air fryer. Cook at 380°F for 12-15 minutes, flipping halfway through and brushing with glaze. The air fryer actually makes the bacon crispier faster than the oven. Just make sure the pieces fit in a single layer without touching.
How do I store leftovers?
Store in an airtight container in the fridge for up to 3 days. The bacon will soften, so reheat in the oven or air fryer at 350°F for 5-7 minutes to restore crispiness. Avoid microwaving if you want to keep the texture.
Can I freeze these?
It’s best to freeze the raw, wrapped chicken thighs before baking. Place them on a baking sheet, freeze until solid, then transfer to a freezer bag. They’ll keep for up to 3 months. Thaw overnight in the fridge before baking. Freezing cooked chicken is possible, but the bacon texture may suffer.
What if I don’t have Dijon mustard?
You can substitute with yellow mustard, spicy brown mustard, or even a little horseradish for a different flavor profile. The mustard adds tang, so any tangy condiment will work. If you have none, just omit it—the dish will still be good, just less complex.
Is this recipe keto-friendly?
Yes, this recipe is naturally keto-friendly. It’s low in carbs, high in fat, and moderate in protein. Just ensure your bacon and mustard don’t contain added sugars. Most standard bacon and Dijon mustard are keto-safe, but always check the labels.
Pin This Recipe!
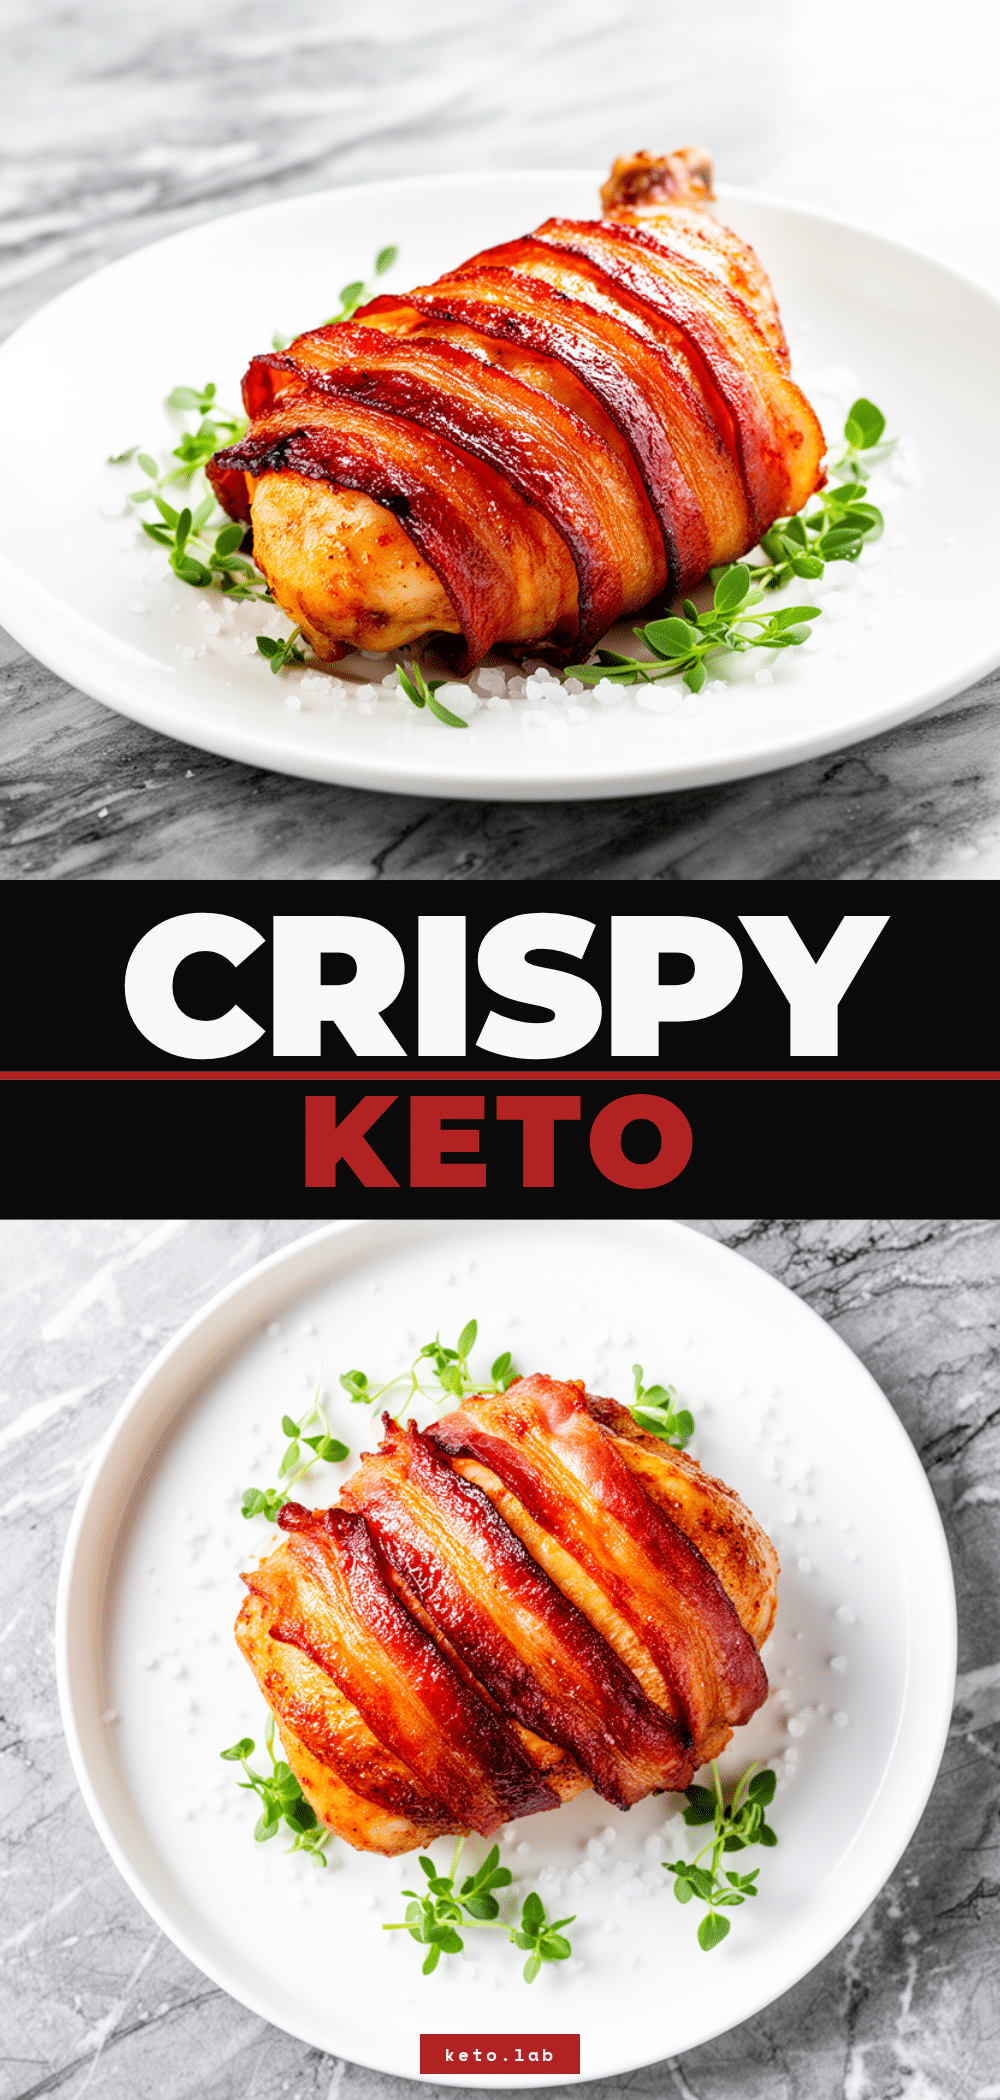
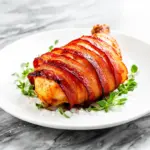
Keto Bacon-Wrapped Chicken Thighs: Easy 20-Min Meal
- Total Time: 25 minutes
- Yield: 4 servings 1x
Description
A quick, low-effort keto dinner featuring juicy chicken thighs wrapped in crispy bacon and brushed with a savory garlic butter glaze. Ready in just 20 minutes with minimal cleanup.
Ingredients
- 4 large boneless, skinless chicken thighs (about 600g)
- 8–10 slices thick-cut bacon (about 300-400g)
- 4 tablespoons unsalted butter, melted
- 4 cloves garlic, minced
- 1 tablespoon Dijon mustard
- 1 teaspoon apple cider vinegar
- 1 teaspoon Italian seasoning
- Salt and black pepper to taste
- Red pepper flakes (optional)
- Fresh parsley for garnish (optional)
Instructions
- Preheat oven to 400°F (200°C). Line a large baking sheet with parchment paper.
- Pat chicken thighs dry with paper towels to ensure bacon sticks.
- Wrap each chicken thigh with two slices of bacon, tucking ends underneath. Place on the prepared baking sheet with space between them.
- In a small bowl, whisk together melted butter, minced garlic, Dijon mustard, apple cider vinegar, Italian seasoning, salt, and pepper.
- Bake chicken for 15 minutes. Remove from oven and brush with half of the glaze.
- Return to oven and bake for another 5-10 minutes, or until bacon is crispy and chicken reaches an internal temperature of 165°F (74°C).
- Remove from oven and brush with remaining glaze. Let rest for 2-3 minutes before serving.
- Garnish with fresh parsley and serve warm.
Notes
Pat chicken dry before wrapping to prevent bacon from sliding off. Use thick-cut bacon for better crispiness. Do not brush glaze on at the beginning to prevent garlic from burning. Rest chicken for 2-3 minutes after baking to retain juices.
- Prep Time: 5 minutes
- Cook Time: 20 minutes
- Category: Main Course
- Cuisine: American
Nutrition
- Serving Size: 1 chicken thigh wrap
- Calories: 450
- Sodium: 600
- Fat: 35
- Saturated Fat: 12
- Carbohydrates: 1
- Protein: 35
Keywords: keto, low carb, bacon wrapped chicken, quick dinner, easy weeknight meal, gluten free, high protein