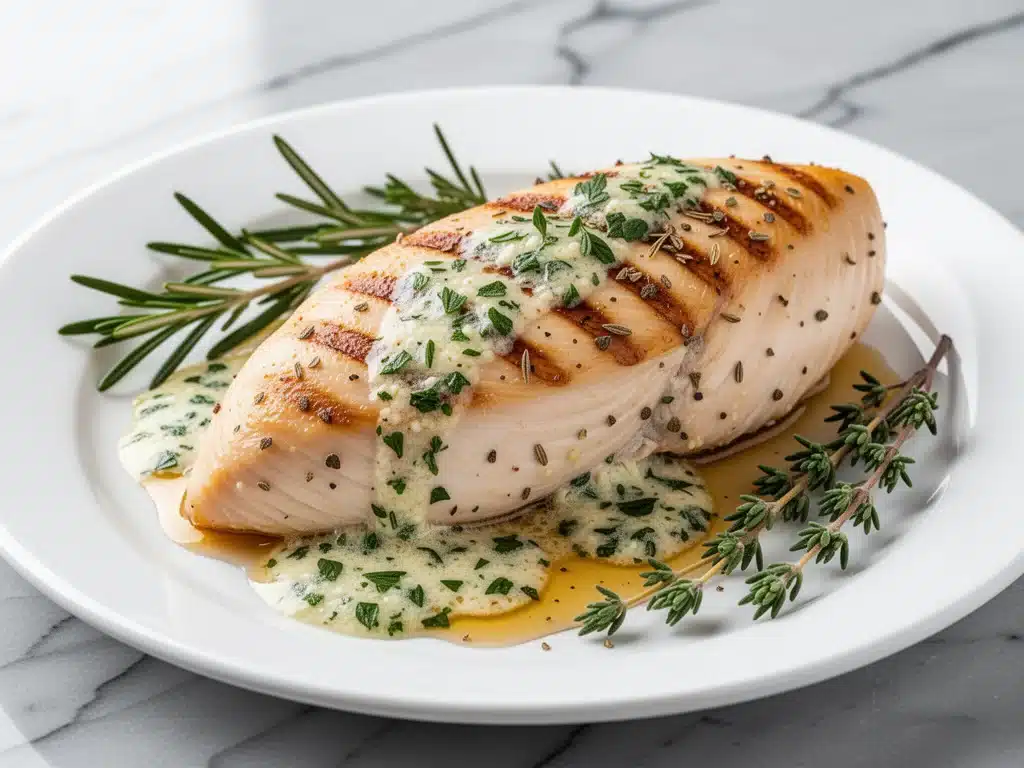
I have a confession to make. For years, I was the person who bought pre-marinated chicken breasts because I was terrified of my own cooking. Not because I thought I couldn’t cook, but because I genuinely believed that chicken breasts were naturally dry, tough, and sad little disks of disappointment. I’d pull them out of the oven, cut into them, and watch the juices run clear before they even hit the plate. Dry. Always dry.
Then, last Tuesday, I was exhausted. It was one of those evenings where my brain felt like static, and the idea of standing over a stove for an hour was physically painful. I wanted something hot, something comforting, but I didn’t want to order takeout and pay $18 for a plastic container of food that would taste mediocre by morning. I looked at the freezer, pulled out two boneless, skinless chicken breasts, and decided to try a method I’d seen floated around online. Oven-baked with garlic herb butter.
I was skeptical. Butter makes things greasy, right? Garlic burns, right? But I threw them in the oven at a high temperature with a generous pat of softened butter mixed with fresh herbs. Twenty minutes later, the kitchen smelled like an Italian restaurant. I pulled the tray out, and the chicken was glistening, golden, and—here’s the part that shocked me—juicy. I cut into it, and instead of sawdust, I got a clean slice that released warm, savory juices.
That was three months ago. This Never-Dry Oven-Baked Chicken Breast with Garlic Herb Butter has become my absolute go-to. I’ve made it on busy Tuesdays, lazy Sundays, and even when I had unexpected guests. It’s foolproof. It’s fast. And it tastes like I spent hours preparing it, when really, it’s mostly hands-off cooking time. If you’ve ever stared at a raw chicken breast and dreaded the outcome, this recipe is your new best friend.
Why You’ll Love This Recipe
There are a million chicken recipes out there. Grilled, fried, slow-cooked, air-fried. But this specific method—baking with a herb butter crust—hits a sweet spot that I think a lot of us are craving. It’s not just about the taste; it’s about the reliability.
Zero Guesswork — Chicken breasts vary in thickness wildly from store to store. This method accounts for that. The high heat sears the outside, locking in moisture, while the butter bastes the meat as it cooks. I’ve made this with tiny, thin cutlets and thick, chunky breasts, and both come out perfectly tender. No more cutting them in half to make them even (unless you really want to).
Flavor That Actually Sticks — Dry chicken is usually bland chicken. The problem with traditional baking is that the seasoning just sits on top and falls off. By mixing the herbs into softened butter and rubbing it under and over the meat, you create a flavor barrier. Every bite is seasoned. The garlic doesn’t just smell good; it infuses the meat.
Under 30 Minutes — This is a true weeknight warrior. Prep takes about 5 minutes. The oven does the rest for 18-20 minutes. Total time is roughly 25 minutes. I can get this on the table before my kids even finish their homework. It pairs beautifully with the cozy fall roasted red pepper and smoked gouda soup for a complete dinner in under half an hour.
Leftover Gold — Most people avoid chicken breast leftovers because reheating dried-out chicken is a nightmare. Not this. Because this chicken is baked with butter, it stays moist even after being in the fridge. I slice it up for salads on Wednesday, chop it for tacos on Thursday, and fold it into a sandwich on Friday. It never gets tough.
Ingredients You’ll Need
Here’s the beautiful part: you probably have 90% of this already in your kitchen. This isn’t a recipe that requires a specialty run to the store. It’s simple, honest ingredients that do heavy lifting.
For the Chicken
Boneless, Skinless Chicken Breasts (2 large, about 1.5 lbs / 680g) — Look for breasts that are relatively uniform in size. If one is tiny and one is huge, you might want to pound the big one down a bit so they cook evenly. I buy organic when possible, but conventional works fine for this method.
Olive Oil (1 tablespoon) — Just a little bit to help the butter brown without burning. You can use melted butter here too, but olive oil gives a nice savory base.
For the Garlic Herb Butter
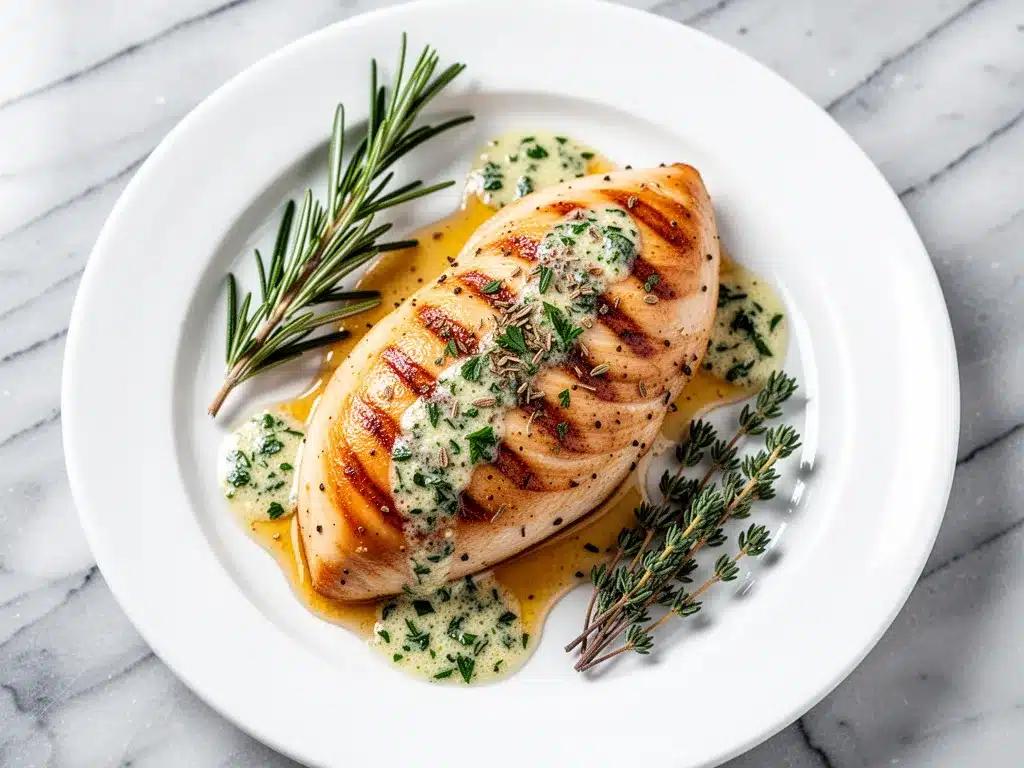
Unsalted Butter (3 tablespoons / 42g) — This is the star. Softened, not melted. You want it spreadable, like soft-serve ice cream. If it’s melted, it’ll soak into the chicken and not create that glorious crust. Room temperature is key.
Garlic (3-4 cloves, minced) — Fresh garlic only. Please, I beg you, skip the jarred stuff for this. Jarred garlic has a sulfurous, metallic aftertaste that clashes with the delicate herbs. Fresh garlic, minced to a fine paste, is sweet and aromatic. If you’re in a rush, a garlic press works, but mincing by hand gives you better control.
Dried Parsley (1 teaspoon) — Adds color and a mild, grassy freshness. If you have fresh parsley, use a tablespoon of finely chopped leaves. It’s even better.
Dried Oregano (½ teaspoon) — This gives it that classic “herby” depth. It’s earthy and pairs perfectly with garlic. Don’t skip it; it’s what makes it taste like a restaurant dish.
Dried Thyme (½ teaspoon) — Thyme and chicken are a love match. It adds a subtle, woodsy note that elevates the whole dish. If you don’t have thyme, extra oregano is fine.
Smoked Paprika (½ teaspoon) — This is my secret weapon. It adds a tiny hint of smokiness and gives the chicken that appetizing golden-brown color. Regular paprika works, but smoked is better.
Salt and Black Pepper (1 teaspoon kosher salt, ½ teaspoon freshly cracked black pepper) — Season generously. Chicken breasts are dense and need salt to penetrate the meat. Use kosher salt because it’s easier to control. Table salt can make it too salty too quickly.
Optional Add-Ins
Lemon Zest — I love adding the zest of half a lemon to the butter. It cuts through the richness and makes the flavors pop. It’s especially good if you’re serving this with roasted vegetables.
Red Pepper Flakes — If you like a little kick, throw in a pinch. It contrasts nicely with the creamy butter.
Equipment Needed
You don’t need fancy gadgets. Just basic kitchen tools.
Baking Sheet or Rimmed Sheet Pan — I use a half-sheet pan (18×13 inches). It needs to be big enough to hold the chicken in a single layer with a little space between them. Crowding the pan steams the chicken instead of baking it, and we want that nice brown crust.
Parchment Paper or Foil — Line your pan. Trust me on this. The butter and garlic will bubble and brown, and if you don’t line the pan, you’ll be scrubbing burnt cheese and garlic bits off your sheet for 20 minutes. Parchment makes cleanup instant.
Small Bowl — For mixing the butter and herbs. A ramekin or even a small glass measuring cup works.
Pastry Brush or Fork — To spread the butter mixture. A fork works fine if you’re lazy, but a brush gets into the crevices.
Meat Thermometer — This is the only “pro” tool you absolutely need. Chicken is safe at 165°F (74°C), but if you let it hit 175°F, it’s dry. A thermometer takes the guesswork out. I keep an instant-read one in my drawer.
How to Make It: Step-by-Step
Alright, let’s get cooking. This is straightforward, but there are a few tricks that make the difference between “okay” chicken and “wow” chicken.
Step 1: Prep the Chicken (5 minutes)
Pat the chicken breasts dry with paper towels. This sounds boring, but it’s crucial. Wet chicken steams. Dry chicken browns. If the breasts are very thick or uneven, place them between two sheets of plastic wrap and gently pound the thick end with a rolling pin or meat mallet until they’re about ¾ inch thick all around. This ensures they cook evenly. You don’t need to make them paper-thin, just uniform.
Step 2: Make the Herb Butter (2 minutes)
In a small bowl, combine the softened butter, minced garlic, parsley, oregano, thyme, smoked paprika, salt, and pepper. Mix it until it’s a uniform paste. If you’re using lemon zest, add it now. The butter should be soft enough to spread easily. If it’s still too hard, let it sit at room temperature for 5 more minutes. You want it pliable.
Step 3: Season and Butter the Chicken
Place the chicken breasts on your prepared baking sheet. Leave a little space between each piece. Take your herb butter mixture and spread it generously over the top of each breast. Don’t be shy—use all of it. If you want extra flavor, you can also rub a little bit under the top layer of the chicken, but the top is the most important for that crust.
Step 4: Bake (18-20 minutes)
Preheat your oven to 425°F (220°C). High heat is the secret to juicy chicken. It cooks the outside fast, sealing in the juices, while the inside cooks through gently. Place the pan in the center of the oven. Bake for 18-20 minutes.
Here’s the important part: Check the internal temperature at the 18-minute mark. Insert the thermometer into the thickest part of the breast. You want to pull it out when it hits 160°F (71°C). The residual heat will carry it up to 165°F (74°C) while it rests. If you wait until it hits 165°F in the oven, it will likely be overcooked by the time you take a bite.
Step 5: Rest (5 minutes)
Remove the chicken from the oven. Do not skip this step. Let the chicken rest on the pan for 5 minutes. This allows the juices, which have been driven to the center by the heat, to redistribute throughout the meat. If you cut into it immediately, all those juices run out onto the plate, leaving you with dry chicken. Resting keeps it moist.
Step 6: Serve
Slice the chicken against the grain (across the width, not length) and serve. The juices should be clear and plentiful. The butter crust should be golden and fragrant.
Expert Tips & Tricks
I’ve made this recipe dozens of times, and I’ve learned a few things the hard way. Here’s how to avoid my mistakes.
Softened Butter is Non-Negotiable — I’ve tried this with cold butter, and it just sits on top and doesn’t penetrate. I’ve tried it with melted butter, and it makes the chicken greasy. Softened, spreadable butter is the only way. If you forget to take it out, microwave it for 5-10 seconds. Check it often—it melts fast.
Don’t Overcrowd the Pan — If you’re cooking 4 breasts, use two pans. If you cram them together, they steam. Steam is the enemy of browning. You want that golden, crispy-looking butter crust. Space is good.
The Thermometer is Your Best Friend — I used to cut into the chicken to check it. Bad move. Every time you cut it, you lose juice. A $10 thermometer pays for itself in one meal. It removes all anxiety. You know exactly when it’s done.
Resting Time Matters — I know, you’re hungry. You want to eat. But 5 minutes of waiting is worth it. Set a timer. Drink some water. Check your phone. Then eat. The difference in texture is night and day.
Garlic Burns Fast — At 425°F, minced garlic can burn if it’s too exposed. By mixing it into the butter, you protect it. The butter acts as a buffer. If you’re using fresh herbs, add them after baking if you want them bright green, but dried herbs in the butter hold up well to the heat.
Variations & Substitutions
Once you’ve mastered the base, here’s how you can mix it up. I’ve tested all of these.
Lemon Herb — Add the zest of one lemon and 1 tablespoon of lemon juice to the butter. Squeeze a little fresh lemon over the top after baking. This is my favorite for spring and summer.
Spicy Cajun — Swap the oregano and thyme for Cajun seasoning. Add ½ teaspoon cayenne pepper to the butter. It adds a nice kick that pairs well with rice or corn.
Italian Style — Use Italian seasoning blend instead of individual herbs. Add a pinch of red pepper flakes. Serve with marinara sauce on the side for dipping. It’s like chicken parm without the breading.
Dairy-Free — Use olive oil or vegan butter instead of dairy butter. The method is the same. Vegan butter works surprisingly well for this, especially if it’s a high-fat version.
Gluten-Free — This recipe is naturally gluten-free. Just make sure your spices and paprika are certified gluten-free if you’re highly sensitive. It’s usually fine, but cross-contamination happens.
Side Dish Pairing — This chicken goes with everything. I love it with fall brown butter sage gnocchi for a carb-heavy comfort night, or with simple roasted asparagus for a lighter option.
Serving & Storage
How to Serve: I usually slice the chicken and arrange it on a platter with the pan juices poured over the top. It looks rustic and inviting. Great sides include roasted potatoes, steamed broccoli, quinoa, or a simple green salad with vinaigrette.
Refrigerator: Store leftovers in an airtight container for up to 4 days. The chicken will absorb some of the butter, so it might look a bit matte in the fridge. That’s normal.
Reheating: This is where most people fail. Do not microwave chicken breast on high. It will turn into rubber. Instead, reheat it gently in a skillet over low heat with a splash of chicken broth or water. Cover the pan to trap steam. This revives the moisture. Or, eat it cold in a salad. Honestly, cold herb butter chicken is delicious.
Freezing: You can freeze cooked chicken for up to 3 months. Let it cool completely, then freeze in a single layer on a baking sheet before transferring to a bag. Thaw in the fridge overnight. Reheat gently as described above.
Nutrition Information
I’m not a nutritionist, but here’s the breakdown if you’re tracking. This is per serving (1 breast, based on 4 servings).
Per Serving:
- Calories: 280
- Protein: 35g
- Carbs: 1g
- Fat: 14g
- Saturated Fat: 7g
- Sodium: 450mg
It’s high protein and low carb, which makes it great for keto or low-carb diets. The fat comes from the butter, which adds flavor and moisture. If you’re watching calories, you can reduce the butter to 2 tablespoons, but you’ll lose some of that succulence. I think it’s worth it.
Final Thoughts
This Never-Dry Oven-Baked Chicken Breast has changed how I think about cooking poultry. It’s proof that you don’t need complicated techniques or expensive ingredients to make something delicious. You just need to understand what makes chicken dry (overcooking and lack of fat) and fix those two things.
When I’m tired, stressed, or just don’t know what to make, I reach for this recipe. It’s reliable. It’s tasty. And it makes me look like a genius in the kitchen, even when I’m running on fumes. Try it this week. I promise you’ll be glad you did.
If you make this, let me know how it turned out! I love hearing from readers who’ve tried their hand at it. And if you have questions, drop them in the comments. Happy cooking!
Frequently Asked Questions
Can I use frozen chicken breasts?
You can, but you’ll need to thaw them first. Cooking frozen chicken in the oven at high heat will cook the outside before the inside is safe. Thaw in the fridge overnight or use the defrost setting on your microwave. Pat them dry thoroughly before seasoning.
Why is my chicken still pink after cooking?
If it’s pink but the internal temperature is 165°F, it’s safe to eat. Sometimes, the smoke from the paprika or the nitrites in the curing process (if you bought pre-treated chicken) can cause a pink tint. Trust the thermometer, not the color.
Can I add vegetables to the same pan?
Yes! You can toss chopped potatoes, carrots, or broccoli with olive oil and salt and place them around the chicken. They’ll roast in the chicken drippings, which adds flavor. Just make sure the vegetables are cut small enough to cook in the same 20-minute window, or par-boil harder veggies like potatoes first.
What if I don’t have a meat thermometer?
You can check by cutting into the thickest part. The juices should run clear, not pink or bloody. The meat should feel firm but not hard to the touch. However, I strongly recommend getting a thermometer. It’s the only way to guarantee juicy chicken every time.
Can I use fresh herbs instead of dried?
Absolutely. Use 1 tablespoon of fresh chopped herbs for every teaspoon of dried. Add them to the butter just before spreading. Fresh herbs will be brighter and more aromatic, but they won’t form as crispy a crust as dried herbs.
Is this recipe safe for meal prep?
Yes, it’s one of the best meal prep proteins out there. It holds up well in the fridge and reheats nicely. I usually make 4 breasts on Sunday and slice them for lunches all week. Just store them in separate containers to keep them fresh.
Pin This Recipe!
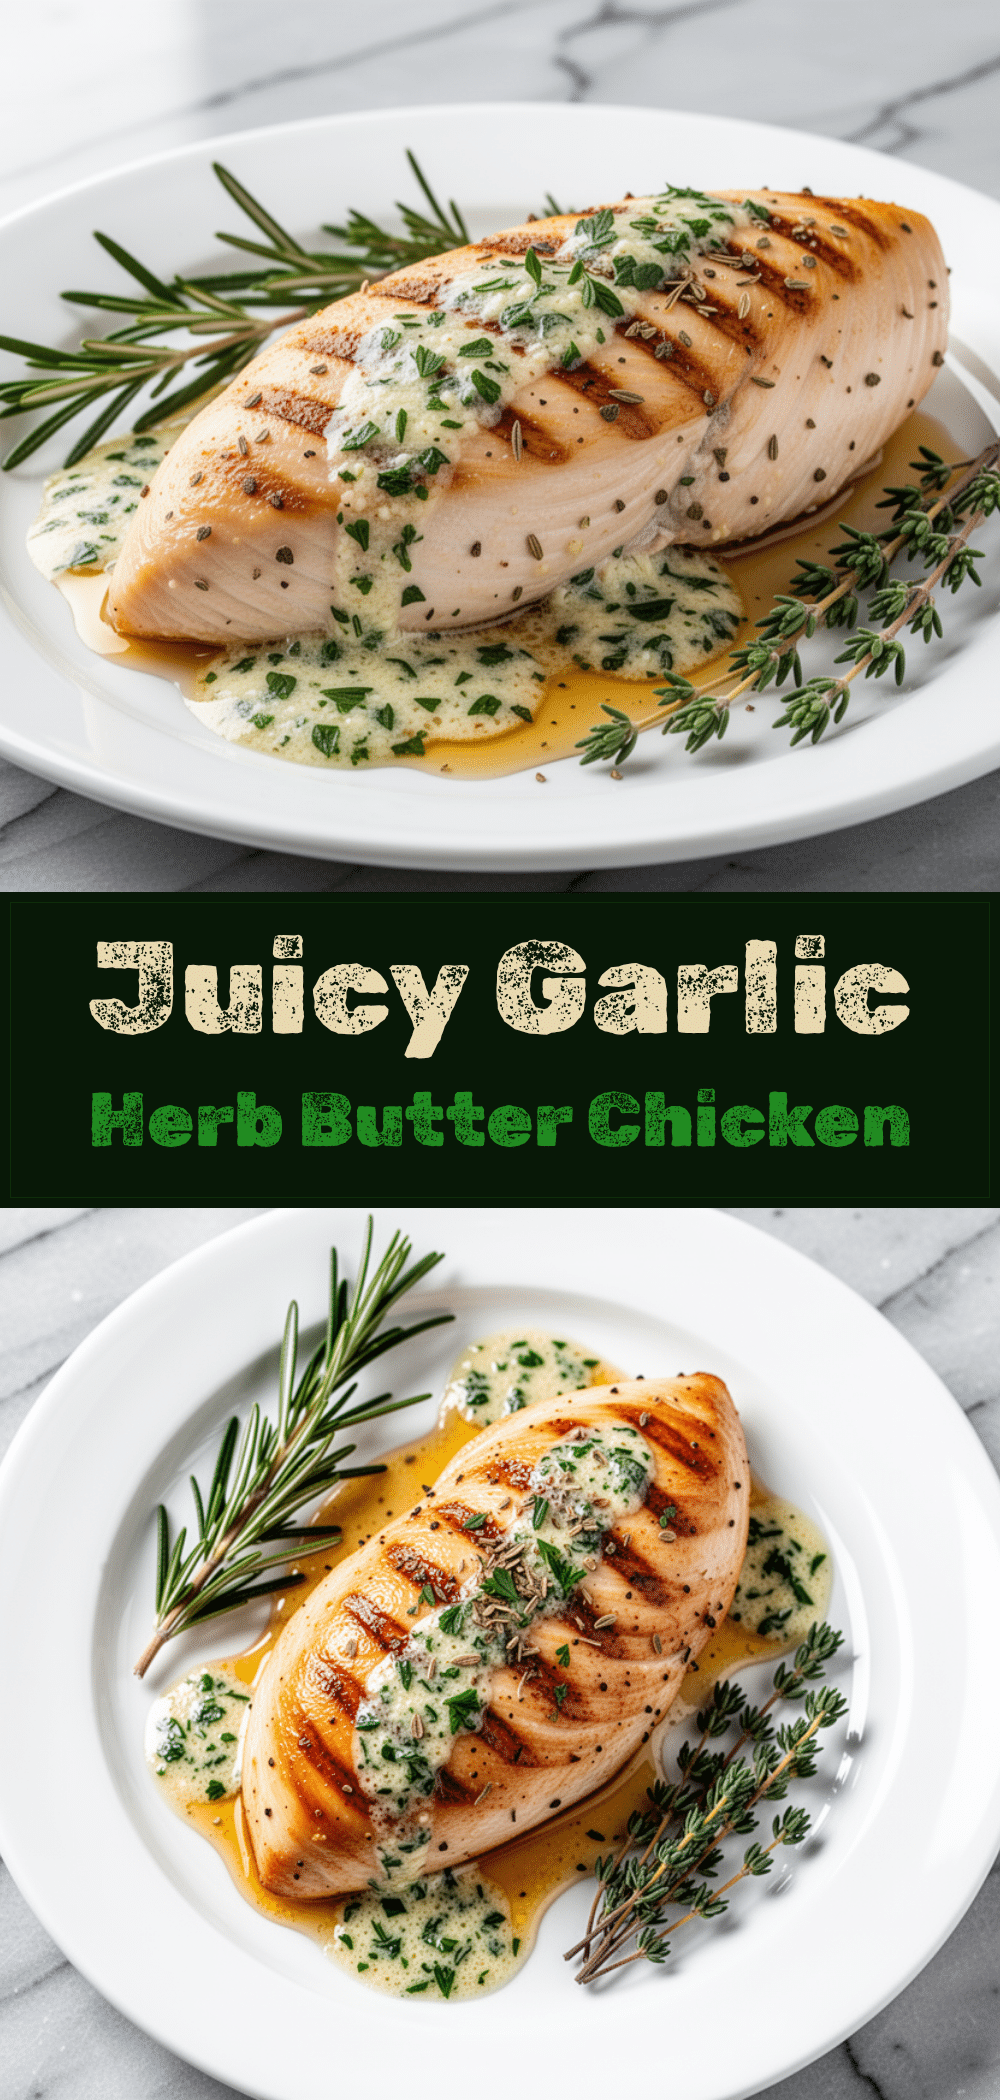
Never-Dry Oven-Baked Chicken Breast with Garlic Herb Butter
- Total Time: 25 minutes
- Yield: 4 servings 1x
Description
A foolproof, juicy oven-baked chicken breast recipe using a garlic herb butter crust. High heat and proper resting ensure tender, flavorful results in under 30 minutes.
Ingredients
- 2 large boneless, skinless chicken breasts (about 1.5 lbs / 680g)
- 1 tablespoon olive oil
- 3 tablespoons unsalted butter, softened
- 3–4 cloves garlic, minced
- 1 teaspoon dried parsley
- 1/2 teaspoon dried oregano
- 1/2 teaspoon dried thyme
- 1/2 teaspoon smoked paprika
- 1 teaspoon kosher salt
- 1/2 teaspoon freshly cracked black pepper
- Optional: Zest of 1/2 lemon
- Optional: Pinch of red pepper flakes
Instructions
- Preheat oven to 425°F (220°C). Line a baking sheet with parchment paper or foil.
- Pat chicken breasts dry with paper towels. If uneven, pound to uniform thickness (approx. 3/4 inch).
- In a small bowl, mix softened butter, minced garlic, parsley, oregano, thyme, smoked paprika, salt, pepper, and optional lemon zest until a uniform paste forms.
- Place chicken on the prepared baking sheet. Spread the herb butter mixture generously over the top of each breast.
- Bake for 18-20 minutes. Check internal temperature at 18 minutes; remove when it reaches 160°F (71°C).
- Let chicken rest on the pan for 5 minutes to redistribute juices.
- Slice against the grain and serve with pan juices.
Notes
Ensure butter is softened, not melted, to create a crust. Do not overcrowd the pan to allow for browning. Resting the chicken is crucial for juiciness. Internal temperature should reach 160°F before resting, rising to 165°F.
- Prep Time: 5 minutes
- Cook Time: 20 minutes
- Category: Main Course
- Cuisine: American
Nutrition
- Serving Size: 1 chicken breast
- Calories: 280
- Sodium: 450
- Fat: 14
- Saturated Fat: 7
- Carbohydrates: 1
- Protein: 35
Keywords: chicken breast, oven baked chicken, garlic herb butter, juicy chicken, weeknight dinner, easy chicken recipe, high protein, keto friendly



