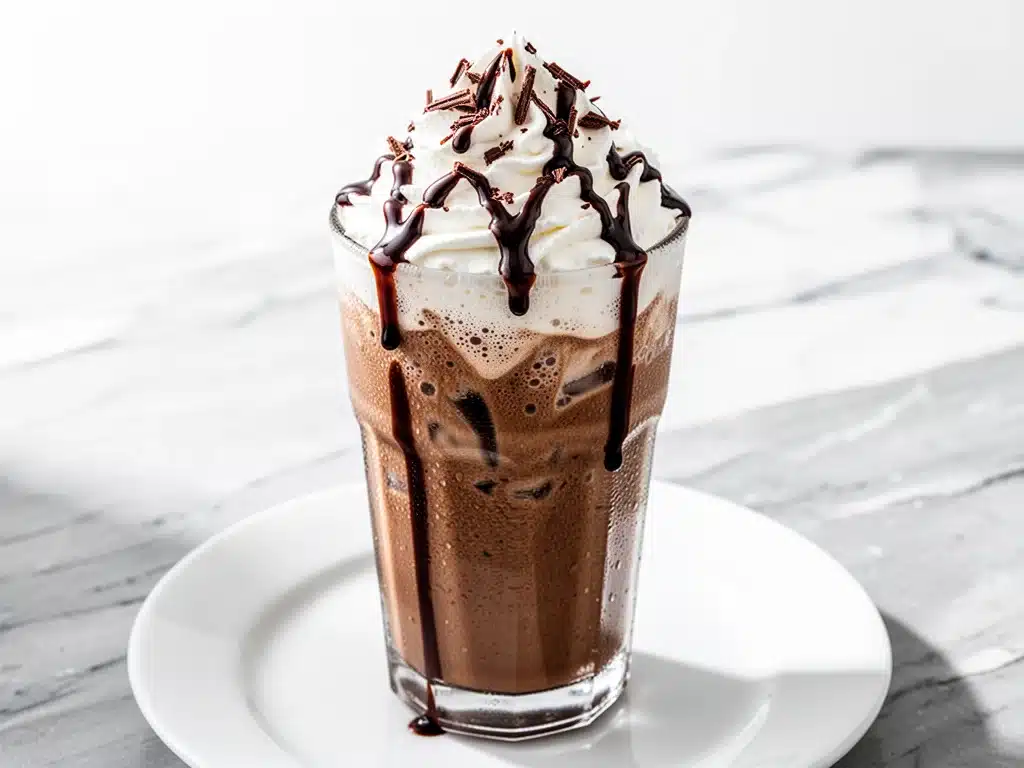
I have a confession to make. For years, I was a slave to the drive-thru line. You know the one—the one where it’s 9:00 AM on a Saturday, the sun is just starting to peek through the blinds, and your brain feels like it’s wrapped in cotton candy. I’d pull up to the window, squinting against the glare, and order the same large mocha frappe I’d been ordering for three years straight. It was sweet, icy, and utterly expensive. I’d pay $8.50 for what amounted to sweetened coffee water with ice cubes.
Then came the Great Blender Incident of last winter. My trusty Vitamix started making a sound like a dying lawnmower, and the repair cost was more than I wanted to spend on a machine that only makes smoothies and frozen drinks. So, I bought a cheap, beat-up blender from a thrift store for $12. It wasn’t pretty. It had a scratch on the lid and smelled faintly of someone else’s banana smoothie. But it worked.
I decided to make my own coffee drink that morning. I didn’t want just any coffee drink. I wanted that thick, creamy, chocolatey slushie that I’d been paying a premium for. I threw in espresso, milk, chocolate syrup, and a mountain of ice. I hit the button. The thrift store blender screamed. It shook across the counter like it was trying to escape. But when I poured it out? It was perfect. Thick. Frothy. Cold. And it cost me about $1.20.
That was the day I stopped buying blended frozen mocha frappes from the coffee shop and started making this one at home. It’s become my new weekend ritual. There’s something deeply satisfying about pouring a thick, chocolate-frosted drink into a glass, topping it with whipped cream, and knowing you just saved enough money to buy a fancy pumpkin streusel coffee cake to go with it.
This recipe isn’t just about saving money (though it definitely does that). It’s about control. It’s about making something that tastes indulgent without the guilt of wondering what weird preservatives are in the store-bought version. It’s about having that rich, coffee-house experience right in your own kitchen, on your own terms. And honestly? It’s better. Because you can make it exactly how you like it. Extra chocolate? Easy. Less sweet? Done. I’ve made this probably fifty times since that thrift store find, and I’ve tweaked it until it’s absolute perfection.
Why You’ll Love This Homemade Mocha Frappe
There are about ten reasons I keep making this, but let’s be real—you probably just want to know why it’s worth the effort. Here’s the truth: store-bought coffee drinks are often more syrup than coffee, and the texture is usually watery or icy in a bad way. This homemade version is different. It’s creamy, it’s rich, and it’s genuinely better than the $8 drink.
Stupid Simple — Seriously. If you can pour milk and press a button, you can make this. I’ve made this while half-asleep on Sunday mornings, and it still comes out perfect. There’s no steaming milk, no tamping coffee, no complicated latte art. Just blend and pour.
Lightning Fast — It takes about 5 minutes from start to finish. That’s faster than driving to the coffee shop, waiting in line, and driving back. I usually make this while the rest of the family is still waking up, and by the time they’re ready for breakfast, the drink is waiting for them.
Customizable Sweetness — This is the biggest one. Coffee shops use pre-made syrups that are mostly sugar and corn syrup. Here, you control the sweetness. I like it sweet, but I use high-quality chocolate sauce. If you want it less sweet, you can use less chocolate and more espresso. If you want it like a dessert, you can double the chocolate. You’re the boss.
Actually Creamy — Store-bought frappes often feel icy or thin. This recipe uses a specific ratio of milk to ice, and the secret is the chocolate. The cocoa solids and fats in the chocolate emulsify with the milk and ice, creating that thick, milkshake-like texture that you crave. It’s not just coffee with ice; it’s a blended dessert drink.
Budget-Smart — Let’s talk numbers. A large mocha frappe at a major chain coffee shop is usually between $6 and $9. This recipe makes one large drink for about $1.50. That’s a savings of over $5 per drink. If you make this once a week, you’re saving over $250 a year. That’s not a typo. That’s a lot of coffee cake.
Perfect for Guests — When I have people over for brunch or just hanging out on weekends, this is my go-to drink. I make a big batch in the blender and pour it into pretty glasses. It feels fancy, but it’s effortless. My friends always ask for the recipe, and they’re usually shocked when I tell them it’s just coffee, milk, and chocolate.
This is my go-to when I want a treat that feels special but doesn’t require any actual cooking skills. No oven, no stove, no mess. Just a blender and a glass. It’s reliable, delicious, and makes everyone happy. Including me, because I get to drink it.
Ingredients You’ll Need
Here’s the best part: you probably have most of this already. You don’t need fancy coffee beans or exotic syrups. This recipe relies on a few key components that work together to create that perfect texture and flavor. I’m particular about the chocolate here—I’ve tried everything from cocoa powder to chocolate chips, and the best results come from using a good-quality chocolate sauce or syrup.
For the Base:
Strong Coffee or Espresso (1 shot / 30ml or ½ cup / 120ml cold brew) — You need strong coffee here. Regular drip coffee will taste weak once it’s diluted with ice. I use a shot of espresso from my machine, or I brew a small pot of dark roast coffee and let it cool completely. Cold brew concentrate works great too if you’re making a batch ahead. Don’t use instant coffee unless you’re in a total emergency—it changes the flavor profile too much.
Whole Milk (½ cup / 120ml) — I use whole milk because the fat content helps create that creamy, rich texture. Skim milk will make the drink thin and icy. If you’re using oat milk or almond milk, choose a “barista” blend or the full-fat version, as these have more fat and emulsify better. Regular almond milk tends to make the frappe watery.
Ice Cubes (1 cup / 100g, packed) — This is crucial. You need a full cup of ice. Not a half cup. A full cup. The ice is what makes it a frappe instead of an iced coffee. If you don’t have enough ice, the drink will be soupy. I recommend using large ice cubes if you have them—they blend slower and create a smoother texture. Small cubes melt too fast and water down the drink.
For the Flavor:
Chocolate Sauce or Syrup (3 tablespoons / 45ml) — I use Hershey’s chocolate syrup or a high-quality chocolate sauce like Ghirardelli. Avoid chocolate chips—they don’t blend well and leave little chunks. Avoid cocoa powder—it won’t dissolve properly in a cold drink and will leave a gritty texture. You want a liquid chocolate that mixes smoothly. If you’re making your own chocolate sauce, make sure it’s cooled to room temperature before blending.
Vanilla Extract (½ teaspoon) — This is optional, but I highly recommend it. It rounds out the chocolate flavor and adds a subtle sweetness that makes the drink taste more complex. Use pure vanilla extract, not imitation. The difference is noticeable, especially in a simple recipe like this.
Optional Add-ins:
Whipped Cream (For topping) — I use homemade whipped cream when I have time, but canned whipped cream works fine too. I like to add a dollop on top because it makes the drink feel like a dessert. If you’re watching calories, you can skip this, but I don’t recommend it. It’s worth the few extra calories.
Chocolate Shavings (For garnish) — A few shavings on top of the whipped cream add a nice visual appeal and a little extra crunch. I use a vegetable peeler to shave a chocolate bar. It looks fancy, but it’s super easy.
Sugar or Sweetener (Optional, to taste) — Most chocolate sauces are sweet enough that you don’t need extra sugar. But if you like it extra sweet, or if you’re using unsweetened chocolate sauce, you can add a teaspoon of sugar or your preferred sweetener. I taste it before adding anything extra, and I usually skip it.
Personal Tips:
– Brand recommendations: I always use Hershey’s chocolate syrup because it’s readily available and consistent. For coffee, I use a medium-dark roast from my local roaster. It has enough body to stand up to the ice and milk.
– Shopping shortcuts: I keep a bottle of chocolate syrup in the pantry at all times. It’s one of those things I run out of unexpectedly, and then I’m sad for days.
– Substitutions: No espresso? Brew a strong cup of coffee and let it cool. No whole milk? Use oat milk or half-and-half for a richer drink. No chocolate syrup? You can use melted chocolate, but let it cool first, or use a high-quality cocoa powder mixed with a little sugar and milk to make a paste.
– Storage: Chocolate syrup keeps for months in the pantry. Coffee should be brewed fresh, but cold brew can last up to a week in the fridge.
Common Questions:
– Can I use hot coffee? Yes, but let it cool slightly first. Hot coffee will melt the ice too fast and make the drink watery. Let it sit for 5-10 minutes after brewing.
– Where do I find good chocolate sauce? It’s usually in the syrup aisle next to the pancake syrup, or near the ice cream toppings.
– Can I make this ahead? You can prep the ingredients ahead, but you need to blend it fresh. Blended drinks don’t hold their texture well if they sit.
Equipment Needed
You don’t need fancy equipment for this. Here’s what I actually use.
High-Speed Blender — I use a Vitamix, but you don’t need to spend $500 on a blender. A standard blender with a decent motor will work fine. The key is that it needs to crush ice well. If your blender struggles with ice, you might end up with chunks of ice in your drink. I’ve used a $30 blender from Target, and it worked great for this recipe. Just don’t use a tiny personal blender—it won’t have enough power.
Measuring Cups and Spoons — Pretty standard stuff. I use a 1-cup liquid measuring cup for the milk and coffee, and a set of measuring spoons for the chocolate sauce. Accuracy helps, but this recipe is forgiving. If you’re off by a tablespoon, it’s still going to be good.
Sharp Knife — Not really needed for this recipe, unless you’re shaving chocolate for garnish. If you’re not garnishing, you don’t need a knife.
Cutting Board — Only needed if you’re preparing garnishes. Otherwise, skip it.
Spatula — For scraping down the sides of the blender jar. This is important if you want all the chocolate and coffee to blend evenly. I use a silicone spatula because it’s easy to clean.
Glasses — I use tall, clear glasses so you can see the layers and the texture. A mason jar works too, which is what I usually use because I have a bunch of them lying around. It gives it a rustic, homemade feel.
Optional but nice:
– Ice cream scoop — If you’re adding a scoop of ice cream to make it a frappe float, you’ll need a scoop. I love adding a scoop of vanilla ice cream to make it extra rich.
– Chocolate shaver — If you want fancy chocolate shavings, a vegetable peeler works. A dedicated chocolate shaver is cute but not necessary.
Tool Tips:
– Don’t have a high-speed blender? Pulse your ice first to break it up, then add the other ingredients. This helps your blender crush the ice more evenly.
– I’m obsessed with my mason jars — They’re cheap, durable, and look great for serving drinks. I have a whole drawer full of them.
How to Make It: Step-by-Step
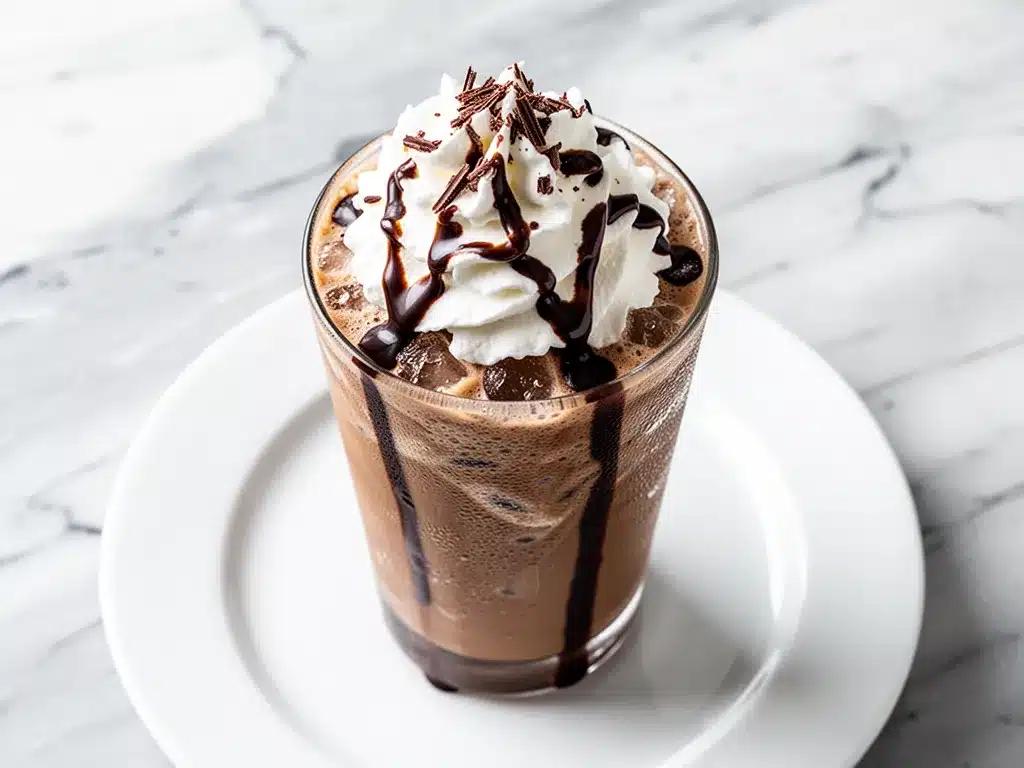
Alright, let’s make this! I’m walking you through exactly how I do it, including the little tricks I’ve picked up over the years.
Step 1: Brew and Cool Your Coffee (10 minutes)
If you’re using espresso, pull your shot now. If you’re using drip coffee, brew a small pot and let it cool to room temperature. I know you’re tempted to use hot coffee, but please don’t. Hot coffee will melt the ice too quickly, and you’ll end up with a watery mess. If you’re in a rush, you can put the hot coffee in the fridge for 10 minutes to speed up the cooling process. Cold brew concentrate is even better because it’s already cold and strong.
Step 2: Prep Your Chocolate Sauce
If your chocolate sauce has been in the fridge, give it a quick stir. Cold chocolate sauce is thick and hard to measure. If it’s too thick, you can microwave it for 10 seconds to loosen it up. You want it to pour easily. Measure out your 3 tablespoons of chocolate sauce and set it aside. If you’re adding extra sugar or vanilla, measure those out too. Having everything ready makes the blending process smooth.
Step 3: Add Ingredients to the Blender
Add the milk, chocolate sauce, vanilla extract, and coffee to your blender. I add the liquids first, then the ice on top. This helps the blender blades catch the ice and crush it more effectively. If you put the ice in first, it might just spin around without blending. Pour in the milk, then the chocolate sauce, then the coffee. Don’t worry about the order being perfect—it’ll all mix together anyway.
Step 4: Blend Until Smooth
Put the lid on tight. I always make sure the lid is secure because blending ice can sometimes cause splashing. Start the blender on low speed, then gradually increase to high. Blend for 30-60 seconds, or until the mixture is smooth and slushy. You want it to look like a thick milkshake. If you see chunks of ice, blend it longer. If it’s too thick, add a splash of milk. If it’s too thin, add more ice. It’s a balancing act, but you’ll get the hang of it after one or two tries.
Step 5: Pour and Garnish
Pour the frappe into your glass. It should be thick and creamy. If it’s too thick to pour, add a teaspoon of milk and blend for another 5 seconds. Top with whipped cream. I like to add a generous dollop, almost like a mountain. Sprinkle with chocolate shavings or a drizzle of extra chocolate sauce. If you’re adding a scoop of ice cream, add it now. The heat from the ice cream will melt slightly into the frappe, creating a delicious swirl.
Step 6: Serve Immediately
Drink it right away. This is not a drink that holds its texture well. If you let it sit, the ice will melt, and it will become a thin, sweet coffee milk. I usually drink mine within 10 minutes of blending. Have a straw ready—a wide straw is best for thick drinks. And enjoy. You just made a coffee shop-quality drink at home for pennies.
Total Time: About 5 minutes (excluding coffee cooling time)
Built-in Troubleshooting:
– Drink is too thick: Add a splash of milk and blend again.
– Drink is too thin: Add more ice and blend longer.
– Chunks of ice: Blend for a longer time, or pulse the ice first before adding liquids.
– Not chocolatey enough: Add more chocolate sauce next time. Taste your chocolate sauce—if it’s weak, use more.
Expert Tips & Tricks
Here’s everything I’ve learned from making this dozens of times. These tips will save you from my mistakes.
Use Cold Coffee
This is the #1 tip. If you use hot coffee, the ice melts too fast. I learned this the hard way on my first try. I poured hot espresso into the blender, and the ice turned to water before it could blend. Now I always let my coffee cool first. If you’re in a hurry, freeze your coffee in ice cube trays. These coffee ice cubes will keep your drink cold without watering it down. It’s a game-changer.
Don’t Skimp on the Ice
You need a full cup of ice. If you use less, the drink will be soupy. If you use more, it will be too thick to pour. I’ve experimented with different amounts, and 1 cup of ice for ½ cup of milk and 3 tablespoons of chocolate sauce is the sweet spot. If you like it thicker, add an extra ¼ cup of ice.
Choose the Right Chocolate
Not all chocolate sauces are created equal. Some are very watery, and some are very thick. I prefer a medium-thick chocolate sauce that pours easily but still coats the spoon. If your sauce is too thin, your frappe will be watery. If it’s too thick, it might not blend smoothly. Taste your sauce before you buy it if you can. I like Hershey’s because it’s consistent.
Blend in Short Bursts
If you have a powerful blender, you don’t need to blend for a long time. I blend in 10-second bursts, checking the consistency between bursts. This prevents over-blending, which can melt the ice too much. You want the ice to be crushed, not melted.
Add a Pinch of Salt
This is a pro tip. Add a tiny pinch of salt to the mixture. It enhances the chocolate flavor and makes it taste richer. I know it sounds weird, but trust me. A tiny pinch goes a long way. Don’t add a whole teaspoon—just a pinch.
Common Mistakes (and how to avoid them):
Mistake: Drink is too watery
Fix: Use less milk, more ice, or stronger coffee. Also, make sure your coffee is cold.
Mistake: Drink is too thick
Fix: Add a splash of milk or let it sit for a minute to soften slightly.
Mistake: Ice chunks remain
Fix: Blend longer, or pulse the ice first. Make sure your blender is powerful enough to crush ice.
Pro Tricks I’ve Learned:
For Extra Richness
Add a scoop of vanilla ice cream to the blender. This turns your frappe into a frappe float. It’s richer, creamier, and tastes like a dessert. I do this on special occasions.
For a Mocha Twist
Add a teaspoon of instant espresso powder to the mixture. This boosts the coffee flavor without adding more liquid. It’s great if you’re a coffee snob and want a stronger kick.
For Better Texture
Strain the frappe through a fine-mesh sieve before pouring. This removes any small ice chunks or undissolved chocolate bits. It’s not necessary, but it makes the texture silkier.
Variations & Substitutions
Once you’ve nailed the basic version, here’s how you can mix it up. I’ve tried all of these.
Vanilla Frappe Version
Skip the chocolate sauce and use 3 tablespoons of vanilla syrup instead. It’s lighter and less sweet. I like this version when I want a pure coffee taste. It’s great for mornings when I don’t want too much chocolate.
Caramel Frappe
Swap the chocolate sauce for caramel sauce. It’s equally delicious and has a different flavor profile. I like to drizzle caramel on the inside of the glass before pouring the frappe. It looks beautiful.
White Chocolate Mocha
Use white chocolate sauce instead of dark chocolate. It’s sweeter and creamier. I love this version because it tastes like a dessert. It’s perfect for weekends.
Mint Mocha
Add ½ teaspoon of peppermint extract to the mixture. It’s like a mocha version of a mint chocolate chip milkshake. Great for holidays.
Dietary Modifications:
Gluten-Free
This recipe is naturally gluten-free. Just make sure your chocolate sauce and whipped cream are gluten-free. Most are, but check the labels.
Dairy-Free
Replace whole milk with oat milk or almond milk. Use a dairy-free chocolate sauce. The texture might be slightly different, but it’s still delicious. I’ve made this with oat milk, and it’s very creamy.
Lower-Sugar
Use unsweetened cocoa powder mixed with a sugar substitute, or use a sugar-free chocolate syrup. You’ll need to adjust the sweetness to taste. It’s not as sweet, but it’s still good.
Vegan
Use plant-based milk and vegan chocolate sauce. Use coconut whipped cream instead of dairy whipped cream. It’s surprisingly good.
Serving & Storage
How to Serve:
I usually serve this straight from the blender into a tall glass. It looks rustic and homemade. But here are other ways I’ve enjoyed it:
Side Dishes:
– Pumpkin streusel coffee cake muffins — The perfect pairing for a weekend morning.
– Fall apple cider doughnut cake — If you want a sweet breakfast.
– Fresh fruit — Berries or bananas add a fresh contrast to the rich drink.
Toppings Bar:
When I have guests, I put out: whipped cream, chocolate shavings, caramel sauce, sprinkles, and mini marshmallows. Everyone customizes their drink.
Storage Instructions:
Refrigerator:
Store the blended frappe in an airtight container for up to 2 hours. It will separate slightly, so stir it before drinking. It won’t be as thick, but it’s still good.
Reheating:
This is not a drink you reheat. It’s a frozen drink. If you let it sit, it will melt. Drink it fresh.
Freezing:
Don’t freeze the blended frappe. The texture will be terrible when thawed. Instead, freeze the coffee in ice cube trays. These coffee ice cubes can be used in the blender for a stronger, colder drink.
Meal Prep:
Prep the coffee and chocolate sauce ahead. Store them in the fridge. Blend it fresh when you’re ready to drink. This is the best way to make it ahead.
Nutrition Information
I’m not a nutritionist, but here’s the breakdown if you’re tracking. Keep in mind that this is a treat, not a health food.
Per Serving (1 large frappe):
– Calories: 350
– Protein: 8g
– Carbs: 50g
– Fiber: 2g
– Sugar: 40g
– Fat: 12g
– Saturated Fat: 7g
– Cholesterol: 35mg
– Sodium: 150mg
What’s Good:
– Decent protein from the milk
– Calcium from the milk
– Can be made with plant-based milk for dietary needs
What to Know:
– Higher in sugar from the chocolate sauce
– Contains dairy (unless modified)
– Moderate calories, but it’s a treat
My Take:
Look, this is a sweet, indulgent drink. It’s not a diet recipe. But it’s way better than the coffee shop version, costs less, and I know exactly what’s in it. When I want to make it lighter, I use less chocolate sauce and skim milk. But usually? I just enjoy it as a treat and move on.
Final Thoughts
So that’s my go-to blended frozen mocha frappe! I’ve probably talked your ear off at this point, but when you make a recipe this often, you have a lot to say about it.
This has saved my weekends more times than I can count. It’s my answer to “what do I want to drink” when I’m craving something sweet and cold but don’t want to leave the house. My family is happy, my wallet is happy, and I’m happy because I’m not stressed about making coffee.
Make it yours! Try different chocolate sauces, swap in your favorite milk, adjust the sweetness to your taste. The best recipes are the ones you adapt to your preferences.
If you make this, drop a comment and let me know what you think! I love hearing how recipes turn out in your kitchen. And if something doesn’t work, tell me that too—I’m here to help troubleshoot.
Happy blending! And I hope your kitchen smells half as good as mine does right now.
Frequently Asked Questions
Can I use hot coffee?
You can, but let it cool first. Hot coffee will melt the ice too fast and make the drink watery. Let it sit for 5-10 minutes after brewing. If you’re in a rush, put it in the fridge for 10 minutes. Cold brew is even better because it’s already cold.
My frappe came out watery—what happened?
Usually means you didn’t use enough ice, or your coffee was too hot. Make sure you use a full cup of ice and cold coffee. Also, check your chocolate sauce—if it’s too thin, your frappe will be watery. Try using a thicker chocolate sauce or less milk.
Can I make this ahead for a party?
Sort of. You can prep the ingredients ahead, but you need to blend it fresh. Blended drinks don’t hold their texture well if they sit. I recommend blending small batches throughout the party. It takes only 5 minutes, so it’s not a big deal.
Why did my frappe get icy?
The ice wasn’t blended enough, or your blender isn’t powerful enough. Blend for a longer time, or pulse the ice first before adding liquids. If your blender is weak, use smaller ice cubes or crush them with a rolling pin first.
Can I use cocoa powder instead of chocolate sauce?
You can, but it won’t work as well. Cocoa powder doesn’t dissolve well in cold drinks and will leave a gritty texture. If you must use cocoa powder, mix it with a little warm milk to make a paste first, then add it to the blender. But chocolate sauce is much better.
How do I reheat leftovers?
You don’t. This is a frozen drink. If you let it sit, it will melt. Drink it fresh. If you have leftovers, you can freeze the coffee in ice cube trays and use them in the blender next time.
Can I double this recipe?
Absolutely! Double everything and use a larger blender. The blending time might be slightly longer. I do this when I’m making drinks for a group. Just make sure your blender is big enough to hold all the ingredients.
Pin This Recipe!
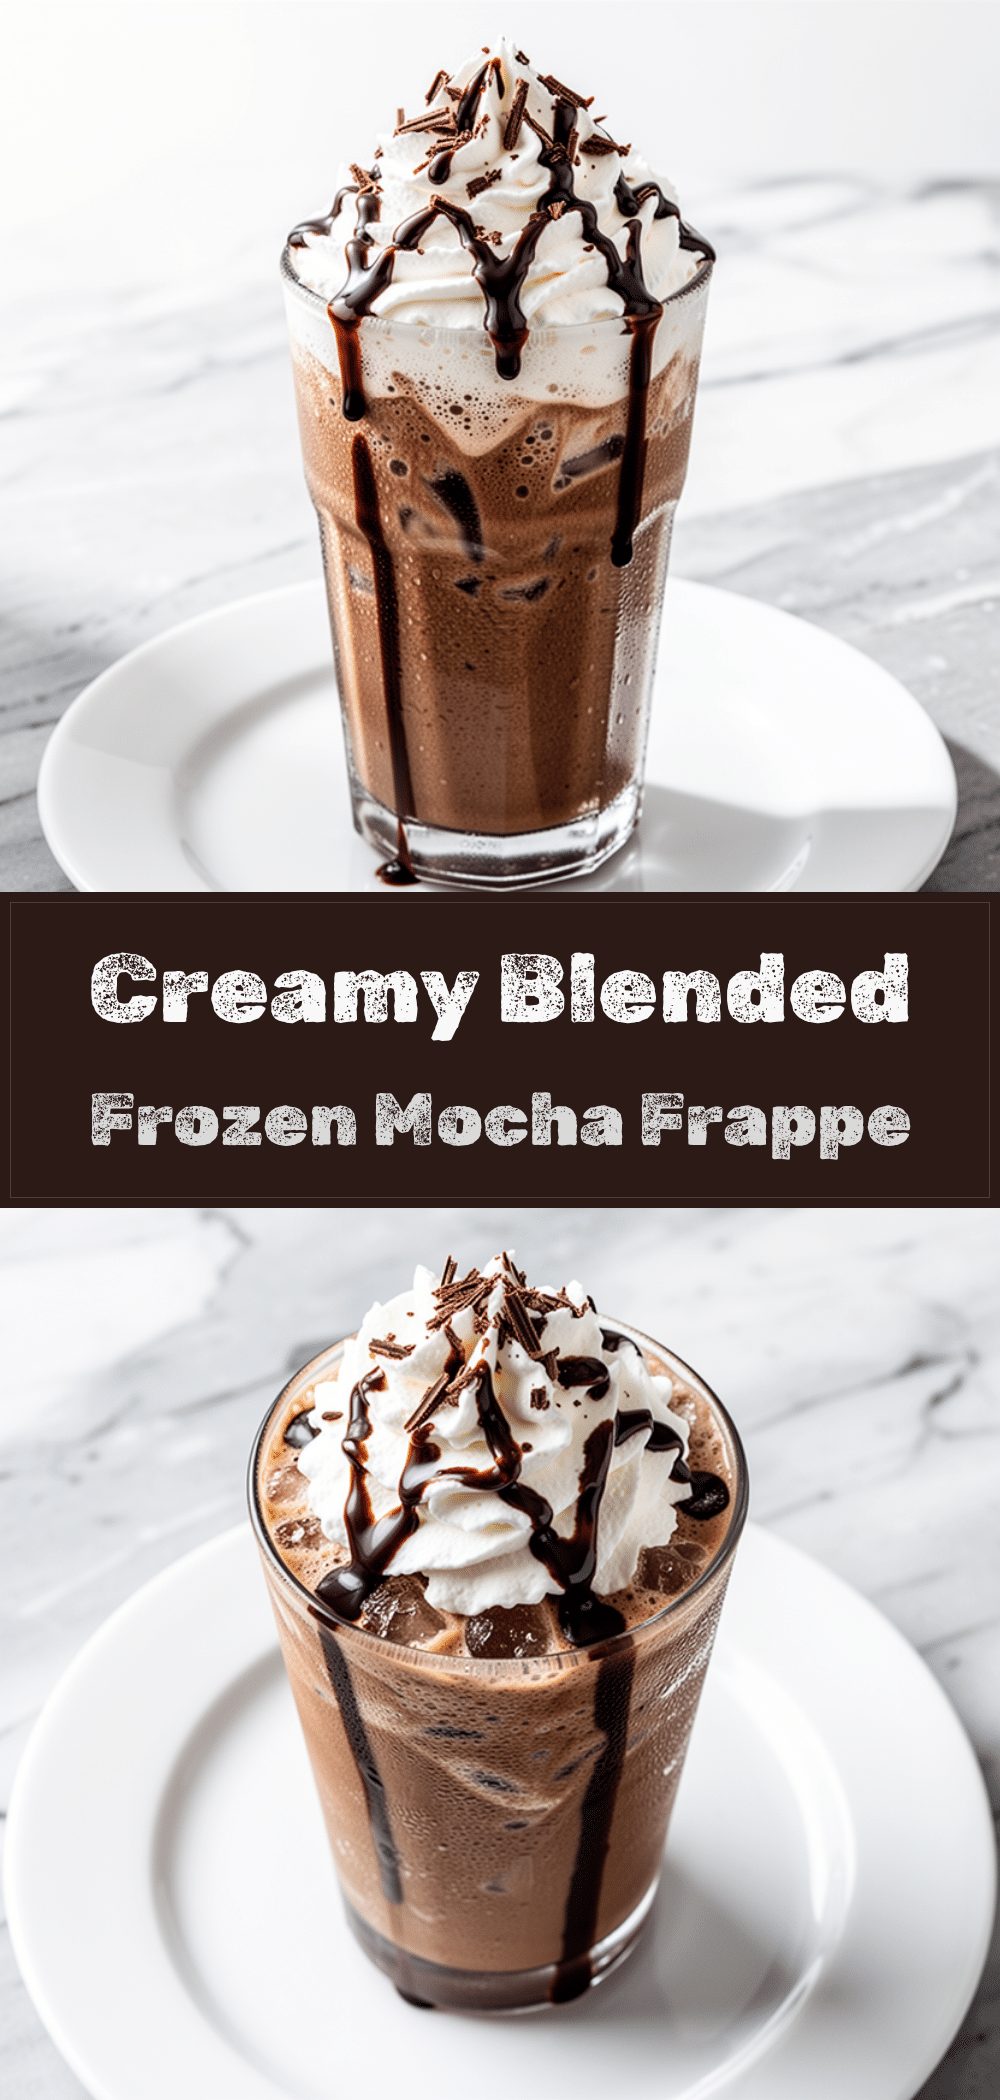
Blended Frozen Mocha Frappe: Best Homemade Coffee Drink
- Total Time: 5 minutes
- Yield: 1 serving 1x
Description
A thick, creamy, and rich homemade mocha frappe that tastes better than coffee shop versions and costs a fraction of the price. This simple blended drink requires just a few ingredients and a blender.
Ingredients
- 1 shot espresso (30ml) or ½ cup cold brew concentrate
- ½ cup whole milk
- 1 cup ice cubes (packed)
- 3 tablespoons chocolate sauce or syrup
- ½ teaspoon vanilla extract
- Whipped cream (for topping)
- Chocolate shavings (for garnish)
- Sugar or sweetener (optional, to taste)
Instructions
- Brew espresso or cold brew coffee and allow it to cool completely to room temperature or chill in the refrigerator. Do not use hot coffee.
- If the chocolate sauce is cold and thick, stir it or microwave briefly to loosen it for easier measuring.
- Add the milk, chocolate sauce, vanilla extract, and cooled coffee to the blender.
- Add the ice cubes on top of the liquid ingredients.
- Secure the blender lid and start on low speed, gradually increasing to high. Blend for 30-60 seconds until the mixture is smooth and slushy.
- Pour the frappe into a tall glass.
- Top with whipped cream and chocolate shavings.
- Serve immediately with a wide straw.
Notes
Use cold coffee to prevent the ice from melting too quickly. If the drink is too thick, add a splash of milk; if too thin, add more ice. For a richer texture, add a scoop of vanilla ice cream. This drink is best consumed immediately as it does not hold its texture well if stored.
- Prep Time: 5 minutes
- Cook Time: 0 minutes
- Category: Beverage
- Cuisine: American
Nutrition
- Serving Size: 1 large frappe
- Calories: 350
- Sugar: 40
- Sodium: 150
- Fat: 12
- Saturated Fat: 7
- Carbohydrates: 50
- Fiber: 2
- Protein: 8
Keywords: mocha frappe, homemade coffee drink, blended coffee, iced mocha, coffee shop copycat, easy breakfast drink, caffeine



