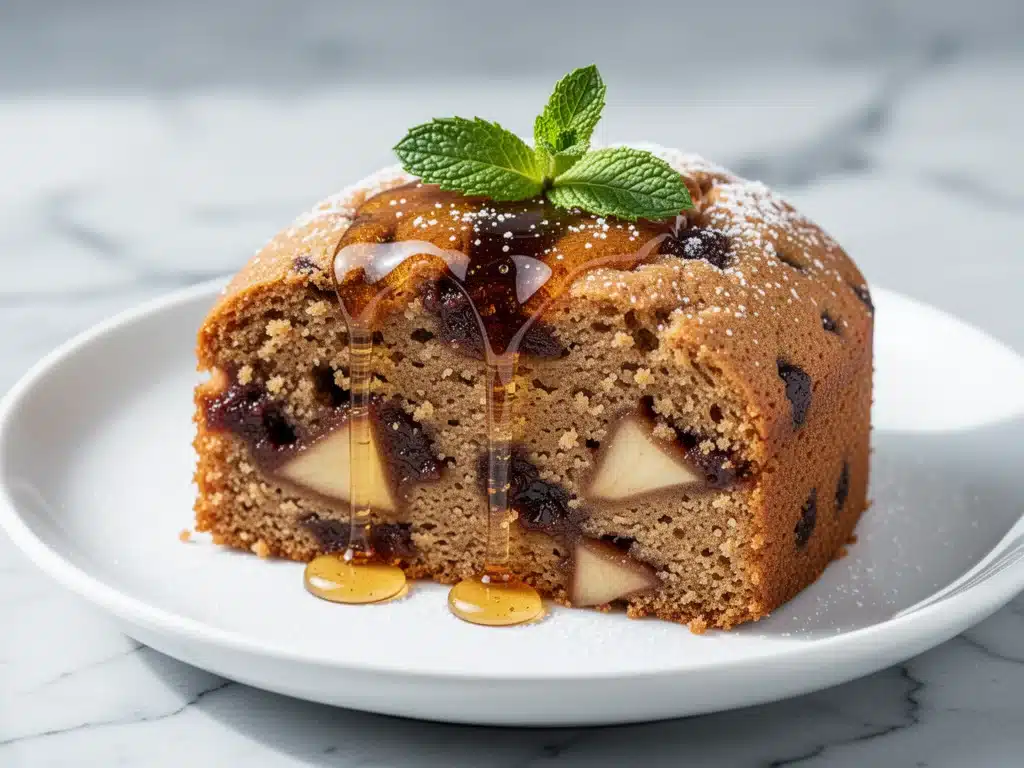
Last October, I was standing in my kitchen at 6:45 AM, staring into the abyss of my pantry. It’s that specific kind of despair only a parent or a busy creative feels—your brain is still in sleep mode, but your stomach is screaming for fuel, and you have exactly twelve minutes before you need to be out the door. I had a bag of whole wheat flour that was sitting in the back of the cupboard, a jar of apple butter that had been gifted to me by a neighbor three months ago and was slowly judging me, and a carton of eggs that were definitely past their prime but still salvageable.
I didn’t want to make pancakes. I didn’t want to scramble eggs. I wanted something warm, something that smelled like a bakery, and something I could grab with one hand while carrying my coffee with the other. So, I threw together what I thought would be a sad, dense brick. I mixed the apple butter into the batter, added a drizzle of maple syrup on top, and popped it in the oven. When that smell hit the hallway—sweet, spiced, and comforting—I knew I’d struck gold. It turned out moist, tender, and impossibly easy. I ate a slice warm from the pan, maple dripping down my chin, and realized this wasn’t just a quick fix. It was the best snacking cake I’d ever made.
That was six months ago. Since then, I’ve made this Whole Wheat Apple Butter Snacking Cake on repeat. Like, seriously. I’ve made it for breakfast, for afternoon snacks, for guests who stopped by unannounced, and even for when I just needed a hug in food form. It’s become my go-to when I’m craving something sweet but don’t want to spend an hour decorating or washing a mountain of bowls. It’s one bowl, one pan, and five ingredients. That’s it. No mixer, no fuss, just pure autumnal comfort.
If you’ve been hunting for a recipe that bridges the gap between healthy-ish and indulgent, you’ve found it. This cake is sturdy enough to be a snack, sweet enough to be a dessert, and simple enough to make on a Tuesday morning. I’ve tested this recipe with different brands of apple butter and various whole wheat flours, and I’ve dialed in the ratios so it works every single time. Let me walk you through why this is about to become your new favorite routine.
Why You’ll Love This Whole Wheat Apple Butter Snacking Cake
There are about a dozen reasons I keep coming back to this recipe, but if you’re looking for the real talk on why it works, here’s the breakdown. This isn’t just another flour-heavy snack cake that dries out your mouth. It’s got depth, moisture, and a flavor profile that feels sophisticated but requires zero skill.
- One Bowl, Zero Stress — Seriously, if you can whisk, you can make this. I’ve made this while holding a toddler, while answering emails, and while listening to a podcast. You mix the wet ingredients in a large bowl, stir in the dry, pour into a pan, and bake. That’s the entire process. No stand mixer needed. No electric whisk. Just a wooden spoon and some elbow grease.
- It’s Actually Moist — The biggest myth about whole wheat baking is that it’s always dry and gritty. Apple butter changes everything. It’s not just apple sauce; it’s concentrated, cooked-down apples with natural sugars and pectin. It keeps this cake incredibly moist for days. I’ve eaten leftovers on day three, and they were still tender. (Though, let’s be honest, it rarely lasts that long.)
- Pantry Staples Only — You probably have all of this already. Whole wheat flour, eggs, oil or butter, maple syrup, and apple butter. If you have those five things, you can make dinner’s dessert right now. No special trip to the grocery store. No ordering obscure ingredients online. Just real food, real ingredients.
- Perfectly Sweet, Not Cloying — Because we’re using apple butter, the sweetness comes from the fruit, not just refined sugar. The maple drizzle adds that deep, woody sweetness that pairs perfectly with the cinnamon notes in the apple butter. It’s balanced. It’s not a sugar bomb. It’s a gentle, comforting treat.
- Freezer Friendly — Here’s the game-changer: this cake freezes beautifully. I bake a batch on Sunday, wrap the slices individually in plastic wrap, and toss them in the freezer. When I need a quick breakfast or a afternoon pick-me-up, I grab a slice, microwave it for 20 seconds, and it tastes fresh-baked. It’s meal prep for your sweet tooth.
This is my answer to “what’s for dessert?” when I’m tired. It’s better than store-bought, healthier than a cupcake, and infinitely more satisfying than a protein bar. It’s the kind of recipe that makes your house smell amazing and makes you feel like you’ve accomplished something, even if all you did was mix a bowl of batter.
Ingredients You’ll Need
Here’s the best part: this recipe is incredibly forgiving. You don’t need fancy flours or expensive ingredients. But, there are a few things I’m particular about because they make a real difference in the final texture and flavor. I’m going to tell you exactly what to look for and what you can swap.
For the Cake Base
Whole Wheat Flour (2 cups / 240g) — I use standard whole wheat pastry flour or all-purpose whole wheat flour. It has a nuttier flavor and more fiber than white flour. If you only have all-purpose white flour, you can use that, but you’ll lose the whole wheat goodness. Pro tip: Sift it if it’s lumpy. Whole wheat can be heavy, and sifting aerates it so your cake isn’t dense as a brick.
Apple Butter (1 cup / 250g) — This is the star. Not apple sauce. Not applesauce. Apple butter. It’s slower-cooked, thicker, and more concentrated. Look for brands like Smucker’s or local farm brands. If you can’t find apple butter, you can substitute with very thick apple sauce mixed with a teaspoon of cinnamon, but the texture will be lighter. I prefer the deep, caramelized flavor of real apple butter.
Eggs (2 large) — Room temperature eggs mix better into the batter. If you’re in a rush, just drop them in a bowl of warm water for 5 minutes. Don’t skip this step; it helps the cake rise evenly.
Neutral Oil (½ cup / 120ml) — I use canola or vegetable oil. Some people use melted butter, but oil keeps the cake moist for longer. Butter can make it denser and harder when cold. If you want a buttery flavor, you can use half oil and half melted butter, but pure oil is the safest bet for a tender crumb.
Baking Powder & Baking Soda (1 tsp baking powder, ½ tsp baking soda) — These are your leaveners. Whole wheat flour is heavier, so you need both to get that lift. Don’t skip them, or you’ll have a hockey puck.
Salt (½ tsp) — Salt isn’t just for flavor; it balances the sweetness. Don’t skip it. I use kosher salt, but table salt works too.
Cinnamon (1 tsp) — Ground cinnamon. Freshly ground is best, but pre-ground works fine. If you like spice, bump this up to 1.5 tsp.
For the Maple Drizzle
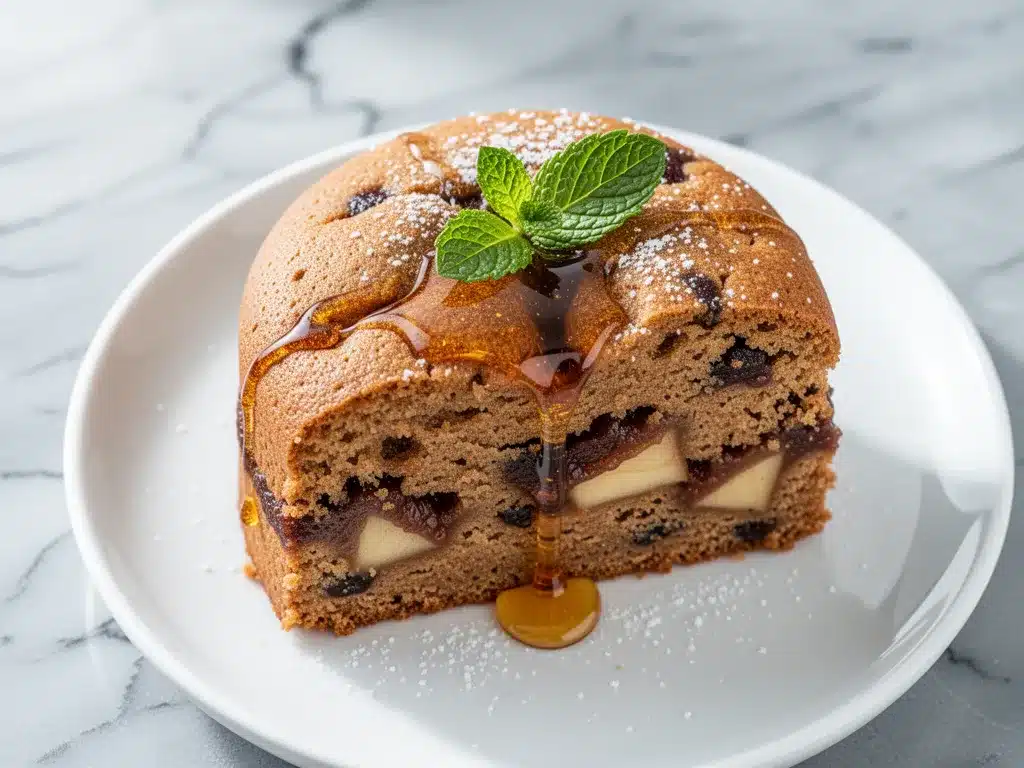
Maple Syrup (¼ cup / 60ml) — Real maple syrup, Grade A or B. Not pancake syrup. Pancake syrup is corn syrup with flavoring, and it doesn’t have that rich, complex taste. You want the real deal. It makes the drizzle glossy and flavorful.
Heavy Cream or Milk (1-2 tablespoons) — Just enough to thin the maple syrup to a drizzle-able consistency. If you’re dairy-free, use oat milk or coconut cream.
Optional Add-Ins
Chopped Walnuts or Pecans (½ cup) — I love adding nuts for crunch. They pair beautifully with the apple flavor. If you’re allergic or just don’t like nuts, skip them. The cake is fine without.
Chopped Apples (½ cup, peeled and diced) — For extra apple chunks in every bite. Toss them in a little flour before adding to prevent sinking.
Equipment Needed
You don’t need fancy equipment for this. Here’s what I actually use in my home kitchen.
9×9 Inch Square Pan — I use a square pan because it gives more surface area for that crispy edge. A round 8-inch pan works too, but the cake will be taller and might take a few minutes longer to bake. Line it with parchment paper for easy removal.
Large Mixing Bowl — Something big enough to whisk the eggs and oil without splattering. Glass or ceramic works best.
Whisk — A standard balloon whisk is perfect. You need to aerate the eggs and oil well.
Spatula — A silicone spatula to scrape the bowl and fold in the flour. Rubber scrapers work too.
Measuring Cups and Spoons — Standard stuff. I use the scoop-and-level method for flour, not the scoop-and-shake method, which packs it down and leads to dry cake.
Wire Rack — To cool the cake. Don’t skip this; cooling on the pan can make the bottom soggy.
Small Saucepan or Microwave-Safe Bowl — For warming the maple syrup so it drizzles easily.
How to Make It: Step-by-Step
Alright, let’s make this! I’m walking you through exactly how I do it, including the little tricks I’ve picked up over the last six months of making this cake.
Step 1: Prep Your Pan and Oven (5 minutes)
Preheat your oven to 350°F (175°C). Grease your 9×9 inch pan with a little oil or cooking spray, then line the bottom with parchment paper. This is crucial. Whole wheat cakes can stick, and parchment ensures you get that perfect, clean slice every time. Don’t skip the parchment.
Step 2: Whisk the Wet Ingredients (3 minutes)
In your large bowl, crack the eggs. Add the oil, apple butter, and half of the maple syrup (about 2 tablespoons) if you want a sweeter cake, or save it all for the drizzle. Whisk vigorously for about 30 seconds. You want the mixture to look pale and slightly frothy. This incorporates air, which helps the cake rise. If you’re adding nuts or diced apples, get them ready now.
Step 3: Mix the Dry Ingredients (2 minutes)
In a separate bowl (or right into the wet mixture if you’re lazy, but separate is better for even mixing), whisk together the whole wheat flour, baking powder, baking soda, salt, and cinnamon. If your flour is clumpy, give it a quick sift. I like to whisk the dry ingredients together first to ensure the leaveners are evenly distributed.
Step 4: Combine Everything (2 minutes)
Pour the dry ingredients into the wet mixture. Use your spatula to fold them together. Stop as soon as the flour disappears. Do not overmix. Overmixing develops gluten, and since we’re using whole wheat, that can make the cake tough. A few lumps are fine. If you’re adding nuts or apples, fold them in now.
Step 5: Bake (30-35 minutes)
Pour the batter into the prepared pan. Smooth the top with your spatula. Bake in the preheated oven for 30-35 minutes. Here’s how to tell it’s done: the edges should pull away slightly from the pan, and a toothpick inserted into the center should come out clean or with just a few moist crumbs. If it’s wet batter, give it 5 more minutes. Every oven is different, so start checking at 30.
Step 6: Cool and Drizzle (20 minutes)
Let the cake cool in the pan for 10 minutes, then transfer it to a wire rack to cool completely. This is the hardest part. I want to cut into it while it’s warm, but cooling helps it set. Once cool, mix the remaining maple syrup with 1-2 tablespoons of cream or milk until it’s the consistency of heavy cream. Drizzle it over the top. Slice and serve.
Expert Tips & Tricks
Here’s everything I’ve learned from making this dozens of times. These tips will save you from my mistakes.
Don’t Skimp on the Apple Butter — I tried using apple sauce once to save money. The cake was fine, but it lacked that deep, rich flavor and didn’t stay as moist. Apple butter is worth the extra few dollars. It’s the difference between a snack and a treat.
Room Temperature Eggs Matter — I know it’s annoying, but cold eggs can cause the oil to seize up slightly, leading to a lumpy batter. Room temperature ingredients emulsify better, giving you a smoother, more even batter.
Check Your Baking Powder — If your cake doesn’t rise, your baking powder might be old. Whole wheat flour is dense, so you need fresh leaveners. Test your baking powder by dropping a teaspoon into hot water—it should fizz vigorously. If it doesn’t, toss it and buy new.
The Maple Drizzle is Key — Don’t skip the drizzle. The cake is sweet, but the maple adds that floral, woody note that elevates it. Warming the maple syrup makes it pourable and glossy. Cold maple syrup just sits on top.
Storage is Simple — Store leftover cake in an airtight container at room temperature for up to 3 days. It actually gets better on day two as the flavors meld. If you live in a hot climate, refrigerate it, but let it come to room temperature before eating for the best texture.
Variations & Substitutions
Once you’ve nailed the basic version, here’s how you can mix it up. I’ve tried all of these, and they all work.
Pumpkin Spice Version — Swap the apple butter for canned pumpkin puree. Add 1 tsp pumpkin pie spice instead of cinnamon. It’s basically a pumpkin snack cake. I love this version in November.
Chai Spice Version — Use apple butter but swap the cinnamon for 1 tsp chai spice blend. It adds cardamom, ginger, and cloves. It’s warm and aromatic, perfect with coffee.
Chocolate Chip — Add ½ cup of dark chocolate chips to the batter. The chocolate and apple are a classic combination. It makes it feel more like a dessert bar.
Gluten-Free — Use a 1:1 gluten-free flour blend. Make sure it contains xanthan gum, or add ½ tsp yourself. The texture will be slightly different but still delicious.
Dairy-Free — Use maple syrup instead of butter in the drizzle, and use oat milk or coconut milk in the drizzle. The cake itself is naturally dairy-free since it uses oil.
Lower Sugar — Skip the maple drizzle entirely. The apple butter provides plenty of sweetness. Or use a sugar-free maple syrup alternative.
Serving & Storage
How do I serve this? Honestly, I serve it straight from the pan with a fork. It’s rustic and perfect for casual snacking. But here are other ways I’ve enjoyed it:
Breakfast Pairing — I serve it with a cup of black coffee or a latte. The sweetness pairs perfectly with the bitterness of the coffee. It’s a complete morning meal.
Afternoon Snack — I pair it with a glass of cold milk or a cup of tea. It’s not too heavy, so it doesn’t weigh you down.
Dessert — Serve a slice warm with a dollop of whipped cream or a scoop of vanilla ice cream. It’s decadent without being overly rich.
Storage — Store in an airtight container at room temperature for up to 3 days. For longer storage, freeze slices individually in plastic wrap for up to 3 months. Thaw at room temperature or microwave for 20 seconds.
Nutrition Information
I’m not a nutritionist, but here’s the breakdown if you’re tracking. Per serving (based on 9 slices):
- Calories: 220
- Protein: 4g
- Carbs: 38g
- Fiber: 3g
- Sugar: 20g
- Fat: 7g
- Sodium: 150mg
What’s Good: It has fiber from the whole wheat flour, and the apple butter adds some natural fruit nutrients. It’s a better option than a cupcake or cookie.
What to Know: It’s still a cake. The maple drizzle adds sugar, and the flour is calorie-dense. Enjoy it in moderation. It’s a treat, not a health food, even though it’s made with whole grains.
Final Thoughts
So that’s my Whole Wheat Apple Butter Snacking Cake! I’ve probably talked your ear off at this point, but when you make a recipe this often, you have a lot to say about it. This cake has saved my mornings, my afternoons, and my dessert cravings. It’s my answer to “what’s for dessert?” when I’m tired, don’t want takeout, and still want something that tastes really good. My kids are happy, my husband’s happy, and I’m happy because I’m not stressed about cooking.
Make it yours! Try different add-ins, swap in your favorite spices, adjust the maple drizzle. The best recipes are the ones you adapt to your family’s tastes. If you make this, drop a comment and let me know what you think! I love hearing how recipes turn out in your kitchen. And if something doesn’t work, tell me that too—I’m here to help troubleshoot.
Happy baking! And I hope your kitchen smells half as good as mine does right now.
Frequently Asked Questions
Can I use apple sauce instead of apple butter?
You can, but the texture and flavor will be different. Apple sauce is thinner and less sweet, so the cake will be lighter and less rich. If you use apple sauce, reduce the oil by 2 tablespoons to compensate for the extra moisture. I prefer apple butter for its depth of flavor, but apple sauce works in a pinch.
Why did my cake turn out dense?
This usually happens for two reasons: overmixing the batter or using old baking powder. Whole wheat flour is heavy, so you need to be gentle when folding in the flour. Also, check your baking powder. If it’s old, it won’t lift the cake. Try to start with fresh leaveners for best results.
Can I make this ahead for a party?
Absolutely. Bake the cake the day before, let it cool completely, and store it covered at room temperature. The maple drizzle can be added just before serving. This actually helps the flavors meld, making the cake taste even better the next day.
How do I store leftover cake?
Store in an airtight container at room temperature for up to 3 days. If you live in a hot or humid climate, refrigerate it. Let it come to room temperature before eating for the best texture. You can also freeze slices for up to 3 months.
Can I double this recipe?
Yes, but you’ll need a 9×13 inch pan. Double the ingredients and bake for 40-45 minutes. Check with a toothpick at 40 minutes. The baking time will increase because the batter is deeper in the larger pan.
Is this cake gluten-free?
No, it uses whole wheat flour. However, you can substitute with a 1:1 gluten-free flour blend. Make sure the blend contains xanthan gum, or add ½ tsp yourself to help the cake hold together.
Pin This Recipe!
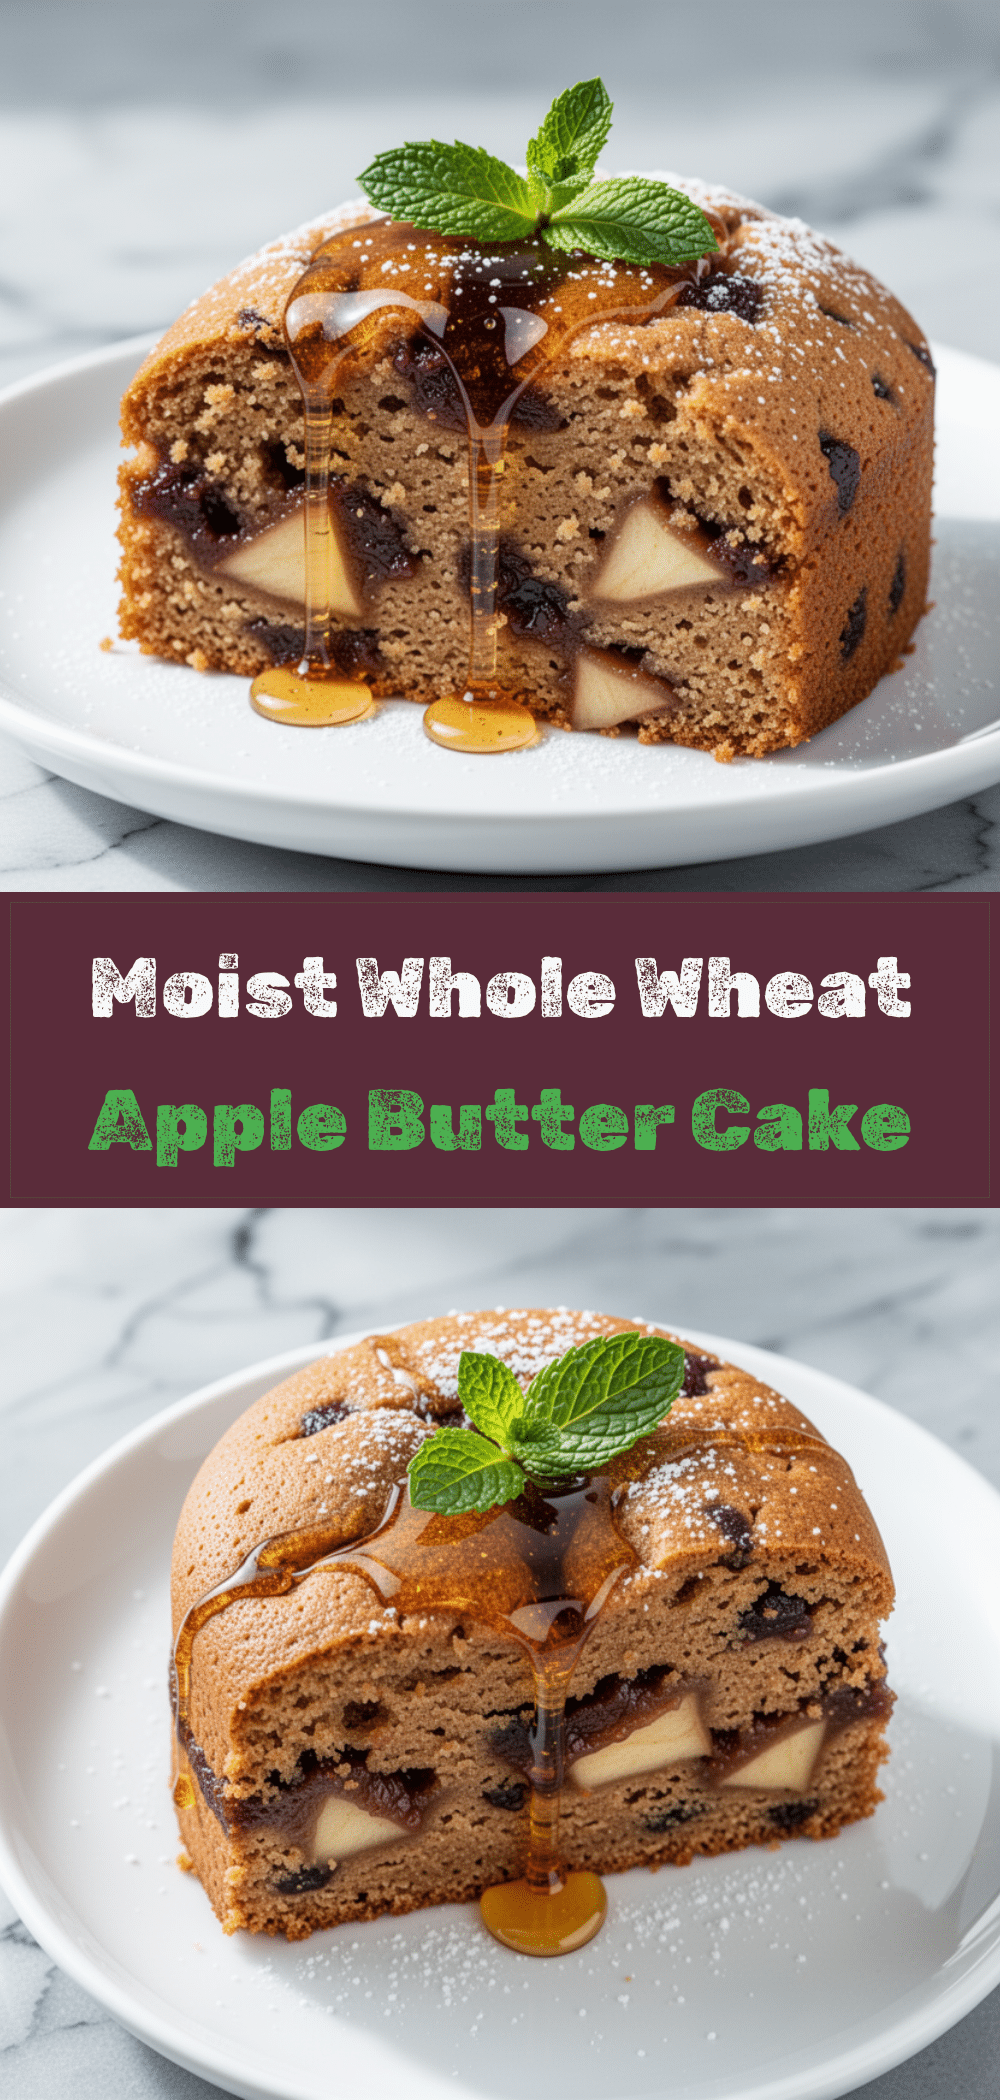
Whole Wheat Apple Butter Snacking Cake
- Total Time: 45 minutes
- Yield: 9 servings 1x
Description
A moist, tender, and easy 5-ingredient whole wheat cake made with apple butter, perfect for breakfast or snacking. It requires only one bowl and no mixer.
Ingredients
- 2 cups (240g) whole wheat flour
- 1 cup (250g) apple butter
- 2 large eggs, room temperature
- 1/2 cup (120ml) neutral oil (canola or vegetable)
- 1 tsp baking powder
- 1/2 tsp baking soda
- 1/2 tsp salt
- 1 tsp ground cinnamon
- 1/4 cup (60ml) maple syrup (for drizzle)
- 1–2 tbsp heavy cream, milk, or dairy-free alternative (for drizzle)
- Optional: 1/2 cup chopped walnuts or pecans
- Optional: 1/2 cup chopped apples
Instructions
- Preheat oven to 350°F (175°C). Grease a 9×9 inch square pan and line the bottom with parchment paper.
- In a large bowl, whisk together the eggs, oil, apple butter, and half of the maple syrup (if using for batter) until pale and frothy.
- In a separate bowl, whisk together the whole wheat flour, baking powder, baking soda, salt, and cinnamon.
- Pour the dry ingredients into the wet mixture and fold gently with a spatula until just combined. Do not overmix. Fold in optional nuts or apples if using.
- Pour batter into the prepared pan and smooth the top.
- Bake for 30-35 minutes, or until a toothpick inserted into the center comes out clean or with moist crumbs.
- Cool in the pan for 10 minutes, then transfer to a wire rack to cool completely.
- Mix the remaining maple syrup with cream or milk to create a drizzle. Drizzle over the cooled cake before slicing.
Notes
Room temperature eggs help the batter emulsify better. Do not overmix the batter to avoid a tough cake. The cake can be stored at room temperature for up to 3 days or frozen for up to 3 months. For a gluten-free version, use a 1:1 gluten-free flour blend with xanthan gum.
- Prep Time: 10 minutes
- Cook Time: 30-35 minutes
- Category: Dessert
- Cuisine: American
Nutrition
- Serving Size: 1 slice
- Calories: 220
- Sugar: 20
- Sodium: 150
- Fat: 7
- Saturated Fat: 1
- Carbohydrates: 38
- Fiber: 3
- Protein: 4
Keywords: whole wheat cake, apple butter, snacking cake, easy baking, one bowl cake, healthy dessert, gluten-free option



