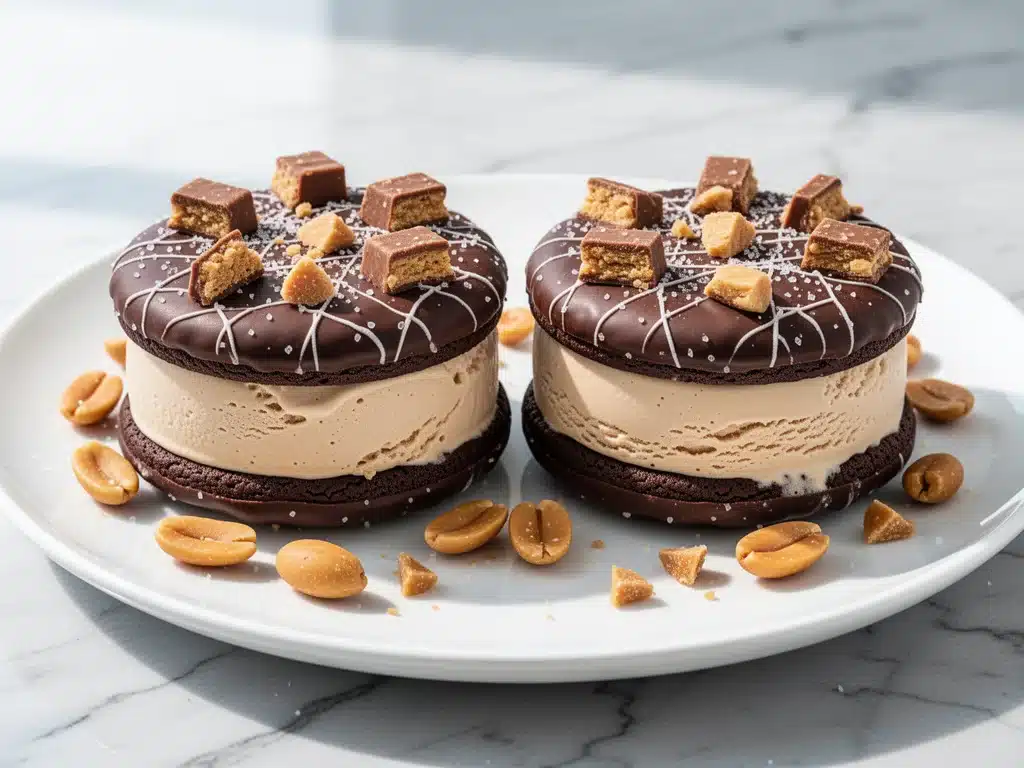
Last summer, I bought a bag of those classic candy bars from the gas station and ate them over the sink while waiting for my kid’s soccer game to end. You know the ones—peanut butter, crispy wafers, and that weirdly perfect amount of chocolate. I was staring at that wrapper, thinking about how much I loved the texture, and then I looked at my freezer. It was packed with leftover ice cream from a birthday party three weeks ago and a half-empty bag of crushed nuts. It hit me: why am I buying these overpriced, wax-paper-wrapped sandwiches when I can make the real deal at home? Better, actually.
That afternoon, I experimented in my kitchen with a goal that seemed impossible at first: recreating the snap of a Butterfinger inside a frozen ice cream sandwich. I wanted the peanut butter crunch, the creamy vanilla center, and most importantly, that signature crackly chocolate shell that shatters when you bite into it. I tried everything. I used melted chocolate that turned into a sticky mess. I used cookie dough that got soggy. I even tried freezing the chocolate in the fridge (don’t do this—it never hardens enough). After about six failed attempts and a very sticky counter, I finally cracked the code. Literally. The chocolate actually cracked.
These homemade Butterfinger ice cream sandwiches are my new obsession. They’re better than the store-bought version because you control the quality of the chocolate and the thickness of the peanut butter crunch. They’re also surprisingly fast. Once you get the technique down, you can make a whole batch in under 20 minutes of active time, mostly because the freezer does the heavy lifting. I’ve been making these for every summer gathering, every last-minute guest appearance, and honestly, just for my own selfish ice cream cravings. If you love no-bake desserts that feel fancy but are actually lazy-friendly, this is your new holy grail.
There’s something deeply satisfying about peeling back the parchment paper to reveal a perfectly smooth, glossy chocolate disc. You tap it with your fingernail, hear that crisp *tink*, and then take a bite. The cold ice cream gives way to the crunchy peanut butter layer, all wrapped in a chocolate shell that snaps cleanly. It’s texture heaven. And the best part? They’re customizable. Want to add a caramel drizzle? Done. Want to use chocolate chip ice cream instead of vanilla? Go for it. But we’re starting with the classic Butterfinger vibe because it’s iconic for a reason.
Why You’ll Love This Recipe
I know what you’re thinking. “Ice cream sandwiches? I can buy those at the grocery store.” But hear me out. Store-bought versions are often filled with waxy chocolate that doesn’t snap, and the ice cream is full of air and stabilizers. These homemade ones are dense, creamy, and genuinely luxurious. Here’s why they’ve replaced my freezer stash of convenience treats:
- The Crackly Shell is Real — This isn’t a myth. By tempering your chocolate (or using the right ratio of coconut oil), you get a shell that actually shatters. It’s the most satisfying part of the whole process. I’ve lost count of how many times I’ve tapped one just to hear the sound.
- Stupid Simple Ingredients — You don’t need a professional pastry kit. You need chocolate chips, peanut butter, crushed wafers (or cornflakes for a DIY crunch), and ice cream. That’s it. If you can melt chocolate and spread peanut butter, you can make this.
- Lightning Fast Assembly — The actual hands-on time is about 15 minutes. The rest is waiting for the freezer. I make these on weeknights after dinner while the kids watch TV. It’s my “I want dessert but don’t want to cook” hack.
- Customizable Crunch — The classic Butterfinger has those crispy wafers. I use crushed cornflakes or store-bought peanut butter crisps, but you can use crushed pretzels, granola, or even toasted nuts. This recipe bends to your pantry.
- Perfect for Gifting — I wrapped a dozen of these in cellophane and tied them with ribbon for a teacher appreciation gift. They looked professional and tasted homemade. It’s a better gift than store-bought candy because it shows effort.
- Freezer-Friendly — These keep well for up to two weeks in the freezer. I often make a double batch so I have them ready for unexpected guests or just for my own midnight snacks.
Real talk: once you make these, you’ll never buy the drugstore version again. It’s that good. And unlike baked apple crisps that need to be eaten warm, these are the ultimate make-ahead treat that waits for you.
Ingredients You’ll Need
Here’s the thing: this recipe relies on quality chocolate. Don’t skimp on the chips. I’ve tried cheap brands, and the shell never hardens properly. You want a chocolate that snaps. Also, the peanut butter layer is the heart of the Butterfinger flavor, so use the good stuff.
For the Chocolate Shell
- Semi-sweet chocolate chips (12 ounces / 340g) — I use Ghirardelli or Guittard. They have a high cocoa butter content which helps the shell harden. Dark chocolate works too if you want less sweetness.
- Coconut oil (2 tablespoons) — This is the secret weapon. It thins the chocolate just enough so it spreads smoothly and ensures the shell stays crackly even in the freezer. Use refined coconut oil so it doesn’t taste like coconut.
- Flaky sea salt (optional) — A tiny sprinkle on top while the chocolate is wet elevates the flavor. Salty chocolate is life-changing.
For the Peanut Butter Crunch Layer
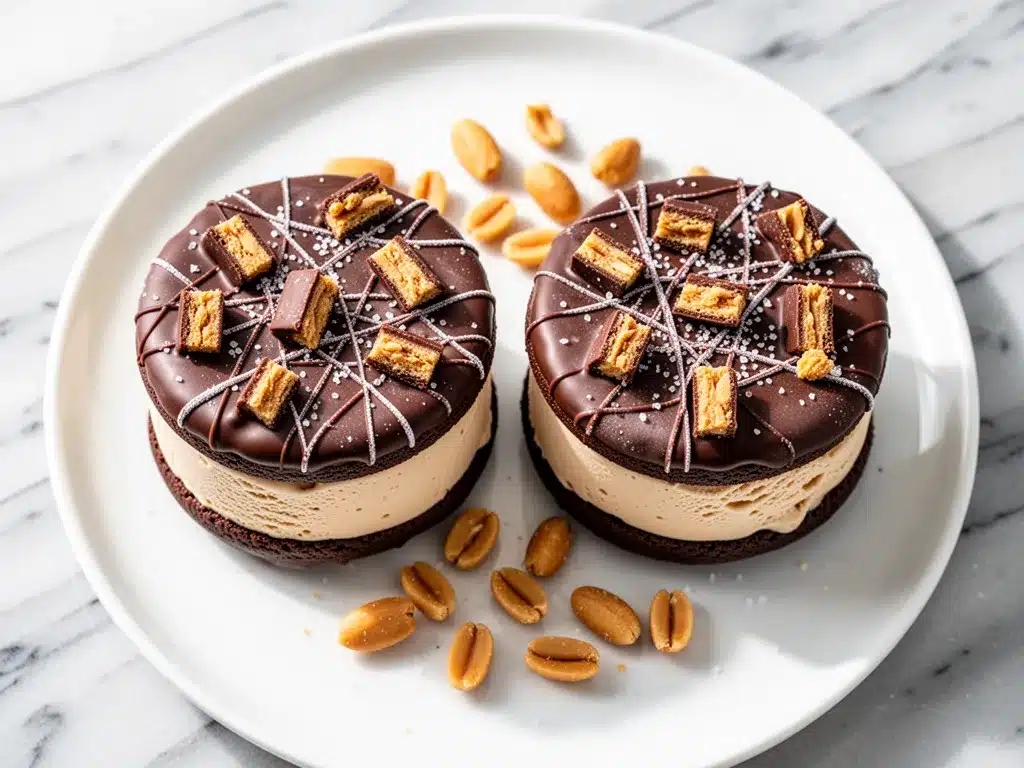
- Creamy peanut butter (½ cup / 120g) — Use natural peanut butter if you want, but standard Skippy or Jif works better for stability because it has less oil separation. You want it thick and spreadable.
- Crushed crispy wafers (1 cup / 80g) — The classic Butterfinger uses crispy corn wafers. You can buy “crunchy” peanut butter cups and crush them, or use crushed cornflakes. I’ve also used crushed rice Krispies, but cornflakes give the best crunch.
For the Ice Cream Center
- Vanilla ice cream (about 1.5 cups / 350g) — Use a high-quality vanilla bean ice cream if you have it. It needs to be soft enough to spread but not melted into soup. If it’s too hard, let it sit on the counter for 10 minutes.
Pro Tip: If you want to get fancy, you can add a drizzle of caramel or chocolate syrup between the ice cream and the peanut butter layer. It adds a gooey texture that contrasts with the crunch. I sometimes do this, but it’s not necessary for the classic taste.
Equipment Needed
You don’t need fancy gadgets for this. Here’s what I actually use in my home kitchen:
- Sheet pan or baking tray — I use a standard 10×15 inch jelly roll pan. It needs to fit in your freezer. If you have a small freezer, a smaller tray works too.
- Parchment paper — Essential. Do not use wax paper; the chocolate will stick. Line your tray with parchment paper, leaving some overhang for easy removal later.
- Microplane or food processor — For crushing the wafers. I use a food processor for 10 seconds, but a rolling pin and a ziplock bag works fine if you’re feeling manual.
- Silicone spatula — For spreading the peanut butter and chocolate. You need something that can handle thick mixtures.
- Offset spatula or butter knife — For smoothing the chocolate shell. An offset spatula makes this much easier, but a regular knife works if you’re careful.
- Spoon or piping bag — To portion the ice cream. I just use a tablespoon, but a piping bag gives you neater circles.
Tool Tip: Have a few extra sheets of parchment paper ready. When you’re assembling, you’ll be moving things around, and having clean paper prevents sticking.
How to Make It: Step-by-Step
Alright, let’s make these! I’m walking you through exactly how I do it, including the little tricks I’ve picked up to avoid the sticky messes I had in the beginning.
Step 1: Prepare Your Station
Line your sheet pan with parchment paper. Make sure it’s flat and smooth. If you have wrinkles, smooth them out now. This is your canvas. Also, take your ice cream out of the freezer and let it soften on the counter for about 10 minutes. It should be scoopable but still hold its shape. If it’s melted, put it back in the freezer for 10 minutes. If it’s too hard, you’ll crack the ice cream when you press it.
Step 2: Make the Peanut Butter Crunch Layer
In a small bowl, mix the creamy peanut butter and the crushed wafers. Stir until the crumbs are evenly coated. It should look like wet sand. If it’s too dry, add a teaspoon more peanut butter. If it’s too wet, add more crumbs. You want a mixture that holds together when pressed but isn’t runny. Set this aside.
Step 3: Portion the Ice Cream
Using a tablespoon or a small ice cream scoop, place mounds of ice cream onto the parchment-lined sheet pan. You want them about 2 inches in diameter. Space them out so they don’t touch. If you’re making large sandwiches, make them bigger. If you’re making bite-sized ones, make them smaller. Freeze these mounds for at least 30 minutes, or until they are firm to the touch. This step is crucial—if the ice cream is soft, the chocolate shell will sink in and look messy.
Step 4: Add the Peanut Butter Crunch
Once the ice cream is firm, take a small ball of the peanut butter mixture (about a teaspoon) and press it gently onto the top of each ice cream mound. Flatten it slightly so it covers the surface. You don’t need to cover the edges; just a nice layer on top. Freeze again for 15-20 minutes. This sets the peanut butter layer so it doesn’t slide around when you add the chocolate.
Step 5: Melt the Chocolate
While the peanut butter sets, melt your chocolate chips. I use the microwave method: heat in 30-second intervals, stirring in between, until smooth. Do not overheat! If the chocolate gets too hot, it seizes up and becomes grainy. Once melted, stir in the coconut oil. The mixture should be thin and glossy, like honey. If it’s too thick, add another half-teaspoon of coconut oil. If it’s too thin, add a few more chocolate chips and stir.
Step 6: Dip and Coat
This is the fun part. Take each frozen ice cream mound (with the peanut butter layer) and dip it into the melted chocolate. Use two forks to help you. Lower the ice cream into the chocolate, turn it over to coat the sides, and lift it out. Let the excess chocolate drip off for a few seconds. Place it back on the parchment paper. If you want a thicker shell, you can dip it twice, but let the first layer set for a minute before dipping again.
Step 7: Set and Serve
Immediately sprinkle with flaky sea salt if you’re using it. Then, pop the entire tray back into the freezer for at least 1 hour, or until the chocolate is completely hard. This is where the “crackly” magic happens. Once set, you can store them in an airtight container in the freezer, separated by parchment paper, for up to two weeks.
Total Time: About 1 hour 45 minutes (mostly freezing time, 15 minutes active).
Expert Tips & Tricks
Here’s everything I’ve learned from making these dozens of times. These tips will save you from my mistakes.
The Coconut Oil is Non-Negotiable
I tried making these with just chocolate chips once. The shell was hard, yes, but it was also brittle and shattered into tiny pieces when I bit into it. It also didn’t snap cleanly. The coconut oil adds flexibility to the chocolate, allowing it to crack rather than crumble. It also helps the chocolate harden faster in the freezer. Use refined coconut oil so you don’t taste coconut.
Keep Everything Frozen
The biggest mistake people make is letting the ice cream warm up too much. If the ice cream is soft when you dip it, the chocolate will melt into it, and you’ll end up with a chocolate-covered ice cream ball instead of a sandwich. Keep your ice cream mounds frozen solid until the last second.
Work Quickly
Once you start dipping, work fast. The chocolate starts to thicken as it cools, and if you wait too long, it becomes hard to spread. If your chocolate gets too thick, microwave it for 5 seconds and stir.
Don’t Skip the Second Freeze
After dipping, don’t eat them immediately. Let them freeze for at least an hour. This ensures the chocolate shell is fully hardened and provides that satisfying snap.
Troubleshooting
- Chocolate is too thick: Add more coconut oil, a teaspoon at a time.
- Shell is soft: You didn’t freeze it long enough, or you used too much chocolate and not enough coconut oil. Next time, increase the coconut oil slightly.
- Peanut butter slides off: You didn’t freeze the peanut butter layer long enough. Give it 15-20 minutes to set.
Variations & Substitutions
Once you’ve nailed the basic version, here’s how you can mix it up. I’ve tried all of these.
Chocolate Peanut Butter Cup Version
Use chocolate ice cream instead of vanilla. Add a tiny piece of chocolate bar on top of the ice cream before adding the peanut butter crunch. This doubles down on the chocolate flavor.
Reese’s Style
Use crunchy peanut butter instead of creamy. This adds more texture. You can also add a drizzle of peanut butter on top of the chocolate shell before it sets.
Snickerbar Version
Use caramel ice cream. Add a thin layer of caramel sauce between the ice cream and the peanut butter crunch. Top with chopped peanuts instead of wafers.
Healthy-ish Version
Use almond butter instead of peanut butter. Use dark chocolate chips with 70% cocoa. Use sugar-free ice cream. It’s still delicious, just a bit less indulgent.
Dietary Modifications
- Gluten-Free: Use gluten-free wafers or cornflakes. Most chocolate chips are naturally gluten-free, but check the label.
- Vegan: Use vegan chocolate chips (like Enjoy Life), vegan ice cream, and vegan peanut butter. The coconut oil trick still works!
- Nut-Free: Use sunflower seed butter instead of peanut butter. Use crushed rice cereal instead of wafers.
Serving & Storage
How to Serve: These are best served straight from the freezer. Let them sit on the counter for 2-3 minutes if you want the chocolate to soften just a tiny bit, but not melt. I usually serve them on a small plate with a napkin, because they can be messy if you bite too fast.
Side Dishes: They’re a dessert on their own, but they pair well with a hot coffee or a cold glass of milk. If you’re serving them at a party, I like to offer them alongside soft pretzel bites for a salty-sweet combo.
Storage Instructions:
- Refrigerator: Do not store these in the fridge. They will get soft and sticky. Always keep them in the freezer.
- Freezer: Store in an airtight container or a large ziplock bag. Place parchment paper between each sandwich to prevent them from sticking together. They will last for up to 2 weeks.
Pro Tip: If you’re making these for a gift, wrap them individually in plastic wrap and then place them in a gift box. They look professional and stay fresh.
Nutrition Information
I’m not a nutritionist, but here’s the breakdown if you’re tracking. Keep in mind that these are dense, rich treats, so portion control is key.
Per Sandwich (based on 12 sandwiches):
- Calories: 280
- Protein: 6g
- Carbs: 28g
- Fiber: 2g
- Sugar: 18g
- Fat: 18g
- Saturated Fat: 10g
What’s Good: The peanut butter provides some healthy fats and protein. The chocolate has antioxidants.
What to Know: High in sugar and saturated fat. This is a treat, not a health food. Enjoy in moderation.
Final Thoughts
So that’s my homemade Butterfinger ice cream sandwich recipe! I know I’ve talked about the chocolate shell a lot, but it really is the star of the show. The way it cracks under your teeth, followed by the cold, creamy ice cream and the crunchy peanut butter—it’s a flavor and texture combination that just works.
I’ve made these for summer barbecues, for movie nights, and just for myself when I need a little pick-me-up. They’re a reminder that homemade desserts don’t have to be complicated to be amazing. Sometimes, it’s just about combining a few good ingredients and giving them the time they need to set.
If you make these, I’d love to hear how they turn out! Try different ice cream flavors or add-ins. Maybe you’ll discover your new favorite combination. And if you’re looking for more easy, no-bake treats, check out my apple cider doughnut cake next. Happy cooking!
Frequently Asked Questions
Can I use milk chocolate instead of semi-sweet?
Yes, you can! Milk chocolate will be sweeter and might not harden quite as firmly as semi-sweet or dark chocolate. If you use milk chocolate, make sure to add a bit more coconut oil to help it set. I personally prefer semi-sweet because it balances the sweetness of the peanut butter and ice cream.
Why did my chocolate shell stay soft?
This usually happens for two reasons: either you didn’t use enough coconut oil, or you didn’t freeze the sandwiches long enough. The coconut oil is crucial for flexibility and hardening. Also, make sure your freezer is at least 0°F (-18°C). If your freezer is weak, the chocolate might not fully harden.
Can I make these ahead of time?
Absolutely! In fact, making them ahead of time is the best way to go. You can make them up to two weeks in advance. Just store them in an airtight container in the freezer. They’ll stay fresh and crunchy the whole time.
Can I use crunchy peanut butter?
Yes! Crunchy peanut butter adds an extra layer of texture. If you use it, you might not need as many crushed wafers, or you can use fewer wafers altogether. It’s a great variation if you like a lot of peanut butter flavor.
How do I clean up the chocolate mess?
Chocolate can be tricky to clean. If your bowls or utensils have hardened chocolate, soak them in hot water for 10 minutes first. The chocolate will soften and wipe away easily. Don’t try to scrape it off dry—it will scratch your dishes.
Can I use other types of ice cream?
Definitely! Chocolate, strawberry, cookie dough, or mint chip all work well. Just make sure the ice cream is soft enough to spread but not melted. If you use a very soft ice cream (like gelato), you might need to freeze the mounds longer before adding the peanut butter layer.
Pin This Recipe!
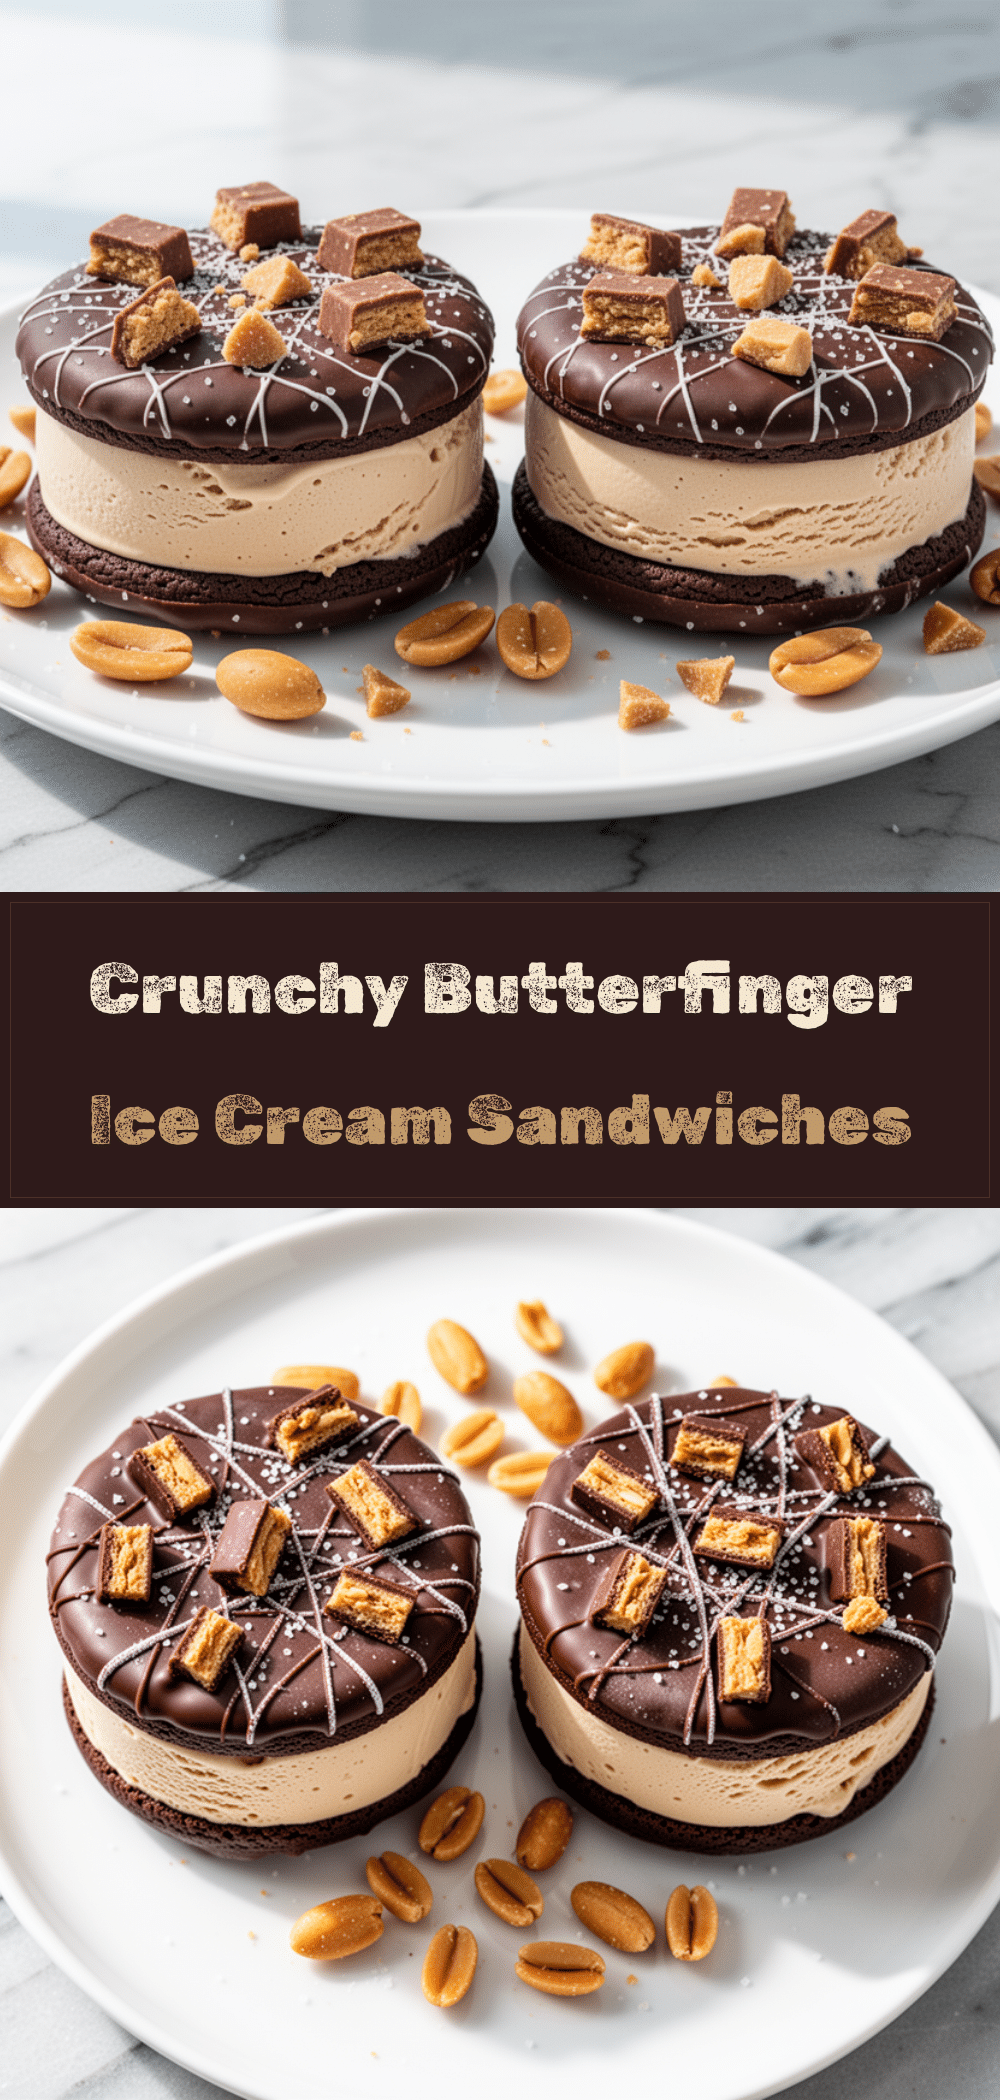
Homemade Butterfinger Ice Cream Sandwiches: 5-Min Crispy Treats
- Total Time: 1 hour 45 minutes
- Yield: 12 servings 1x
Description
Recreate the classic Butterfinger experience at home with these no-bake ice cream sandwiches featuring a crackly chocolate shell, creamy peanut butter crunch layer, and frozen vanilla ice cream center.
Ingredients
- 12 ounces (340g) semi-sweet chocolate chips
- 2 tablespoons refined coconut oil
- Flaky sea salt (optional)
- ½ cup (120g) creamy peanut butter
- 1 cup (80g) crushed crispy wafers or cornflakes
- 1.5 cups (350g) vanilla ice cream
Instructions
- Line a sheet pan with parchment paper and let the ice cream soften on the counter for about 10 minutes until scoopable but firm.
- In a small bowl, mix the creamy peanut butter and crushed wafers until the crumbs are evenly coated and the mixture resembles wet sand.
- Portion the ice cream into 2-inch diameter mounds on the parchment-lined pan, spacing them out, and freeze for at least 30 minutes until firm.
- Press a teaspoon of the peanut butter mixture onto the top of each frozen ice cream mound and freeze again for 15-20 minutes to set.
- Melt the chocolate chips in the microwave in 30-second intervals, stirring until smooth, then stir in the coconut oil until the mixture is thin and glossy.
- Dip each frozen ice cream mound into the melted chocolate using two forks to coat completely, letting excess drip off before placing back on the parchment paper.
- Immediately sprinkle with flaky sea salt if desired, then freeze the entire tray for at least 1 hour until the chocolate shell is completely hard.
- Store in an airtight container in the freezer, separated by parchment paper, for up to two weeks.
Notes
Use refined coconut oil to avoid coconut flavor. Ensure ice cream is frozen solid before dipping to prevent the chocolate from melting into it. Work quickly when dipping as chocolate thickens as it cools. Do not store in the refrigerator as they will become soft and sticky.
- Prep Time: 15 minutes
- Cook Time: 0 minutes
- Category: Dessert
- Cuisine: American
Nutrition
- Serving Size: 1 sandwich
- Calories: 280
- Sugar: 18
- Fat: 18
- Saturated Fat: 10
- Carbohydrates: 28
- Fiber: 2
- Protein: 6
Keywords: homemade butterfinger, ice cream sandwiches, no-bake dessert, chocolate shell, peanut butter crunch, frozen treats, summer dessert



