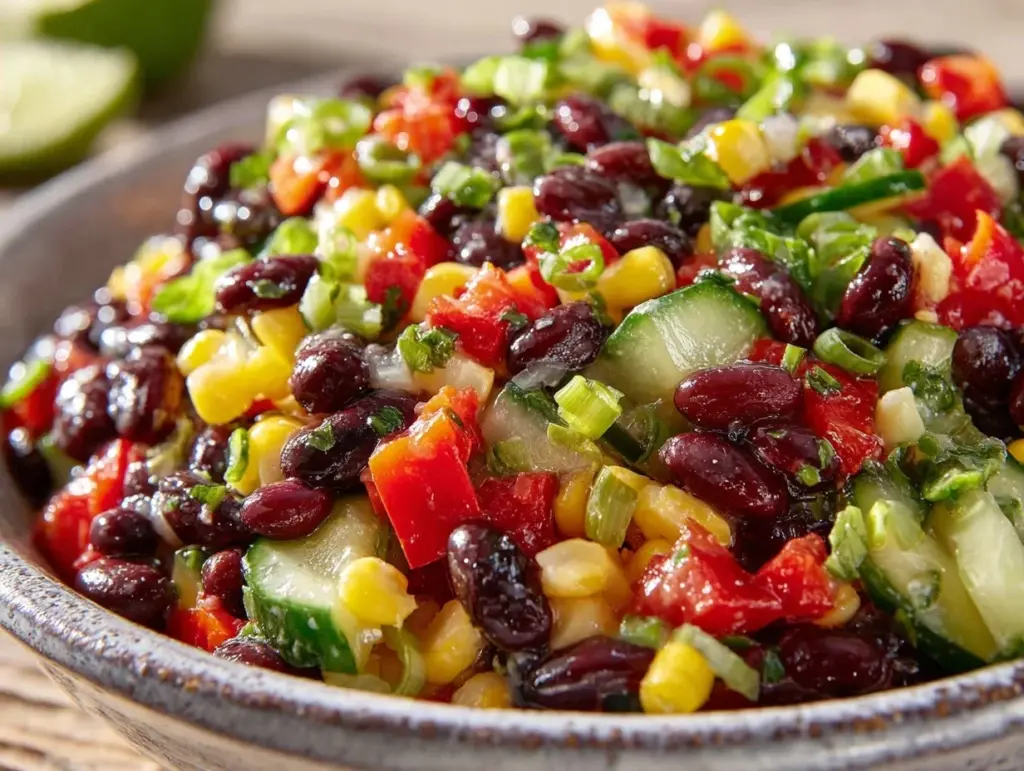
It was the fourth quarter of the big game, the stadium was shaking with noise, and I was standing in a parking lot that smelled like charcoal and anticipation. My friend Sarah had just handed me a plastic bowl that looked like it contained absolutely nothing but chopped vegetables. “It’s just beans and corn,” she said, looking slightly defensive. “It’s gluten-free, so I couldn’t do the usual chips.”
I took a bite. Then another. Then I finished the whole bowl before the halftime show even started. That was the moment I realized that “dietary restriction” doesn’t have to mean “sad snack.” It just means you have to get creative. That bowl of cow cavai (or caviar, as it’s famously spelled) became the star of our tailgate. It wasn’t just good; it was the best thing on the table. It was crunchy, bright, spicy, and somehow managed to be refreshing even when it was 85 degrees in the shade.
Since that day, I’ve made this Tailgate Cowboy Caviar for every single gathering, from Super Bowl parties to busy weeknight dinners when I need something that comes together in ten minutes flat. It’s become my secret weapon. People think it’s complicated because of all the colors, but it’s really just a handful of pantry staples tossed with a vinaigrette that packs a serious punch. And the best part? It’s naturally gluten-free, dairy-free, and vegan, so everyone at the table can dig in without worrying about cross-contamination or dietary limits. It’s proof that you don’t need cheese or heavy dips to make a crowd go wild.
Why You’ll Love This Recipe
There are a dozen reasons I keep coming back to this cowboy caviar, but let’s be real—some of them are just selfish. Here’s why this recipe has earned a permanent spot in my rotation:
It’s a Make-Ahead Dream — Seriously, this dish gets *better* as it sits. I make it the night before, let it marinate in the fridge overnight, and it’s perfect for the next day. The flavors meld together, the beans soak up that zesty lime dressing, and it tastes way more complex than when you first mix it. I’ve never had leftovers taste better than day-two leftovers.
Zero Cooking Required — If you can open a can and chop an onion, you can master this. There’s no chopping required if you buy pre-diced veggies, but even with chopping, it’s under 15 minutes of active time. No standing over a hot stove, no washing pots, no stress. Just toss and chill.
Gluten-Free and Allergen-Friendly — This is naturally gluten-free, dairy-free, and vegan. I’ve served this to guests with celiac disease, nut allergies, and dairy intolerances, and nobody has ever asked for a substitute. It’s inclusive by design, not by accident. You don’t have to make a separate “diet” dish and feel bad about it.
Stupidly Versatile — I eat this with tortilla chips (obviously), but I also spoon it over grilled chicken, use it as a topping for baked sweet potatoes, or mix it into a big bowl of Mediterranean chickpea salad for lunch. It’s basically a flavor bomb that works anywhere.
Budget-Friendly — You’re using canned beans, frozen corn, and basic produce. It feeds a crowd for under $15. That’s cheaper than buying a single plate of appetizers at a restaurant, and it tastes fresher, too.
This is my go-to when I need to feed a lot of people without spending hours in the kitchen. It’s reliable, it’s safe for allergies, and it’s delicious. Period.
Ingredients You’ll Need
Here’s the thing about this recipe: it looks like a lot, but it’s mostly pantry staples. I’m particular about a few things here, mostly because I’ve learned the hard way what makes the texture work. I’ve tested this recipe dozens of times, and these are the specifics that guarantee success.
For the Cowboy Caviar Base
Black beans (1 can, 15oz / 425g, drained and rinsed) — The star of the show. Rinse them well to remove that canned metallic taste. I use low-sodium so I can control the salt in the dressing. Kidney beans work too, but black beans hold their shape better and look prettier.
Black-eyed peas (1 can, 15oz / 425g, drained and rinsed) — This is what makes it “cowboy” caviar instead of just bean salad. They have a unique earthy flavor and a nice bite. If you can’t find them, use more black beans or pinto beans. It’ll still be good, just different.
Sweet corn (1 cup / 150g) — I use frozen corn, thawed. It’s cheaper and just as good as fresh. If you’re in season, fresh corn off the cob is amazing, but frozen is my weeknight savior. Drain any excess liquid so the dip doesn’t get watery.
Red bell pepper (1 medium, diced / about 150g) — Adds crunch and sweetness. Red is sweeter and looks festive. Green peppers are too bitter for this. Yellow or orange peppers work if you want variety.
Red onion (1 small, finely diced / about 100g) — Essential for that sharp kick. Red onion is milder and less pungent than white onion, which is perfect for a raw dip. If you’re sensitive to raw onions, soak the diced onion in cold water for 10 minutes before draining. It takes the bite out.
Jalapeño (1 medium, seeded and minced / about 2 tablespoons) — For heat. Keep the seeds in if you like it spicy, remove them for mild. I always wear gloves when mincing jalapeños. I learned that lesson after touching my eye and crying for twenty minutes. Don’t be like me.
Cilantro (1/2 cup, chopped / about 30g) — Fresh is non-negotiable here. Dried cilantro tastes like dust. Use the stems if you want more flavor, but chop them fine. I buy a big bunch because I use it in everything, from this to my charred street corn pasta salad.
For the Zesty Lime Cilantro Dressing
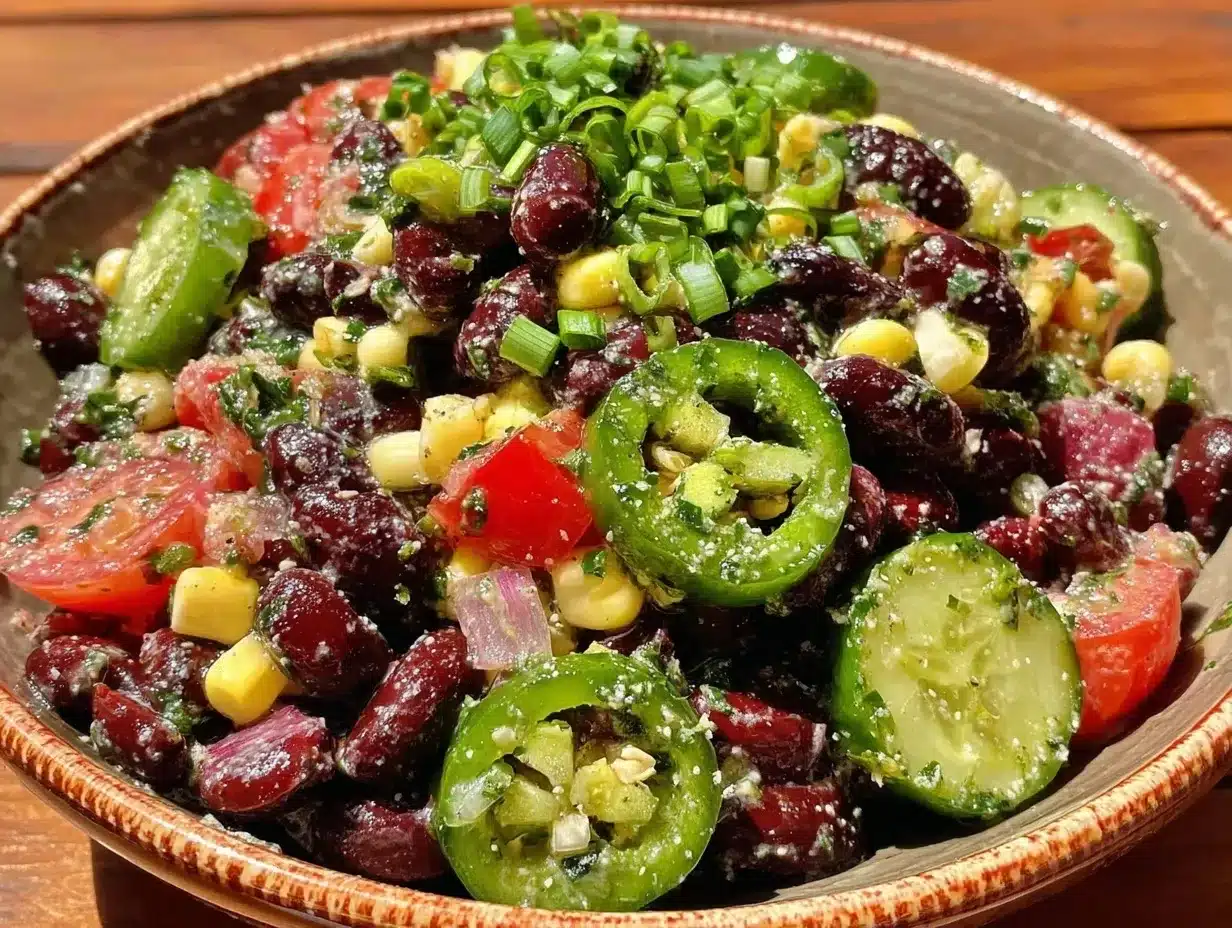
Extra virgin olive oil (1/3 cup / 80ml) — Use a good quality oil here. It’s the base of the dressing, so it should taste like olives, not cardboard. I keep a bottle of mild olive oil for cooking and this one for dressings.
Fresh lime juice (1/4 cup / 60ml, about 2 limes) — Bottled lime juice tastes like cleaner fluid. Fresh is key. Juice the limes yourself. It takes two medium limes usually. If you’re lazy, buy fresh juice in the refrigerated section, but fresh is best.
Apple cider vinegar (2 tablespoons / 30ml) — Adds a subtle fruitiness that balances the lime. White vinegar is too harsh. Balsamic would change the color and flavor too much. Apple cider vinegar is the sweet spot.
Ground cumin (1 teaspoon) — Warm, earthy, essential. Don’t skip it. It gives that Tex-Mex vibe. If you don’t have cumin, you’re missing the soul of this dish.
Chili powder (1/2 teaspoon) — Not cayenne. Chili powder is a blend that usually includes garlic and oregano. It adds depth without just heat. If you only have cayenne, use a pinch, but you’ll miss the flavor complexity.
Garlic (2 cloves, minced / about 1 teaspoon) — Fresh garlic only. Jarred garlic has a sulfurous taste that clashes with the fresh lime. Mince it fine so it disperses evenly.
Sea salt (1/2 teaspoon, or to taste) — Adjust based on your beans’ sodium content. Taste before adding extra salt.
Black pepper (1/4 teaspoon, freshly cracked) — Just a touch to round it out.
Equipment Needed
You don’t need anything fancy for this. Here’s what I actually use:
Large mixing bowl — I use a 4-quart stainless steel bowl. It needs to be big enough to toss everything without spilling. Glass works too, but metal is lighter.
Sharp knife — For dicing peppers and onions. A dull knife makes the onions cry more. I use my Japanese chef’s knife for this.
Cutting board — Any size works. I use a large plastic one for veggies.
Measuring cups and spoons — Standard stuff. Dollar store versions are fine for dry spices.
Whisk — For emulsifying the dressing. A fork works in a pinch, but a whisk mixes it faster.
Can opener — Basic, but essential. I have a manual one that never fails.
Colander — For rinsing the beans. Or just drain them in the sink if you’re brave.
How to Make It: Step-by-Step
Alright, let’s make this! It’s incredibly simple, but there are a few tricks to keep it from getting watery. I’m walking you through exactly how I do it.
Step 1: Prep Your Veggies (5 minutes)
Wash your bell pepper and red onion. Dice the bell pepper into small, bite-sized cubes—about 1/4 inch. You want them small so every spoonful has a mix. Finely dice the red onion. If you’re worried about strong onion flavor, soak these in a bowl of cold water for 10 minutes, then drain and pat dry. Mince the jalapeño, removing seeds if you want it mild. Chop the cilantro leaves and tender stems. Set everything aside.
Step 2: Rinse the Beans (2 minutes)
Open your cans of black beans and black-eyed peas. Pour them into a colander and rinse under cold water until the water runs clear. This removes the thick, starchy liquid that can make the dip slimy and removes excess sodium. Shake the colander well to remove as much water as possible. Wet beans = watery dip. Don’t skip this.
Step 3: Make the Dressing (2 minutes)
In a small bowl, whisk together the olive oil, fresh lime juice, apple cider vinegar, cumin, chili powder, minced garlic, salt, and black pepper. Whisk vigorously until the mixture looks slightly cloudy and emulsified. It should look like a creamy dressing, even though there’s no cream. Taste it. It should be bright, tangy, and slightly spicy. Adjust salt or lime to your liking.
Step 4: Combine Everything (3 minutes)
In your large mixing bowl, combine the drained beans, corn, diced peppers, red onion, and jalapeño. Pour the dressing over the top. Use a large spoon or spatula to gently fold everything together. You want to coat everything evenly without mashing the beans. The goal is distinct pieces, not a mash.
Step 5: Chill and Marinate (30 minutes minimum)
This is the most important step. Cover the bowl and refrigerate for at least 30 minutes, but ideally 2-4 hours. This gives the beans time to absorb the dressing and the flavors to marry. If you’re making it for a party, make it the night before. The next day, it’s infinitely better. Give it a stir before serving.
Step 6: Serve
Taste and adjust seasoning if needed. The salt might need a pinch more after chilling. Serve with sturdy tortilla chips. Pita chips or pretzel crisps also work well if you want variety. Garnish with extra cilantro if you’re feeling fancy.
Expert Tips & Tricks
Here’s everything I’ve learned from making this dozens of times. These tips will save you from my mistakes.
Drain Those Beans Well — I cannot stress this enough. Wet beans ruin the texture. Rinse them, then shake them hard in the colander. You can even pat them dry with a paper towel if you’re being meticulous. I used to skip this and wonder why my dip was soup. Never again.
Don’t Skimp on Acid — The lime and vinegar are the backbone. If it tastes flat, it needs more acid, not more salt. Lime juice is your friend. Add it gradually and taste.
Use Frozen Corn — Fresh corn is great, but frozen is consistent and convenient. Just thaw it and drain it. If you use canned corn, drain it really well and pat it dry. It’s softer and sweeter, which changes the texture slightly.
Chop Uniformly — Try to keep your vegetable pieces the same size. It makes for a better eating experience. Big chunks of onion in a small bean bite is weird. Uniformity = professionalism.
Let It Marinate — I know it’s tempting to eat it right away. Don’t. The flavors develop over time. The beans swell with dressing, the onions mellow, and the cilantro infuses everything. Patience pays off.
Variations & Substitutions
Once you’ve nailed the basic version, here’s how you can mix it up. I’ve tried all of these.
Protein-Packed Version — Add 1 cup of cooked, diced chicken breast or shredded rotisserie chicken. It makes it a full meal. I love this for lunch bowls. Or add canned tuna for a seafood twist.
Spicy Kick — Add a diced habanero or serrano pepper instead of jalapeño. Or stir in 1/2 teaspoon of cayenne pepper or crushed red pepper flakes. For the brave, leave the jalapeño seeds in.
Sweet & Smoky — Add 1/2 cup of roasted sweet corn kernels (charred in a pan) and 1/2 teaspoon of smoked paprika. It adds a grill flavor even if you didn’t grill anything.
Guacamole Twist — Fold in 1 diced avocado right before serving. It adds creaminess and healthy fats. Note: Avocado browns quickly, so add it just before eating if you’re not serving immediately.
Gluten-Free Chips — Serve with corn tortilla chips, plantain chips, or gluten-free pretzel crisps. Always check the label to ensure they’re certified gluten-free if you’re serving celiac guests.
Dairy-Free & Vegan — This recipe is already dairy-free and vegan. No changes needed. It’s naturally compliant.
Serving & Storage
How to Serve
I usually serve this in a large glass bowl so people can see all the colors. It looks impressive. Pair it with sturdy tortilla chips. I also love spooning it over crispy loaded potato skins for a loaded snack, or using it as a topping for grilled fish.
Storage Instructions
Refrigerator: Store in an airtight container for up to 5 days. It actually gets better for the first 2-3 days. After that, the beans might get too soft.
Freezing: I don’t recommend freezing this. The beans and corn get mushy when thawed. It’s best fresh or chilled.
Reheating: Do not reheat this. It’s a cold dip. Serve it straight from the fridge.
Nutrition Information
I’m not a nutritionist, but here’s the breakdown if you’re tracking. This is per serving (based on 8 servings with chips).
| Nutrient | Amount |
|---|---|
| Calories | 180 |
| Protein | 8g |
| Carbs | 28g |
| Fiber | 9g |
| Sugar | 4g |
| Fat | 6g |
| Sodium | 350mg |
It’s high in fiber and protein, low in saturated fat, and naturally free of gluten and dairy. It’s a guilt-free snack that actually fills you up.
Final Thoughts
So that’s my go-to Tailgate Cowboy Caviar! I’ve probably talked your ear off at this point, but when you make a recipe this often, you have a lot to say about it. This has saved me from buying sad, store-bought dips at the grocery store. It’s my answer to “what should I bring to the party?” when I want something healthy, inclusive, and delicious.
Make it yours! Try different peppers, adjust the spice, add some avocado. The best recipes are the ones you adapt. If you make this, drop a comment and let me know what you think! I love hearing how recipes turn out in your kitchen.
Happy cooking! And I hope your tailgate tastes as good as mine did.
Frequently Asked Questions
Can I use canned corn instead of frozen?
Yes, you can. Just make sure to drain it very well and pat it dry with paper towels. Canned corn is softer and sweeter than frozen, so the texture will be slightly different, but it still tastes great.
Why is my cowboy caviar watery?
This usually happens if you don’t drain the beans and corn well enough. Rinsing them adds water, so shake the colander vigorously or pat them dry. Also, let the onion sit for a bit after chopping to release some water, then drain it.
Can I make this ahead of time?
Absolutely. In fact, it’s better made ahead. Make it up to 2 days in advance. Store it in the fridge in an airtight container. Stir it before serving. The flavors will meld and improve.
Is this recipe gluten-free?
Yes, this recipe is naturally gluten-free. Just make sure your tortilla chips are certified gluten-free if you’re serving people with celiac disease. Most corn tortilla chips are, but always check the label.
Can I add avocado?
Yes! Fold in 1 diced avocado right before serving. It adds creaminess and healthy fats. Note that avocado browns quickly, so add it just before eating if you’re not serving immediately.
What kind of chips go best with this?
Sturdy tortilla chips are the classic choice. Corn chips, pita chips, or pretzel crisps also work well. Avoid thin, fragile chips that break easily when scooping.
Can I freeze this?
I don’t recommend freezing it. The beans and corn get mushy when thawed. It’s best enjoyed fresh or chilled within 5 days.
Pin This Recipe!
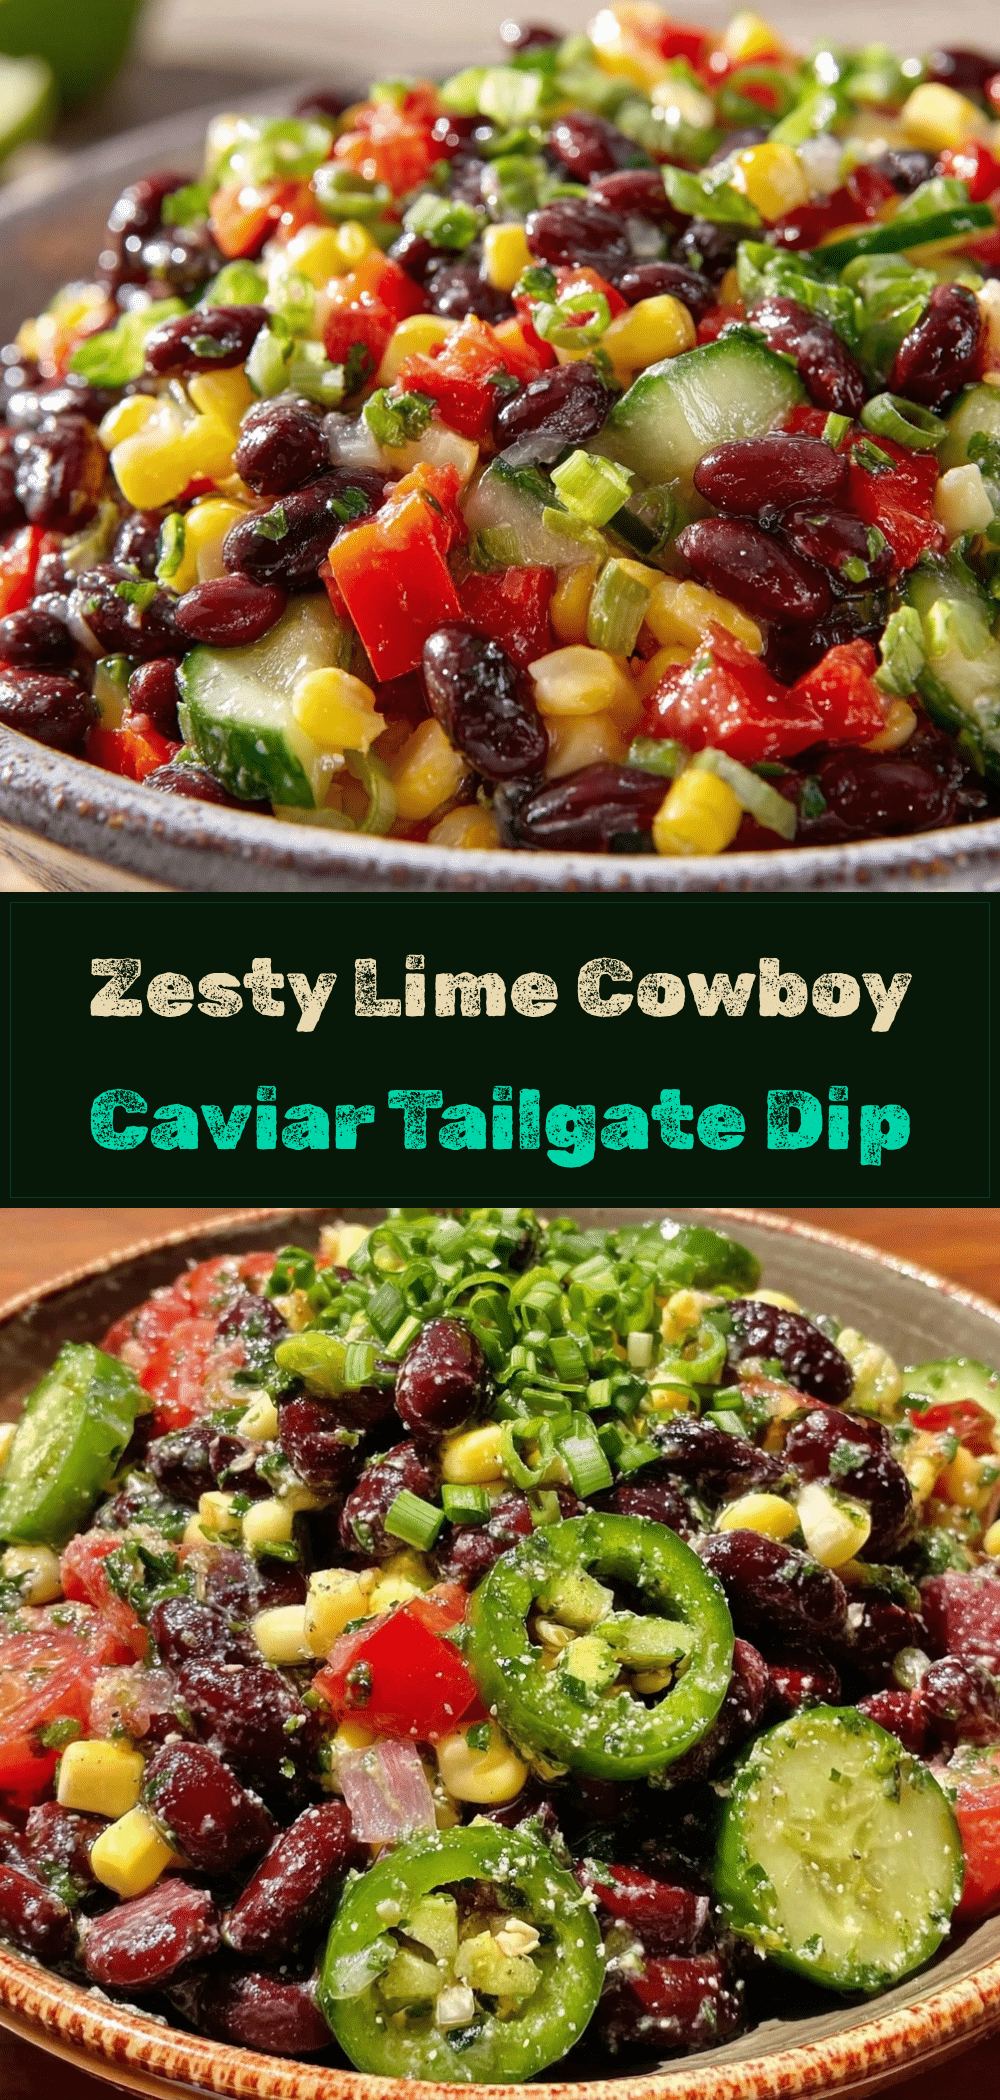
Tailgate Cowboy Caviar: Easy Gluten-Free Recipe
- Total Time: 45 minutes
- Yield: 8 servings 1x
Description
A vibrant, make-ahead bean and corn salad that is naturally gluten-free, dairy-free, and vegan. This zesty lime cilantro dip is perfect for tailgating, parties, or quick weeknight meals.
Ingredients
- 1 can (15oz / 425g) black beans, drained and rinsed
- 1 can (15oz / 425g) black-eyed peas, drained and rinsed
- 1 cup (150g) sweet corn, frozen and thawed
- 1 medium red bell pepper, diced
- 1 small red onion, finely diced
- 1 medium jalapeño, seeded and minced
- 1/2 cup (30g) fresh cilantro, chopped
- 1/3 cup (80ml) extra virgin olive oil
- 1/4 cup (60ml) fresh lime juice
- 2 tablespoons (30ml) apple cider vinegar
- 1 teaspoon ground cumin
- 1/2 teaspoon chili powder
- 2 cloves garlic, minced
- 1/2 teaspoon sea salt, or to taste
- 1/4 teaspoon freshly cracked black pepper
Instructions
- Wash and dice the red bell pepper into 1/4-inch cubes. Finely dice the red onion. If desired, soak the onion in cold water for 10 minutes to reduce pungency, then drain and pat dry. Mince the jalapeño and chop the cilantro.
- Drain the black beans and black-eyed peas in a colander and rinse under cold water until clear. Shake well to remove excess water.
- In a small bowl, whisk together the olive oil, fresh lime juice, apple cider vinegar, cumin, chili powder, minced garlic, salt, and black pepper until emulsified.
- In a large mixing bowl, combine the drained beans, corn, diced peppers, red onion, and jalapeño.
- Pour the dressing over the vegetable and bean mixture. Gently fold everything together to coat evenly without mashing the beans.
- Cover the bowl and refrigerate for at least 30 minutes, ideally 2-4 hours, to allow flavors to meld.
- Taste and adjust seasoning if needed. Serve with sturdy tortilla chips.
Notes
Drain beans and corn thoroughly to prevent a watery dip. The recipe improves in flavor after marinating overnight. Do not freeze as the texture of beans and corn will become mushy. Add avocado just before serving to prevent browning.
- Prep Time: 15 minutes
- Cook Time: 0 minutes
- Category: Appetizer
- Cuisine: Tex-Mex
Nutrition
- Serving Size: 1/8 of the recipe
- Calories: 180
- Sugar: 4
- Sodium: 350
- Fat: 6
- Saturated Fat: 1
- Carbohydrates: 28
- Fiber: 9
- Protein: 8
Keywords: cowboy caviar, gluten-free dip, vegan appetizer, tailgate food, make-ahead recipe, bean salad, lime cilantro dressing, party snack



