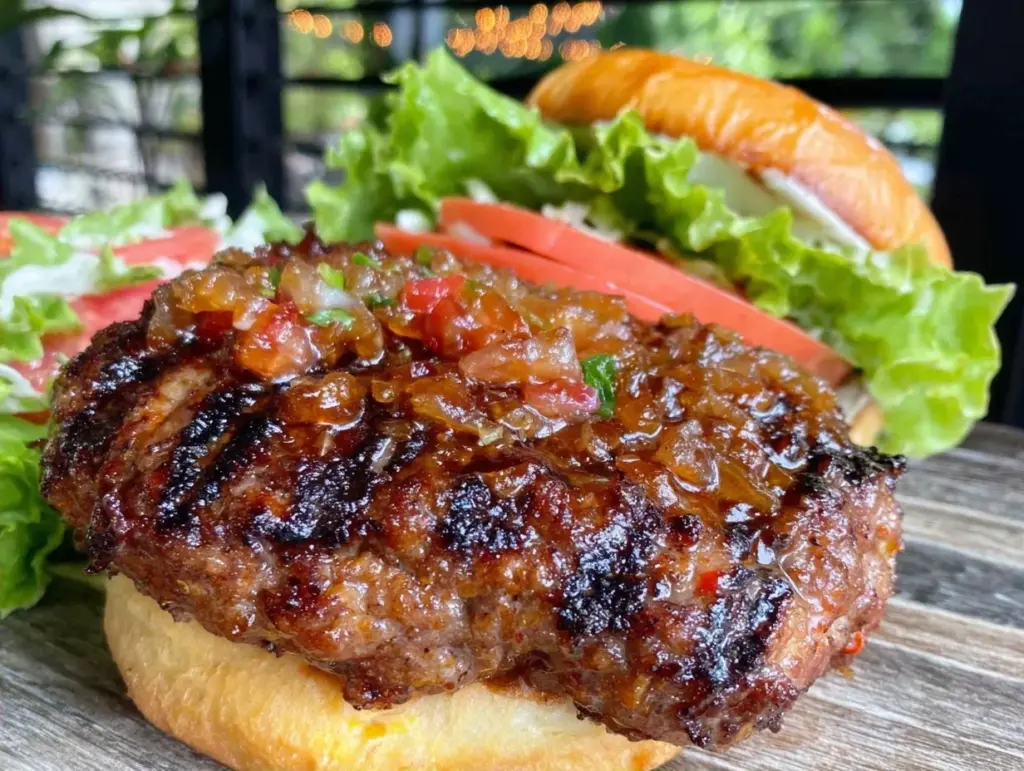
There is a specific kind of magic that happens when the air starts to turn just a little bit cooler, but the sun is still hanging around long enough to keep the grill hot. It’s that “end of summer” window where you’re trying to squeeze one last barbecue out of the season before the real work of fall begins. Last weekend, I found myself standing over the grill with a pack of ground beef, a bag of onions, and absolutely no plan. I wasn’t trying to host a dinner party. I wasn’t trying to impress the neighbors. I just wanted a burger that didn’t taste like cardboard.
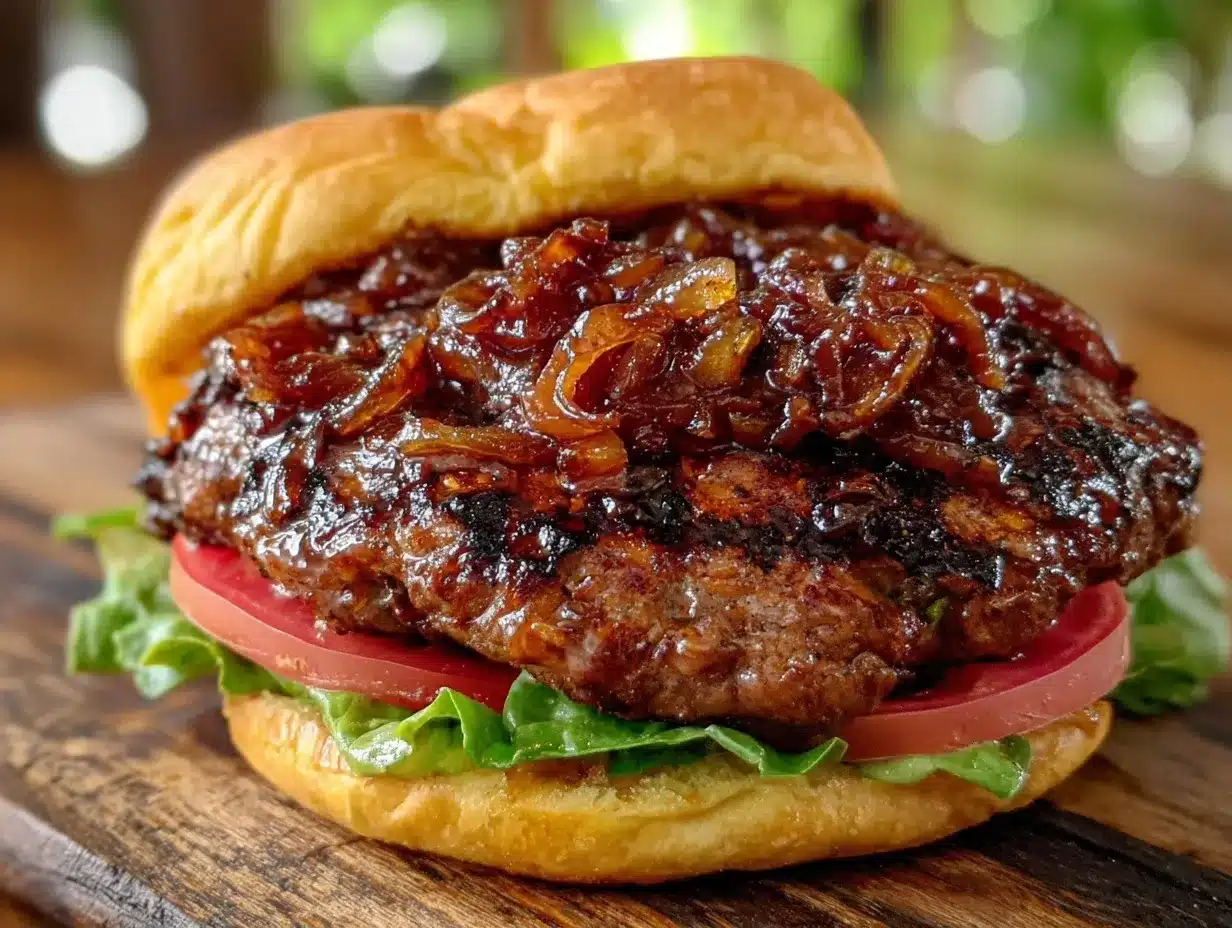
What I pulled off the grill ended up being the best burger I’ve made all year. And the secret wasn’t some expensive cut of meat or a complicated spice rub. It was simple caramelized onions and the patience to let the beef do its thing. These grilled ground beef burgers with caramelized onions are the kind of recipe that feels like a cheat code. You really can’t mess this up. If you can chop an onion and handle a spatula, you can make these. They are juicy, deeply savory, and have that smoky char that makes you close your eyes and sigh.
I’ve tested this method with different grills, different beef blends, and even on a rainy Tuesday when I thought the whole idea was doomed. It works. Every single time. The caramelized onions add a sweetness that balances the saltiness of the beef perfectly, and because we’re keeping the ingredient list short, you aren’t spending an hour in the kitchen. You’re spending twenty minutes making the best burger of your life. Trust me on this one. If you’re looking for a no-fuss dinner that tastes like a gourmet meal, this is it.
Why You’ll Love This Recipe
I don’t say this lightly, but these are the burgers I make when I want to feel like a cooking wizard without actually doing any wizardry. Here’s why they’ve taken over my weeknight rotation:
- Minimal Ingredients, Maximum Flavor — You probably have everything in your fridge right now. Ground beef, onions, salt, pepper, and a couple of pantry staples. No weird sauces or hard-to-find spices. It’s just honest, good food.
- Forgiving Technique — I’ve seen people overthink burgers. They weigh the meat, they use thermometers before the meat is even ready, they flip too much. This recipe is beginner-proof. You season, you press, you grill. If you burn your hand once or two, that’s part of the learning process. The burgers themselves are hard to ruin.
- The Onion Factor — Most people throw raw onions on a burger. That’s a mistake. Caramelizing them first changes everything. It turns a sharp, crunchy topping into a sweet, jammy spread that melts into the patty. It’s the difference between “okay” and “oh my god, make these again.”
- Grill-Ready Simplicity — This is the perfect recipe for when you want to get outside. It’s not a delicate dish that requires a climate-controlled kitchen. It’s rustic, messy, and fun. Plus, the smell of grilling beef and onions will have everyone wandering outside whether they wanted to or not.
- Leftovers Are Delicious — Okay, they probably won’t last. But if you do have leftovers, these burgers are amazing cold on a sandwich or reheated in a pan with a little cheese. They hold their shape better than store-bought frozen patties, which tend to fall apart.
This is my go-to when I want to keep things simple but still feel like I fed my family something special. It’s confidence-building cooking. You’ll look at the finished plate and think, “I made that? It couldn’t have been that hard.” And it wasn’t.
Ingredients You’ll Need
Here’s the best part: you probably have most of this already. I’m not asking you to run to the store for five different brands of specialty items. This is about quality over quantity.
For the Burgers
Ground beef (1.5 pounds / 680g) — This is your star. I prefer 80/20 beef. That 20% fat content is what keeps the burgers juicy. If you use lean 90/10, they’ll be dry. Don’t be shy about the fat. It’s flavor.
Yellow onions (2 large, thinly sliced) — You want two big ones. Thinly sliced means cutting them into half-moons, not chunks. This helps them caramelize evenly.
Garlic (2 cloves, minced) — Fresh garlic only. Jarred garlic has a different flavor profile that doesn’t work as well here. Two cloves is enough to add depth without overpowering the beef.
Worcestershire sauce (1 tablespoon) — This adds that umami punch that makes you ask “what’s in this?” It’s a secret weapon in burger meat. If you don’t have it, soy sauce works in a pinch, but Worcestershire is best.
Worcestershire sauce (1 tablespoon) — This adds that umami punch that makes you ask “what’s in this?” It’s a secret weapon in burger meat. If you don’t have it, soy sauce works in a pinch, but Worcestershire is best.
Salt (1 teaspoon, plus more for sprinkling) — I use kosher salt. It’s easier to control. You’ll salt the meat lightly, and then salt the outside of the patties generously before grilling.
Black pepper (½ teaspoon, freshly cracked) — Freshly cracked is so much better than the pre-ground stuff in the shaker. It adds a nice bite.
Burger buns (6-8 buns) — Brioche buns are my favorite because they’re slightly sweet and soft. Potato rolls are a close second. Avoid dense whole wheat buns; they’ll fight the burger instead of complementing it.
Cheese (6-8 slices) — American cheese is classic for a reason—it melts beautifully. Cheddar is great if you want more flavor. Provolone is mild and creamy. Pick your favorite.
For the Caramelized Onions
Butter (2 tablespoons) — Butter adds richness that oil alone can’t match. I use unsalted so I can control the salt level.
Oil (1 tablespoon) — I use a neutral oil like canola or vegetable to help the butter not burn. You can use just butter, but it might burn a bit faster.
Sugar (1 teaspoon, optional) — A pinch of sugar helps speed up caramelization. I usually skip it if my onions are sweet, but it’s a good trick if they’re bland.
Thyme (1 teaspoon, fresh or ½ teaspoon dried) — Thyme and onions are best friends. It adds an earthy note that elevates the sweetness. If you don’t have thyme, skip it. The onions are still great.
Equipment Needed
You don’t need fancy gadgets for this. Here’s what I actually use:
Large skillet — I use a 12-inch cast iron skillet for the onions. It holds heat well and helps them brown evenly. If you don’t have cast iron, a stainless steel skillet works too. Just make sure it’s big enough to hold all the onions in a single layer.
Grill — Gas or charcoal, doesn’t matter. I prefer charcoal for the smoky flavor, but gas is easier to control. Just make sure your grates are clean.
Spatula — A thin, flexible metal spatula is best for flipping burgers. It gets under the patty easily without tearing it.
Measuring spoons — For the salt and pepper. You can eyeball it, but measuring ensures consistency.
Bowl — For mixing the burger meat. A medium-sized bowl is perfect.
Sharp knife — For slicing the onions. A dull knife will make you cry more—learned this the hard way. Use a chef’s knife for the fastest, safest slicing.
How to Make It: Step-by-Step
Alright, let’s make this! I’m walking you through exactly how I do it, including the little tricks I’ve picked up.
Step 1: Caramelize the Onions (15-20 minutes)
This is the step that takes the most time, but it’s mostly hands-off. Slice your onions thinly. Heat the butter and oil in your skillet over medium heat. Add the onions and a pinch of salt. Stir them to coat in the fat. Cook for 10-15 minutes, stirring occasionally. They should turn a deep golden brown. If they start sticking, add a splash of water. They’re done when they’re soft, sweet, and jammy. Set them aside.
Step 2: Mix the Burger Meat (5 minutes)
In your bowl, combine the ground beef, minced garlic, Worcestershire sauce, salt, and pepper. Mix gently with your hands. Do not overmix! Overmixing makes tough burgers. Just combine until the ingredients are distributed. If you mix too much, you’ll end up with meatballs, not burgers.
Step 3: Form the Patties (5 minutes)
Divide the meat into 6-8 equal portions. Gently shape them into discs. Make them slightly wider than your buns because they’ll shrink as they cook. Press a shallow dimple in the center of each patty with your thumb. This prevents them from puffing up into balls while grilling. It’s a small step that makes a big difference.
Step 4: Grill the Burgers (12-15 minutes)
Preheat your grill to medium-high heat. Oil the grates lightly to prevent sticking. Place the patties on the grill. Do not move them for the first 4-5 minutes. Let them get a good char. Flip them once. Cook for another 4-5 minutes. If you’re adding cheese, put it on during the last minute of cooking. Cover the grill to help it melt.
Step 5: Toast the Buns (2 minutes)
While the burgers finish, split your buns and place them cut-side down on the grill for the last 2 minutes. They should be lightly toasted and golden. This prevents the buns from getting soggy from the burger juices.
Step 6: Assemble and Serve
Put the patty on the bottom bun. Add a generous scoop of the caramelized onions. Add any other toppings you like (lettuce, tomato, pickles). Top with the other bun. Serve immediately. These burgers are best eaten hot, with a napkin in hand because they’re juicy.
Expert Tips & Tricks
Here’s everything I’ve learned from making this dozens of times. These tips will save you from my mistakes.
Keep the Meat Cold — Warm meat sticks to your hands and becomes tough. Keep the beef in the fridge until the moment you’re ready to form the patties. If it gets warm, put it back in the fridge for 10 minutes.
Don’t Press the Patties — I see people pressing down on burgers with the spatula while they cook. This squeezes out the juices. Let the fat render naturally. The burger will be juicier if you leave it alone.
Low and Slow for Onions — If you rush the onions, they’ll burn before they caramelize. Medium-low heat is better than high heat. Patience pays off here.
Season the Outside — Don’t just mix salt into the meat. Sprinkle salt and pepper on the outside of the patties before grilling. This creates a delicious crust.
Rest the Burgers — Let the burgers rest for 2-3 minutes after grilling. This allows the juices to redistribute. If you cut into them immediately, all the goodness runs out onto the plate.
Variations & Substitutions
Once you’ve nailed the basic version, here’s how you can mix it up. I’ve tried all of these.
Double Burgers — If you have big eaters, make two patties per person. It’s like getting a meal deal.
Veggie Boost — Add finely chopped mushrooms or bell peppers to the meat mixture. It adds texture and moisture.
Spicy Kick — Add a dash of cayenne pepper or red pepper flakes to the meat. Or use pepper jack cheese instead of cheddar.
Gluten-Free — Use gluten-free buns or serve the burgers in lettuce wraps. Everything else is naturally gluten-free.
Dairy-Free — Skip the cheese or use a dairy-free alternative. The caramelized onions provide enough richness.
Serving & Storage
How to Serve: I usually serve these with a simple side of potato chips or a crisp salad. Garlic bread is obvious, but sometimes you just want something light.
Refrigerator: Store leftover burgers in an airtight container for up to 3 days. The onions can be stored separately or with the burgers.
Reheating: Reheat the burgers in a skillet over low heat with a splash of water to steam them. This keeps them moist. Don’t microwave them—they’ll get rubbery.
Freezing: You can freeze the raw patties. Place them on a baking sheet, freeze until solid, then transfer to a bag. They’ll keep for 3 months. Grill from frozen, adding a couple of minutes to the cook time.
Nutrition Information
I’m not a nutritionist, but here’s the breakdown if you’re tracking. Per serving (based on 6 servings):
- Calories: 450
- Protein: 28g
- Carbs: 35g
- Fat: 22g
- Sodium: 600mg
This is comfort food. It’s hearty and satisfying. If you want to lighten it up, use leaner beef and skip the cheese. But honestly? The 80/20 beef is worth it for the flavor.
Final Thoughts
So that’s my grilled ground beef burgers with caramelized onions. I’ve probably talked your ear off at this point, but when you make a recipe this often, you have a lot to say about it. This has saved weeknight dinners more times than I can count. It’s my answer to “what’s for dinner” when I want something simple but delicious. My kids are happy, my husband’s happy, and I’m happy because I’m not stressed about cooking.
Make it yours! Try different cheeses, add bacon, or swap the buns for sliders. The best recipes are the ones you adapt to your family’s tastes. If you make this, drop a comment and let me know what you think! I love hearing how recipes turn out in your kitchen. And if something doesn’t work, tell me that too—I’m here to help troubleshoot.
Happy cooking! And I hope your kitchen smells half as good as mine does right now.
Frequently Asked Questions
Can I use ground turkey instead of beef?
You can, but the flavor will be different. Turkey is leaner and less savory. I recommend adding extra fat, like olive oil or butter, to the meat mixture so it doesn’t dry out. It’s still good, but it’s not the same rich experience as beef.
How do I know when the burgers are done?
The safest way is to use a meat thermometer. Ground beef should reach 160°F (71°C) for well-done. If you don’t have a thermometer, press the patty gently. If it feels firm, it’s done. If it’s squishy, it needs more time.
Can I make the caramelized onions ahead of time?
Yes! This is actually better. Make the onions the day before. They’ll keep in the fridge for up to 4 days. In fact, they taste even better after the flavors have had time to meld. Just reheat them gently before putting them on the burgers.
Why did my burgers fall apart on the grill?
This usually happens if the meat is too warm or if you flipped them too early. Make sure the meat is cold and don’t move the patties until they release naturally from the grates. If they stick, they’re not ready to flip yet.
Can I bake these instead of grilling?
You can! Bake at 400°F (200°C) for 15-20 minutes, flipping halfway through. They won’t have the smoky char, but they’ll still be juicy and delicious. This is a good option if it’s raining or you don’t have a grill.
What’s the best cheese for these burgers?
I love American cheese for its meltability, but sharp cheddar adds more flavor. Provolone is mild and creamy. Pepper jack adds spice. It really depends on your preference. I usually just use whatever I have in the fridge.
Can I freeze the raw burger patties?
Absolutely. Form the patties, place them on a baking sheet, and freeze until solid. Then transfer to a freezer bag. They’ll keep for up to 3 months. Grill from frozen, adding 2-3 minutes to the cook time.
Pin This Recipe!
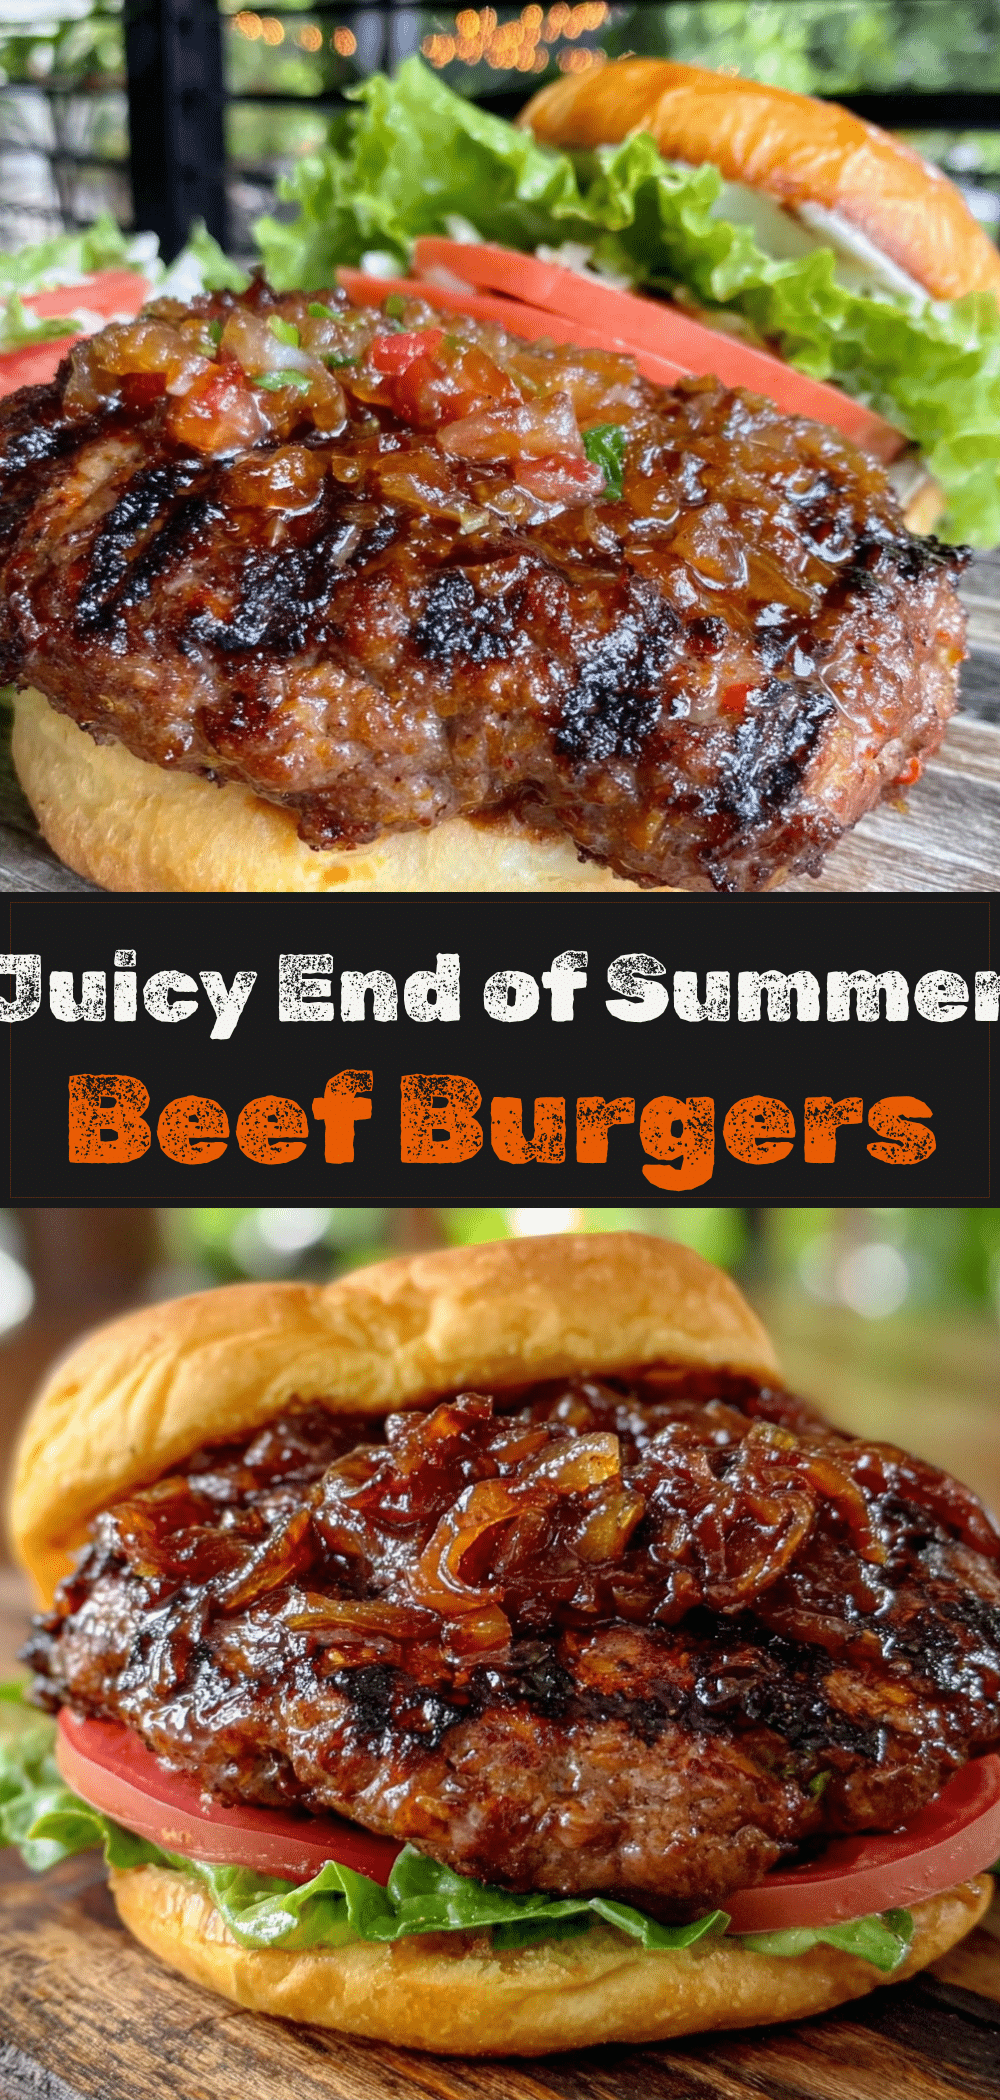
Grilled Ground Beef Burgers with Caramelized Onions
- Total Time: 45 minutes
- Yield: 6 servings 1x
Description
Juicy, savory grilled ground beef burgers topped with sweet, jammy caramelized onions. This easy, beginner-proof recipe uses minimal ingredients for maximum flavor and a perfect smoky char.
Ingredients
- 1.5 pounds ground beef (80/20 blend preferred)
- 2 large yellow onions, thinly sliced
- 2 cloves garlic, minced
- 1 tablespoon Worcestershire sauce
- 1 teaspoon kosher salt (plus more for sprinkling)
- 1/2 teaspoon freshly cracked black pepper
- 6–8 burger buns (Brioche or potato rolls)
- 6–8 slices cheese (American, Cheddar, or Provolone)
- 2 tablespoons unsalted butter
- 1 tablespoon neutral oil (canola or vegetable)
- 1 teaspoon sugar (optional)
- 1 teaspoon fresh thyme or 1/2 teaspoon dried thyme
Instructions
- Caramelize the onions: Heat butter and oil in a large skillet over medium heat. Add sliced onions and a pinch of salt. Cook for 10-15 minutes, stirring occasionally, until deep golden brown and jammy. Add a splash of water if sticking. Stir in sugar (if using) and thyme. Set aside.
- Mix the burger meat: In a medium bowl, combine ground beef, minced garlic, Worcestershire sauce, salt, and pepper. Mix gently with hands until just combined; do not overmix.
- Form the patties: Divide meat into 6-8 equal portions. Shape into discs slightly wider than your buns. Press a shallow dimple into the center of each patty with your thumb to prevent puffing.
- Grill the burgers: Preheat grill to medium-high heat and oil the grates. Place patties on the grill and do not move for 4-5 minutes to allow a good char. Flip once and cook for another 4-5 minutes. Add cheese during the last minute and cover to melt.
- Toast the buns: While burgers finish, place buns cut-side down on the grill for the last 2 minutes until lightly toasted.
- Assemble and serve: Place patty on bottom bun, top with caramelized onions and desired toppings. Serve immediately.
Notes
Keep the meat cold until forming patties to prevent sticking and toughness. Do not press down on burgers while cooking to retain juices. Season the outside of the patties generously before grilling for a better crust. Let burgers rest for 2-3 minutes after grilling to redistribute juices. Onions can be made ahead and stored in the fridge for up to 4 days.
- Prep Time: 20 minutes
- Cook Time: 25 minutes
- Category: Main Course
- Cuisine: American
Nutrition
- Serving Size: 1 burger with carame
- Calories: 450
- Sodium: 600
- Fat: 22
- Carbohydrates: 35
- Protein: 28
Keywords: burgers, ground beef, grilled burgers, caramelized onions, summer grilling, easy dinner, weeknight meals, beef recipes



